Home > Backend Development > C#.Net Tutorial > C# Development Example-Customized Screenshot Tool (1) Function Overview (Picture)

C# Development Example-Customized Screenshot Tool (1) Function Overview (Picture)

黄舟
Release: 2017-03-14 13:16:29
Original
1680 people have browsed it

Overview

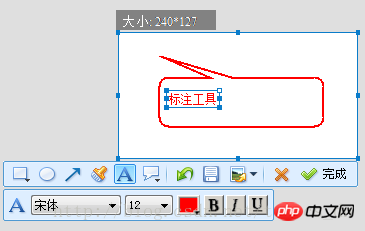
The reason for developing this software is mainly to customize and realize the functions you want, such as: automatic saving, bubble prompt box type annotation function (mainly used for functions Documentation writing) can.

Tray icon and menu


#The tray icon is added because some functions still require it Use the menu to call out, and you cannot use shortcut keys for everything.

Some things (menus, prompt boxes) may not be captured when taking screenshots through shortcut keys, so the "5-second delay screenshot" function is set.

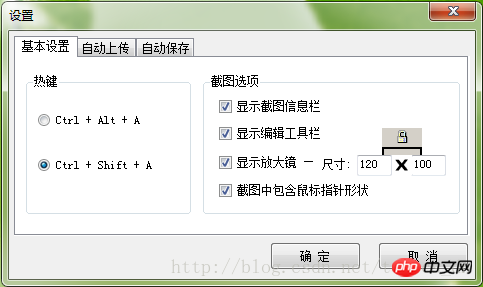
Basic settings


The QQ screenshot hotkey is "Ctrl + Alt + A". In order not to conflict with it, the default is " Ctrl + Sh

ift + A" as shortcut key.

Sometimes we want the mouse pointer shape to be included in the screenshot. Here you can set whether to include it.

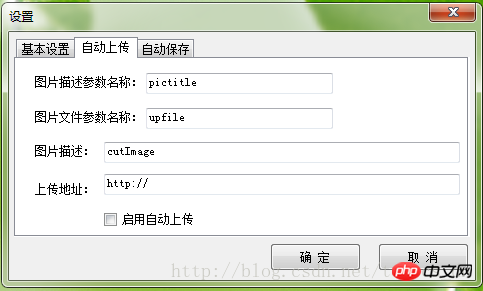
Automatic

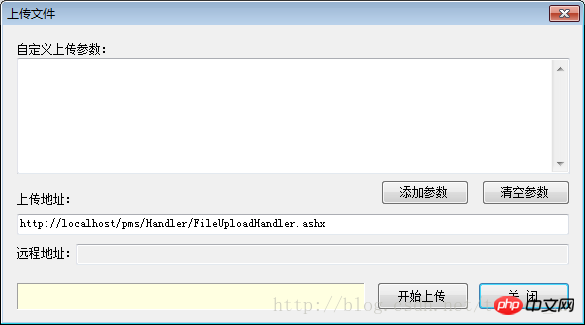
Upload


If you want to automatically upload screenshots to a website, you can enable this function. It is not yet complete and requires further development.

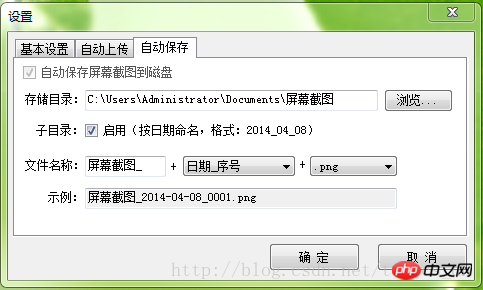
Auto-save


##Auto-save is a necessary function at present. You can set the storage directory and subdirectories, as well as the naming rules for files.

Screenshot information bar, editing toolbar
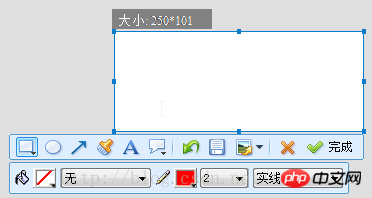

Annotation tool

Upload
Picture

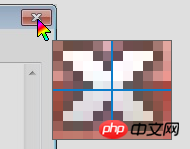
##Magnifying glass function

Keyboard control screenshot Function

Sometimes we need to accurately capture pictures such as small icons. It is difficult to accurately capture every pixel by using the mouse. However, it is easy to achieve by using the keyboard.

Operation method one:

1. Enter the screenshot

state, and move the mouse to the approximate position;

2. Use the up, down, left and right keys to move the mouse pointer to the determined position;

3. Press "Shift + Enter" at the same time to start taking screenshots;

4. Use the up, down, left and right keys to set the size of the screenshot area;

Operation method two:


1. Take a screenshot first as usual. Approximate area;

2. Use the up, down, left and right keys to set the location of the screenshot area;

#3. Use "Shift + up, down, left and right keys" Set the screenshot area size;

The above is the detailed content of C# Development Example-Customized Screenshot Tool (1) Function Overview (Picture). For more information, please follow other related articles on the PHP Chinese website!

source:php.cn
Statement of this Website
The content of this article is voluntarily contributed by netizens, and the copyright belongs to the original author. This site does not assume corresponding legal responsibility. If you find any content suspected of plagiarism or infringement, please contact admin@php.cn
Popular Tutorials
More>
Latest Downloads
More>
Web Effects
Website Source Code
Website Materials
Front End Template