Home > Backend Development > C#.Net Tutorial > Detailed explanation of creating NetCore WebSocket instant messaging instance

Detailed explanation of creating NetCore WebSocket instant messaging instance

巴扎黑
Release: 2017-08-08 11:23:49
Original
5267 people have browsed it

This article mainly introduces the NetCore WebSocket instant messaging example in detail, which has certain reference value. Interested friends can refer to

NetCore WebSocket instant messaging example for your reference. The content is as follows

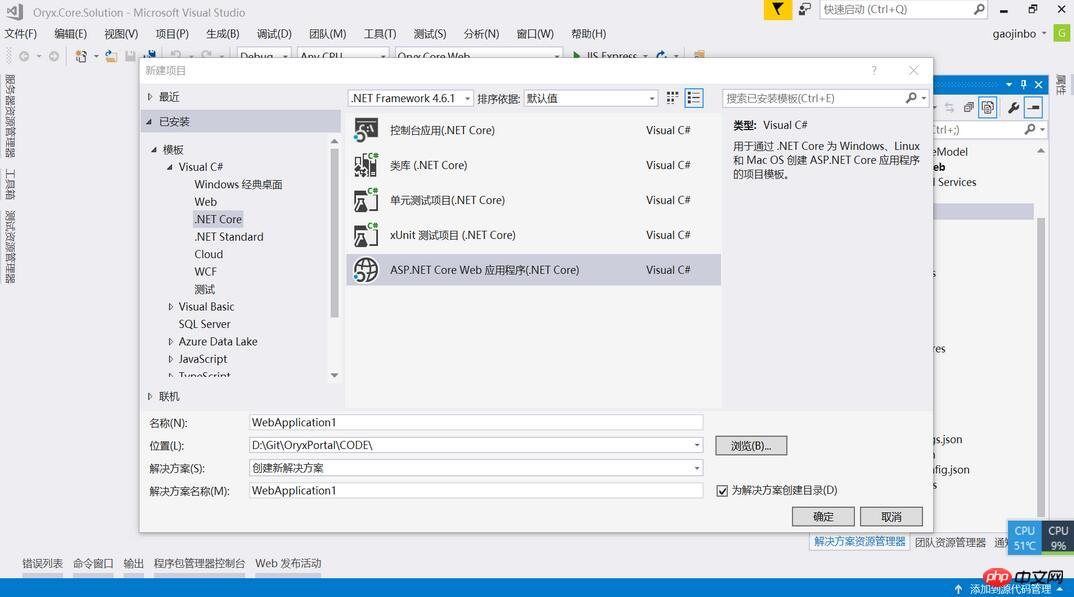
1. Create a new Netcore Web project
2. Create a simple communication protocol


public class MsgTemplate
 {
 public string SenderID { get; set; }
 public string ReceiverID { get; set; }
 public string MessageType { get; set; }
 public string Content { get; set; }
 }
Copy after login

SenderID Sender ID

ReceiverID Receiver ID

MessageType Message Type Text Voice etc.

Content Message content

3. Add middleware ChatWebSocketMiddleware


public class ChatWebSocketMiddleware
 {
 private static ConcurrentDictionary<string, System.Net.WebSockets.WebSocket> _sockets = new ConcurrentDictionary<string, System.Net.WebSockets.WebSocket>();

 private readonly RequestDelegate _next;

 public ChatWebSocketMiddleware(RequestDelegate next)
 {
  _next = next;
 }

 public async Task Invoke(HttpContext context)
 {
  if (!context.WebSockets.IsWebSocketRequest)
  {
  await _next.Invoke(context);
  return;
  }
  System.Net.WebSockets.WebSocket dummy;

  CancellationToken ct = context.RequestAborted;
  var currentSocket = await context.WebSockets.AcceptWebSocketAsync();
  //string socketId = Guid.NewGuid().ToString();
  string socketId = context.Request.Query["sid"].ToString();
  if (!_sockets.ContainsKey(socketId))
  {
  _sockets.TryAdd(socketId, currentSocket);
  }
  //_sockets.TryRemove(socketId, out dummy);
  //_sockets.TryAdd(socketId, currentSocket);

  while (true)
  {
  if (ct.IsCancellationRequested)
  {
   break;
  }

  string response = await ReceiveStringAsync(currentSocket, ct);
  MsgTemplate msg = JsonConvert.DeserializeObject<MsgTemplate>(response);

  if (string.IsNullOrEmpty(response))
  {
   if (currentSocket.State != WebSocketState.Open)
   {
   break;
   }

   continue;
  }

  foreach (var socket in _sockets)
  {
   if (socket.Value.State != WebSocketState.Open)
   {
   continue;
   }
   if (socket.Key == msg.ReceiverID || socket.Key == socketId)
   {
   await SendStringAsync(socket.Value, JsonConvert.SerializeObject(msg), ct);
   }
  }
  }

  //_sockets.TryRemove(socketId, out dummy);

  await currentSocket.CloseAsync(WebSocketCloseStatus.NormalClosure, "Closing", ct);
  currentSocket.Dispose();
 }

 private static Task SendStringAsync(System.Net.WebSockets.WebSocket socket, string data, CancellationToken ct = default(CancellationToken))
 {
  var buffer = Encoding.UTF8.GetBytes(data);
  var segment = new ArraySegment<byte>(buffer);
  return socket.SendAsync(segment, WebSocketMessageType.Text, true, ct);
 }

 private static async Task<string> ReceiveStringAsync(System.Net.WebSockets.WebSocket socket, CancellationToken ct = default(CancellationToken))
 {
  var buffer = new ArraySegment<byte>(new byte[8192]);
  using (var ms = new MemoryStream())
  {
  WebSocketReceiveResult result;
  do
  {
   ct.ThrowIfCancellationRequested();

   result = await socket.ReceiveAsync(buffer, ct);
   ms.Write(buffer.Array, buffer.Offset, result.Count);
  }
  while (!result.EndOfMessage);

  ms.Seek(0, SeekOrigin.Begin);
  if (result.MessageType != WebSocketMessageType.Text)
  {
   return null;
  }

  using (var reader = new StreamReader(ms, Encoding.UTF8))
  {
   return await reader.ReadToEndAsync();
  }
  }
 }
 }
Copy after login

Control that only the recipient can receive the message


##

if (socket.Key == msg.ReceiverID || socket.Key == socketId)
{
 await SendStringAsync(socket.Value,JsonConvert.SerializeObject(msg), ct);
}
Copy after login

4. Use in Startup.cs Middleware


app.UseWebSockets();
app.UseMiddleware<ChatWebSocketMiddleware>();
Copy after login

5. Establish a mobile terminal test example. Here Ionic3 is used to run on the web terminal

Create an ionic3 project. Novices can click here to view it. Or if you have The Angular2/4 project can be viewed directly

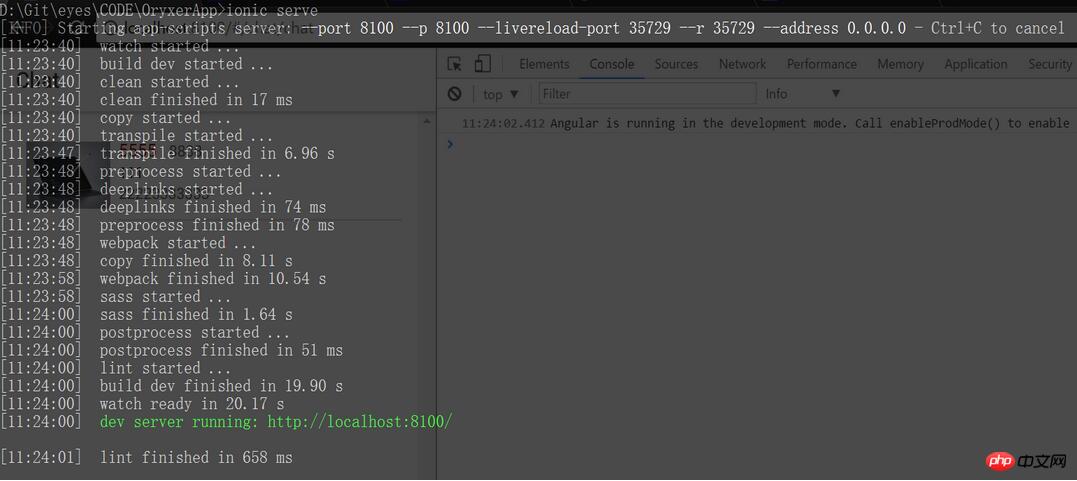
(1) Start the Ionic project

I encountered many problems when I created the ionic3 project

For example, if the ionic-cli initialization project fails, just switch to the default npmorg source.

For example, if ionic serve fails, just open the proxy and allow FQ.

The interface after startup is like this
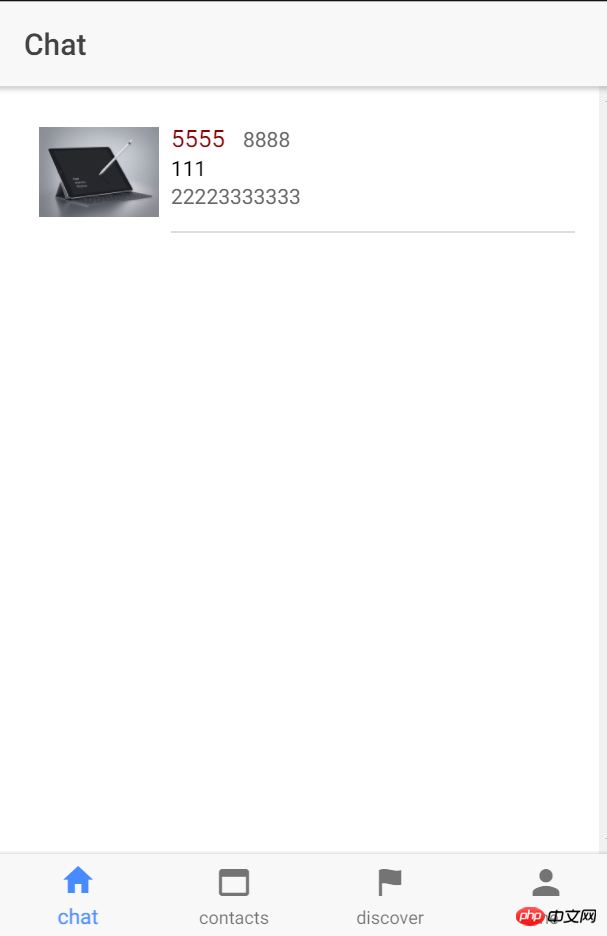
(2) Create a chat window dialog. Skip the loading of the specific layout implementation module and go directly to the websocket implementation.

Don’t forget to start the web project before this, otherwise this will happen. The situation cannot be linked to the service

(3)dialog.ts specific implementation


export class Dialog {

 private ws: any;
 private msgArr: Array<any>;

 constructor(private httpService: HttpService) {

 this.msgArr = [];
 }

 ionViewDidEnter() {
 if (!this.ws) {
  this.ws = new WebSocket("ws://localhost:56892?sid=222");

  this.ws.onopen = () => {
  console.log(&#39;open&#39;);
  };

  this.ws.onmessage = (event) => {
  console.log(&#39;new message: &#39; + event.data);
  var msgObj = JSON.parse(event.data);
  this.msgArr.push(msgObj);;
  };

  this.ws.onerror = () => {
  console.log(&#39;error occurred!&#39;);
  };

  this.ws.onclose = (event) => {
  console.log(&#39;close code=&#39; + event.code);
  };
 }
 }

 sendMsg(msg) {//msg为我要发送的内容 比如"hello world"
 var msgObj = {
  SenderID: "222",
  ReceiverID: "111",
  MessageType: "text",
  Content: msg
 };
 this.ws.send(JSON.stringify(msgObj));
 }
Copy after login

ws://localhost: 56892?sid=222 This is the websocke service link address

sid represents the unique identification of WebSocke on my end. If you find this key, you can find my client.

6. Also implemented on the web side A session window


<p class="container" style="width:90%;margin:0px auto;border:1px solid steelblue;">
 <p class="msg">
 <p id="msgs" style="height:200px;"></p>
 </p>

 <p style="display:block;width:100%">
 <input type="text" style="max-width:unset;width:100%;max-width:100%" id="MessageField" placeholder="type message and press enter" />
 </p>
</p>
Copy after login


<script>
 $(function () {
  $(&#39;.navbar-default&#39;).addClass(&#39;on&#39;);

  var userName = &#39;@Model&#39;;

  var protocol = location.protocol === "https:" ? "wss:" : "ws:";
  var wsUri = protocol + "//" + window.location.host + "?sid=111";
  var socket = new WebSocket(wsUri);
  socket.onopen = e => {
  console.log("socket opened", e);
  };

  socket.onclose = function (e) {
  console.log("socket closed", e);
  };

  socket.onmessage = function (e) {
  console.log(e);
  var msgObj = JSON.parse(e.data);
  $(&#39;#msgs&#39;).append(msgObj.Content + &#39;<br />&#39;);
  };

  socket.onerror = function (e) {
  console.error(e.data);
  };

  $(&#39;#MessageField&#39;).keypress(function (e) {
  if (e.which != 13) {
   return;
  }

  e.preventDefault();

  var message = $(&#39;#MessageField&#39;).val();

  var msgObj = {
   SenderID:"111",
   ReceiverID:"222",
   MessageType: "text",
   Content: message
  };
  socket.send(JSON.stringify(msgObj));
  $(&#39;#MessageField&#39;).val(&#39;&#39;);
  });
 });
 </script>
Copy after login
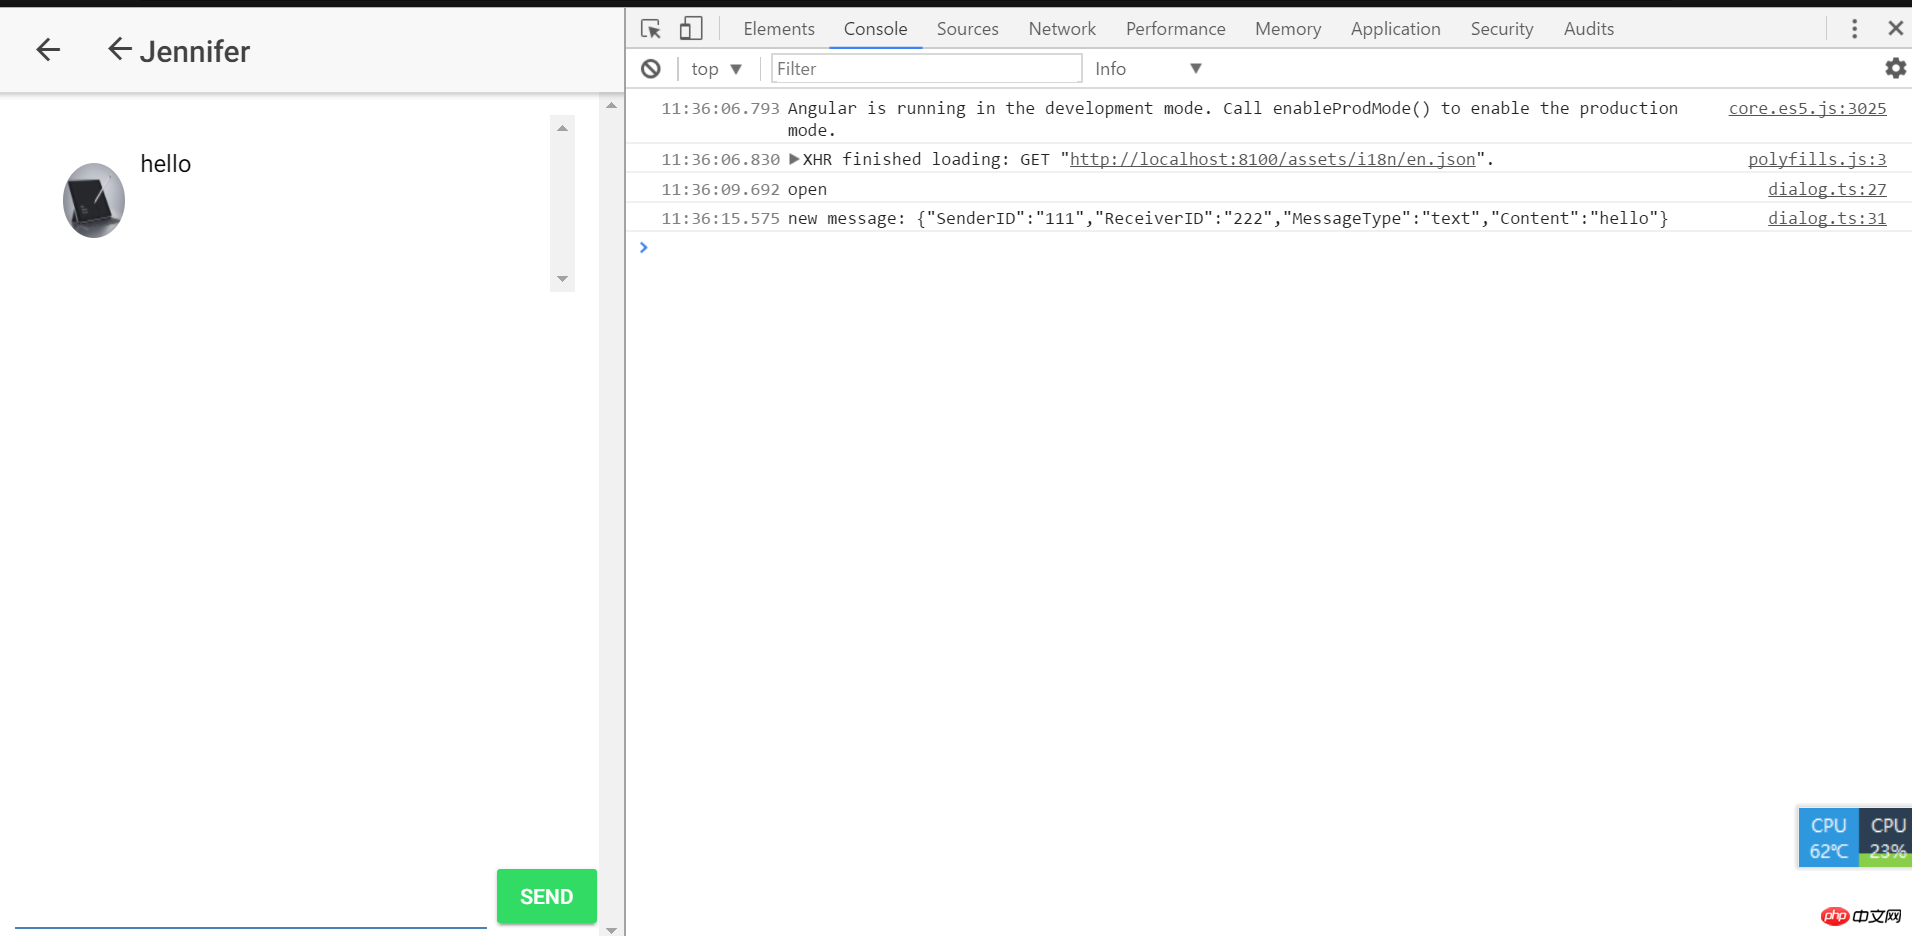
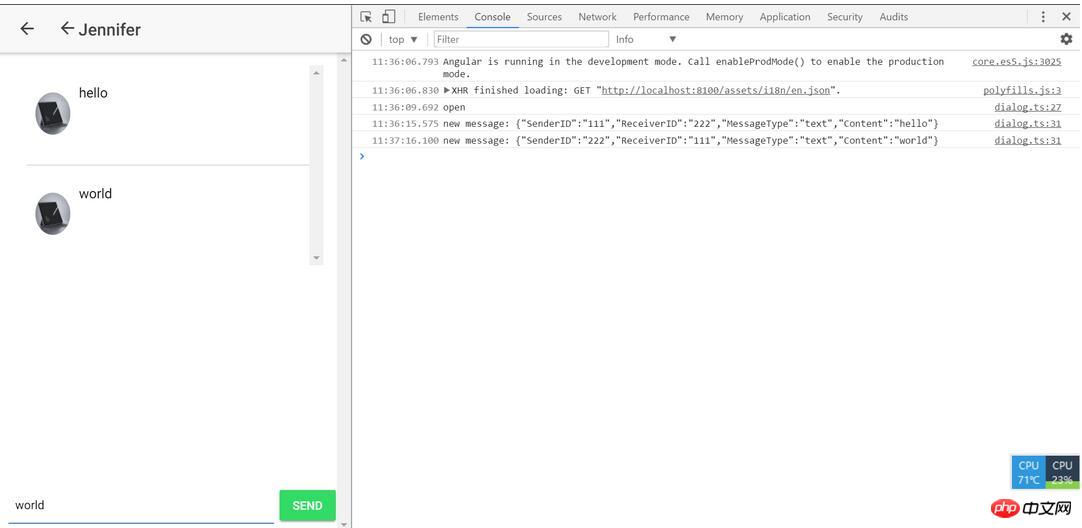
Basically developed, let’s see the effect

7.web and webapp side dialogue

8.webapp sends web receives

9. So much has been achieved so far because the project also involves other technologies and is not open source for the time being

The above is the detailed content of Detailed explanation of creating NetCore WebSocket instant messaging instance. For more information, please follow other related articles on the PHP Chinese website!

Related labels:
source:php.cn
Statement of this Website
The content of this article is voluntarily contributed by netizens, and the copyright belongs to the original author. This site does not assume corresponding legal responsibility. If you find any content suspected of plagiarism or infringement, please contact admin@php.cn
Popular Tutorials
More>
Latest Downloads
More>
Web Effects
Website Source Code
Website Materials
Front End Template