

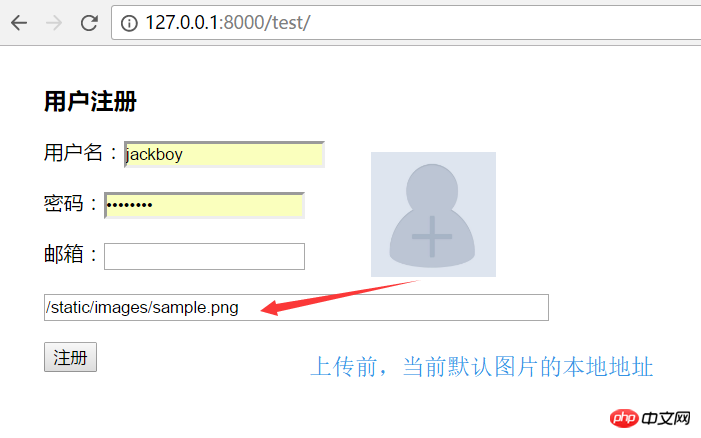
On a common user registration page, the user is required to select a picture locally as an avatar and preview it at the same time.
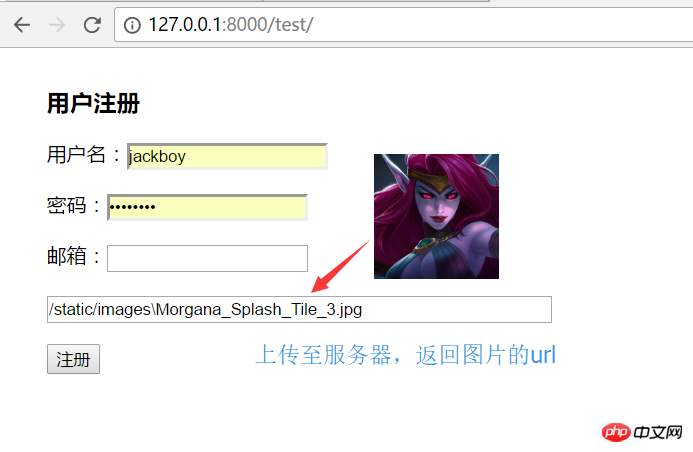
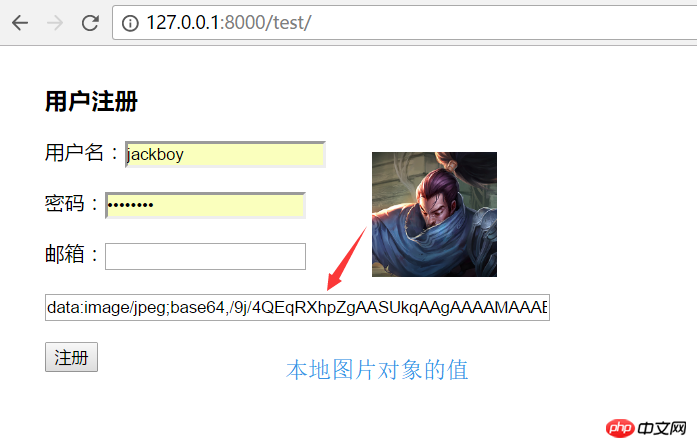
There are two common ideas: one is to upload the image to the temporary folder of the server, return the URL of the image, and then render it on the html page; the other is to directly store it in the local memory Preview the image, the user confirms the submission and then uploads it to the server for storage.
Both methods have their own pros and cons. Method one is obviously a waste of traffic and server resources; method two increases the burden on the browser and requires higher browser compatibility (in some low-end environments) version of IE browser is not supported).
The following is the method to realize the above idea:

 ##
## 1 <!DOCTYPE html> 2 <html lang="en"> 3 <head> 4 <meta charset="UTF-8"> 5 <title>Title</title> 6 </head> 7 <body> 8 <div style="margin-left: 30px; margin-top: 30px"> 9 <form action="">10 {% csrf_token %}11 <h3>用户注册</h3>12 <p>用户名:<input type="text" name="userName"></p>13 <p>密码:<input type="password" name="password"></p>14 <p>邮箱:<input type="text" name="email"></p>15 <input id="avatar" type="text" value="/static/images/sample.png" name="avatar" style="width: 400px"> {# 实际应用中要将该input标签隐藏,display:none; #}16 <p><input type="submit" value="注册"></p>17 </form>18 <div style="position: absolute; top: 85px; left: 300px;">19 <input id="avatarSlect" type="file" style="position: absolute;float: left; z-index: 10; opacity: 0;width: 100px; height: 100px;">20 <img id="avatarPreview" src="/static/images/sample.png" title="点击更换图片" style="position: absolute; z-index: 9; float: left; width: 100px; height: 100px">21 </div>22 </div>23 </body>24 25 <script src="/static/jquery-3.2.1.js?1.1.11"></script>26 <script>27 $(function () {28 bindAvatar();29 });30 function bindAvatar() {31 if(window.URL.createObjectURL){32 bindAvatar3();33 }else if(window.FileReader){34 bindAvatar2();35 }else {36 bindAvatar1();37 }38 }39 40 /*Ajax上传至后台并返回图片的url*/41 function bindAvatar1() {42 $("#avatarSlect").change(function () {43 var csrf = $("input[name='csrfmiddlewaretoken']").val();44 var formData=new FormData();45 formData.append("csrfmiddlewaretoken",csrf);46 formData.append('avatar', $("#avatarSlect")[0].files[0]); /*获取上传的图片对象*/47 $.ajax({48 url: '/upload_avatar/',49 type: 'POST',50 data: formData,51 contentType: false,52 processData: false,53 success: function (args) {54 console.log(args); /*服务器端的图片地址*/55 $("#avatarPreview").attr('src','/'+args); /*预览图片*/56 $("#avatar").val('/'+args); /*将服务端的图片url赋值给form表单的隐藏input标签*/57 }58 })59 })60 }61 /*window.FileReader本地预览*/62 function bindAvatar2() {63 console.log(2);64 $("#avatarSlect").change(function () {65 var obj=$("#avatarSlect")[0].files[0];66 var fr=new FileReader();67 fr.onload=function () {68 $("#avatarPreview").attr('src',this.result);69 console.log(this.result);70 $("#avatar").val(this.result);71 };72 fr.readAsDataURL(obj);73 })74 }75 /*window.URL.createObjectURL本地预览*/76 function bindAvatar3() {77 console.log(3);78 $("#avatarSlect").change(function () {79 var obj=$("#avatarSlect")[0].files[0];80 var wuc=window.URL.createObjectURL(obj);81 $("#avatarPreview").attr('src',wuc);82 $("#avatar").val(wuc);83 {# $("#avatarPreview").load(function () {#} /*当图片加载后释放内存空间,但在jQuery3.2.1中会报错。浏览器关闭后也会自动释放*/84 {# window.URL.revokeObjectURL(wuc);#}85 {# })#}86 })87 }88 89 </script>90 </html>

1 from django.shortcuts import render, HttpResponse 2 3 4 def test(request): 5 return render(request, 'test.html') 6 7 8 def upload_avatar(request): 9 file_obj = request.FILES.get('avatar')10 file_path = os.path.join('static/images', file_obj.name)11 with open(file_path, 'wb') as f:12 for chunk in file_obj.chunks():13 f.write(chunk)14 return HttpResponse(file_path)

1 from django.conf.urls import url2 from django.contrib import admin3 from home import views as homeViews4 5 urlpatterns = [6 url(r'^admin/', admin.site.urls),7 url(r'^upload_avatar/', homeViews.upload_avatar), # 上传头像8 url(r'^test/', homeViews.test), # 测试页面9 ]
 ##window. FileReader local preview, form form submission:
window.URL.createObjectURL local preview, form form submission:
The above is the detailed content of 3 examples of how to upload images. For more information, please follow other related articles on the PHP Chinese website!


![[Web front-end] Node.js quick start](https://img.php.cn/upload/course/000/000/067/662b5d34ba7c0227.png)


