HTML5
What exactly is HTML5? In the W3C HTML5 FAQ, this is stated about HTML5: HTML5 is a free license developed under an open platform.
Specifically, there are two understandings of this sentence:
“
refers to a group of technologies that together constitute the future open network platform. These technologies include HTML5 specifications, CSS3, SVG, MATHML, Geolocation, XmlHttpRequest, Context 2D, Web Fonts, and other technologies. The boundaries of this set of technologies are informal and change over time.
Refers to the HTML5 specification and is certainly part of the Open Web Platform.
Browser Support for Canvas
Below I’ve listed the most popular web browsers and the minimum version numbers at which they started supporting the Canvas element.
I recommend using Chrome here.
Simple HTML5 page
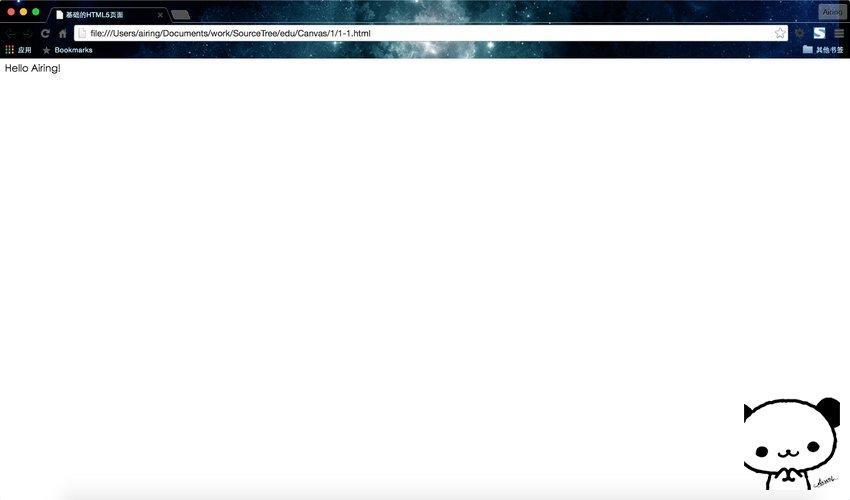
The demo running results are as follows: 
HTML is composed of tag elements shaped like angle brackets <>. These tags usually appear in pairs, and tags can only be nested and not cross.
Extension:
What appears in pairs is called a closed tag, and what appears singly is called a single tag. It is closed no matter what (a single tag does not need to be closed, but closure is strictly required in XHTML). Closing tags are divided into start tags and end tags. For example, is a start tag and is an end tag. Self-labels such as
, etc.
For more tags, it is recommended that you learn about them yourself. We recommend the W3school platform for self-study.
Here we focus on the tags that appear in the above code.
This tag indicates that the web browser will render the page in standards mode. This is required for HTML5 documents according to the HTML5 specification defined by the W3C. This tag simplifies the long-standing strange differences in how different browsers render HTML pages. It is usually the first line in the document.
This is the tag that contains the language description, for example, "en" for English and "zh" for Chinese.
These two markers indicate the beginning and end of the header information respectively. The tags contained in the header are the title, preface, description and other content of the page. It is not displayed as content itself, but affects the display effect of the web page. The most commonly used tags in headers are the <title> tag and the <meta> tag.
The following table lists all tags and functions under the HTML head element:
| 标签 | 描述 |
|---|---|
<head> |
定义了文档的信息 |
<title> |
定义了文档的标题 |
<base> |
定义了页面链接标签的默认链接地址 |
<link> |
定义了一个文档和外部资源之间的关系 |
<meta> |
定义了HTML文档中的元数据 |
<script> |
定义了客户端的脚本文件 |
<style> |
定义了HTML文档的样式文件 |
This tag describes the character encoding mode used by the web browser, which is usually set to UTF-8 here. There is no need to change it if there are no special settings required. This is also a required element for HTML5 pages.
This tag describes the title of the HTML displayed in the browser window. This is an important tag and is one of the main pieces of information search engines use to index content on an HTML page.
The actual content displayed on the web page is contained between these two .
To sum up, the HTML5 web page is composed of the and parts in the first line, and is mainly divided into two parts - the header specified by the <head> tag part, and the body specified by .
In this way, we have figured out the basic structure of the simplest HTML web page.
Add a Canvas
Adding a Canvas in HTML is very simple, just add the
Since the results page is a completely blank page, I won’t post a picture here. You may be curious, why is it blank? (Nonsense, I haven’t had time to draw yet!) The original meaning of Canvas is canvas, which means canvas (nonsense...). The canvas is transparent and invisible in HTML5.
What does the text in the
Run result: 
A few notes on the above code:
1. Added the
I will not explain the content of CSS here. After all, it is not the protagonist of this course, and it will take a lot of space to expand it.
Reference Canvas element
Document Object Model (DOM)
Document Object Model (DOM) is a standard programming interface recommended by the W3C organization for processing extensible markup languages. The history of the Document Object Model can be traced back to the "browser war" between Microsoft and Netscape in the late 1990s. In order to compete for life and death in JavaScript and JScript, both parties gave browsers powerful functions on a large scale. Microsoft has added many proprietary things to web technology, including VBScript, ActiveX, and Microsoft's own DHTML format, which makes many web pages unable to display properly using non-Microsoft platforms and browsers. DOM is the masterpiece brewed at that time.
The Document Object Model represents all objects on an HTML page. It is language neutral and platform neutral. It allows the content and style of the page to be updated again after it has been rendered by the web browser. Users can access the DOM through JavaScript.
Before you start using
The window object is the highest level of the DOM. This object needs to be detected to ensure that all resources and code have been loaded before starting to use the Canvas application.
The document object contains all the HTML tags on the HTML page. This object needs to be retrieved to find instances of
JavaScript placement location
Using JavaScript to program Canvas will cause a problem: where to start the JavaScript program in the created page?
Put JavaScript into the
However, I don’t take the usual path (laughs), so in subsequent cases, I still put the JavaScript code at the end of the according to my own coding style. Of course, if there is a lot of JavaScript code, it is recommended to load external .js files. The code is roughly as follows:
In actual project development, HTML, CSS, and JS are completely separated. However, the code used for case demonstrations is slightly less, so most of them do not use the method of loading external .js files.
Getting the canvas object
Getting the canvas object is actually just one sentence.
Var is used for variable definition. Since JS is a weakly typed language, var is used to define any variable. The canvas following var is a variable. Use the getElementById() method of the document object to obtain the object by id. Previously, we gave the
Getting a brush (2D environment)
What do you need first to draw? Paintbrush. Obtaining the canvas brush is also a matter of one sentence, which is to directly use the canvas object just obtained and call its getContext("2d") method.
The context here is the brush.
In other tutorials, the term 2D environment is used. I think brushes are more vivid. The inspiration comes from the g brush of the Graphics class in Java, and the principle is the same.
Summary
There are only three steps to preparation:
1. Lay out the canvas: add the canvas element by adding the
2. Get the canvas: get the canvas object through the id of the
3. Get the brush: through the canvas object getContext("2d") method to obtain the 2D environment
is three sentences:
The complete code is as follows.

A few points to note:
1.JavaScript code needs to be wrapped in <script> tags.
2.window.onload = function(){} will be executed immediately after loading the page, which means that the content of the function body after the page is loaded and executed.
At this point, the canvas and brush have been prepared. Next, let us use the brush (context object) to draw high-definition images! Wake up! The soul of an artist!
 What are the production methods of html5 animation production?
 The difference between HTML and HTML5
 How to use format in python
 div scroll bar
 Detailed process of upgrading win7 system to win10 system
 What should I do if msconfig cannot be opened?
 The role of pycharm
 How to deduplicate database in mysql


