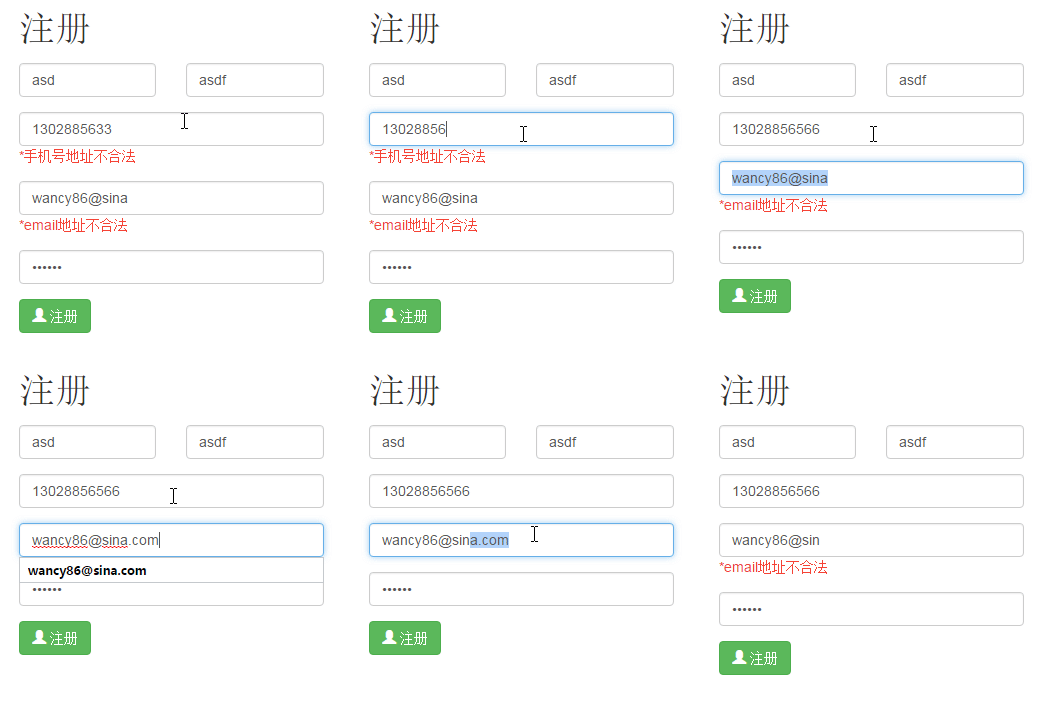
AngularJS自带了很多验证,什么必填,最大长度,最小长度...,这里记录几个有用的正则式验证
1.使用angularjs的表单验证
正则式验证
只需要配置一个正则式,很方便的完成验证,理论上所有的验证都可以用正则式完成
//javascript
$scope.mobileRegx = "^1(3[0-9]|4[57]|5[0-35-9]|7[01678]|8[0-9])\\d{8}$";
$scope.emailRegx = "^[a-z]([a-z0-9]*[-_]?[a-z0-9]+)*@([a-z0-9]*[-_]?[a-z0-9]+)+[\.][a-z]{2,3}([\.][a-z]{2})?$";
$scope.pwdRegx = "[a-zA-Z0-9]*";
<div class="form-group">
<input class="form-control" name="mobile" type="text" ng-model="account.mobile" required ng-pattern="mobileRegx"/>
<span class="error" ng-show="registerForm.$submitted && registerForm.mobile.$error.required">*手机号不能为空</span>
<span class="error" ng-show="registerForm.$submitted && registerForm.mobile.$error.pattern">*手机号地址不合法</span>
</div>
<input type="text" ng-pattern="/[a-zA-Z]/" />
数字
设置input的type=number即可
<div class="form-group col-md-6">
<label for="password">
预估时间
</label>
<div class="input-group">
<input required type="number" class="form-control" ng-model="task.estimated_time" name="time" />
<span class="input-group-addon">分钟</span>
</div>
<span class="error" ng-show="newTaskForm.$submitted && newTaskForm.time.$error.required">*请预估时间</span>
</div>
邮箱
<input type="email" name="email" ng-model="user.email" />
URL
<input type="url" name="homepage" ng-model="user.facebook_url" />
效果
效果是实时的,很带感

2.使用ngMessages验证表单
angular.module('ngMessagesExample', ['ngMessages']);
<form name="myForm">
<label>
Enter your name:
<input type="text"
name="myName"
ng-model="name"
ng-minlength="5"
ng-maxlength="20"
required />
</label>
<pre class="brush:php;toolbar:false">myForm.myName.$error = {{ myForm.myName.$error | json }}简直是第二次解放啊。。。

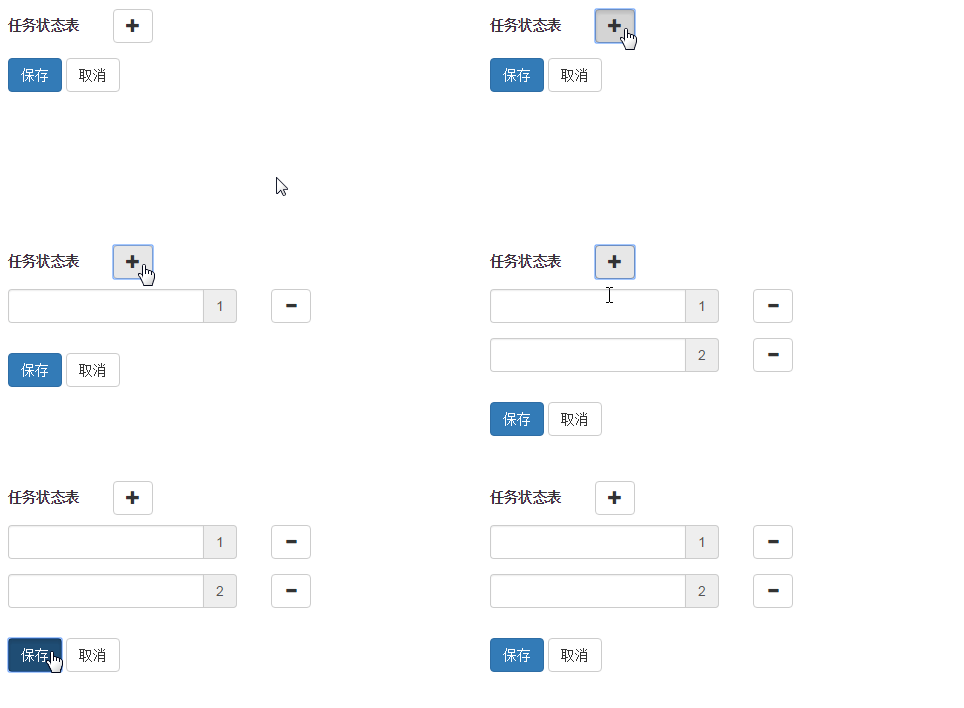
2.动态生成的表单的验证
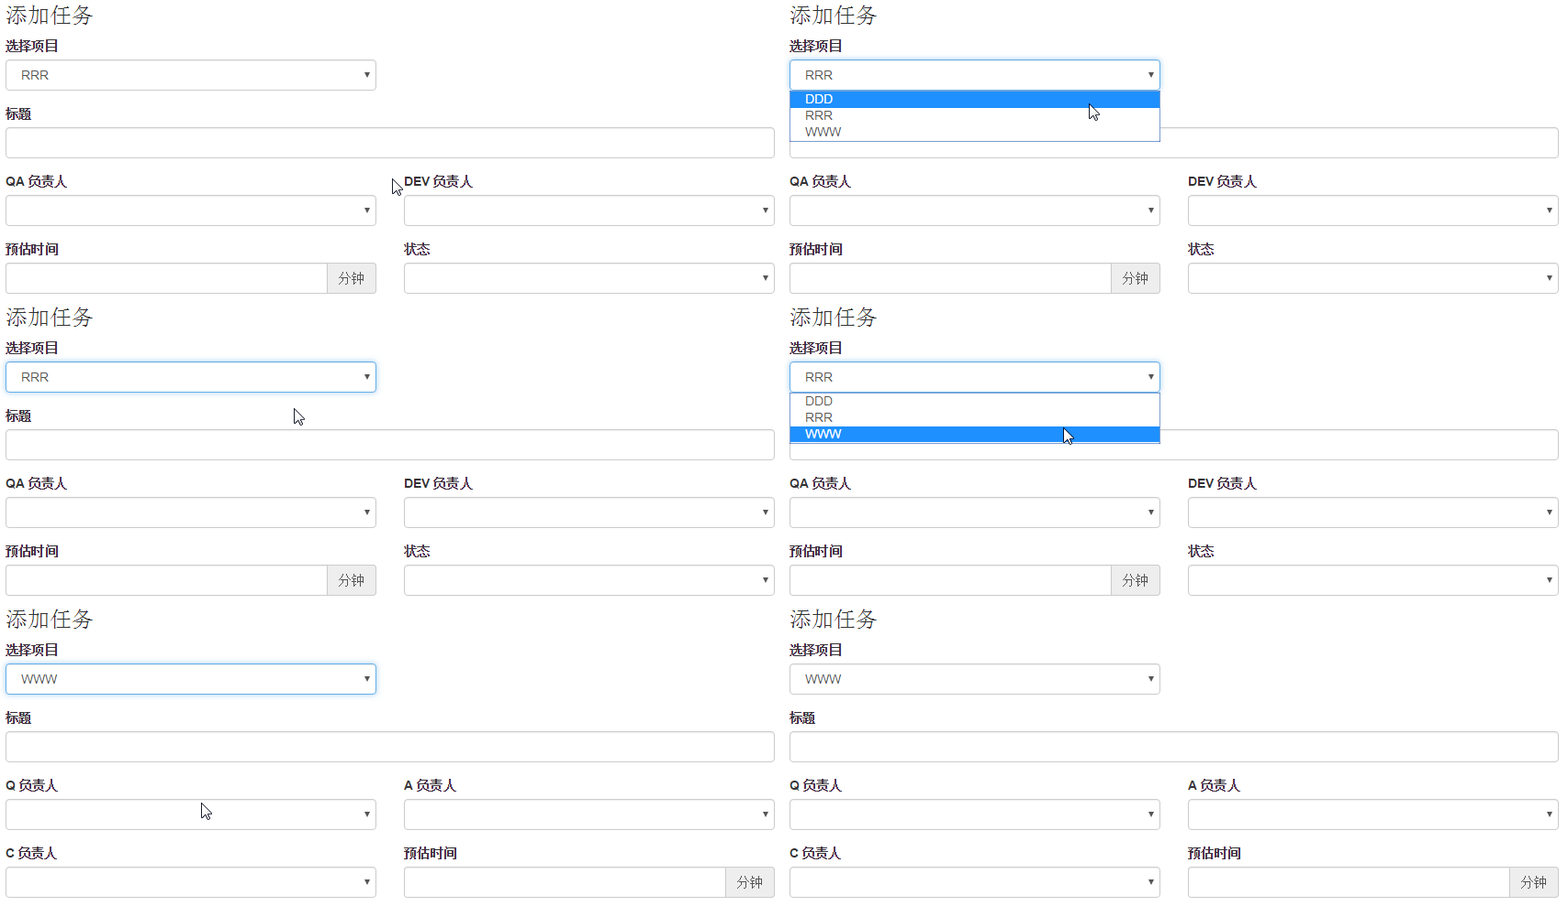
如果你有一部分form的内容是动态生成的,数量和名字都不确定的时候,该如何验证这些生成的元素呢?其实维护一个动态的form本来就是个问题。但是在angular中,只需要记住一点:准备好你的数据,其他的交给angular。像下面这个例子,你只需要维护好一个数组,然后利用ng-repeat就可以快速的呈现到页面上。


其实动态的form和一般的form验证都是一致的,只是动态的form需要使用myForm[inout_name].$error的形式访问
<!-- 动态显示状态的负责人 -->
<div class="form-group col-md-6" ng-repeat="sta in task.status_table | orderBy : sta.sequence_order">
<label>{{sta.status_name}} 负责人</label>
<select required class="form-control" ng-model="sta.user_id" ng-options="qa.id as qa.last_name+' '+qa.last_name for qa in taskUserList" name="{{sta.status_name}}">
</select>
<div ng-messages="newTaskForm[sta.status_name].$error" ng-if="newTaskForm.$submitted || newTaskForm[sta.status_name].$touched">
<p class="error" ng-message="required">*请选择负责人</p>
</div>
</div>
3. 必填项加亮显
有些表单我们不希望粗暴的在下面添加文字信息提示验证,而是希望更简洁的方式,如:加亮边框,突出显示

需要做的只是在required验证没通过的时候添加class,改变元素的样式即可
<form name="loginForm" novalidate ng-submit="loginPost()" class="navbar-form navbar-right" ng-hide="login">
<fake-autocomplete></fake-autocomplete>
<div class="form-group">
<input name="user_name" required maxlength="50" type="text" class="form-control" placeholder="手机号或邮箱" ng-model="account.user_name" ng-class="{warn:loginForm.$submitted && loginForm.user_name.$error.required}">
</div>
<div class="form-group">
<input name="password" required type="password" maxlength="50" placeholder="密码" ng-model="account.password" ng-class="{'form-control':1,warn:loginForm.$submitted && loginForm.password.$error.required}">
</div>
<button type="submit" class="btn btn-default"><span class="glyphicon glyphicon-lock"></span> 登录</button>
</form>
.warn {
border-color: #f78d8d !important;
outline: 0 !important;
-webkit-box-shadow: inset 0 1px 1px rgba(0, 0, 0, .075), 0 0 8px rgb(239, 154, 154) !important;
box-shadow: inset 0 1px 1px rgba(0, 0, 0, .075), 0 0 8px rgba(239, 154, 154) !important;
}


