This time I will show you how to use webpack3.0 to configure webpack-dev-server, and how to use webpack3.0 to configure webpack-dev-server. What are the precautions?The following is a practical case, let's go together take a look.
I have been studying webpack recently. I heard that webpack can build a small server by itself (friends who have used vue-cli should have seen it), so I can't wait to try it. However, in actual operation, I found that there are still many pitfalls in building a server with webpack. On the one hand, it is because I am not familiar with the documentation and do not understand the operating mode of webpack-dev-server; on the other hand, after reading many blogs After reading the article, I found that many configurations actually cannot run (it may be due to the version, or it may be due to my own configuration). So I plan to use webpack3.0 to run dev-server and demonstrate it to everyone. By the way, I will explain some configurations and principles clearly to everyone, so as to save you detours.
Here I assume that everyone has installed webpack and the loaders and plugins they need to use. Since webpack-dev-server is an independent npm package, we need to install it under npm:
npm install webpack-dev-server --save-dev
After that we can configure it in webpack.config.js:
const path = require("path");
module.exports = {
   entyr:{
      ....... //设置入口文件
   },
   output:{
      ....... //设置出口文件
   },
   module:{
      ....... //配置loader,注意使用rules而不是loaders
   },
   plugins:[
      ....... //注意是数组
   ],
   devServer:{
      //我们在这里对webpack-dev-server进行配置
   }
}Commonly used configuration objects in devServerAttributes are as follows:
1. contentBase: "./" // Which directory should the local server use to build the page? Generally, we can use the current directory;
2. historyApiFallback: true // It is very useful when we build a spa application. Using HTML5 History Api, any jump or 404 response can point to the index.html page;
3. inline: true // Configuration used to support automatic refresh of dev-server , webpack has two modes to support automatic refresh, one is iframe mode and the other is inline mode; using iframe mode does not need to be configured on devServer, just use a specific URL format to access; however, we generally still commonly use it Inline mode, after setting inline to true in devServer, still need to configure inline to take effect when we start webpack-dev-server. We will talk about this later;
4. hot: true // Start the webpack hot module replacement feature. This is also the place with the most pitfalls. Many blogs have set hot to true. Let’s set it to true for now and see later;
5. port: Port number (default 8080) // I don’t need to say more about this;
In fact, this is probably the commonly used configuration. For convenience, we start the webpack-dev-server in packjson Set it up:
"scripts": {
  ......
  ......
  "start":"webpack-dev-server --inline"
},Don’t forget to set inline: true in devServer and set it here too!
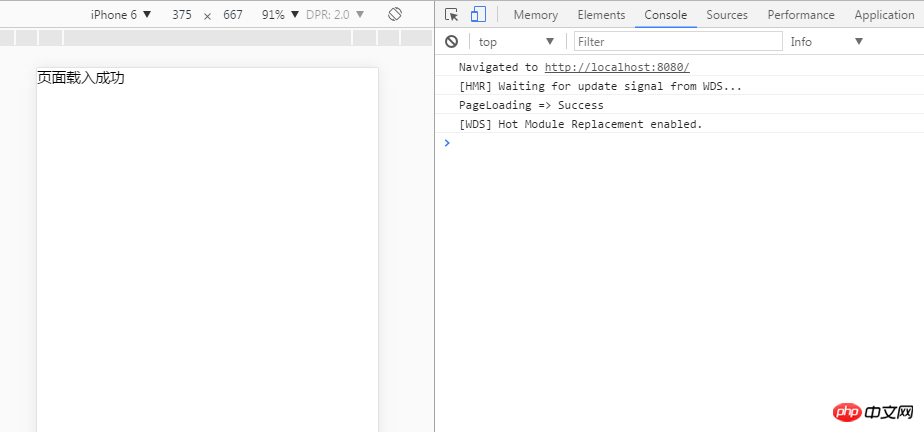
At this time, after packaging and running the server, we should find that the index.html page has been displayed. Although the packaged js file appears on src, it is not displayed. When you open the console, you will find the following error. :

The console displays: Hot Module Replacement is disabled;
Strange? Didn't we set hot to true in devServer before? In fact, although I don’t know why, the hot attribute is currently useless. To use hot modules, we need to use a plug-in called webpack.HotModuleReplacementPlugin. So our webpack.config.js needs to add these:
const path = require("path");
const webpack = requier ("webpack");
module.exports = {
   entyr:{
      ....... //设置入口文件
   },
   output:{
      ....... //设置出口文件
   },
   module:{
      ....... //配置loader,注意使用rules而不是loaders
   },
   plugins:[
     new webpack.HotModuleReplacementPlugin()
      ....... //注意是数组
   ],
   devServer:{
     contentBase: "./",
   historyApiFallback:true,
   inline:true,
   hot:true
   }
}At this time, we run npm run start on bash and find that the server is set up!

In addition, it is worth noting that the bundle.js file used by webpack-dev-server is not the bundle generated by the output packaging in webpack.config.js .js, but is packaged and generated by webpack-dev-server itself. This file does not exist in the output or other paths, but is stored in the memory. In fact, the bundle.js used by webpack-dev-server is can not be seen!
I believe you have mastered the method after reading the case in this article. For more exciting information, please pay attention to other related articles on the php Chinese website!
Recommended reading:
How to develop the verification code password input box function in the WeChat applet
The above is the detailed content of How to use webpack3.0 to configure webpack-dev-server. For more information, please follow other related articles on the PHP Chinese website!


