

This article mainly introduces the implementation principle of webpack style loading. The editor thinks it is quite good. Now I will share it with you and give you a reference. Let’s follow the editor and take a look.
Loading css requires the use of css-loader and style-loader. css-loader processes @import and url into regular ES6 import. If @import points to an external resource , css-loader will skip it and only process internal resources. After css-loader processing, style-loader will inject the output css into the packaging file. CSS defaults to inline mode and implements the HMR interface. But inline is not suitable for production environments (all output is on the page). You will also need to generate a separate css file using the extracttextplugin, but let’s do it step by step first.
1. Style packaging
1. Install css-loader, style-loader
npm install css-loader style-loader --save-dev
2. Modify webpack.config.js to add a first-level child node
module:{
  rules:[{
  test:/\.css$/,
  use: ['style-loader', 'css-loader'],
  }]
},The regular expression of test will match the .css file. The order of execution in use is from right to left. The execution of the loader is continuous, like a pipeline, first to css-loader and then to style-loader. loaders: ['style-loader', 'css-loader'] can be understood as: styleloader(cssloader(input)).
3. Add style
app/mian.css
body {
 background: cornsilk;
}Then introduce
import './main.css';
in index.js and run again npm start, open
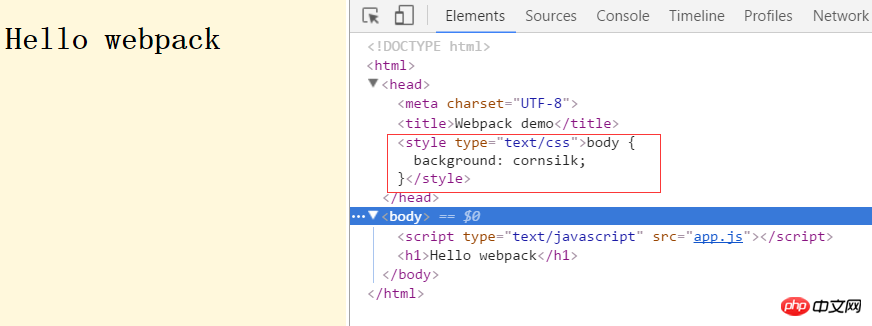
in http://localhost:8080/. At this time, the background color appears on the page, and it is found that the style is written into the header. At this time, you change Color and interface will also be updated without refreshing. This is exactly the effect of HMR in the previous section.
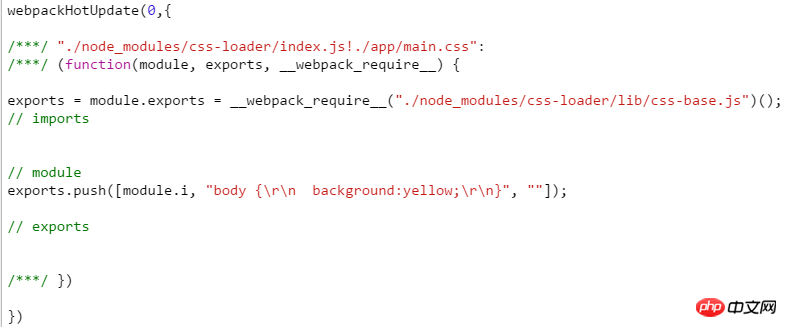
Styles are also updated through the webpackHotUpdate method.
2. Load less
Let’s take a look at how to load less. First install less-loader
npm install less less-loader --save-dev
and then modify the configuration. File:
module:{
  rules:[{
   test: /\.less$/,
      use: ['style-loader', 'css-loader', 'less-loader'],
  }]
},Then create a less file. less.less
@base: #f938ab;

.box-shadow(@style, @c) when (iscolor(@c)) {
 -webkit-box-shadow: @style @c;
 box-shadow:   @style @c;
}
.box-shadow(@style, @alpha: 50%) when (isnumber(@alpha)) {
 .box-shadow(@style, rgba(0, 0, 0, @alpha));
}
.box {
 color: saturate(@base, 5%);
 border-color: lighten(@base, 30%);
 p { .box-shadow(0 0 5px, 30%) }
}

body {
 background: cornsilk;
}Modify index.js
import './less.less';
 import component from './component';

var ele=document.createElement("p");
ele.innerHTML="this is an box";
ele.className="box";
document.body.appendChild(ele);

let demoComponent=component();
document.body.appendChild(demoComponent);to get the effect:
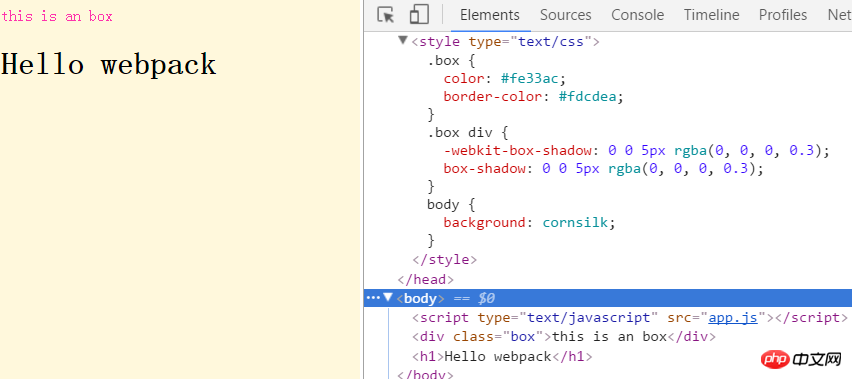
You can see that the compilation is successful. It should be noted that, When using less, import can only be less files. If you import main.css at this time, an error will be reported. This section will give a simple demonstration of less. The same applies to other style preprocessors. The following content will continue to be based on CSS.
3. Understand css scope and css module
Generally speaking, the scope of css is global, we often use it in the master Multiple style files are added to the page, and the later style files will overwrite the previous style files, which often brings trouble to our debugging. CSS Modules introduces local scope through import. This avoids namespace conflicts. Webpack's css-loader supports CSS Modules. How to understand it? Let's look at a few examples first. We first enable it in the configuration (turn off HMR first):
module:{
  rules:[{
  test:/\.css$/,
  use: ['style-loader', {
  loader: 'css-loader',
   options: {
   modules: true,//让css-loader支持Css Modules。
  },
},],Then define a new style (main.css):
body {
 background: cornsilk;
}
.redButton {
 background: red;color:yellow;
}Add a style to the component, first introduce main.css .
import styles from './main.css';
export default function () {
 var element = document.createElement('h1');
  element.className=styles.redButton;
  element.innerHTML = 'Hello webpack';
 return element;
}At this time we see that the interface has changed.
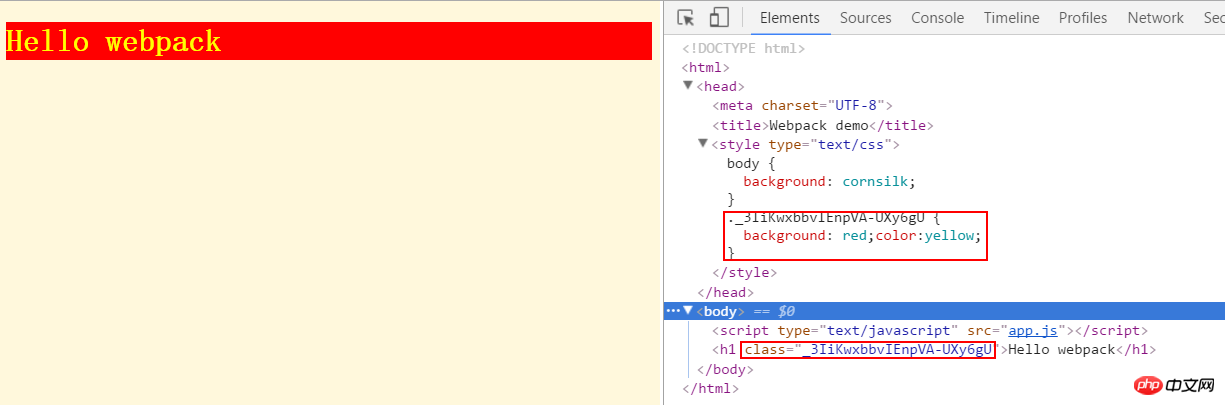
#Looking at the style generated on the right, our style name has changed. Looking back at the whole process, it is equivalent to each class name in main.css becoming a module, which can be obtained in js like a module. But you may be thinking, why can’t I directly assign values to elements, so why do I need to import them? This is a good question, let’s add another style
Classes with the same name in different style files
other.css
.redButton {
 background:rebeccapurple;color:snow;
}It also has a .redbutton class (but the effect is purple), then create a p element in index.js and add the redbutton style to it.
import './main.css';
import styles from './other.css';
import component from './component';

var ele=document.createElement("p");
ele.innerHTML="this is an other button";
ele.className=styles.redButton;
document.body.appendChild(ele);

let demoComponent=component();
document.body.appendChild(demoComponent);Look at the effect again

The above picture illustrates two problems. One is that we introduced 2 style files in index.js, and in index The page outputs only two styles, which is a bit unpleasant, but we will solve it later. The other is that although the redButton class is included in both style files, the two remain independent. This avoids namespace interference with each other. If you directly assign
element.className="redButton";
at this time, you will not be able to get the style. Styles applied directly to elements are global by default.
Global style
If you want a certain style to be global. It can be wrapped by :global.
other.css
:global(.redButton) {
 background:rebeccapurple;color:snow;
 border: 1px solid red;
}main.css
:global(.redButton) {
 background: red;color:yellow;
}这个时候redbutton这两个样式就会合并。需要直接通过样式名来获取。
element.className="redButton";

组合样式
我们再修改other.css,创建一个shadowButton 样式,内部通过composes组合redbutton类。
.redButton {
 background:rebeccapurple;color:snow;
 border: 1px solid red;
}

.shadowButton{
 composes:redButton;
 box-shadow: 0 0 15px black;
}修改index.js:
var ele=document.createElement("p");
ele.innerHTML="this is an shadowButton button";
console.log(styles);
ele.className=styles.shadowButton;
document.body.appendChild(ele);看一下是什么效果:
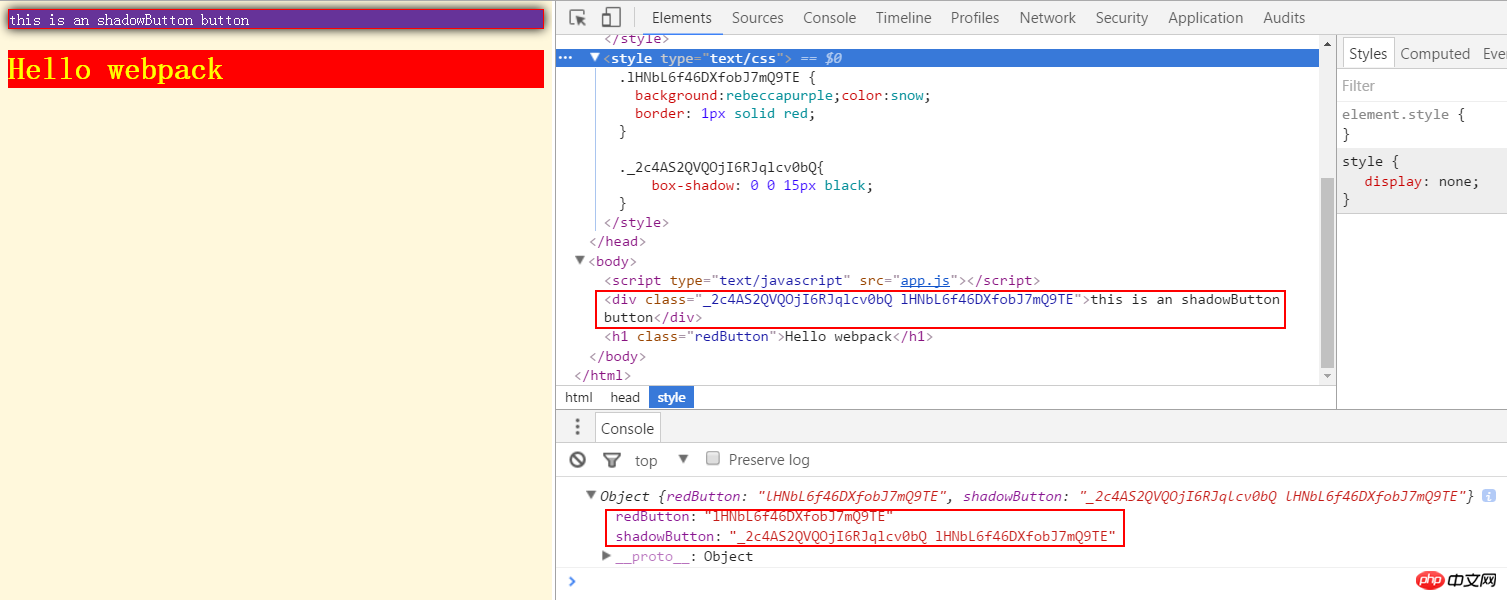
日志打印出来的是styles对象,它包含了两个类名。可以看见shadowButton是由两个类名组合而成的。p的class和下面的对应。
四、输出样式文件
css嵌在页面里面不是我们想要的,我们希望能够分离,公共的部分能够分开。extracttextplugin 可以将多个css合成一个文件,但是它不支持HMR(直接注释掉hotOnly:true)。用在生产环境挺好的
npm install extract-text-webpack-plugin --save-dev
先安装extracttextplugin这个插件,然后再webpack.config.js中进行配置:
const ExtractTextPlugin = require('extract-text-webpack-plugin');
const extractTxtplugin = new ExtractTextPlugin({
 filename: '[name].[contenthash:8].css',
});

const commonConfig={
 entry: {
 app: PATHS.app,
 },
 output: {
 path: PATHS.build,
 filename: '[name].js',
 },
 module:{
  rules:[{
   test:/\.css$/,
   use:extractTxtplugin.extract({
   use:'css-loader',
   fallback: 'style-loader',
   })
  }]},
 plugins: [
 new HtmlWebpackPlugin({
  title: 'Webpack demo',
 }),
 extractTxtplugin
 ],
}一开始看到这个配置,让人有点懵。首先看fileName,表示最后输出的文件按照这个格式'[name].[contenthash:8].css',name默认是对应的文件夹名称(这里是app),contenthash会返回特定内容的hash值,而:8表示取前8位。当然你也可以按照其他的格式写,比如直接命名:
new ExtractTextPlugin('style.css')
而ExtractTextPlugin.extract本身是一个loader。fallback:'style-loader'的意思但有css没有被提取(外部的css)的时候就用style-loader来处理。注意到现在我们的index.js如下:
import './main.css';
import styles from './other.css';
import component from './component';

var ele=document.createElement("p");
ele.innerHTML="this is an box";
ele.className=styles.shadowButton;
document.body.appendChild(ele);

let demoComponent=component();
document.body.appendChild(demoComponent);

//HMR 接口
if(module.hot){
 module.hot.accept('./component',()=>{
  const nextComponent=component();
  document.body.replaceChild(nextComponent,demoComponent);
  demoComponent=nextComponent;
 })
}引入了两个css文件。
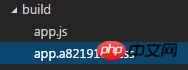
这个时候我们执行 npm run build

再看文件夹得到一个样式文件。(如果不想看到日志可以直接npm build)
但是我们在第三部分使用了CSS Modules,发现other.css的样式没有打包进来。所以,我们的webpack.config.js还要修改:
module:{
  rules:[{
   test:/\.css$/,
   use:extractTxtplugin.extract({
   use:[ {
   loader: 'css-loader',
   options: {
   modules: true,
  },
  }],
   fallback: 'style-loader',
   })
}]},再次build。
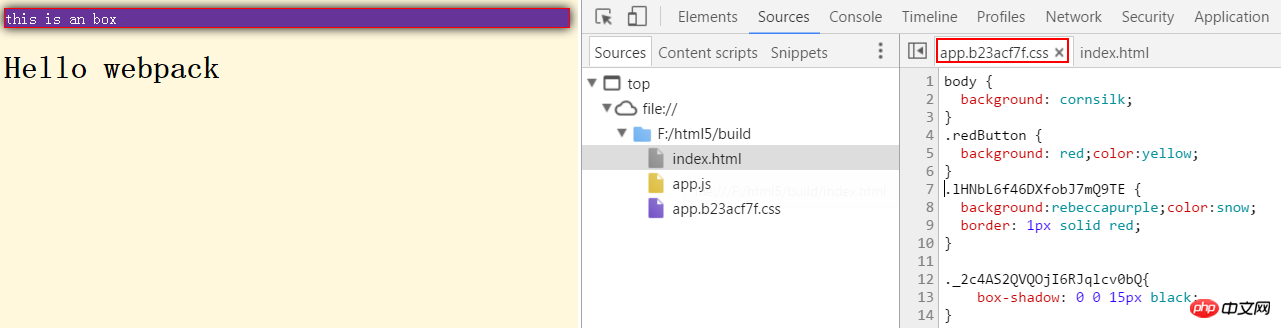
发现两个样式打包成了一个文件。只要内容发生了变化,样式的名称就会变化。更
小结:这一篇讲的内容有点多了,从基本的样式打包,到less,然后认识CSS Modules。最后打包输出整个文件。可以说对于新手还是有点复杂,工具带来了便利性,自然也带来了学习的成本。诸多选择和诸多配置的最后,我们要找到一个适合我们自己的配置,并了解各个模块的机制才能面对不同需求的不同搭配。
以上就是本文的全部内容,希望对大家的学习有所帮助,更多相关内容请关注PHP中文网!
相关推荐:
使用js遍历添加栏目类添加css再点击其它删除css的实现方法
The above is the detailed content of Implementation principle of webpack style loading. For more information, please follow other related articles on the PHP Chinese website!


![[Web front-end] Node.js quick start](https://img.php.cn/upload/course/000/000/067/662b5d34ba7c0227.png)


