
This article mainly introduces you to the relevant information on how to use VS Code to develop your first AngularJS 2 application. The article introduces it in detail through sample code, which will be a certain reference for everyone's study or work. Value, friends in need can come and take a look below.
Preface
I have previously introduced you to the Angular2 development environment setup tutorial VS Code. This article will introduce in detail how to develop AngularJS2 using VS Code. The relevant content of the application is shared for everyone's reference and study. I won't say much below, let's take a look at the detailed introduction.
Running environment:
1, Windows 10
2, Node 6.7.0
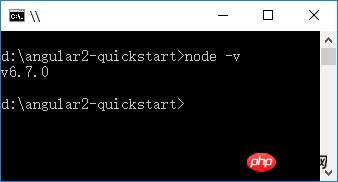
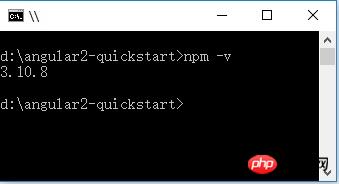
3, npm 3.10.8
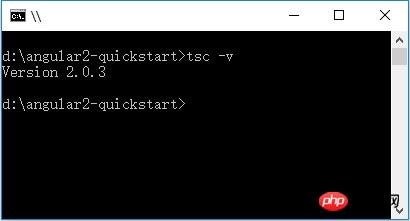
4, TypeScript 2.0.3
Create project
1. Create the folder: angular2-quickstart, start VS Code, and open the newly created folder: angular2-quickstart.
2. Under the root folder (angular2-quickstart), create the package.json file:
{
 "name": "angular-quickstart",
 "version": "1.0.0",
 "scripts": {
 "start": "tsc && concurrently \"tsc -w\" \"lite-server\" ",
 "lite": "lite-server",
 "postinstall": "typings install",
 "tsc": "tsc",
 "tsc:w": "tsc -w",
 "typings": "typings"
 },
 "license": "ISC",
 "dependencies": {
 "@angular/common": "~2.0.2",
 "@angular/compiler": "~2.0.2",
 "@angular/core": "~2.0.2",
 "@angular/forms": "~2.0.2",
 "@angular/http": "~2.0.2",
 "@angular/platform-browser": "~2.0.2",
 "@angular/platform-browser-dynamic": "~2.0.2",
 "@angular/router": "~3.0.2",
 "@angular/upgrade": "~2.0.2",
 "angular-in-memory-web-api": "~0.1.5",
 "bootstrap": "^3.3.7",
 "core-js": "^2.4.1",
 "reflect-metadata": "^0.1.8",
 "rxjs": "5.0.0-beta.12",
 "systemjs": "0.19.39",
 "zone.js": "^0.6.25"
 },
 "devDependencies": {
 "concurrently": "^3.1.0",
 "lite-server": "^2.2.2",
 "typescript": "^2.0.3",
 "typings": "^1.4.0"
 }
}3. Under the root folder (angular2-quickstart), create the tsconfig.json file :
{
 "compilerOptions": {
 "target": "es5",
 "module": "commonjs",
 "moduleResolution": "node",
 "sourceMap": true,
 "emitDecoratorMetadata": true,
 "experimentalDecorators": true,
 "removeComments": false,
 "noImplicitAny": false
 }
}4. In the root folder (angular2-quickstart), create the typings.json file:
{
 "globalDependencies": {
 "core-js": "registry:dt/core-js#0.0.0+20160725163759",
 "jasmine": "registry:dt/jasmine#2.2.0+20160621224255",
 "node": "registry:dt/node#6.0.0+20160909174046"
 }
}5. In the root folder (angular2-quickstart), create systemjs. config.js (JavaScript script) file:
/**
 * System configuration for Angular samples
 * Adjust as necessary for your application needs.
 */
(function(global) {
 System.config({
 paths: {
  // paths serve as alias
  'npm:': 'node_modules/'
 },
 // map tells the System loader where to look for things
 map: {
  // our app is within the app folder
  app: 'app',
  // angular bundles
  '@angular/core': 'npm:@angular/core/bundles/core.umd.js',
  '@angular/common': 'npm:@angular/common/bundles/common.umd.js',
  '@angular/compiler': 'npm:@angular/compiler/bundles/compiler.umd.js',
  '@angular/platform-browser': 'npm:@angular/platform-browser/bundles/platform-browser.umd.js',
  '@angular/platform-browser-dynamic': 'npm:@angular/platform-browser-dynamic/bundles/platform-browser-dynamic.umd.js',
  '@angular/http': 'npm:@angular/http/bundles/http.umd.js',
  '@angular/router': 'npm:@angular/router/bundles/router.umd.js',
  '@angular/forms': 'npm:@angular/forms/bundles/forms.umd.js',
  // other libraries
  'rxjs': 'npm:rxjs',
  'angular-in-memory-web-api': 'npm:angular-in-memory-web-api',
 },
 // packages tells the System loader how to load when no filename and/or no extension
 packages: {
  app: {
  main: './main.js',
  defaultExtension: 'js'
  },
  rxjs: {
  defaultExtension: 'js'
  },
  'angular-in-memory-web-api': {
  main: './index.js',
  defaultExtension: 'js'
  }
 }
 });
})(this);File structure:
|_ angular2-quickstart
|_ app
| |_ app.component.ts
| |_ main.ts
|_ node_modules ...
|_ typings ...
|_ index.html
|_ package.json
|_ tsconfig.json
|_ typings.json
Install dependency packages (the most critical step)
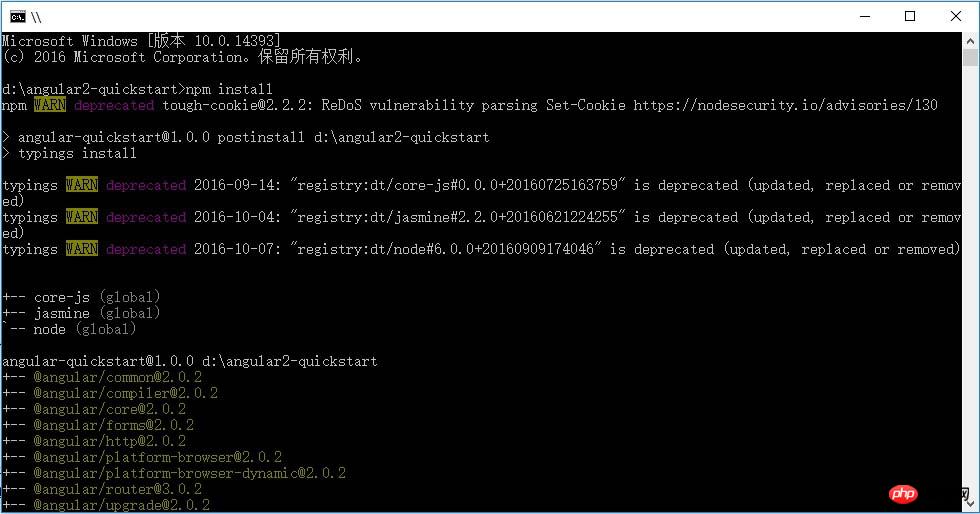
Use the npm command to install the dependent packages listed in package.json. In the command line cmd window, enter: cd angular2-quickstart, enter the angular2-quickstar folder, and enter the following command:
npm install
Create a TypeScript application Procedure
1. In VS Code, create the app subfolder under the root folder (angular2-quickstart).
2. In the sub-app folder, create the TypeScript file app.module.ts:
import { NgModule } from '@angular/core';
import { BrowserModule } from '@angular/platform-browser';
import { AppComponent } from './app.component';
@NgModule({
 imports: [ BrowserModule ],
 declarations: [ AppComponent ],
 bootstrap: [ AppComponent ]
})
export class AppModule { }3. In the sub-app folder, create the TypeScript file app.component.ts:
import { Component } from '@angular/core';
@Component({
selector: 'my-app',
template: '<h1>我的第一个 AngularJS 2 应用程序</h1>'
})
export class AppComponent { }4. In the sub-app folder, create the TypeScript file main.ts:
import { platformBrowserDynamic } from '@angular/platform-browser-dynamic';
import { AppModule } from './app.module';
const platform = platformBrowserDynamic();
platform.bootstrapModule(AppModule);5. In the root folder (angular2-quickstart), create the html file index.html:
<html>
<head>
<title>Angular QuickStart</title>
<meta charset="UTF-8">
<meta name="viewport" content="width=device-width, initial-scale=1">
<link rel="stylesheet" href="styles.css">
<!-- 1. Load libraries -->
<!-- Polyfill(s) for older browsers -->
<script src="node_modules/core-js/client/shim.min.js"></script>
<script src="node_modules/zone.js/dist/zone.js"></script>
<script src="node_modules/reflect-metadata/Reflect.js"></script>
<script src="node_modules/systemjs/dist/system.src.js"></script>
<!-- 2. Configure SystemJS -->
<script src="systemjs.config.js"></script>
<script>
System.import('app').catch(function(err) {
console.error(err);
});
</script>
</head>
<!-- 3. Display the application -->
<body>
<my-app>Loading...</my-app>
</body>
</html>6. In the root folder (angular2-quickstart), create the css file styles.css:
/* Master Styles */
h1 {
 color: #369;
 font-family: Arial, Helvetica, sans-serif;
 font-size: 250%;
}
h2,
h3 {
 color: #444;
 font-family: Arial, Helvetica, sans-serif;
 font-weight: lighter;
}
body {
 margin: 2em;
}Configuration application
1. In VS Code, create a .vscode subfolder under the root folder (angular2-quickstart).
2. In the .vscode subfolder, create the settings.json file:
// 将设置放入此文件中以覆盖默认值和用户设置。
{
 "typescript.tsdk": "node_modules/typescript/lib",
 // ts 项目, 隐藏 .js 和 .js.map 文件
 "files.exclude": {
  "node_modules": true,
  "**/*.js": { "when": "$(basename).ts" },
  "**/*.js.map": true
 }
}3. In the .vscode subfolder, create the tasks.json file:
{
 // See https://go.microsoft.com/fwlink/?LinkId=733558
 // for the documentation about the tasks.json format
 "version": "0.1.0",
 "command": "cmd",
 "isShellCommand": true,
 "showOutput": "always",
 "args": ["/C npm start"]
}Run the application. After the configuration is completed, press Ctrl Shift B to compile. The program will compile Typescript into Javascript, start a lite-server at the same time, and load the index.html we wrote. Display: My first Angular 2 application
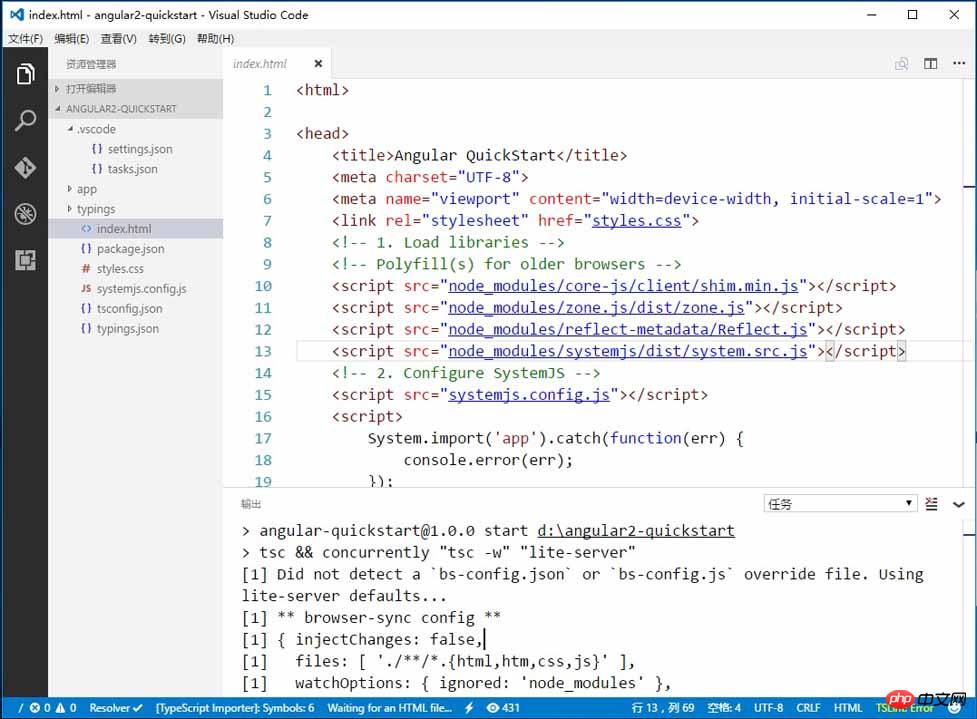
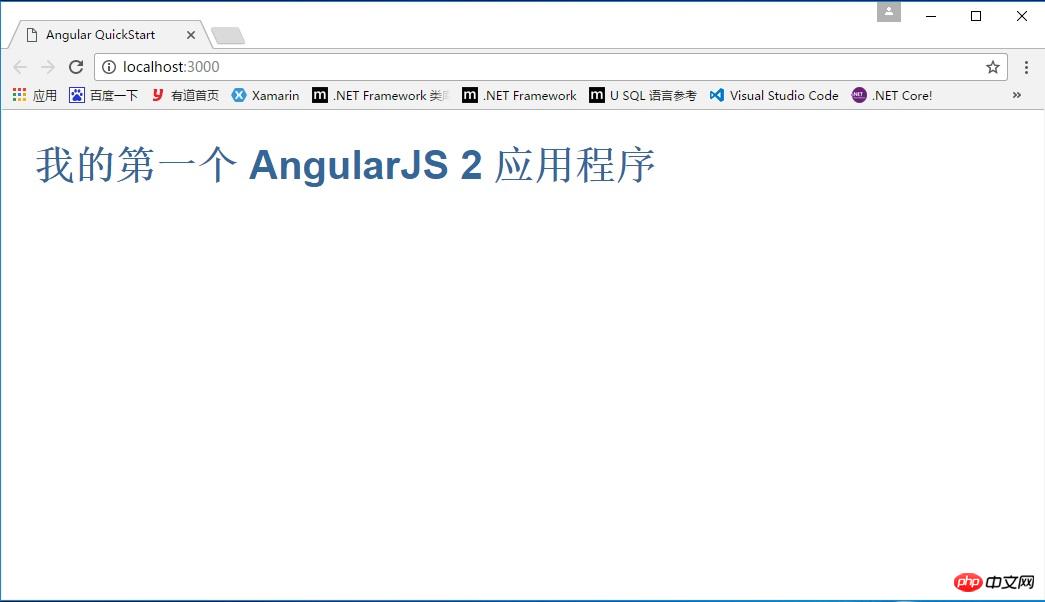
#The above is what I compiled for everyone. I hope it will be helpful to everyone in the future. .
Related articles:
How to use Redux in React projects (detailed tutorial)
How to implement automatic numerical increase in JavaScript
How to use Swiper to implement pager usage
How to use Swiper to implement page image carousel
The above is the detailed content of How to develop AngularJS 2 applications using the VS Code editor. For more information, please follow other related articles on the PHP Chinese website!


