
This article mainly introduces the detailed explanation of the ART drawing method of react-native. The content is quite good. I will share it with you now and give it as a reference.
Background
During the development process of mobile applications, drawing basic two-dimensional graphics or animations is essential. However, considering that both Android and iOS have their own API solutions, adopting a more generally accepted technical solution is more conducive to dual-platform compatibility of code.
art is a Node style CommonJS module designed to be compatible with multiple browsers. Based on it, Facebook developed React-art, which encapsulates art so that it can be used by react.js, which implements the front-end svg library. However, considering the JSX syntax of react.js, it already supports inserting svg tags and so on directly into the dom (of course the react-art library is not used at this time). In addition, there is the existence of HTML canvas, so on the front end , react-art is not irreplaceable.
However, on the mobile side, taking into account the cross-platform requirements and the accumulation of technology on the web side, react-art has become a ready-made solution for drawing graphics. react-native added support for react-art on ios and android platforms in 0.10.0 and 0.18.0 respectively.
Sample code
The difference between React.js and React-Native lies only in the ART acquisition described below. Then this example can be applied to the web side at the same time. and mobile terminal. The official example that comes with react-art: Vector-Widget
Vector-Widget additionally implements rotation and rotation acceleration response to mouse click events. Click acceleration can be seen on the web side, but it is invalid on the mobile side. The reason is that React Native does not process the onMouseDown and onMouseUp attributes in the Group. This article focuses on the implementation of static svg, and temporarily ignores some of the animation effects.
ART
ART is a very important library in react native, which makes very cool drawings and animations possible. It should be noted that during the introduction of ART in React Native, Android includes the ART library by default, and IOS needs to add dependent libraries separately.
iosAdd dependent library
1. Use xcode to open the iOS project in React-native, select the 'Libraries' directory——> Right-click and select 'Add Files' to project name' ——> 'node_modules/react-native/Libraries/ART/ART.xcodeproj' Add;

2. Select the project root directory— —> Click on 'Build Phases' ——> Click on 'Link Binary With Libraries' ——> Click on the lower left ' ' ——> Select 'libART.a' to add.

Basic components
There are 7 components exposed by ART. This article introduces the four commonly used components: Surface, Group, Shape ,Text.
Surface - A rectangular renderable area that is a container for other elements
Group - Can hold multiple shapes, text, and other elements Group
Shape - shape definition, fillable
Text - text shape definition
Properties
Surface
width: the width of the rendering area
height: defines the height of the rendering area
Shape
d: Define the drawing path
stroke: Stroke color
strokeWidth: stroke width
strokeDash: define dashed line
fill: fill color
Text
funt: Font style, define font, size, whether to bold, such as: bold 35px Heiti SC
Path
moveTo(x,y) : Move to coordinates (x,y)
lineTo(x,y ): Connect to (x, y)
Draw a straight line
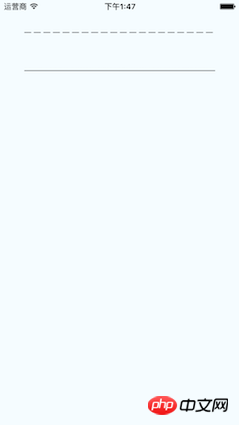
import React from 'react'
import {
  View,
  ART
} from 'react-native'

export default class Line extends React.Component{

  render(){

    const path = ART.Path();
    path.moveTo(1,1); //将起始点移动到(1,1) 默认(0,0)
    path.lineTo(300,1); //连线到目标点(300,1)

    return(
      <View style={this.props.style}>
        <ART.Surface width={300} height={2}>
          <ART.Shape d={path} stroke="#000000" strokeWidth={1} />
        </ART.Surface>
      </View>
    )
  }
}Understand the parameters of strokeDash,
[10,5]: means drawing a 10-pixel solid line and drawing a 5-pixel blank, like this Loop
[10,5,20,5]: means drawing 10 pixels solid line, drawing 5 pixels blank, and drawing 20 pixels solid line and 5 pixels blank
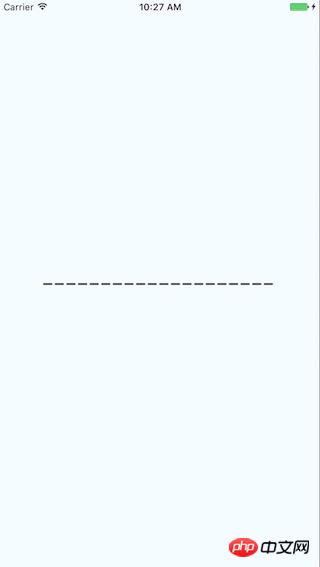
import React from 'react'
import {
  View,
  ART
} from 'react-native'

const {Surface, Shape, Path} = ART;

export default class DashLine extends React.Component{

  render(){

    const path = Path()
      .moveTo(1,1)
      .lineTo(300,1);

    return(
      <View style={this.props.style}>
        <Surface width={300} height={2}>
          <Shape d={path} stroke="#000000" strokeWidth={2} strokeDash={[10,5]}/>
        </Surface>
      </View>
    )
  }
}First draw three sides through lineTo, and then use close to link the fourth side. fill does color filling.
#
import React from 'react'
import {
  View,
  ART
} from 'react-native'

const {Surface, Shape, Path} = ART;

export default class Rect extends React.Component{

  render(){

    const path = new Path()
      .moveTo(1,1)
      .lineTo(1,99)
      .lineTo(99,99)
      .lineTo(99,1)
      .close();

    return(
      <View style={this.props.style}>
        <Surface width={100} height={100}>
          <Shape d={path} stroke="#000000" fill="#892265" strokeWidth={1} />
        </Surface>
      </View>
    )
  }
}绘圆
了解arc(x,y,radius)的使用, 终点坐标距离起点坐标的相对距离。
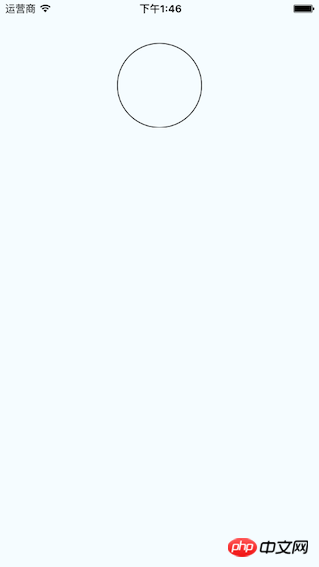
import React from 'react'
import {
  View,
  ART
} from 'react-native'

const {Surface, Shape, Path} = ART;

export default class Circle extends React.Component{

  render(){

    const path = new Path()
      .moveTo(50,1)
      .arc(0,99,25)
      .arc(0,-99,25)
      .close();


    return(
      <View style={this.props.style}>
        <Surface width={100} height={100}>
          <Shape d={path} stroke="#000000" strokeWidth={1}/>
        </Surface>
      </View>
    )
  }
}绘制文字
了解funt属性的使用,规则是“粗细 字号 字体”
注意: 字体应该是支持path属性的,应该是实现bug并没有不生效。 Android通过修改源码是可以解决的,IOS没看源码。
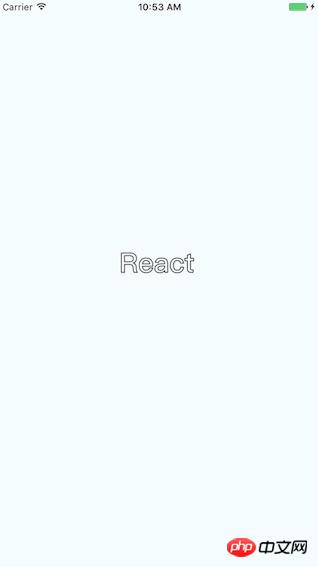
import React, {Component} from 'react';
import {
AppRegistry,
StyleSheet,
ART,
View
} from 'react-native';
const {Surface, Text, Path} = ART;
export default class ArtTextView extends Component {
render() {
return (
<View style={styles.container}>
<Surface width={100} height={100}>
<Text strokeWidth={1} stroke="#000" font="bold 35px Heiti SC" path={new Path().moveTo(40,40).lineTo(99,10)} >React</Text>
</Surface>
</View>
);
}
}
const styles = StyleSheet.create({
container: {
flex: 1,
justifyContent: 'center',
alignItems: 'center',
backgroundColor: '#F5FCFF',
},
});绘制扇形
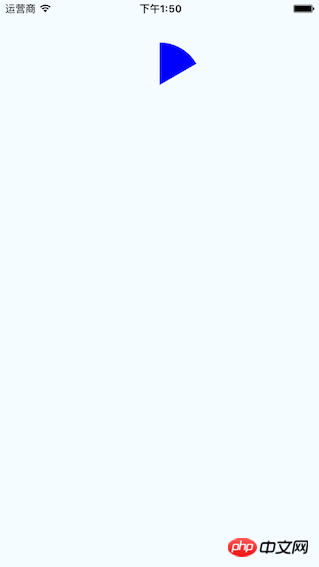
在这里需要使用arc做路径绘制。
Wedge.js
import React, { Component, PropTypes } from 'react';
import { ART } from 'react-native';
const { Shape, Path } = ART;
/**
* Wedge is a React component for drawing circles, wedges and arcs. Like other
* ReactART components, it must be used in a <Surface>.
*/
export default class Wedge extends Component<void, any, any> {
static propTypes = {
outerRadius: PropTypes.number.isRequired,
startAngle: PropTypes.number.isRequired,
endAngle: PropTypes.number.isRequired,
originX: PropTypes.number.isRequired,
originY: PropTypes.number.isRequired,
innerRadius: PropTypes.number,
};
constructor(props : any) {
super(props);
(this:any).circleRadians = Math.PI * 2;
(this:any).radiansPerDegree = Math.PI / 180;
(this:any)._degreesToRadians = this._degreesToRadians.bind(this);
}
/**
* _degreesToRadians(degrees)
*
* Helper function to convert degrees to radians
*
* @param {number} degrees
* @return {number}
*/
_degreesToRadians(degrees : number) : number {
if (degrees !== 0 && degrees % 360 === 0) { // 360, 720, etc.
return (this:any).circleRadians;
}
return degrees * (this:any).radiansPerDegree % (this:any).circleRadians;
}
/**
* _createCirclePath(or, ir)
*
* Creates the ReactART Path for a complete circle.
*
* @param {number} or The outer radius of the circle
* @param {number} ir The inner radius, greater than zero for a ring
* @return {object}
*/
_createCirclePath(or : number, ir : number) : Path {
const path = new Path();
path.move(0, or)
.arc(or * 2, 0, or)
.arc(-or * 2, 0, or);
if (ir) {
path.move(or - ir, 0)
.counterArc(ir * 2, 0, ir)
.counterArc(-ir * 2, 0, ir);
}
path.close();
return path;
}
/**
* _createArcPath(sa, ea, ca, or, ir)
*
* Creates the ReactART Path for an arc or wedge.
*
* @param {number} startAngle The starting degrees relative to 12 o'clock
* @param {number} endAngle The ending degrees relative to 12 o'clock
* @param {number} or The outer radius in pixels
* @param {number} ir The inner radius in pixels, greater than zero for an arc
* @return {object}
*/
_createArcPath(originX : number, originY : number, startAngle : number, endAngle : number, or : number, ir : number) : Path {
const path = new Path();
// angles in radians
const sa = this._degreesToRadians(startAngle);
const ea = this._degreesToRadians(endAngle);
// central arc angle in radians
const ca = sa > ea ? (this:any).circleRadians - sa + ea : ea - sa;
// cached sine and cosine values
const ss = Math.sin(sa);
const es = Math.sin(ea);
const sc = Math.cos(sa);
const ec = Math.cos(ea);
// cached differences
const ds = es - ss;
const dc = ec - sc;
const dr = ir - or;
// if the angle is over pi radians (180 degrees)
// we will need to let the drawing method know.
const large = ca > Math.PI;
// TODO (sema) Please improve theses comments to make the math
// more understandable.
//
// Formula for a point on a circle at a specific angle with a center
// at (0, 0):
// x = radius * Math.sin(radians)
// y = radius * Math.cos(radians)
//
// For our starting point, we offset the formula using the outer
// radius because our origin is at (top, left).
// In typical web layout fashion, we are drawing in quadrant IV
// (a.k.a. Southeast) where x is positive and y is negative.
//
// The arguments for path.arc and path.counterArc used below are:
// (endX, endY, radiusX, radiusY, largeAngle)
path.move(or + or * ss, or - or * sc) // move to starting point
.arc(or * ds, or * -dc, or, or, large) // outer arc
.line(dr * es, dr * -ec); // width of arc or wedge
if (ir) {
path.counterArc(ir * -ds, ir * dc, ir, ir, large); // inner arc
}
return path;
}
render() : any {
// angles are provided in degrees
const startAngle = this.props.startAngle;
const endAngle = this.props.endAngle;
// if (startAngle - endAngle === 0) {
// return null;
// }
// radii are provided in pixels
const innerRadius = this.props.innerRadius || 0;
const outerRadius = this.props.outerRadius;
const { originX, originY } = this.props;
// sorted radii
const ir = Math.min(innerRadius, outerRadius);
const or = Math.max(innerRadius, outerRadius);
let path;
if (endAngle >= startAngle + 360) {
path = this._createCirclePath(or, ir);
} else {
path = this._createArcPath(originX, originY, startAngle, endAngle, or, ir);
}
return <Shape {...this.props} d={path} />;
}
}示例代码:
import React from 'react'
import {
  View,
  ART
} from 'react-native'

const {Surface} = ART;
import Wedge from './Wedge'

export default class Fan extends React.Component{

  render(){

    return(
      <View style={this.props.style}>
        <Surface width={100} height={100}>
          <Wedge
           outerRadius={50}
           startAngle={0}
           endAngle={60}
           originX={50}
           originY={50}
           fill="blue"/>

        </Surface>
      </View>
    )
  }
}综合示例
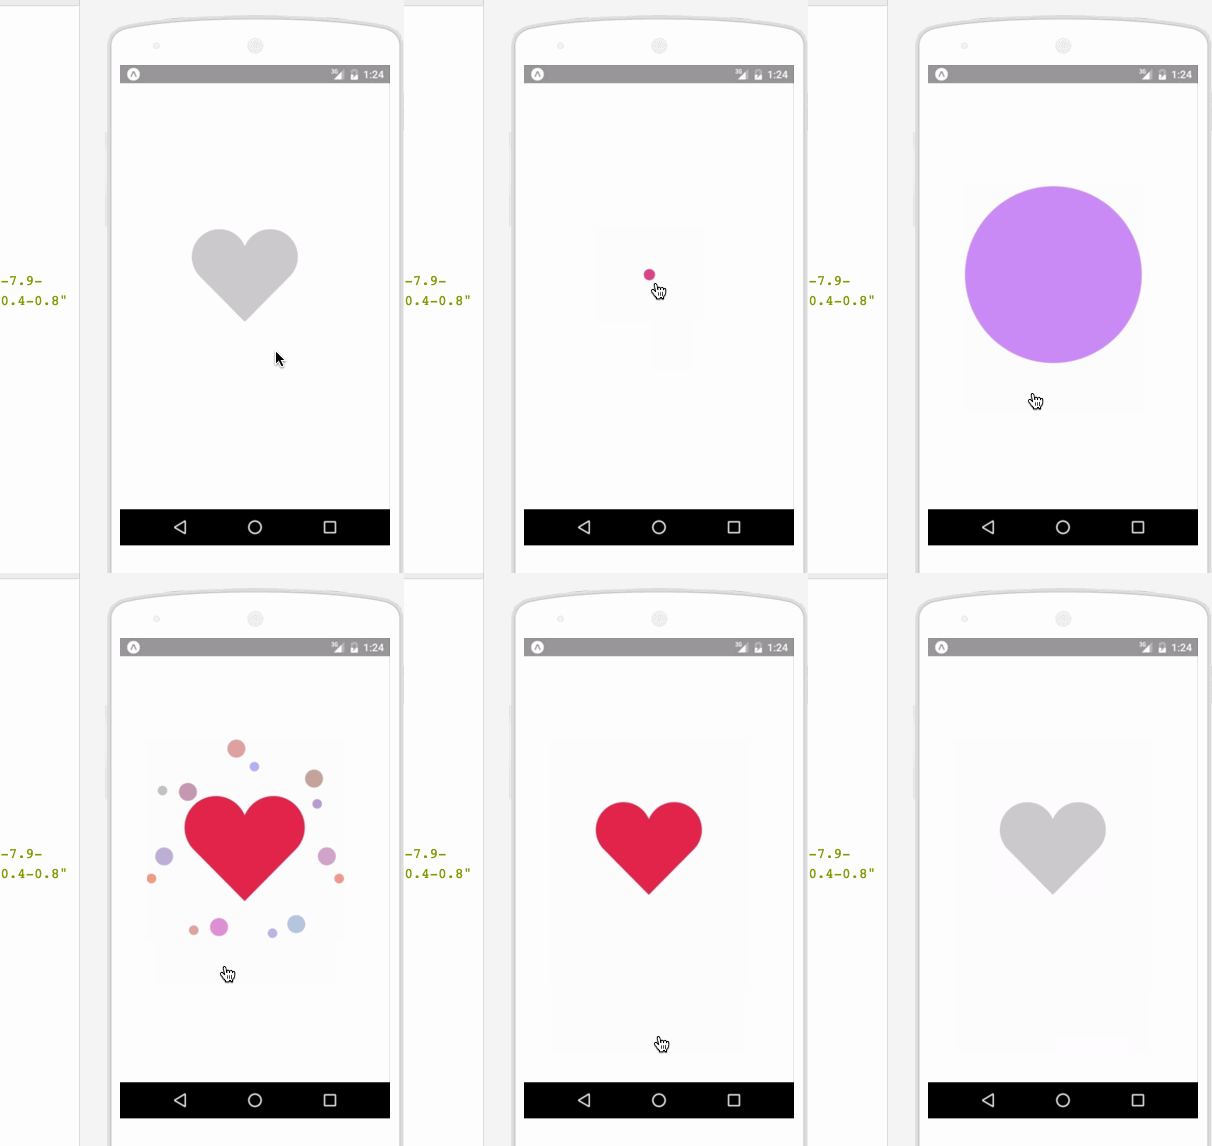
相关代码:
/**
* Sample React Native App
* https://github.com/facebook/react-native
* @flow
*/
import React, {
Component
}from 'react';
import {
ART as Art,
StyleSheet,
View,
Dimensions,
TouchableWithoutFeedback,
Animated
} from 'react-native';
var HEART_SVG = "M130.4-0.8c25.4 0 46 20.6 46 46.1 0 13.1-5.5 24.9-14.2 33.3L88 153.6 12.5 77.3c-7.9-8.3-12.8-19.6-12.8-31.9 0-25.5 20.6-46.1 46-46.2 19.1 0 35.5 11.7 42.4 28.4C94.9 11 111.3-0.8 130.4-0.8"
var HEART_COLOR = 'rgb(226,38,77,1)';
var GRAY_HEART_COLOR = "rgb(204,204,204,1)";
var FILL_COLORS = [
'rgba(221,70,136,1)',
'rgba(212,106,191,1)',
'rgba(204,142,245,1)',
'rgba(204,142,245,1)',
'rgba(204,142,245,1)',
'rgba(0,0,0,0)'
];
var PARTICLE_COLORS = [
'rgb(158, 202, 250)',
'rgb(161, 235, 206)',
'rgb(208, 148, 246)',
'rgb(244, 141, 166)',
'rgb(234, 171, 104)',
'rgb(170, 163, 186)'
]
getXYParticle = (total, i, radius) => {
var angle = ( (2 * Math.PI) / total ) * i;
var x = Math.round((radius * 2) * Math.cos(angle - (Math.PI / 2)));
var y = Math.round((radius * 2) * Math.sin(angle - (Math.PI / 2)));
return {
x: x,
y: y,
}
}
getRandomInt = (min, max) => {
return Math.floor(Math.random() * (max - min)) + min;
}
shuffleArray = (array) => {
for (var i = array.length - 1; i > 0; i--) {
var j = Math.floor(Math.random() * (i + 1));
var temp = array[i];
array[i] = array[j];
array[j] = temp;
}
return array;
}
var {
Surface,
Group,
Shape,
Path
} = Art;
//使用Animated.createAnimatedComponent对其他组件创建对话
//创建一个灰色的新型图片
var AnimatedShape = Animated.createAnimatedComponent(Shape);
var {
width: deviceWidth,
height: deviceHeight
} = Dimensions.get('window');
export default class ArtAnimView extends Component {
constructor(props) {
super(props);
this.state = {
animation: new Animated.Value(0)
};
}
explode = () => {
Animated.timing(this.state.animation, {
duration: 1500,
toValue: 28
}).start(() => {
this.state.animation.setValue(0);
this.forceUpdate();
});
}
getSmallExplosions = (radius, offset) => {
return [0, 1, 2, 3, 4, 5, 6].map((v, i, t) => {
var scaleOut = this.state.animation.interpolate({
inputRange: [0, 5.99, 6, 13.99, 14, 21],
outputRange: [0, 0, 1, 1, 1, 0],
extrapolate: 'clamp'
});
var moveUp = this.state.animation.interpolate({
inputRange: [0, 5.99, 14],
outputRange: [0, 0, -15],
extrapolate: 'clamp'
});
var moveDown = this.state.animation.interpolate({
inputRange: [0, 5.99, 14],
outputRange: [0, 0, 15],
extrapolate: 'clamp'
});
var color_top_particle = this.state.animation.interpolate({
inputRange: [6, 8, 10, 12, 17, 21],
outputRange: shuffleArray(PARTICLE_COLORS)
})
var color_bottom_particle = this.state.animation.interpolate({
inputRange: [6, 8, 10, 12, 17, 21],
outputRange: shuffleArray(PARTICLE_COLORS)
})
var position = getXYParticle(7, i, radius)
return (
<Group
x={position.x + offset.x }
y={position.y + offset.y}
rotation={getRandomInt(0, 40) * i}
>
<AnimatedCircle
x={moveUp}
y={moveUp}
radius={15}
scale={scaleOut}
fill={color_top_particle}
/>
<AnimatedCircle
x={moveDown}
y={moveDown}
radius={8}
scale={scaleOut}
fill={color_bottom_particle}
/>
</Group>
)
}, this)
}
render() {
var heart_scale = this.state.animation.interpolate({
inputRange: [0, .01, 6, 10, 12, 18, 28],
outputRange: [1, 0, .1, 1, 1.2, 1, 1],
extrapolate: 'clamp'
});
var heart_fill = this.state.animation.interpolate({
inputRange: [0, 2],
outputRange: [GRAY_HEART_COLOR, HEART_COLOR],
extrapolate: 'clamp'
})
var heart_x = heart_scale.interpolate({
inputRange: [0, 1],
outputRange: [90, 0],
})
var heart_y = heart_scale.interpolate({
inputRange: [0, 1],
outputRange: [75, 0],
})
var circle_scale = this.state.animation.interpolate({
inputRange: [0, 1, 4],
outputRange: [0, .3, 1],
extrapolate: 'clamp'
});
var circle_stroke_width = this.state.animation.interpolate({
inputRange: [0, 5.99, 6, 7, 10],
outputRange: [0, 0, 15, 8, 0],
extrapolate: 'clamp'
});
var circle_fill_colors = this.state.animation.interpolate({
inputRange: [1, 2, 3, 4, 4.99, 5],
outputRange: FILL_COLORS,
extrapolate: 'clamp'
})
var circle_opacity = this.state.animation.interpolate({
inputRange: [1, 9.99, 10],
outputRange: [1, 1, 0],
extrapolate: 'clamp'
})
return (
<View style={styles.container}>
<TouchableWithoutFeedback onPress={this.explode} style={styles.container}>
<View style={{transform: [{scale: .8}]}}>
<Surface width={deviceWidth} height={deviceHeight}>
<Group x={75} y={200}>
<AnimatedShape
d={HEART_SVG}
x={heart_x}
y={heart_y}
scale={heart_scale}
fill={heart_fill}
/>
<AnimatedCircle
x={89}
y={75}
radius={150}
scale={circle_scale}
strokeWidth={circle_stroke_width}
stroke={FILL_COLORS[2]}
fill={circle_fill_colors}
opacity={circle_opacity}
/>
{this.getSmallExplosions(75, {x: 89, y: 75})}
</Group>
</Surface>
</View>
</TouchableWithoutFeedback>
</View>
);
}
};
class AnimatedCircle extends Component {
render() {
var radius = this.props.radius;
var path = Path().moveTo(0, -radius)
.arc(0, radius * 2, radius)
.arc(0, radius * -2, radius)
.close();
return React.createElement(AnimatedShape);
}
}
var styles = StyleSheet.create({
container: {
flex: 1,
}
});以上就是本文的全部内容,希望对大家的学习有所帮助,更多相关内容请关注PHP中文网!
相关推荐:
The above is the detailed content of About react-native's ART drawing method. For more information, please follow other related articles on the PHP Chinese website!


