##Software name |
Download address |
| Apache download
|
http://httpd.apache. org/download.cgi
|
| PHP download
|
http://www.php.net/downloads.php
|
| MySQL
|
http://dev.mysql.com/downloads/mysql/, selected here For the installation-free version
|
| phpMyAdmin
| ##http://www.phpmyadmin.net |
apacheEnvironment installation:
Double-click httpd-2.2.21-win32-x86-no_ssl.msi to start the installation. The installation welcome screen appears.

Click "Next" to continue, and the authorization agreement will appear.

Select "I accept the terms in the license agreement" to agree to the license agreement, and then click "Next" to continue. Installation instructions will appear.

Click "Next" directly and the information filling interface will appear.

"Network Domain" fill in your network domain name, such as admin10000.com. If there is no network domain name, you can fill it in casually.
"Server Name" fill in your server name, such as www.admin10000.com, which is the host name. If not, feel free to fill it in.
"Administrator's Email Address" fill in the system administrator's contact email address, such as webmaster@admin10000.com. A contact email address will be provided to visitors in the event of a system outage.
Tip: Because we install apache mainly for development on this machine, just fill in localhost in the first two items. The above three items of information can be filled in arbitrarily, and these information can be modified in the httpd.conf file later.
There are two options below. The first is to install for all users of the system, using the default port 80, and automatically starting as a system service; the other is to install only for the current user, using port 8080, and manually start up. We choose the first one “for All Users, on Port 80, as a Service – Recommended”. Then click "Next" to continue.
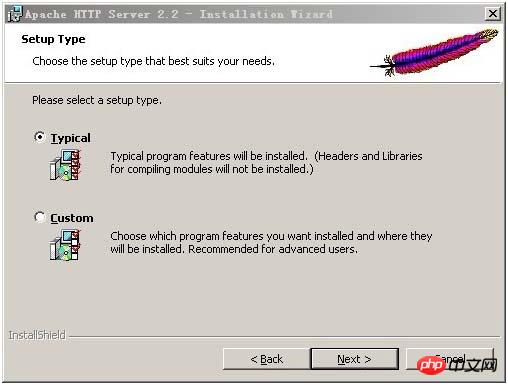
The installation type selection interface appears. Typical is a typical installation, and Custom is a user-customized installation. We select Typical here and press "Next" to continue.
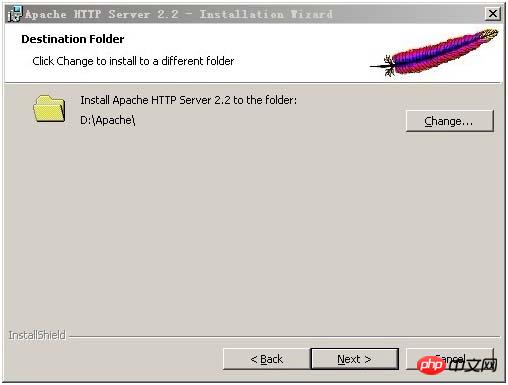
Click "Change..." to manually specify the installation directory. Here we installed Apache to "D:\Apache\", you decide where to install it. It is recommended not to install it on the disk where the operating system is located (usually the C drive), in case the operating system is damaged and the Apache configuration file will be cleared during the restore operation. After specifying the installation directory, click "Next" to continue.
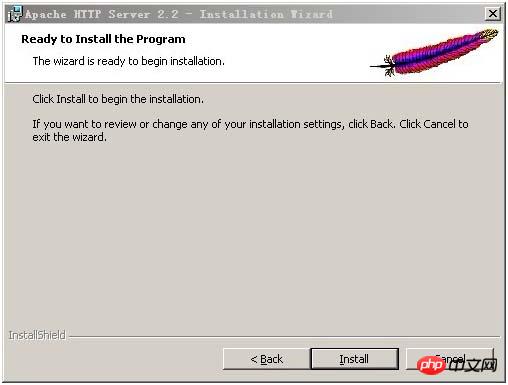
Confirm that the installation options are correct and click "Install" to start the installation. If you think you want to check it again, you can click "Back" to return to the check step by step.

The installation progress will appear, wait for a while, and then the following interface will appear.

After clicking "Finish", an icon with a green logo will appear in the status bar in the lower right corner.

indicates that Apache has started normally.
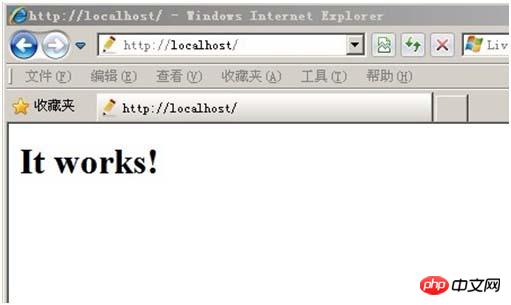
At this time, enter http://localhost/ or http://127.0.0.1/ in the browser to see the following interface.
MYSQL installation:
Open the downloaded mysql installation file mysql-5.0.27-win32.zip, double-click to decompress it, Run "setup.exe" and the following interface will appear

Just click "Next" to continue, and the authorization agreement will appear.

Select "I accept the terms in the license agreement" to agree to the license agreement, and then click "Next" to continue. In the window for selecting the installation type, there is "typical ( There are three options: "Default", "Complete", and "Custom". We choose "Custom" because customization can make us more familiar with its installation process, which is very useful for learning the MySQL database. If it helps, click "next" to continue the installation, as shown in the figure:

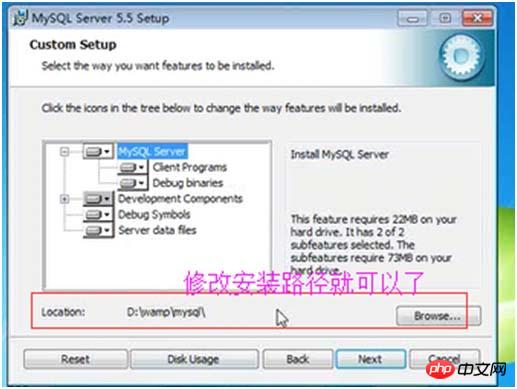
Select the installation path of the mysql database in the custom installation interface that appears. Here I set "d:\Program File\MySQL", click "next" to continue the installation, as shown in the figure:
Next, enter the interface ready for installation. First, confirm the previous settings. If there is an error, press "back" to return. If there is no error, click the "Install" button to continue the installation, as shown in the figure:

After clicking the "Install" button, the following installation interface will appear. After a short time, the MySQL database installation is completed, and the MySQL installation completion interface will appear, as shown in the figure:

Just click "next" on this interface.

Be sure to select the "Launch the MySQL Instance Configuration Wizard" option above. This is the configuration to start MySQL and is also the most critical. (can also be set later), click the "Finish" button to enter the configuration interface.
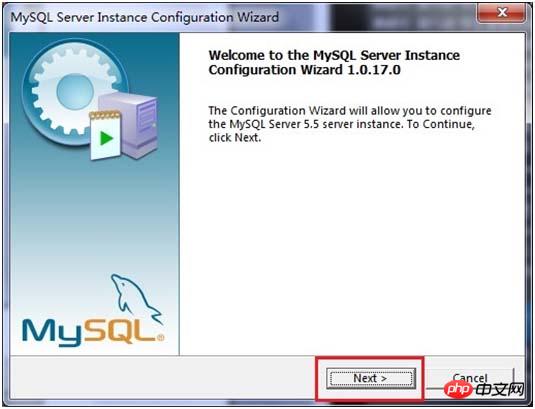
The installation of MySQL database is very simple. The key is the configuration after the installation is completed. After clicking Finish, the following configuration interface wizard will appear. Click "next" to configure, as shown in the figure:
Select the configuration method in the opened configuration type window, "Detailed Configuration (manual precise configuration)", "Standard Configuration (standard configuration)", in order to familiarize yourself with the process, we select "Detailed Configuration (Manual precise configuration)", click "next" to continue, as shown in the figure:

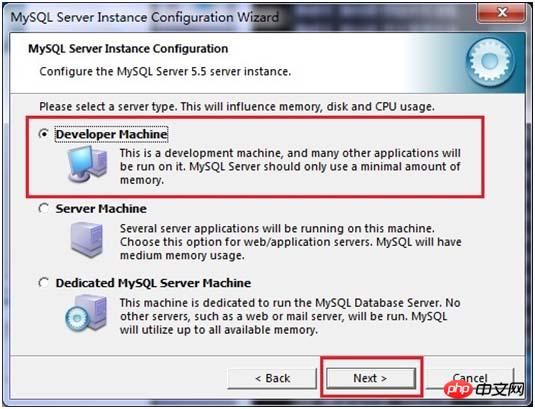
In the window that appears, select the type of server, "Developer Machine Test Class)", "Server Machine (Server Type)", "Dedicated MySQL Server Machine (Specialized Database Server)", we are only used for learning and testing, the default is fine, click "next" to continue, as shown in the figure :
Select the purpose of the mysql database in the configuration interface that appears, "Multifunctional Database (universal multifunctional)", "Transactional Database Only (server type)", " Non-Transactional Database Only (non-transaction processing type)", here I choose the first item, universal installation, click "next" to continue the configuration, as shown in the figure:

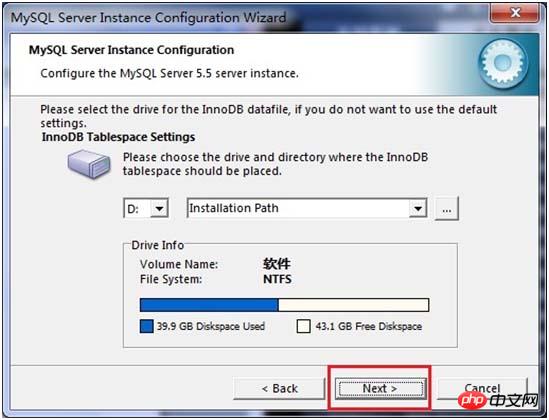
In the interface that appears, configure the InnoDB Tablespace, which is to select a storage space for the InnoDB database file. If it is modified, remember the location. Select the same place when reinstalling, otherwise the database may be damaged. Damage, of course, there is no problem if you make a backup of the database, as shown in the figure:
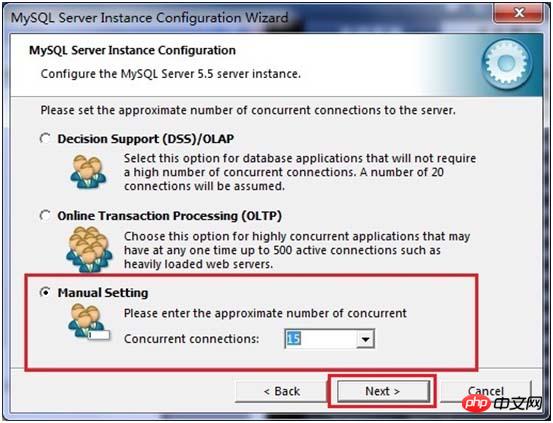
In the page that opens, select the number of mysql visits and the number of simultaneous connections , "Decision Support (DSS)/OLAP (about 20)", "Online Transaction Processing (OLTP) (about 500)", "Manual Setting (manual setting, set to 15)" Select manual setting here, click " next" to continue, as shown in the figure:
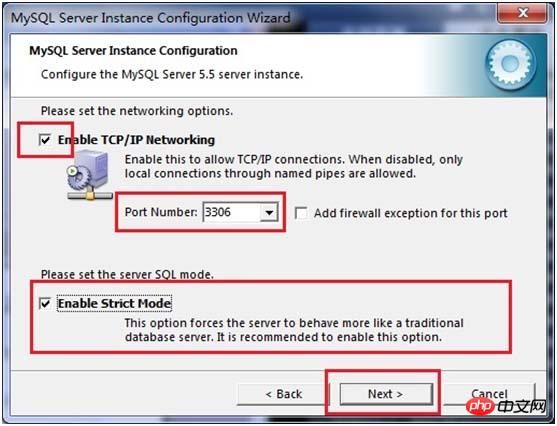
Mysql starts the TCP/IP network by default, and the port number is 3306. If you do not want to use this port number, you can also use the drop-down Change the list box, but you must ensure that the port number is not occupied. The Add filewall exception for this Port check box is used to register this port number on the firewall. Select this option here, and the Enable Strict Mode check box is used to enable MYSQL standard mode. , so that MYSQL will strictly check the input data and do not allow minor grammatical errors. It is not recommended for beginners to select this item to avoid trouble. I have checked it here, but you don’t need to select it. This option, click "next" to continue, as shown in the figure:
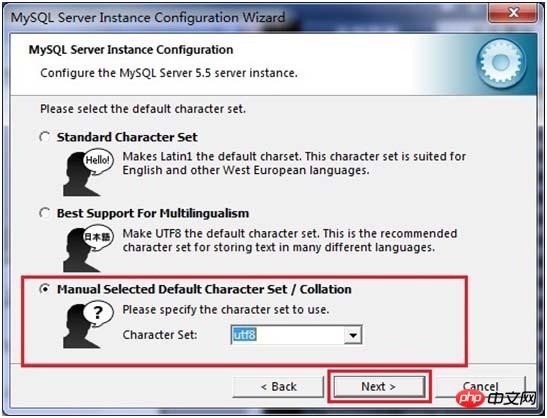
In the opened character encoding page, set the character encoding to be used by mysql. The first is Western encoding, the second is multi-byte universal utf8 encoding, and the third is manual. We choose utf- 8. If the UTF-8 encoding is not selected here, garbled characters will appear when using JDBC to connect to the database. At that time, you need to add the following code "useUnicode=true&characterEncoding=UTF-8" to solve the problem. The garbled code problem is set to UTF-8 encoding for future convenience. However, there is a problem, that is, when using which console to insert Chinese characters, an error will be reported. When querying a table with Chinese characters, the Chinese characters cannot be displayed. The problem needs to be in each console. After entering MySQL for the first time, set a system parameter "set names gbk" to solve the problem. Then click "next" to continue the configuration, as shown in the figure:
In the page that opens, choose whether to install mysql as a windows service, you can also specify the Service Name (service identification name), and whether to add the bin directory of mysql to the Windows PATH (after adding it, you can directly use the files under the bin, Instead of pointing out the directory name, such as connection, "mysql–u username -p password;" is enough. Click "next" to continue the configuration, as shown in the figure:

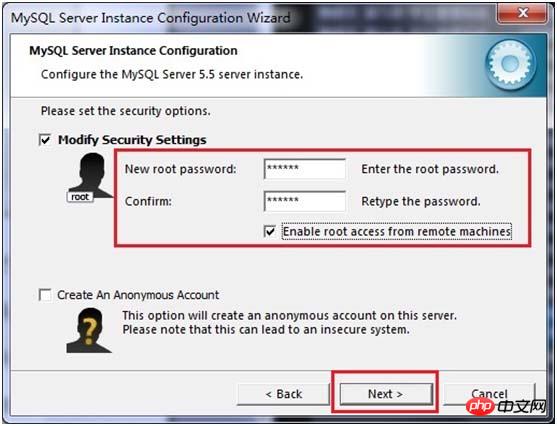
# #In the page that opens, set whether you want to modify the password of the default root user (super administrator) (default is empty), "New root password". If you want to modify it, fill in the new password here and enable root remote access. function, do not create anonymous users, click "next" to continue configuration, as shown in the figure:
All configuration operations have been completed here, click the Execute button to execute Configuration, as shown in the figure:

After a few minutes, the following prompt interface appears, which means that the MySQL configuration has been completed, and a success message is prompted .

Start the mysql database in the service, and enter "mysql -h localhost -u root -p" or "mysql -h localhost -uroot -p password" in the command window , then enter the user's password in the prompt that appears, as shown in the figure:

PHP environment installation:
A. Install Apache
B. Install PHP (just unzip the compressed package to the corresponding location)
C, PHP configuration
Rename php.ini-dist to php.ini Modify 486 and extension_dir = "D:/php-5.2.6/ext"
D. Configure the Apache configuration file httpd.conf
#加载PHP模块
LoadModule php5_module "D:/php-5.2.6/php5apache2_2.dll"
#PHP配置文件所在位置
PHPIniDir "D:/php-5.2.6"
#哪些类型的文件将交由PHP引擎处理
AddType application/x-httpd-php .php
E、重启Apache
修改httpd.conf配置文件
a)修改第177行重新设置文档根目录
DocumentRoot "D:/ftp/Public/www"
b)修改第244行将网站目录与文档根目录设为一致
<Directory "D:/ftp/Public/www">
c)修改第187行设置网站根目录访问权限
<Directory />
Options FollowSymLinks
AllowOverride None
Order allow,deny
Allow from all
</Directory>
Copy after login
PHP configuration
LoadModule php5_module "D:\Program Files (x86)\Apache Software Foundation\php5.2.6\php5apache2_2.dll"PHPIniDir "D:\Program Files (x86)\Apache Software Foundation \php5.2.6"AddType application/x-httpd-php .phpThis is the installation. It is quite simple, but there are a lot of steps and I am exhausted. If you have any questions, please let me know. Related recommendations:
Configure your own WAMP environment, extend the oracle function library oci
Wamp environment installation memcached specific operations
Installation and testing of WAMP environment


![[Web front-end] Node.js quick start](https://img.php.cn/upload/course/000/000/067/662b5d34ba7c0227.png)


