

This article mainly introduces the use of Qiniu cloud storage in ThinkPHP. It has certain reference value. Now I share it with you. Friends in need can refer to it

ThinkPHP development --Use Qiniu Cloud Storage
Qiniu Cloud Storage is one of the thinkphp storage type options. How to use it? Okay, let’s not get too far. The following is a detailed introduction to how to use it
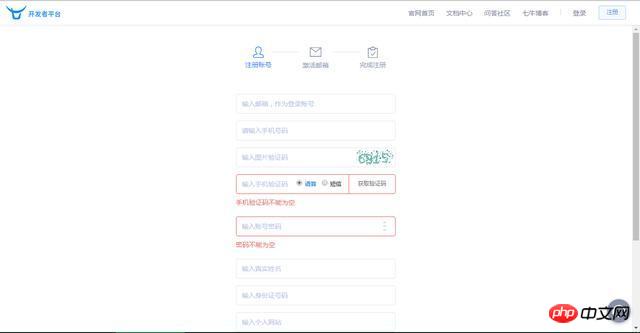
The first thing is to register a Qiniu Cloud Storage. Niu Account
ThinkPHP Development--Use Qiniu Cloud Storage
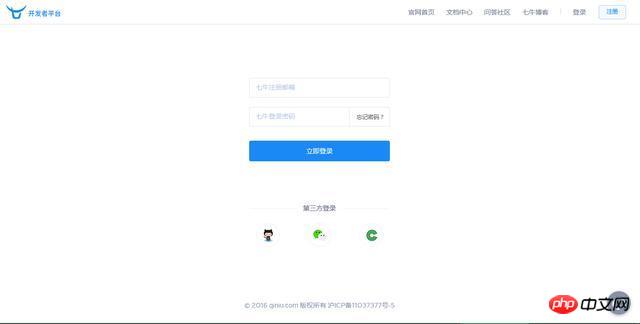
and then log in
ThinkPHP Development--Use Qiniu Cloud Storage
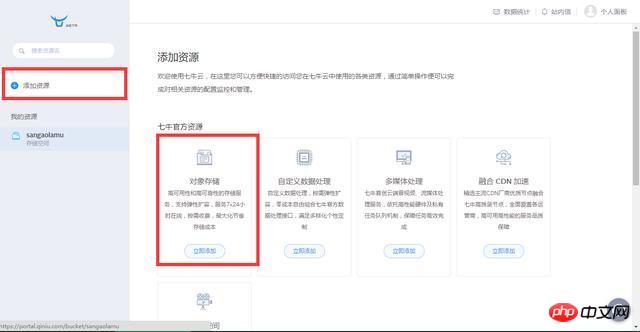
Then select add resources and select object storage
ThinkPHP Development--Use Qiniu Cloud Storage
ThinkPHP development--using Qiniu Cloud Storage
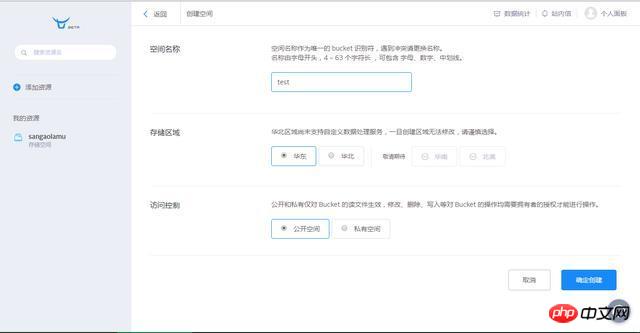
Then fill in the space name (i.e. bucket, this name will be used later), access control For public access (select public access for ease of operation, of course you can also select private, but authorization is required when requesting resources), confirm creation.
Enter the resource you just created and record the domain name
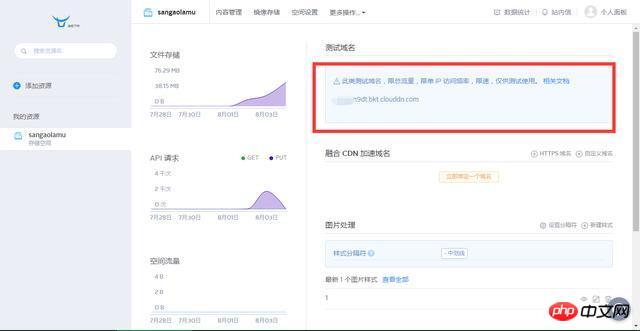
ThinkPHP development--use Qiniu Cloud Storage
Select in the personal panel Key Management Here you can get your AccessKey and SecretKey. The preparations are done, the following is the specific configuration and code implementation.
Make the following configuration in the configuration file config.php
'config_qiniu' => array( 'accessKey' => '', //这里填七牛AK 'secretKey' => '', //这里填七牛SK 'domain' => '',//这里是域名 'bucket' => 'sangaolamu'//这里是七牛中的“空间” ), 'config' => array( 'maxSize' => 5*1024*1024, 'rootPath' => './Uploads/', 'savePath' => '', 'saveName' => array('uniqid',''), 'exts' => array('jpg', 'gif', 'png', 'jpeg'), 'autoSub' => true, 'subName' => array('date','Ymd'), ), //然后在需要调用上传的地方将原来上传到本地代码片段修改为以下代码 $config = C('config'); $config_qiniu = C('config_qiniu'); $upload = new ThinkUpload($config,'Qiniu',$config_qiniu); $info = $upload->upload();
$info is the information returned after uploading, where url is the address of the file, in the form of [url] => ; http://ob9pbn9dt.bkt.clouddn.com/20160802_57a05d764e1f4.jpg, save this field, and access this address when accessing later. At this point, the file has been uploaded to Qiniu Cloud for storage. I will give examples of how to delete and other operations later.
The above is the entire content of this article. I hope it will be helpful to everyone's study. For more related content, please pay attention to the PHP Chinese website!
Related recommendations:
Qiniu integrates PHP to upload files,
##
The above is the detailed content of Using Qiniu Cloud Storage in ThinkPHP. For more information, please follow other related articles on the PHP Chinese website!
 Which one is easier, thinkphp or laravel?
 How is the performance of thinkphp?
 What to do if the computer has no sound
 WiFi is connected but there is an exclamation mark
 How to solve the problem that the device manager cannot be opened
 How to update graphics card driver
 What is disk quota
 How to solve stackoverflow error


![[Web front-end] Node.js quick start](https://img.php.cn/upload/course/000/000/067/662b5d34ba7c0227.png)


