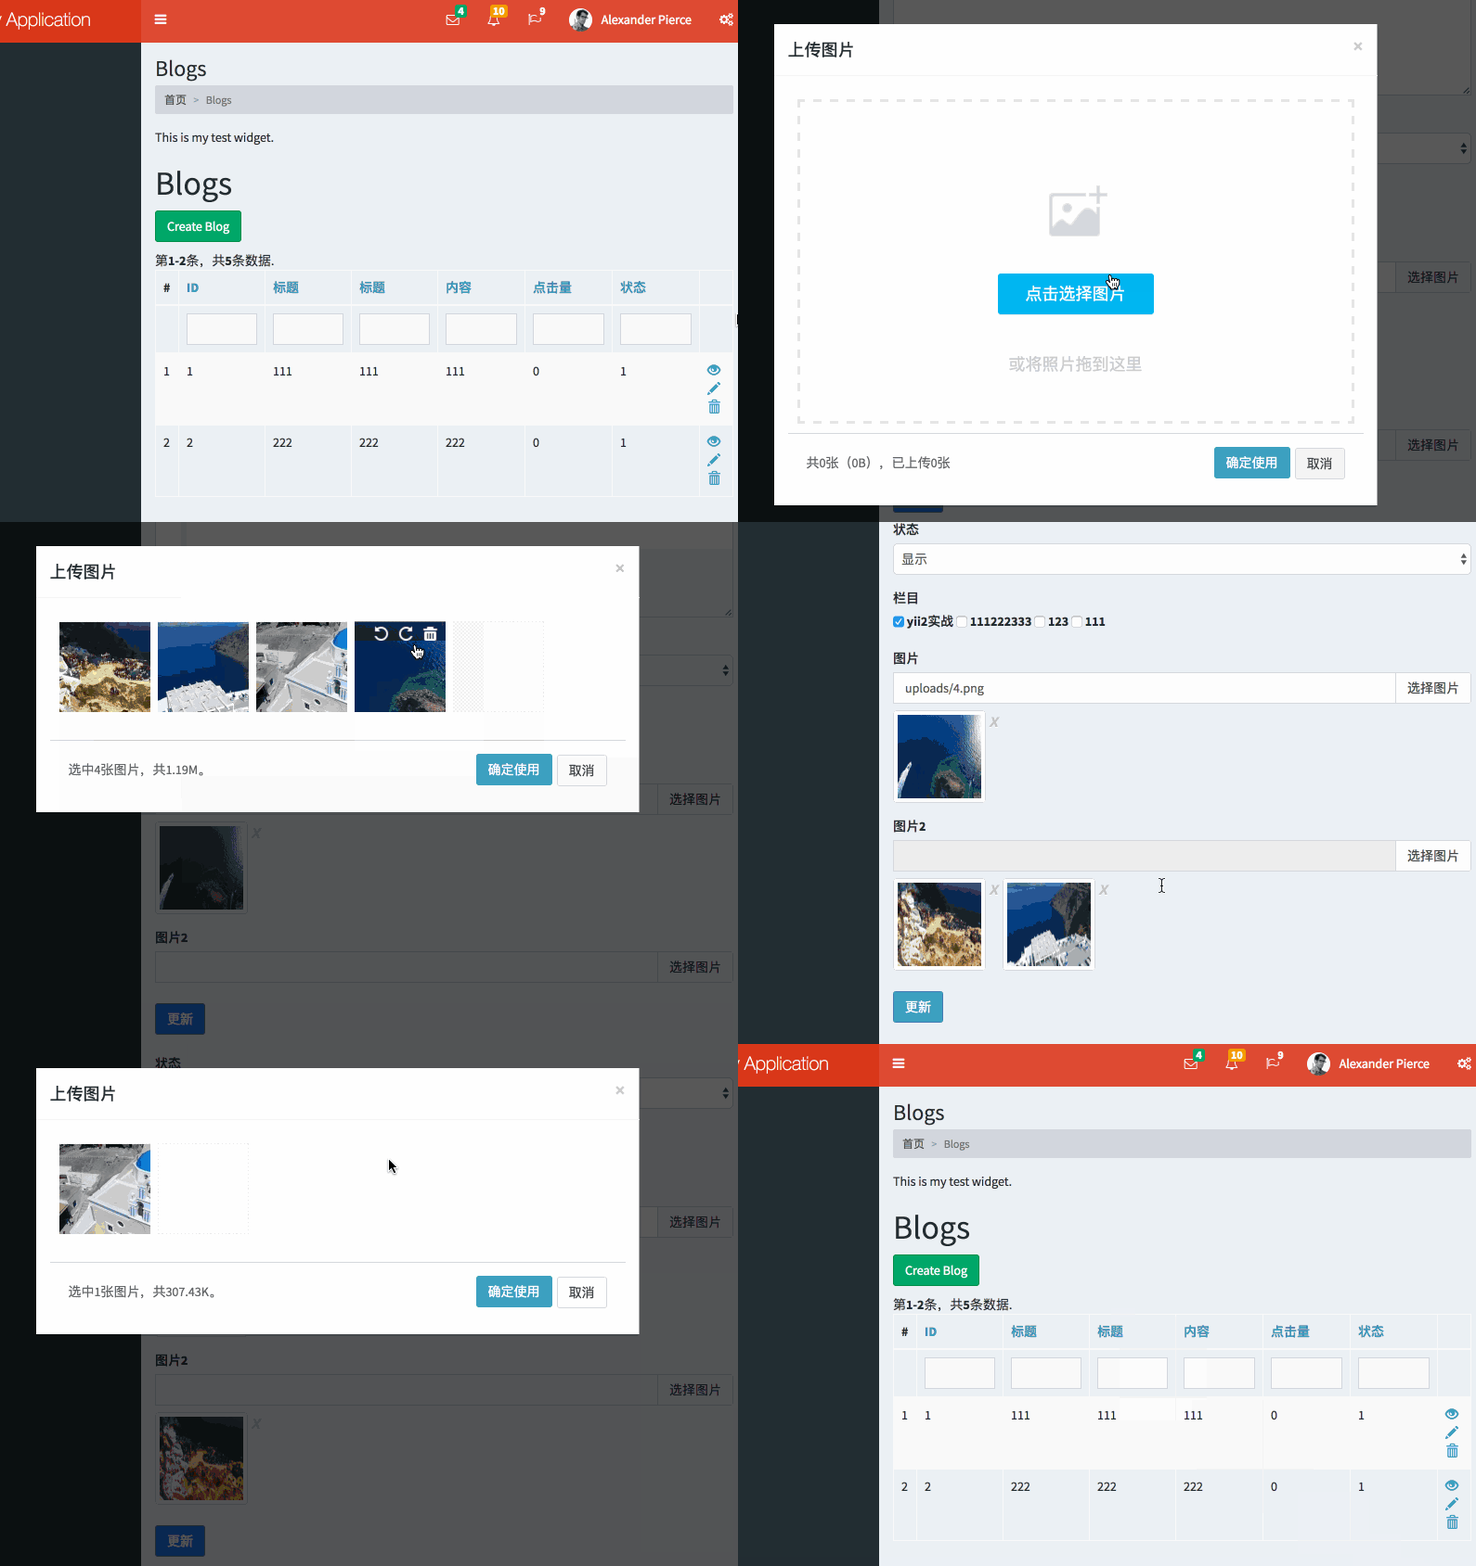
This article mainly introduces the practical project of using webuploader to implement image upload in yii2. It has certain reference value. Interested students can learn about it.
Image uploading is almost a must-have for the application. It is also mentioned above. I made a detailed description of kartik's fileinput, but many people reported various problems. Below, I wrote a separate component for the use of webuploader. This component can better handle a series of problems caused by Yii2 during the image upload process. It currently supports mixed uploads of multiple images, multiple fields, and multiple modals.
Before the introduction, let’s demonstrate the effect.

Installation
It is recommended to use composer for installation
$ php composer.phar require bailangzhan/yii2-webuploader dev-master
Use
params.php or params-local.php to add webuploader and domain configuration items
// 图片服务器的域名设置,拼接保存在数据库中的相对地址,可通过web进行展示
'domain' => 'http://blog.m/',
'webuploader' => [
  // 后端处理图片的地址,value 是相对的地址
  'uploadUrl' => 'blog/upload',
  // 多文件分隔符
  'delimiter' => ',',
  // 基本配置
  'baseConfig' => [
    'defaultImage' => 'http://img1.imgtn.bdimg.com/it/u=2056478505,162569476&fm=26&gp=0.jpg',
    'disableGlobalDnd' => true,
    'accept' => [
      'title' => 'Images',
      'extensions' => 'gif,jpg,jpeg,bmp,png',
      'mimeTypes' => 'image/*',
    ],
    'pick' => [
      'multiple' => false,
    ],
  ],
],
webuploader['baseConfig'] Refer to the official webuploader parameter description
View file
Single image
<?php echo $form->field($model, 'file')->widget('manks\FileInput', [ ]); ?>
Multiple pictures
<?php
echo $form->field($model, 'file2')->widget('manks\FileInput', [
'clientOptions' => [
'pick' => [
'multiple' => true,
],
// 'server' => Url::to('upload/u2'),
// 'accept' => [
// 'extensions' => 'png',
// ],
],
]); ?>The address of the controller can be in params.php or params-local Configure Yii::$app->params['webuploader']['uploadUrl'] in .php, or configure the server item in clientOptions. The data format that the controller needs to return is as follows
// 错误时
{"code": 1, "msg": "error"}
// 正确时, 其中 attachment 指的是保存在数据库中的路径,url 是该图片在web可访问的地址
{"code": 0, "url": "http://domain/图片地址", "attachment": "图片地址"}clientOptions also refer to the official parameter description of webuploader
Note
If it is a modified multi-image operation, be sure to ensure $model->file = 'src1,src2,src3,...'; or $model->file = ['src1 ', 'src2'. 'src3', ...];
The above is the entire content of this article. I hope it will be helpful to everyone's study. For more related content, please pay attention to the PHP Chinese website!
Related recommendations:
About the multi-level linkage drop-down menu implemented by Yii
yii2 implements paging and paging with search Function
Code about Yii2.0 multi-file upload
##
The above is the detailed content of About the code for using webuploader to upload images in yii2. For more information, please follow other related articles on the PHP Chinese website!


