
This tutorial is to share with friends of Script Home how to use PS to create a portrait of an outdoor scene of green trees. The tutorial is relatively basic. The portrait created is very beautiful and not very difficult. It is worth learning by everyone. I recommend it to Script Home. Friends who like it can refer to this article and take a look.
Today, the editor will introduce to you how to adjust the green tree exterior portrait in PS. The main method is to adjust the color and tone commands for targeted color adjustment. Come and take a look!
1. Material picture
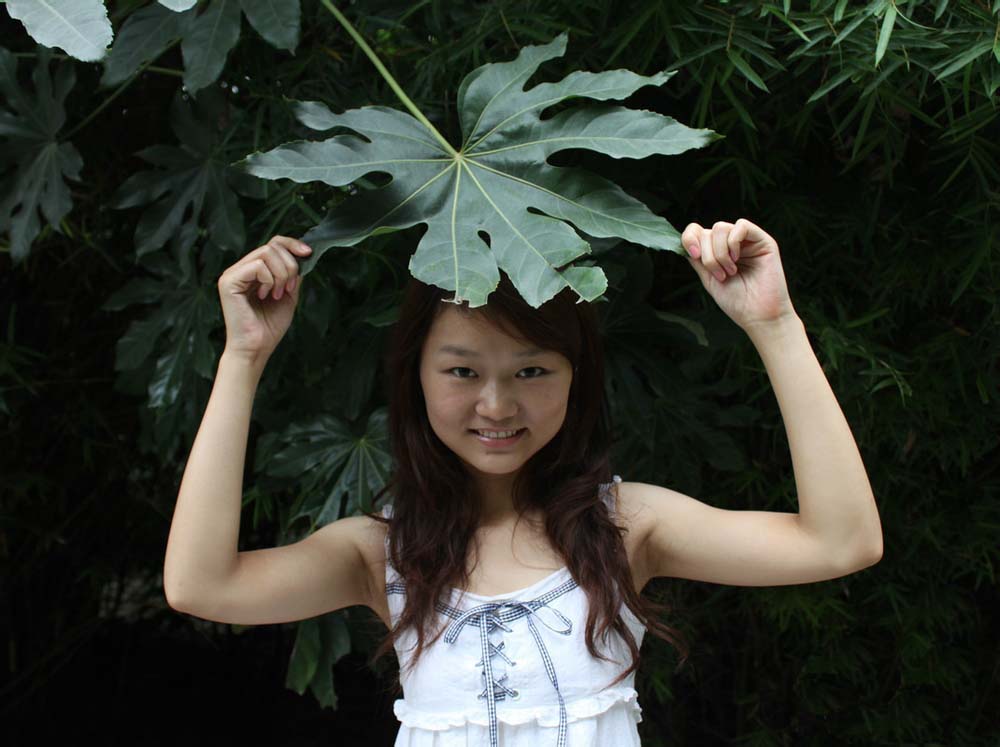
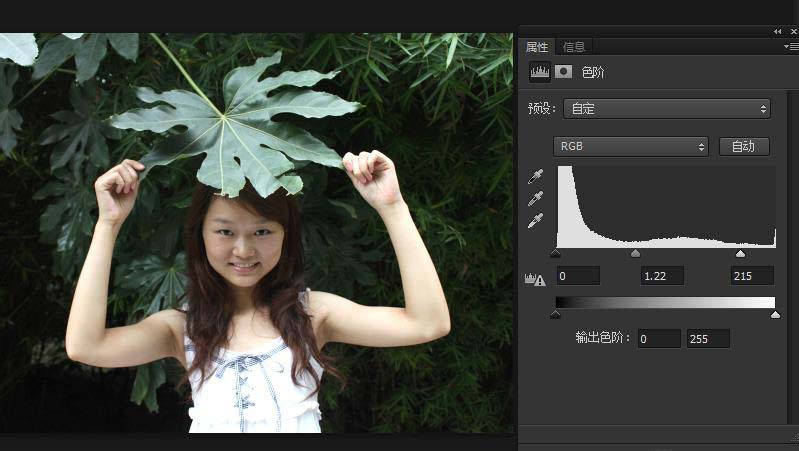
2. The picture is too dark, open"Adjustment"---> "Levels" Options
Settings: 0 1.22 215
The picture is brightened

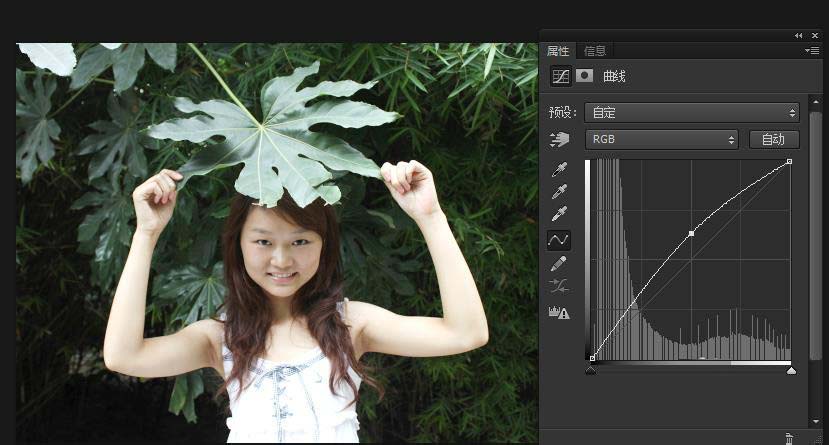
3. Open the adjustment again ---> "Curve"Options
Settings: Input 128 Output 162

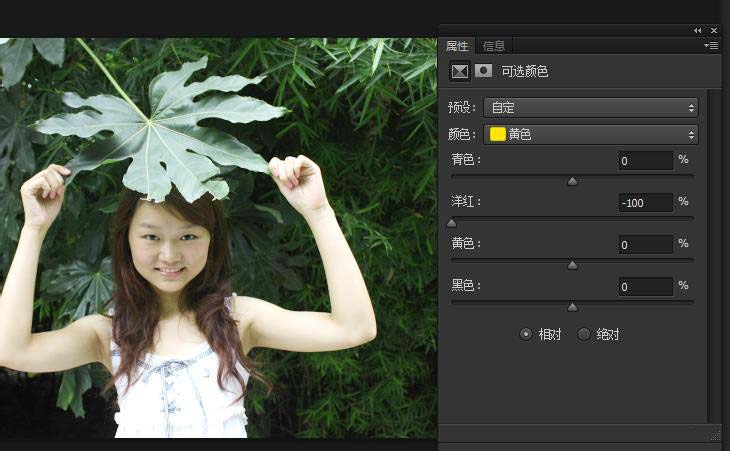
4. Open the adjustment----> "Optional colors" option
Color selection For yellow: Magenta-100%
Color selection is for green: Cyan 100% Magenta-100% Yellow 100%


5. Select "Brush Tool"
Set the foreground color to black and brush hardness 0 % Opacity 80%
Click the "Selectable Color" mask, and then paint the character


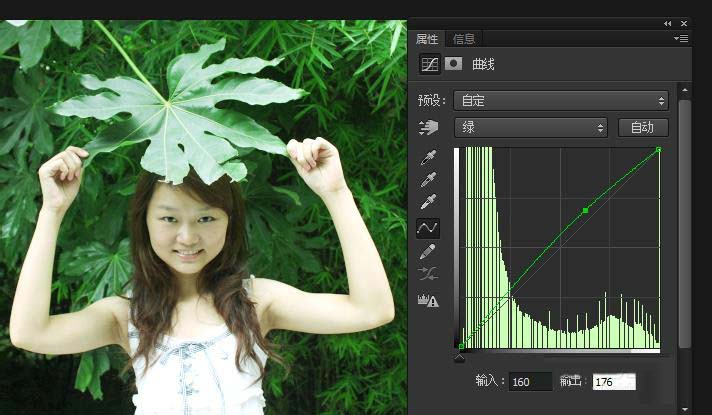 ##7, and then continue to select the red channel Channel
Input: 140 Output: 170
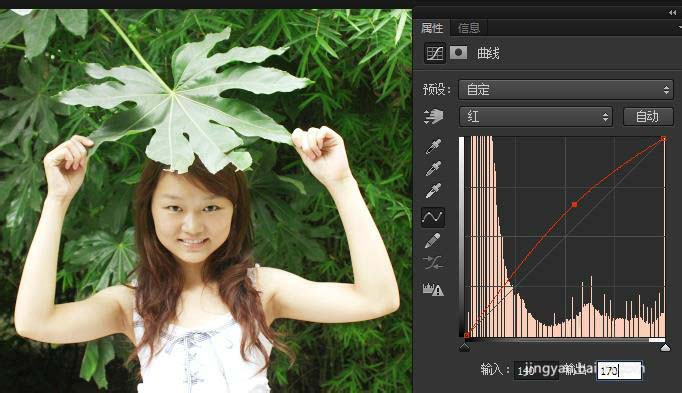
8. Refer to the method in step 5 and select the mask of "Curve 1" to apply to the character

9. Compare the two pictures
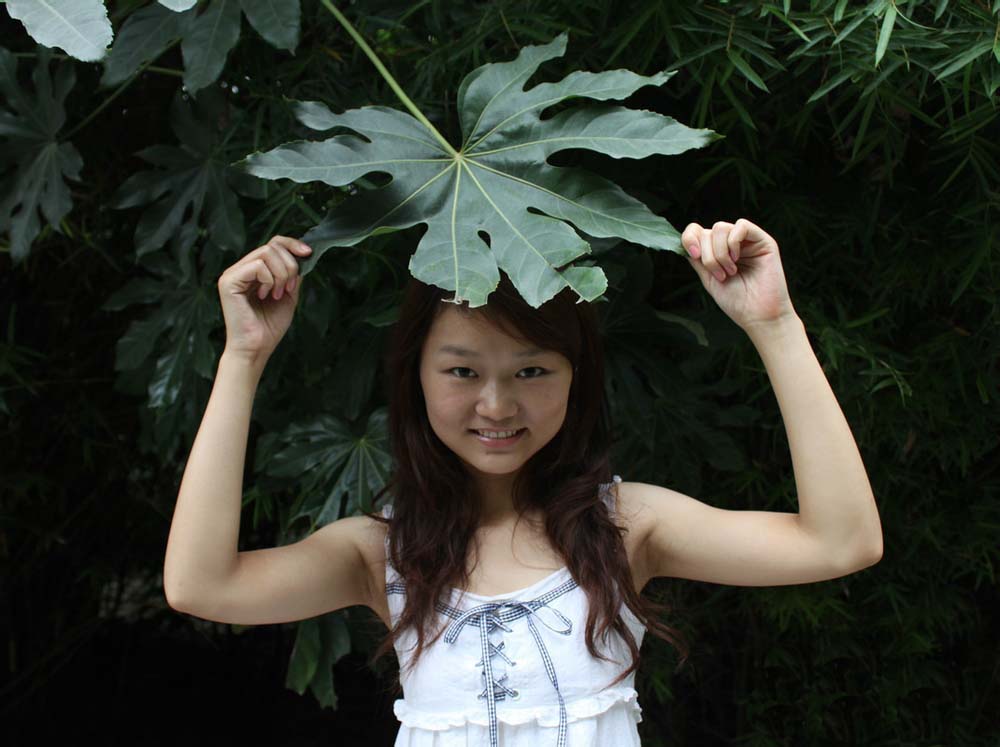

The above is an introduction to how to bring out the portrait of green trees in PS. The operation is very simple. Have you learned it? hope that it can help us!
For more related articles on how to bring out the green trees and outdoor portraits in PS, please pay attention to the PHP Chinese website!


