Correction status:qualified
Teacher's comments:


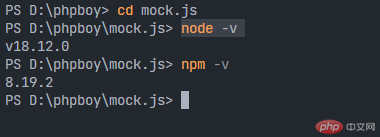
首先检查node和npm是否安装
语法如下:
node -v
npm -v

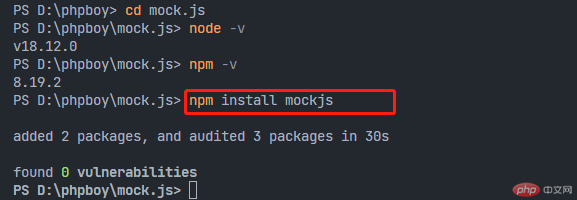
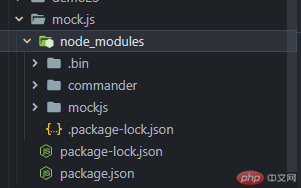
然后利用语句安装即可,语法为
npm install mockjs


1、利用@pick、@cword、@cparagraph、@image、@cname、@date来生成信息
语法如下:
const Mock = require("mockjs");
const user = {
  "id|+1": 1,
  uid: `@pick(['科幻大作','玄幻穿越','文学经典'])`,
  uname: `@cword(5)`,
  paragraph: `@cparagraph(1,3)`,
  img: `@image()`,
  username: "@cname()",
  date: `@date(yyyy年MM月dd日)`,
};
const opts = {
  "users|10": [user],
};
const data = Mock.mock(opts);
console.log(JSON.stringify(data, null, 4));
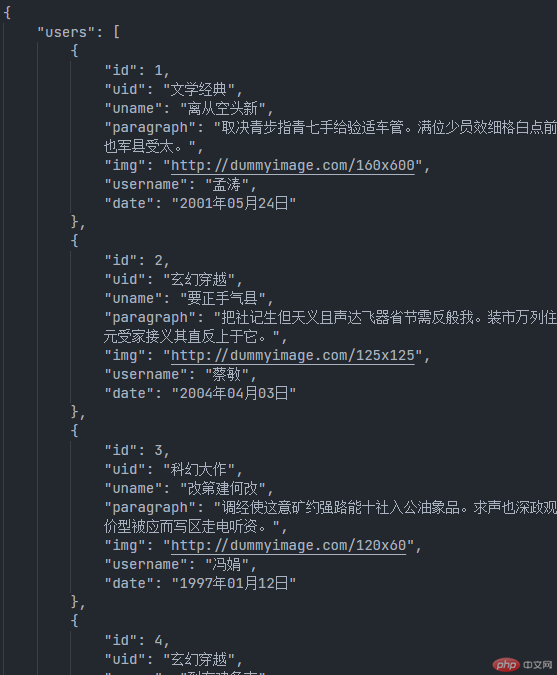
结果如下:

2、将获取的数据写入users.json文件中
3、调用数据即可
语法为
<!DOCTYPE html>
<html lang="zh-CN">
  <head>
    <meta charset="UTF-8" />
    <meta http-equiv="X-UA-Compatible" content="IE=edge" />
    <meta name="viewport" content="width=device-width, initial-scale=1.0" />
    <title>请求json接口数据</title>
  </head>
  <body>
    <!-- <button onclick="getData()">请求json接口数据</button> -->
    <table border="1">
      <caption>
        用户信息表
      </caption>
      <thead>
        <tr>
          <th>ID</th>
          <th>栏目ID</th>
          <th>标题</th>
          <th>简介</th>
          <th>图片url</th>
          <th>作者</th>
          <th>发布日期</th>
        </tr>
      </thead>
      <tbody></tbody>
    </table>
    <script>
      async function getData() {
        const response = await fetch("users.json");
        const users = await response.json();
        console.log(users);
        const tbody = document.querySelector("tbody");
        users.forEach((user) => {
          const data = `
            <tr>
                <td>${user.id}</td>
                <td>${user.uid}</td>
                <td>${user.uname}</td>
                <td>${user.paragraph}</td>
                <td>${user.img}</td>
                <td>${user.username}</td>
                <td>${user.date}</td>
            </tr>
            `;
          tbody.insertAdjacentHTML("beforeend", data);
        });
      }
      // 页面加载完成之后调用
      window.onload = getData;
    </script>
  </body>
</html>
输出结果:
