Blogger Information
Blog 50
fans 0
comment 0
visits 31587
Popular Tutorials
More>
Latest Downloads
More>
Web Effects
Website Source Code
Website Materials
Front End Template
json-server
手机用户1580651468
Original
644 people have browsed it

json-server

一 json-server

一)安装

  1. # 全局安装
  2. npm install json-server -g
  3. json-server -v
  4. # result: 0.17.1
  5. # Error: 此系统禁止运行脚本,输入这条指令提权
  6. set-executionpolicy remotesigned
  7. # MacOS不会报错,windows-powershell终端会报错

二). 配置

json-server.json

  1. {
  2. "port": 3333, // 端口号(默认3000)
  3. "watch": true, // 自动监听
  4. "static": "./src" // 静态资源目录

三). 启动服务

  1. 1. `json-server db-demo.json`

四). Mockjs 产生接口测试数据

  1. 1. 安装 Mockjs: `npm i mockjs`
  2. 2. 创建`mock-data.js`,生成商品演示数据
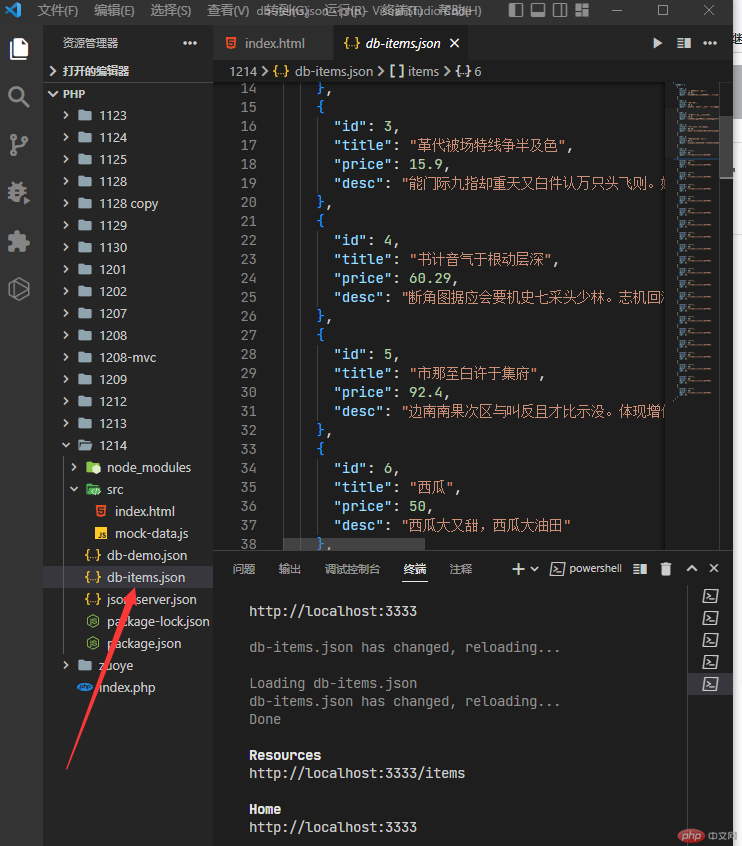
  3. 3. 将接口数据复制到`db-items.json`文件中(json 服务器)
  4. 4. 重启 json-server 服务,指定资源服务器是`db-items.json`
  5. 5. `json-server db-items.json`

二、json-server 与 mockjs

一)Mockjs生成json数据

  1. // 随机生成五个商品
  2. const Mock=require('mockjs');
  3. const item={
  4. 'id|+1': 1,
  5. title:"@ctitle(3,10)",
  6. price:"@float(5,100,1,2)",
  7. desc:"@cparagraph(2,5)"
  8. }
  9. const opts={
  10. 'items|5':[item],
  11. }
  12. const data=Mock.mock(opts)
  13. console.log(JSON.stringify(data,null,4))

二)新建json文件

三)数据渲染

Correcting teacher:PHPzPHPz

Correction status:qualified

Teacher's comments:
Statement of this Website
The copyright of this blog article belongs to the blogger. Please specify the address when reprinting! If there is any infringement or violation of the law, please contact admin@php.cn Report processing!
All comments Speak rationally on civilized internet, please comply with News Comment Service Agreement
0 comments