Correction status:qualified
Teacher's comments:


HTML <form> 元素表示文档中的一个区域,此区域包含交互控件,用于收集用户的信息和数据,向 Web 服务器提交信息。
常见的表单域如用户登录界面: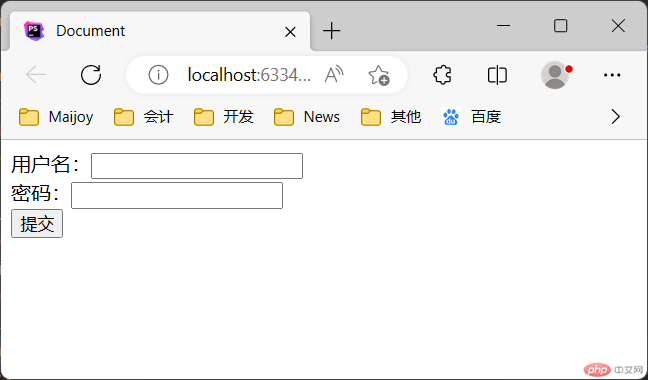
表单域由<form>标签创建,格式如下:
<form name="表单名称" method="发送数据的方法(get/post)" action="后端处理页面">表单元素(标签、输入框、按钮等)</form>
其中:
method 属性:发送表单数据的方法,常用的有 get、post:
action 属性:指定处理表单数据的后端页面(向何处发送表单数据)
<input> 表单输入元素HTML<input>元素用于为基于 Web 的表单创建交互式控件,以便接受来自用户的数据。<input>元素是目前是 HTML 中最强大、最复杂的元素之一,因为它有大量的输入类型和属性组合。
其中:
<input type="类型" name="名称" 其他可选属性 >
<input>的类型,如文本框、密码框、单选框、提交按钮等,默认为 “text”。页面显示效果:
<form><input type="text" name="userName" value="" placeholder="请输入内容"></form>
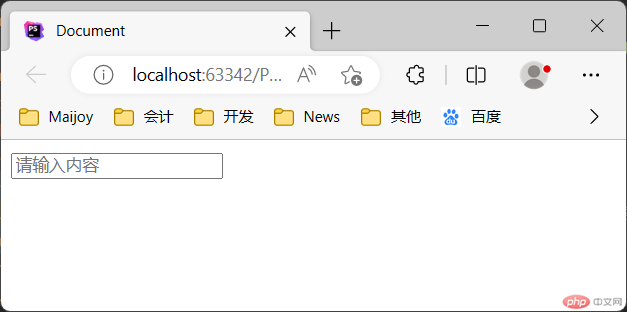
页面显示效果:
<form><input type="password" name="userpassword" value="123456"></form>
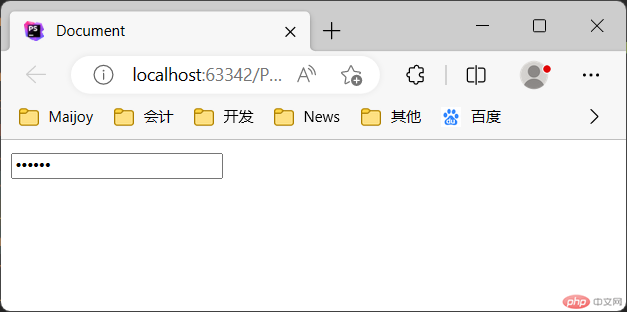
页面显示效果:
<form><input type="submit" name="submit1" value="提交"></form>
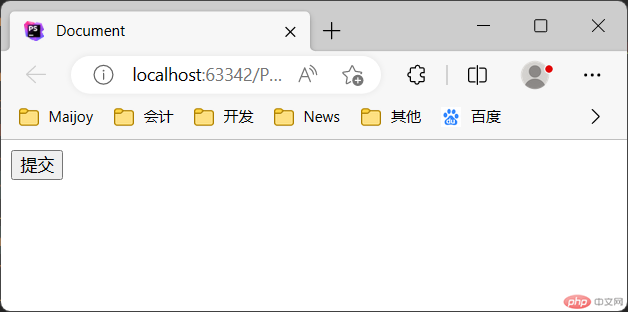
页面显示效果:
<form><input type="reset" value="重置"></form>
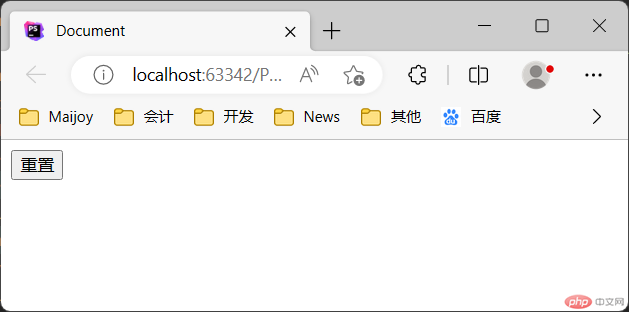
页面显示效果:
<form>男孩<input type="radio" name="gender" value="boy" checked>女孩<input type="radio" name="gender" value="girl"></form>
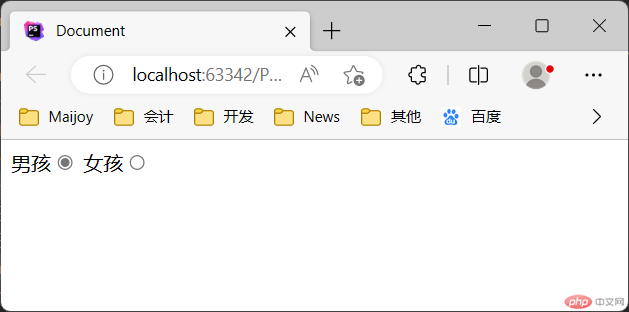
页面显示效果:
<form>爱好:<input type="checkbox" name="music" value="1" checked>音乐<input type="checkbox" name="sport" value="2">体育<input type="checkbox" name="reading" value="3">阅读</form>
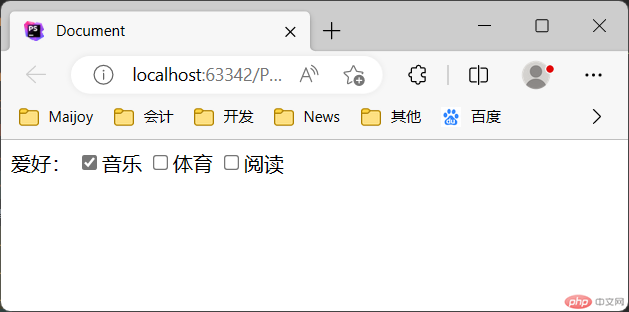
<label>标签HTML <label>元素(标签)表示用户界面中某个元素的说明。通常与<input>输入元素一起使用,为<input>定义标注。
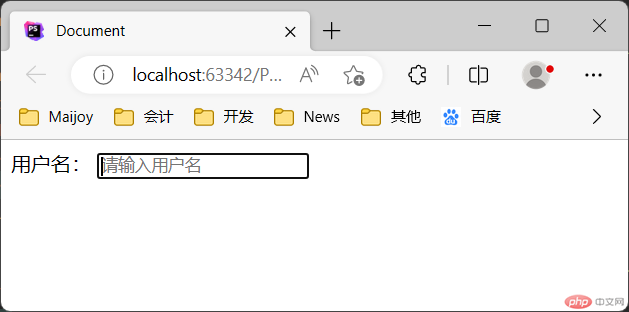
当点击标签文字是,关联的<input>元素会被激活获取焦点,就像直接点击<input>元素一样。这扩大了元素的可点击区域,让包括使用触屏设备在内的用户更容易激活这个元素。
将一个 <label> 和一个 <input> 元素匹配在一起方法有两种:
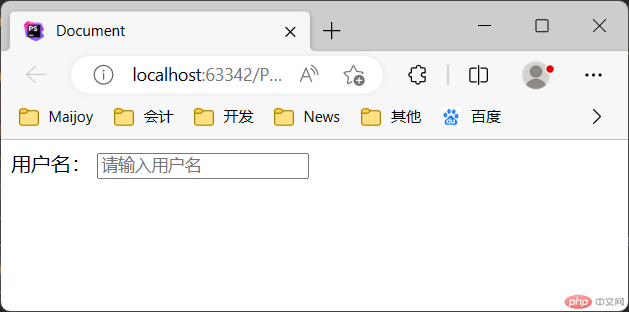
<input> 一个 id 属性。而 <label> 需要一个 for 属性,其值和 <input> 的 id 一样:页面显示效果:
<form><label for="inputText1">用户名:</label><input type="text" name="userName" id="inputText1" value="" placeholder="请输入用户名"></form>
<input> 直接放在 <label> 里,此时则不需要 for 和 id 属性,因为关联已隐含存在:页面显示效果:
<form><label>用户名:<input type="text" name="userName" value="" placeholder="请输入用户名"></label></form>
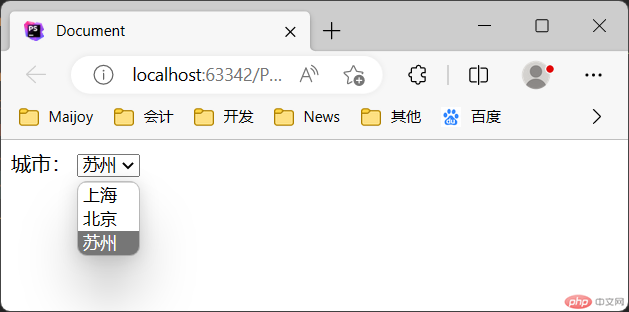
<select>下拉列表HTML <select>元素表示一个提供选项菜单的控件,可创建单选或多选菜单,<select>元素中的<option>标签用于定义列表中的可用选项。
页面显示效果:
<form><label>城市:<select name="city" id="city"><option value="shanghai">上海</option><option value="beijing">北京</option><option value="suzhou" selected>苏州</option></select></label></form>
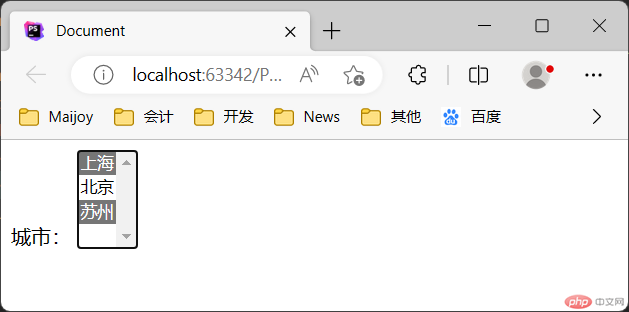
ctrl键选取多个选项)。页面显示效果:
<form><label>城市:<select name="city" id="city" multiple><option value="shanghai">上海</option><option value="beijing">北京</option><option value="suzhou" selected>苏州</option></select></label></form>
<button>按钮HTML<button>元素表示一个可点击的按钮,可以用在表单或文档其他需要使用简单标准按钮的地方。示例:
代码:
<form><button type="submit">提交</button></form>
页面显示效果: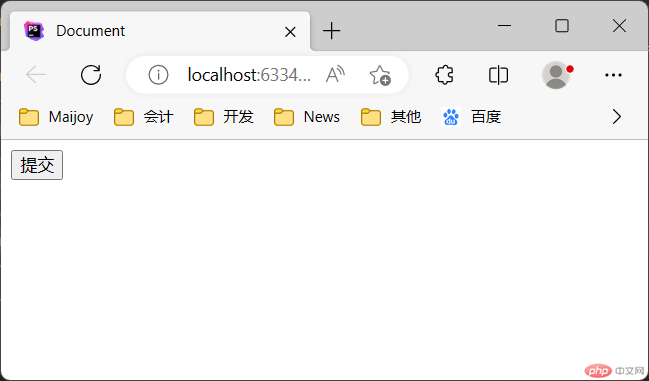
<button> 元素比 <input> 元素更容易使用样式。可以在<button> 元素内添加 HTML 内容(像 <em>、<strong> 甚至 <img>),而 <input> 只支持文本内容。
注意:在<form>表单域中使用<button>时,需要始终指定 type 值( button / submit ),因为在不同浏览器中,<button>的 type 默认值不一样。
<textarea>文本域HTML<textarea>元素表示一个多行纯文本编辑控件,当希望用户输入一段相当长的、不限格式的文本,例如评论或反馈表单中的一段意见时,这很有用。
代码:
<form><textarea name="textarea" rows="10" cols="50">Write something here</textarea></form>
页面显示效果: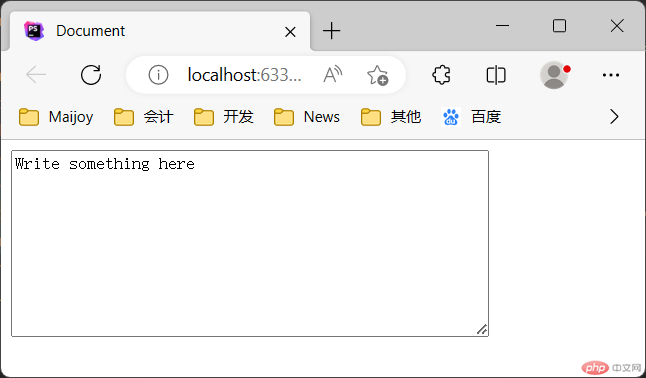
可以通过 cols 和 rows 属性来规定<textarea>的尺寸,不过更好的办法是使用 CSS 的 height 和 width 属性。
<fieldset>分组HTML <fieldset> 元素用于对表单中的控制元素进行分组。用内置的<legend>元素作为 <fieldset> 的标题。
代码:
<form action="#"><fieldset><legend>分组标题</legend><input type="radio" id="radio"><label for="radio">单选框</label></fieldset></form>
页面显示效果: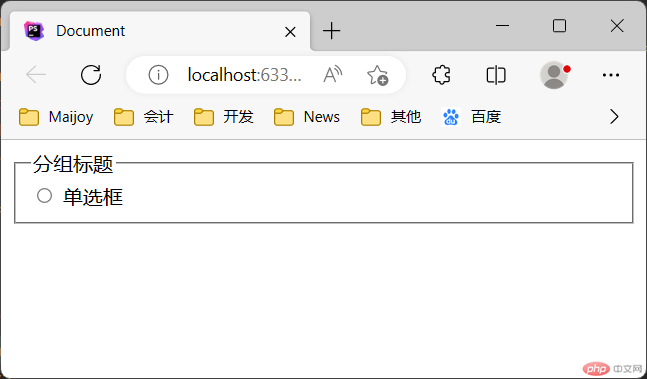
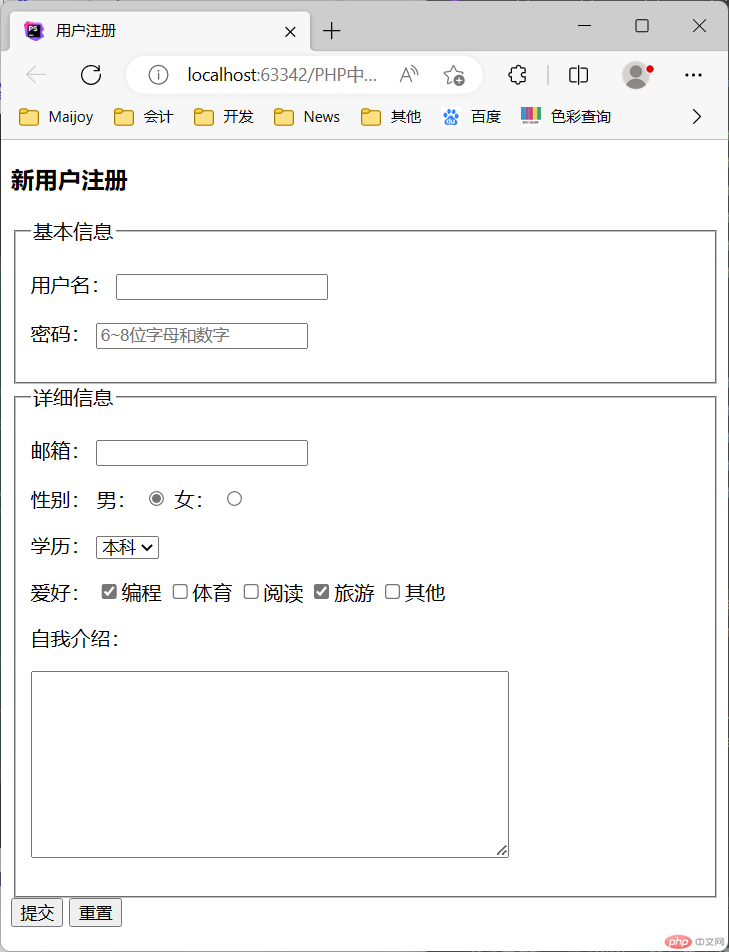
以下是应用上述知识点做的一个用户注册界面实例。
代码:
<h3>新用户注册</h3><form name="userRegister" method="post" action="#"><fieldset><legend>基本信息</legend><p><label for="userName">用户名:</label><input id="userName" type="text" required></p><p><label for="userPassword">密码:</label><input id="userPassword" type="password" placeholder="6~8位字母和数字" required></p></fieldset><fieldset><legend>详细信息</legend><p><label for="email">邮箱:</label><input id="email" type="email"></p><p>性别:<label for="male">男:</label><input name="sex" id="male" value="male" type="radio" checked><label for="female">女:</label><input name="sex" id="female" value="female" type="radio"></p><p><label for="education">学历:</label><select name="edu" id="education"><option value="1">初中</option><option value="2">高中</option><option value="3" selected>本科</option><option value="4">硕士</option><option value="5">博士</option></select></p><p>爱好:<input type="checkbox" name="program" value="1" checked>编程<input type="checkbox" name="sport" value="2">体育<input type="checkbox" name="reading" value="3">阅读<input type="checkbox" name="trip" value="4" checked>旅游<input type="checkbox" name="other" value="5">其他</p>自我介绍:<p><textarea name="textarea" rows="10" cols="50"></textarea></p></fieldset><button type="submit">提交</button><button type="reset">重置</button></form>
页面显示效果: