Correction status:qualified
Teacher's comments:


const router = createRouter({history: createWebHistory(import.meta.env.BASE_URL),routes,});
router.beforeEach( (to,from)=>{// 到达的页面console.log(to);// 从哪个页面跳转过来的console.log(from);})

router.afterEach((to,from)=>{console.log(to);console.log(from);// 获取浏览器的存储if(to.path == '/my'){// 获取用户的信息,如果没有获取到,就返回上一页const user = window.localStorage.getItem('user');if(!user){//from.path; // 上一个页面alert('请您先登录!');window.location.href = from.path;}}// window.localStorage.setItem();})

const router = createRouter({history: createWebHistory(import.meta.env.BASE_URL),routes: [{path: '/my',name: 'my',component: MyView,// 全局导航beforeEnter: (to,from)=>{// 到达的页面console.log(to);// 从哪个页面跳转过来的console.log(from);},// 子路由的path,不能在前面加反斜杠/children: [{path: 'order',name: 'my_order',component: MyOrderView,},{path: 'config',name: 'my_config',component: MyConfigView},]},})

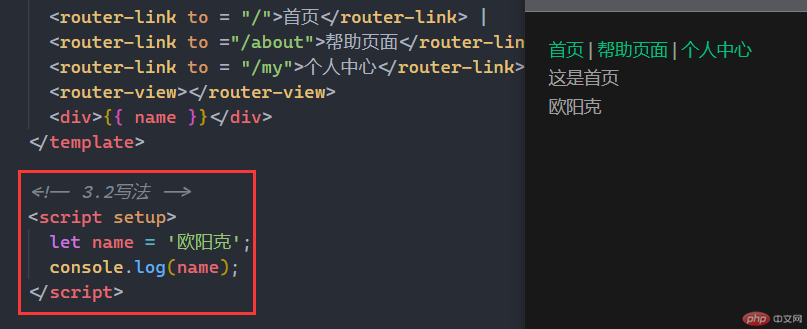
3.2写法:
<script setup>let name = '欧阳克';console.log(name);</script>

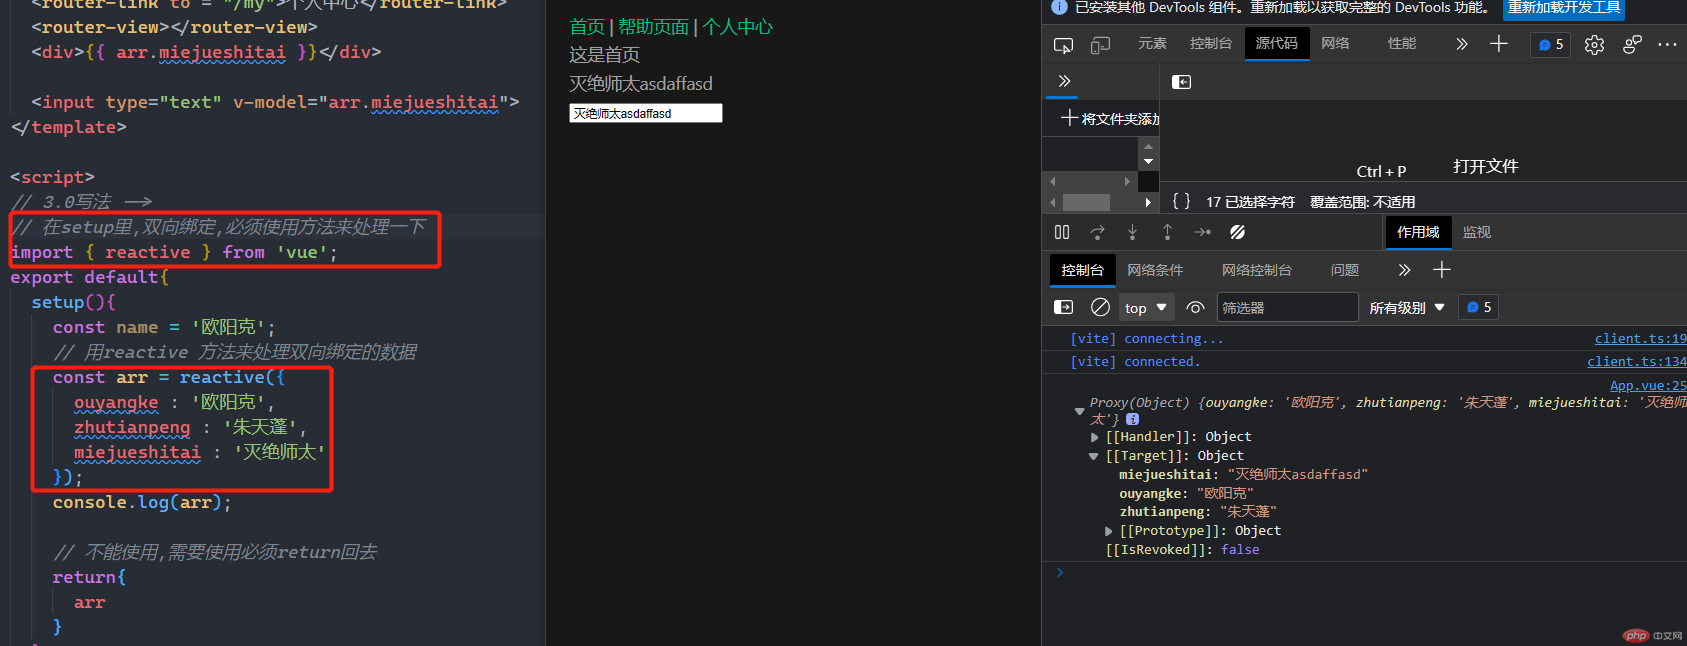
3.0写法:
<template><div>{{ arr.miejueshitai }}</div><input type="text" v-model="arr.miejueshitai"></template><script>// 在setup里,双向绑定,必须使用方法来处理一下import { reactive } from 'vue';export default{setup(){const name = '欧阳克';// 用reactive 方法来处理双向绑定的数据const arr = reactive({ouyangke : '欧阳克',zhutianpeng : '朱天蓬',miejueshitai : '灭绝师太'});console.log(arr);// 不能使用,需要使用必须return回去return{arr}}}</script>

<template><div>{{ arr.jisuan }}</div></template><script>import { computed } from 'vue';export default{setup(){const arr = reactive({num1 : 2,num2 : 5,jisuan : computed ( ()=> {return arr.num1 * arr.num2})});// 不能使用,需要使用必须return回去return{arr}}}</script>

<template><OyButton type="success">提交</OyButton></template><script setup>const props = defineProps(['size', 'type']);console.log(props.type);</script>

<template><div>{{ miejueshitai }}</div><input v-model="miejueshitai" /></template><script>import { reactive, toRefs } from 'vue';export default{setup(){const name = '欧阳克';// 用reactive 方法来处理双向绑定的数据const arr = reactive({ouyangke : '欧阳克',zhutianpeng : '朱天蓬',miejueshitai : '灭绝师太',});// 不能使用,需要使用必须return回去return{// es6的写法,展开对象...toRefs(arr)}}}</script>

<template><div>{{ num }}</div><input v-model="num" /></template><script>import { reactive, toRefs, ref } from 'vue';export default{setup(){let num = ref(10);// 不能使用,需要使用必须return回去return{// es6的写法,展开对象...toRefs(arr),num}}}</script>

<template><div>{{ num1 }}</div><input v-model="num1" /><div>{{ num2 }}</div><input v-model="num2" /></template><script>import { reactive, toRefs, ref, watch } from 'vue';export default{setup(){let num1 = ref(10);let num2 = ref(20);watch(num1, (new1,old1)=>{console.log(num1);console.log(num1.value);console.log(new1);console.log(old1);})// 不能使用,需要使用必须return回去return{// es6的写法,展开对象...toRefs(arr),num1,num2}}}</script>

| 生命周期 | 作用 | Setup生命周期 |
|---|---|---|
| beforeCreate | 在创建组件之前调用 | use setup |
| created | 组件创建完成调用 | use setup |
| beforeMount | 模板挂载之前调用 | onBeforeMount |
| mounted | 模板怪哉完成调用 | onMounted |
| beforeUpdate | 改变内容之前调用 | onBeforeUpdate |
| update | 改变内容之后调用 | onUpdate |
| beforeUnmount | 组件销毁之前调用 | onBeforeUnmount |
| unmounted | 组件销毁之后调用 | onunmounted |

2、运行:npm run dev
3、多个接口使用
<script>import axios from "axios";export default{setup(){const create = axios.create({baseURL : "https://www.php.cn/index.php/index"});create({method : "POST",url : "user/add_order",data: {uid : 100,sid : 200}}).then( (res)=>{console.log(res.request.responseText);});create({method : "POST",url : "user/get_order",data: {uid : 100,sid : 200}}).then( (res)=>{console.log(res.request.responseText);});}}</script>