


1. 写出具体步骤:
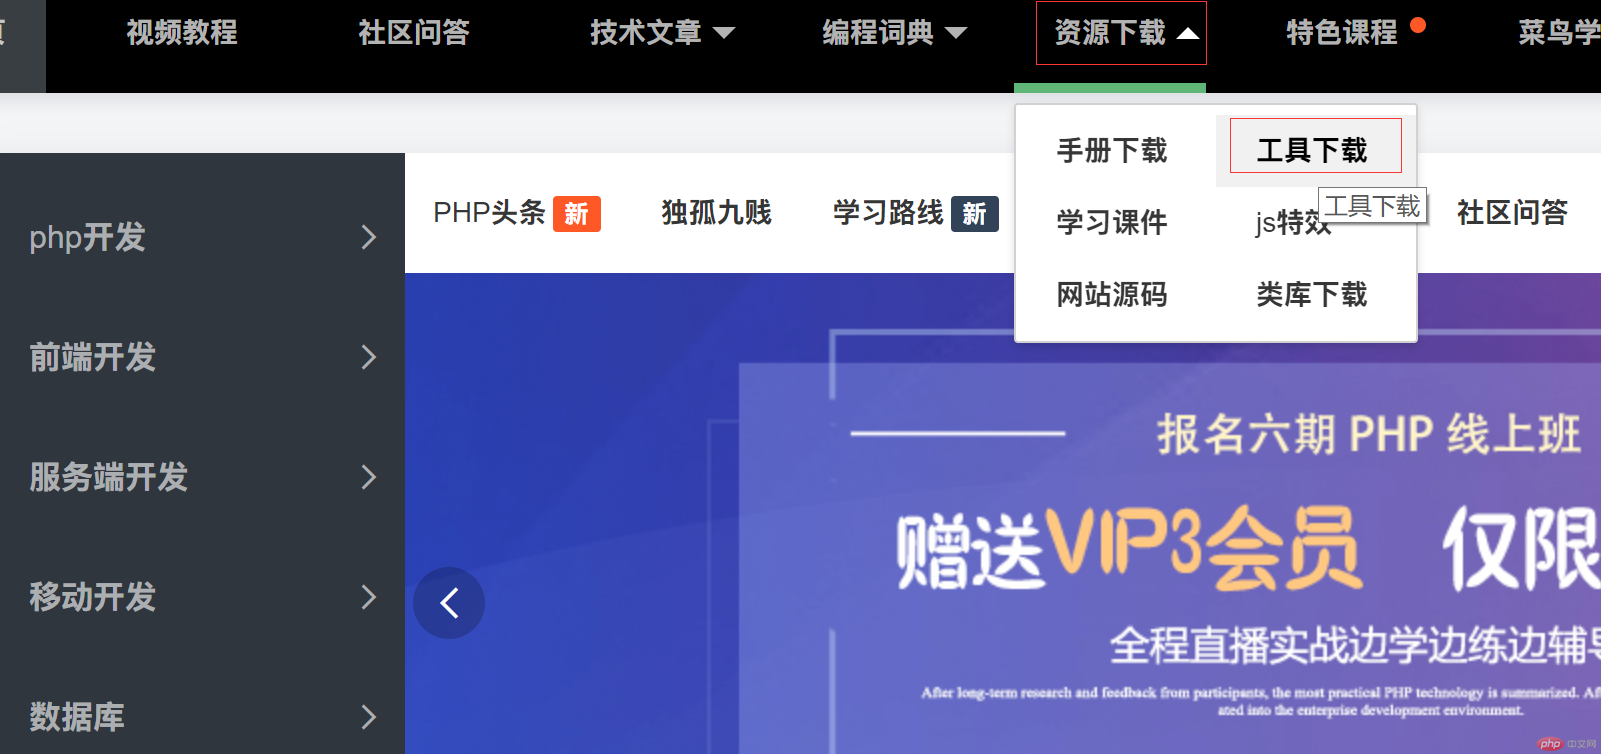
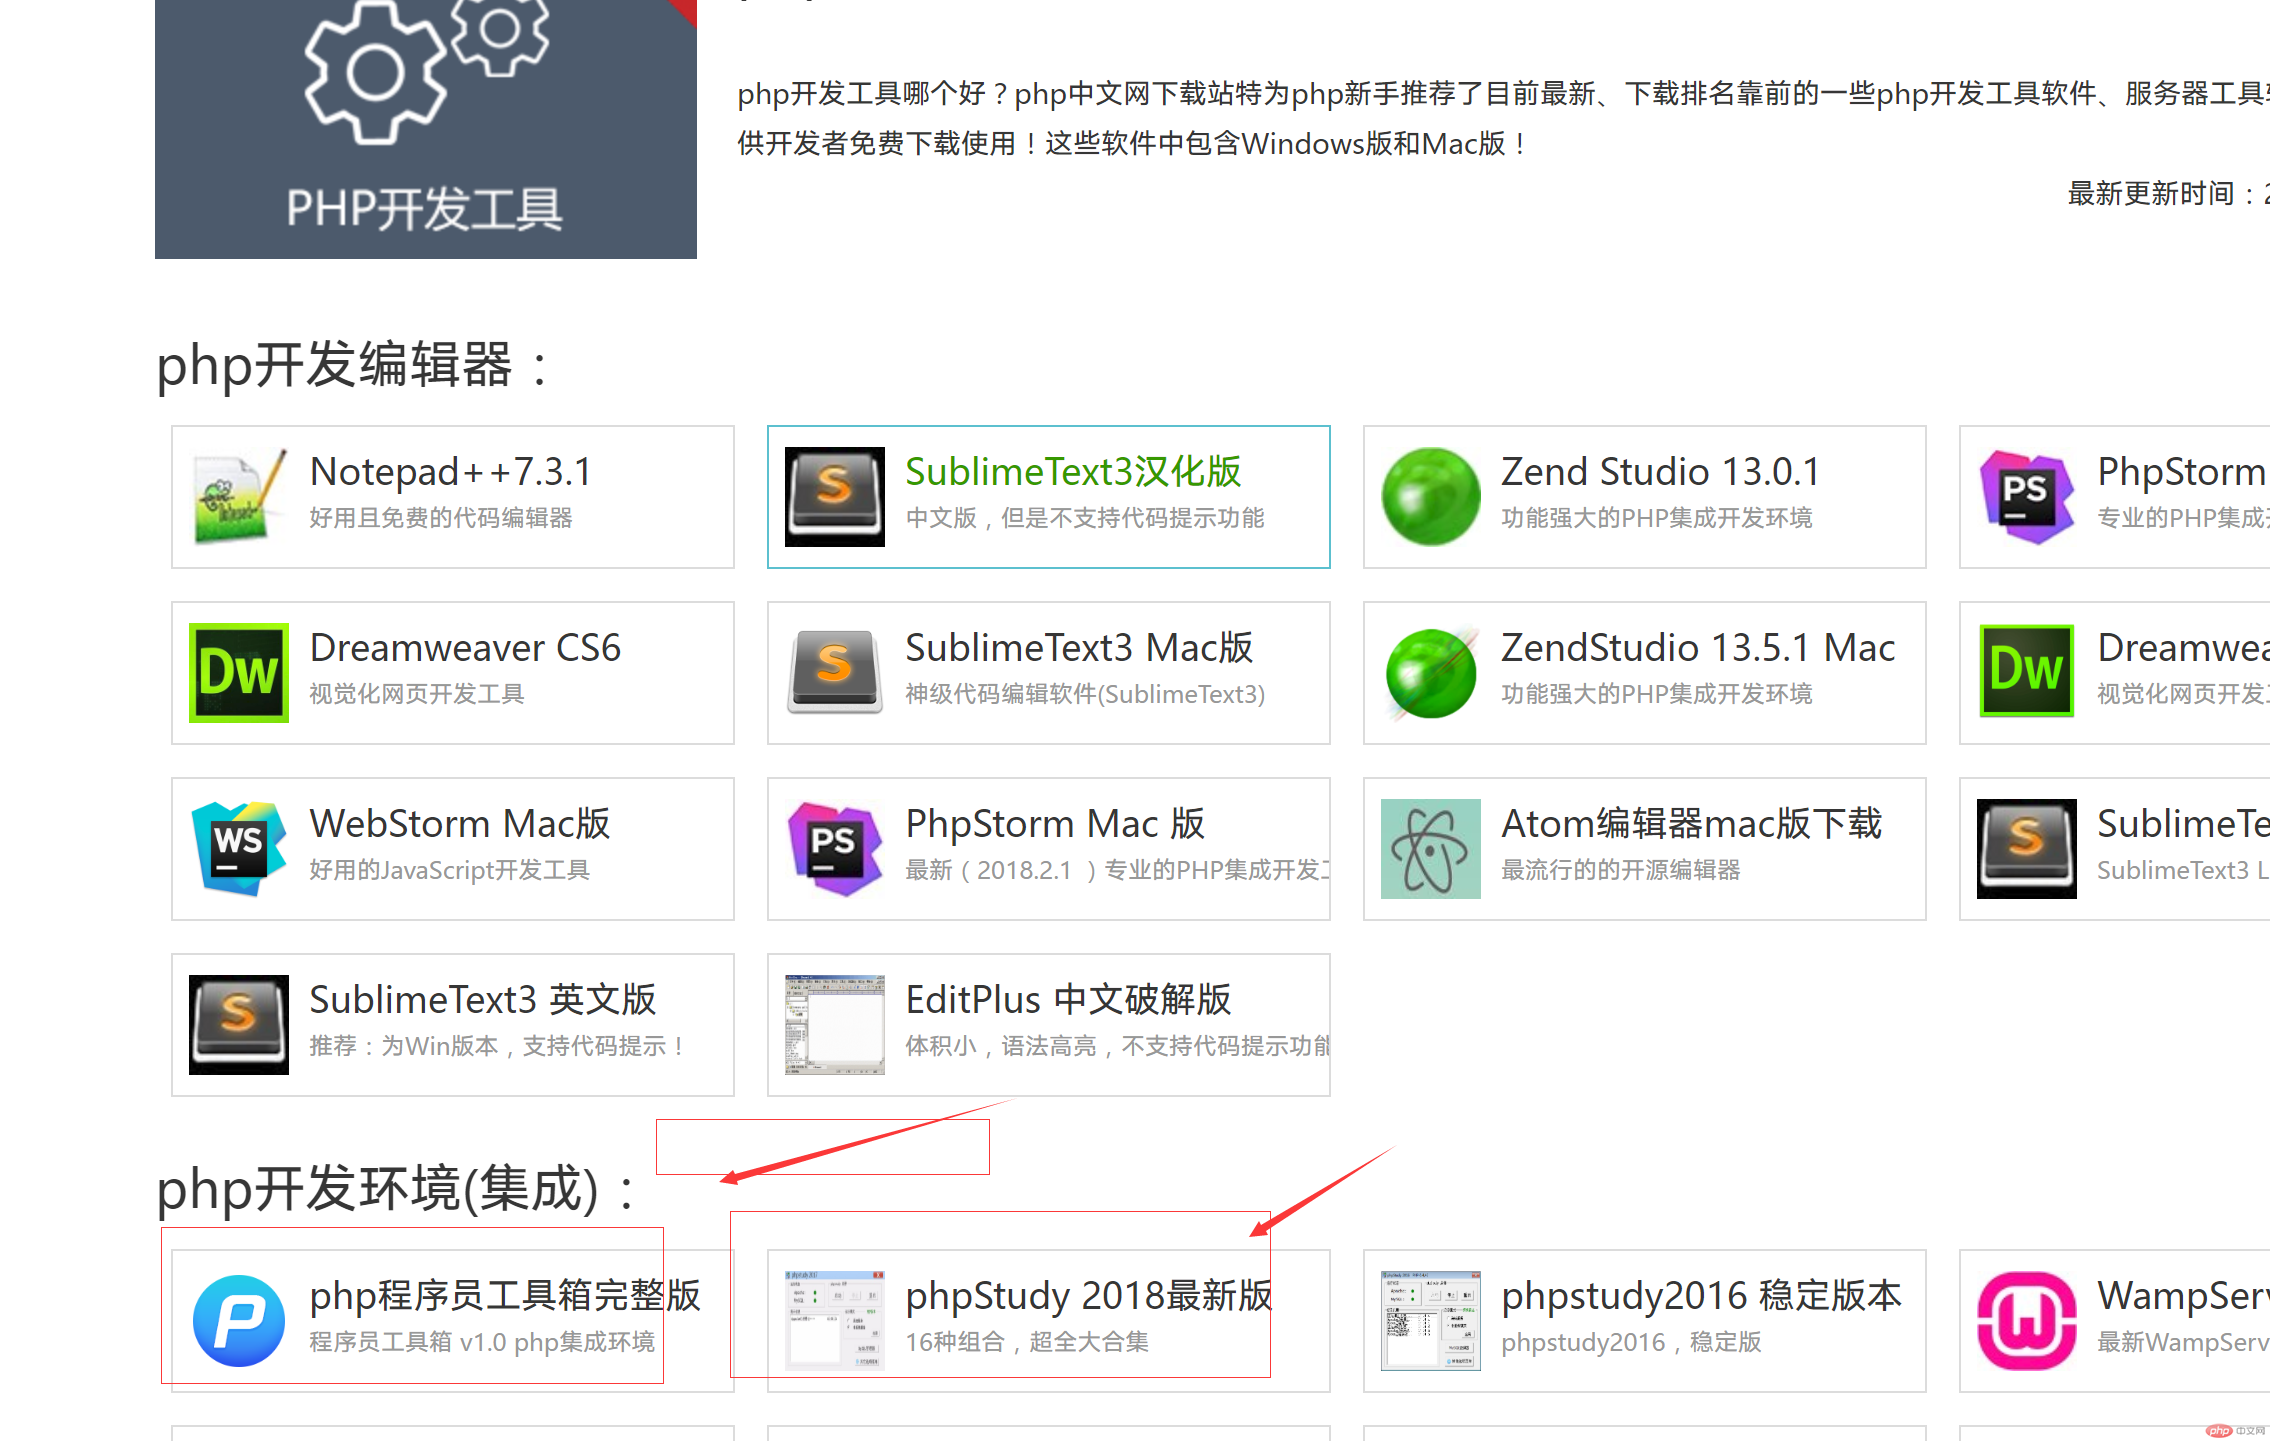
一;通过php中文网[工具下载]栏目下载所需要的phpstudy或者php程序员工具箱进行安装:一般安装在D盘: 下图为去访问和找到工具箱的截图
二;完成下载安装可以直接全部下一步来完成;
三;安装好了直接双击这个图标启动: 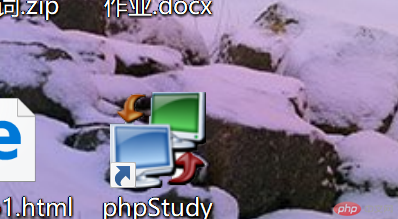 进入软件可以启动
2. 创建本地主机目录: html
通过phpstudy打开
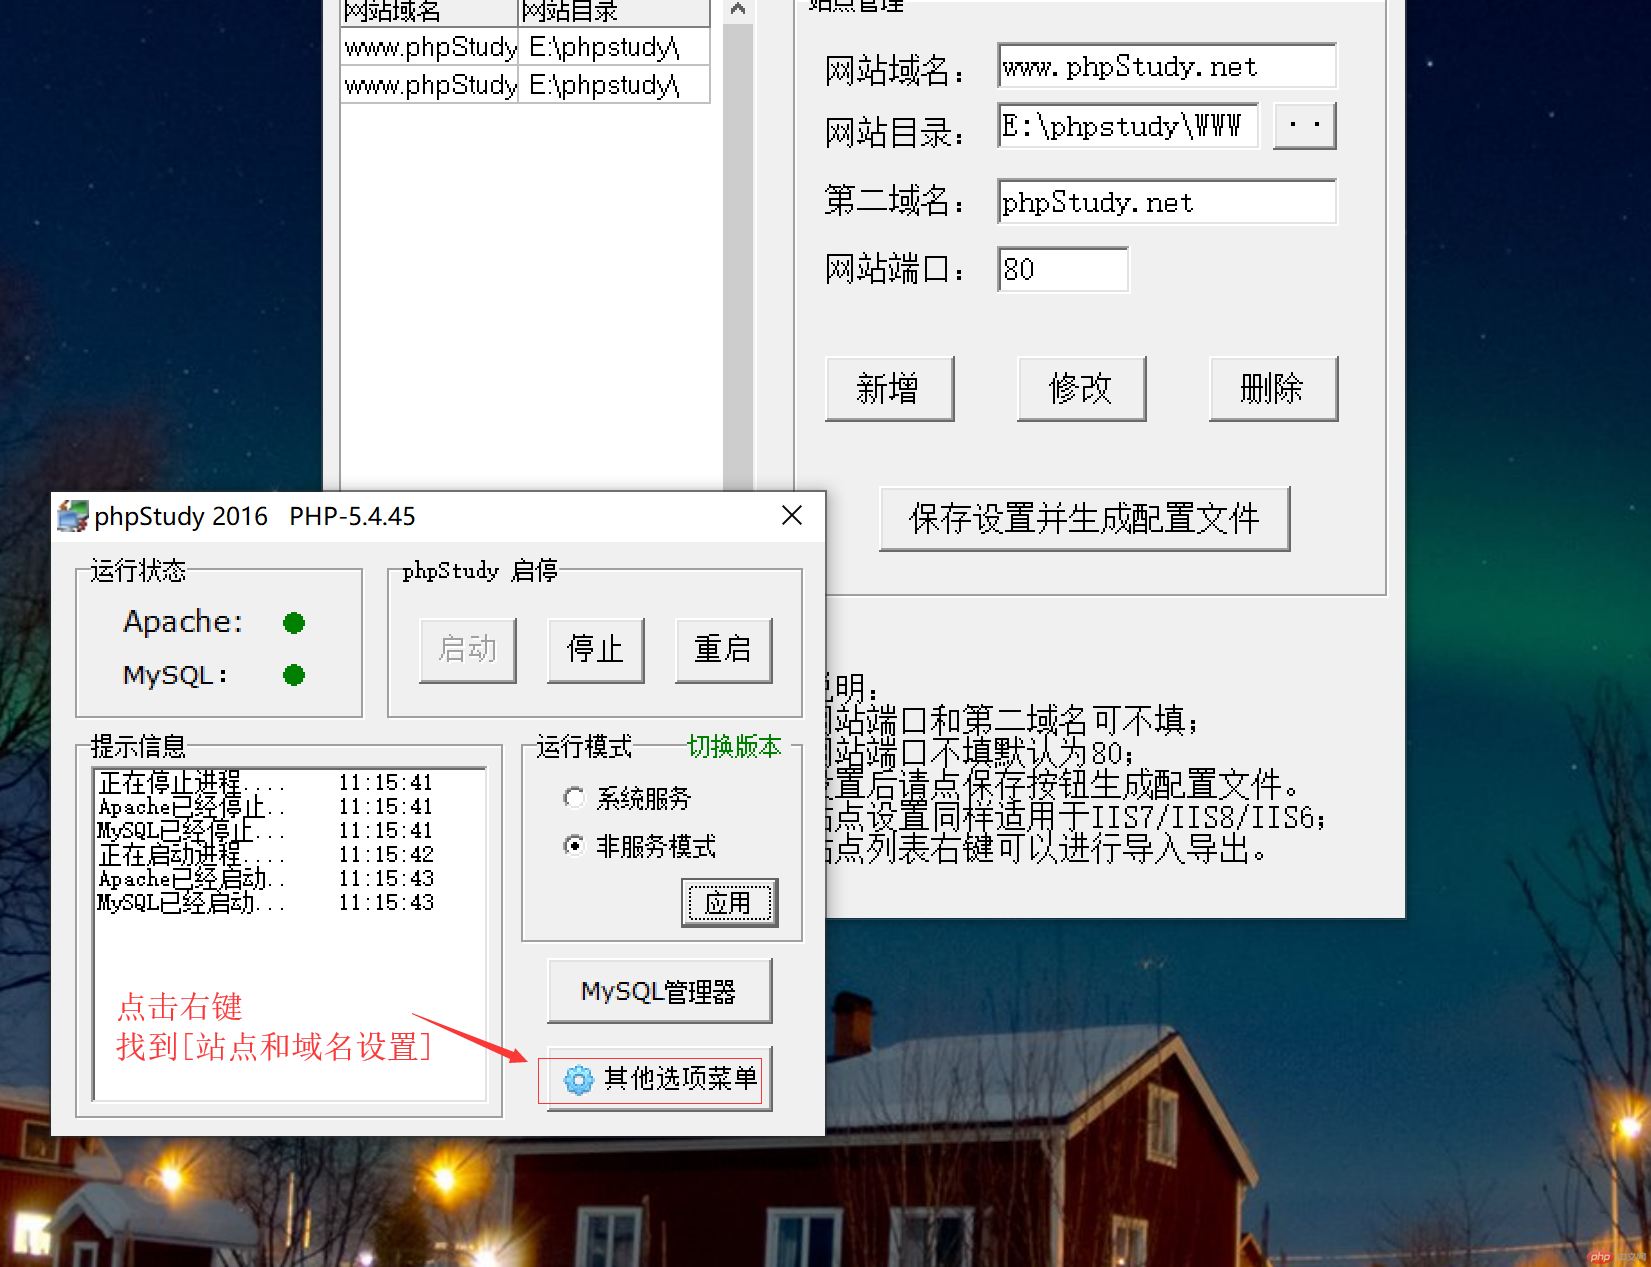
在网站域名出填写你我自己的域名:www.zx123.com 第二项选择直接在本地创建的项目或者文件夹如下图: 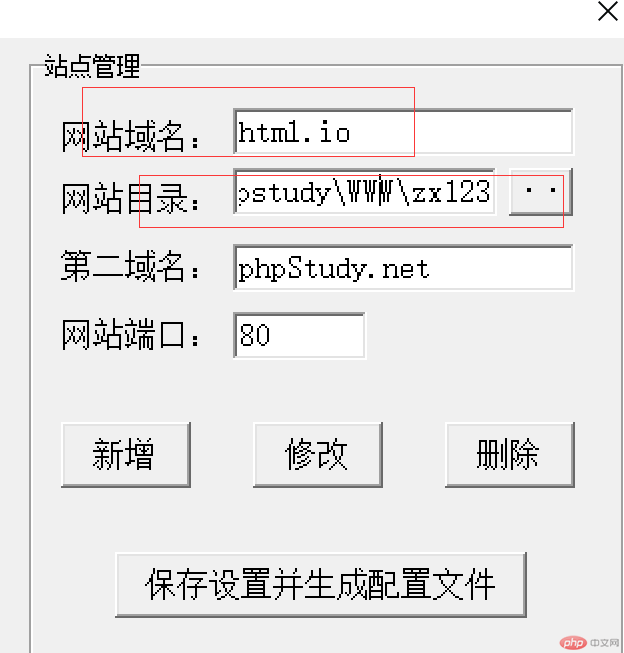 点击保存并生成配置文件 到此我的网站创建成功.
3. 创建本地域名: html.io
要怎么让我的网站通过创建的域名html.io访问到我的第一个网页:HELL WORD
第一步: 打开hosts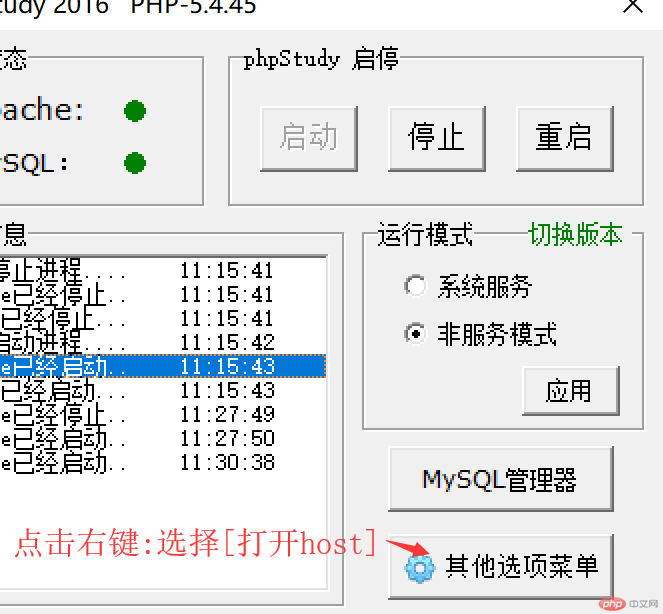
在最后一行加上我的地址:127.0.0.1 html.io
在重启一下我们的phpstudy
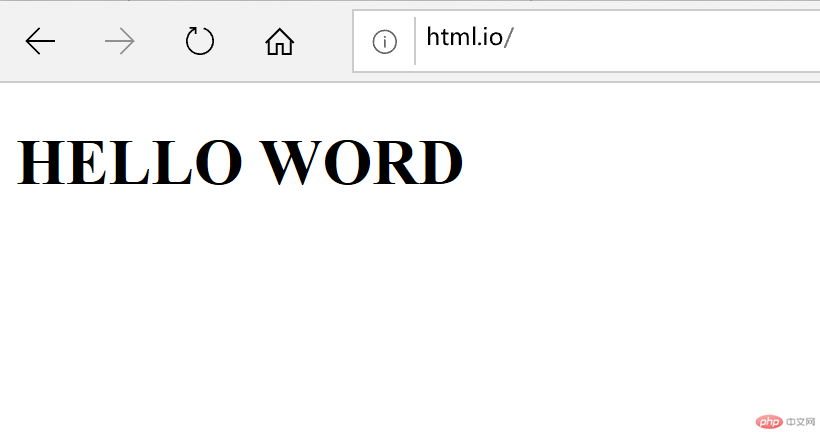
打开我们的html.io选择可以访问到我的helloword
 4. hosts文件有什么作用, 如何修改?
Hosts作用主要是用来绑定ip和指定域名在本地访问的快捷性. 百度百科的权威解释就是配置的映射静态化.
如何修改: 一般是通过我的phpstudy里面打开hosts并且编辑如图:
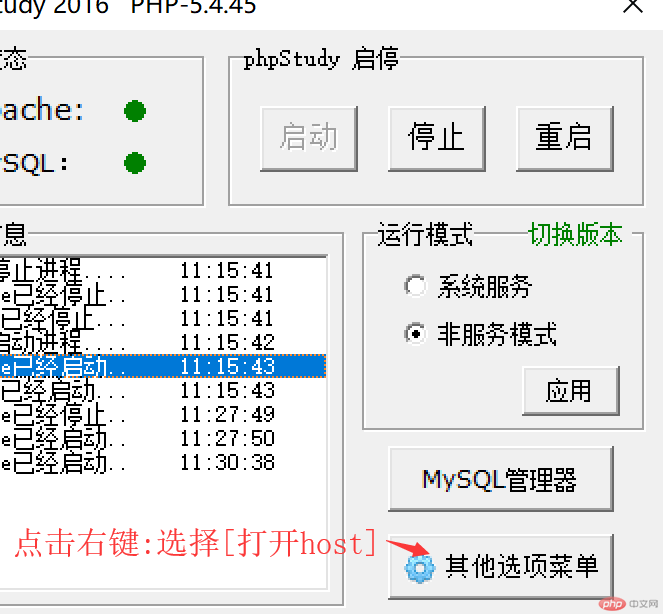
如果是电脑第一次需要保存到桌面会变成hosts.txt 在需要把文件名改成hosts在把该文件去替换系统下面的这个hosts文件,路径如下: C:\Windows\System32\drivers\etc
5. http:是什么, 有什么用?
http是超文本传输协议
作用之一: 是用来发布和接收文件的方法
6. html 是什么, 基本结构是什么?
Html: 是超文本标记语言
结构: 一般是由:html head body 等组成
<!DOCTYPE html>
<html>
<head>
<meta charset="UTF-8">
<title>我的第一个用来做的测试的网页</title>
</head>
<body>
<h1>HELLO WORD </h1>
</body>
</html>