Blogger Information
Blog 6
fans 0
comment 0
visits 4592
Popular Tutorials
More>
Latest Downloads
More>
Web Effects
Website Source Code
Website Materials
Front End Template
交作业1:使用phpStudy Pro ,即V8, 创建出本地的开发环境,并绑定域名: html.io(2019-7-1)
强风工作室
Original
1226 people have browsed it

2019年7月1日 20:00-22:00,听直播课

2019年7月2日完成作业

本机系统:win10 pro,X64

1、从QQ群下载最新版  phpStudy Pro V8;

2、解压缩到E盘 phpStudy文件夹;

3、在WWW目录中创建htmlio目录,用于完成后期作业;

4、运行 phpstudy_pro.exe;

5、首页菜单——启动 阿帕奇和MySQL服务;

6、网站菜单,创建网站,域名填写:html.io、www.html.io,根目录指向刚才创建的  htmlio  文件夹,其余选项默认,确定;

确定后发现 hosts文件并没有自动同步添加 127.0.0.1 的指向,所以手动添加:

127.0.0.1 html.io

127.0.0.1 www.html.io

7、重启服务;

8、使用 phpstorm 创建工程,目录指向 htmlio  文件夹,并在文件夹内创建  index.php 首页文件;

9、在 index.php 文件中写代码:

<?php

phpinfo();

?>

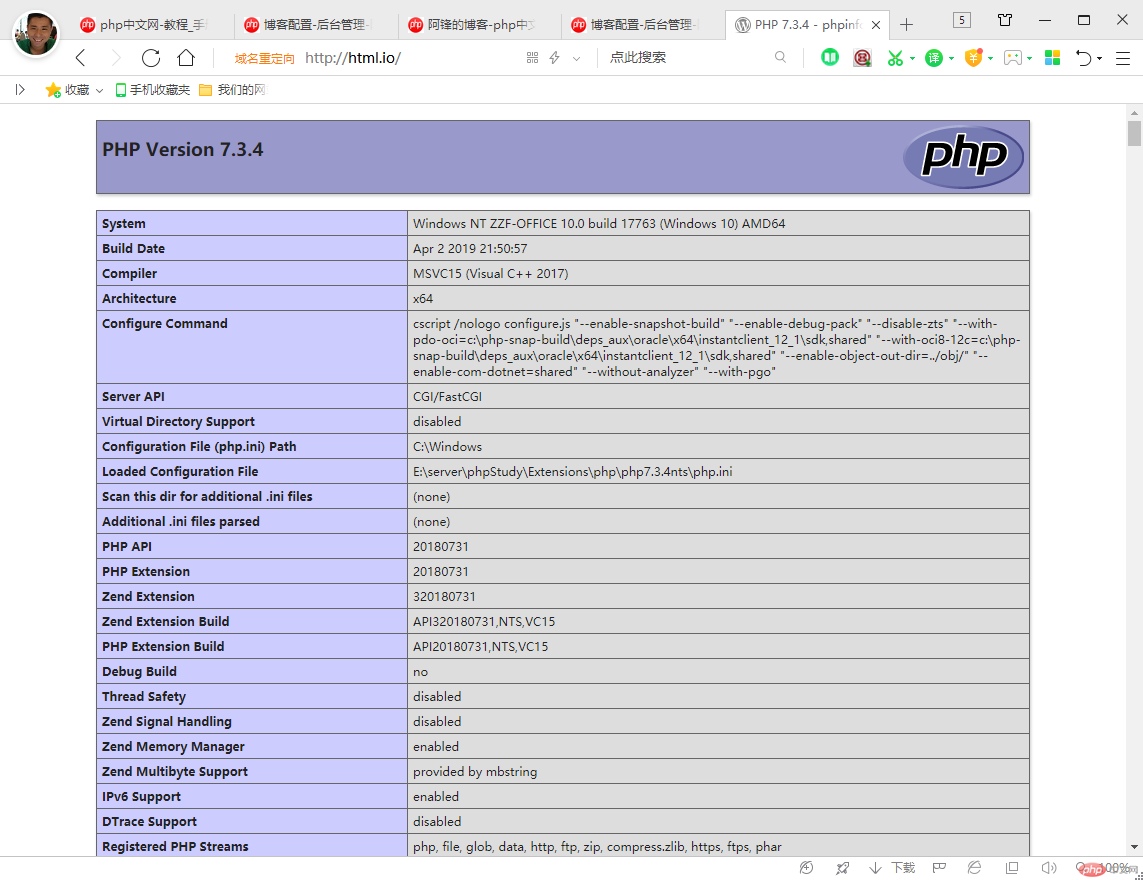
10、打开浏览器,输入地址 www.html.io,显示php信息,完成作业;

QQ图片20190702173501.png

Correction status:qualified

Teacher's comments:图文对照, 一看就懂, 不错的
Statement of this Website
The copyright of this blog article belongs to the blogger. Please specify the address when reprinting! If there is any infringement or violation of the law, please contact admin@php.cn Report processing!
All comments Speak rationally on civilized internet, please comply with News Comment Service Agreement
0 comments