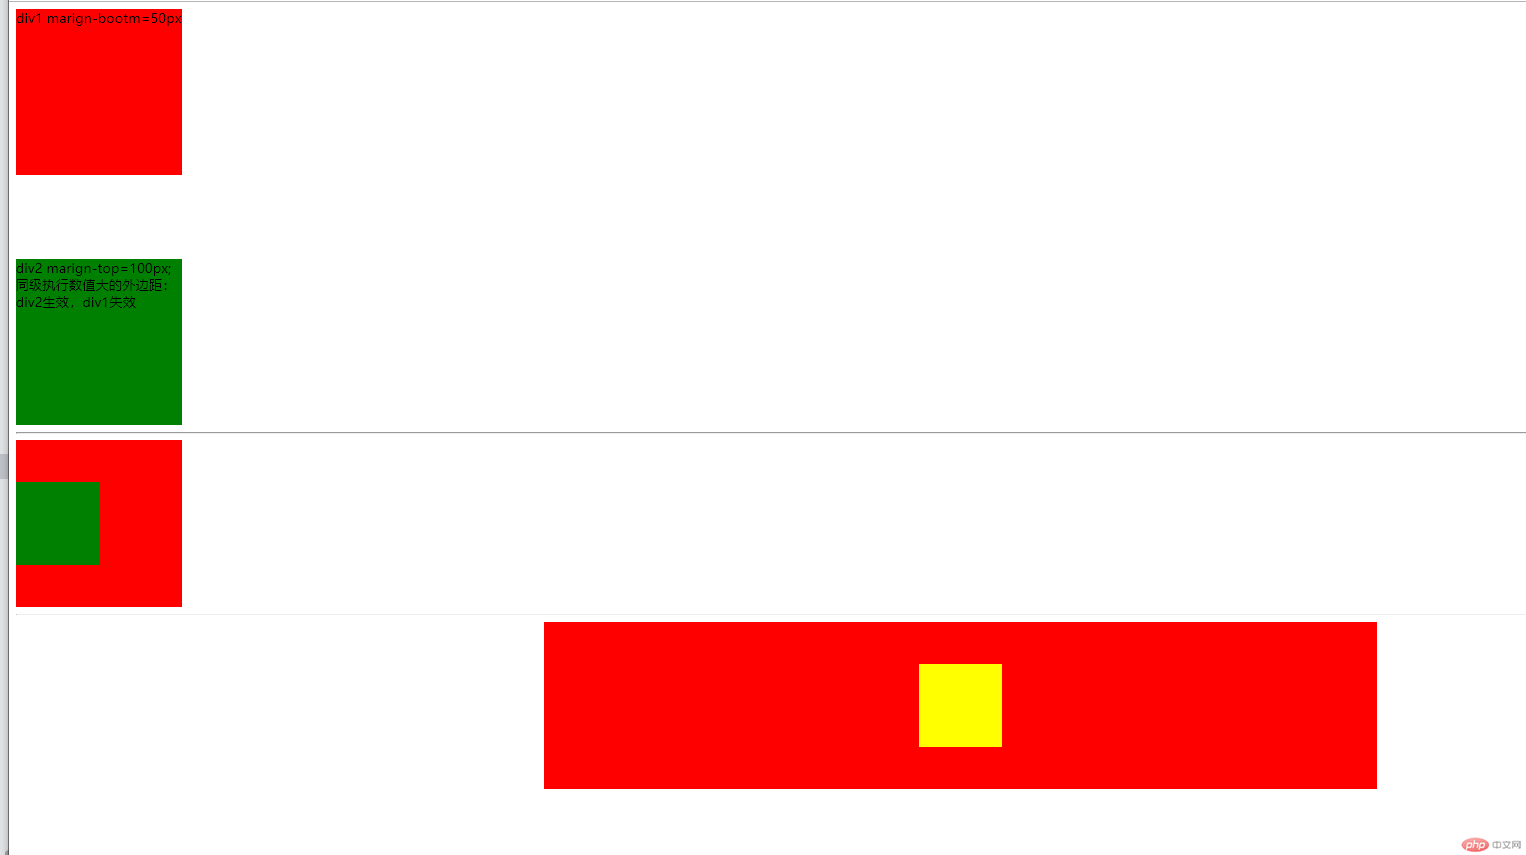


一、外边距的三个特征:同级塌陷、嵌套传递、自动挤压。
1、同级塌陷:当两个同级块元素设置上下外边距时,数值高的即生效,数值低的则失效。
2、嵌套传递:两个父子级块元素,当子级块元素设置上下外边框时,会将设置的属性和值传递给父级块元素,而子级设置不起作用。
解决:在父级元素设置padding,同时重设高度。
3、自动挤压:当一个块元素设置左右外边距时,使用auto会根据父级设置的宽高自适应调节尺寸。
二、内边距对盒子的影响
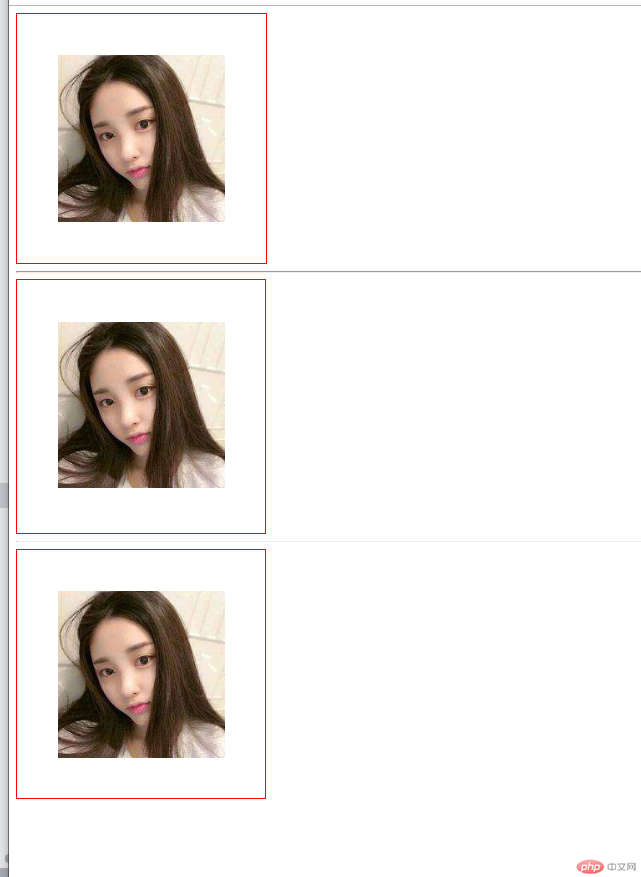
1、当一个块元素设置内边距时,同时会影响整个块元素的宽高尺寸,如何避免设置内边距同时保持原宽高尺寸,有以下三种解决方法:
(1)重置:当设置好内边距尺寸后,重置宽高尺寸(原宽/高尺寸 - 已设置对应内边距尺寸)。
(2)宽度分离:根据嵌套盒子只有宽度继承的特征,将宽度尺寸设置在父级元素,子级设置左右内边距不影响原尺寸;当子级设置上下内边距则需使用重置方法才能保持盒子原尺寸不变。
(3)指定行为:将父级宽高尺寸指定在边框上,子级设置左右内边距不影响原尺寸;当子级设置上下内边距则需使用重置方法才能保持盒子原尺寸不变。
三、浮动原理及清除浮动
1、浮动原理:是将元素脱离文档流,上升至浮动层,元素一律转换成块级元素,从而对元素位置自定义设置、排序。
2-1、同级清除浮动:使用 clear属性进行:left、both、right清除浮动。
2-2、嵌套块元素清除浮动:在父级元素添加 overflow:hidden 属性清除浮动。
四、相对定位与绝对定位的区别和关联
1、区别:
相对定位:元素未脱离文档流,是相对于它原来位置进行移动。
绝对定位:元素脱离文档流,元素转换成块元素,使用绝对定位时必须有定位父级,并根据定位父级位置进行移动。
2、关联:当使用绝对定位时,定位父级可以是相对定位属性。
五、登录遮罩使用总结
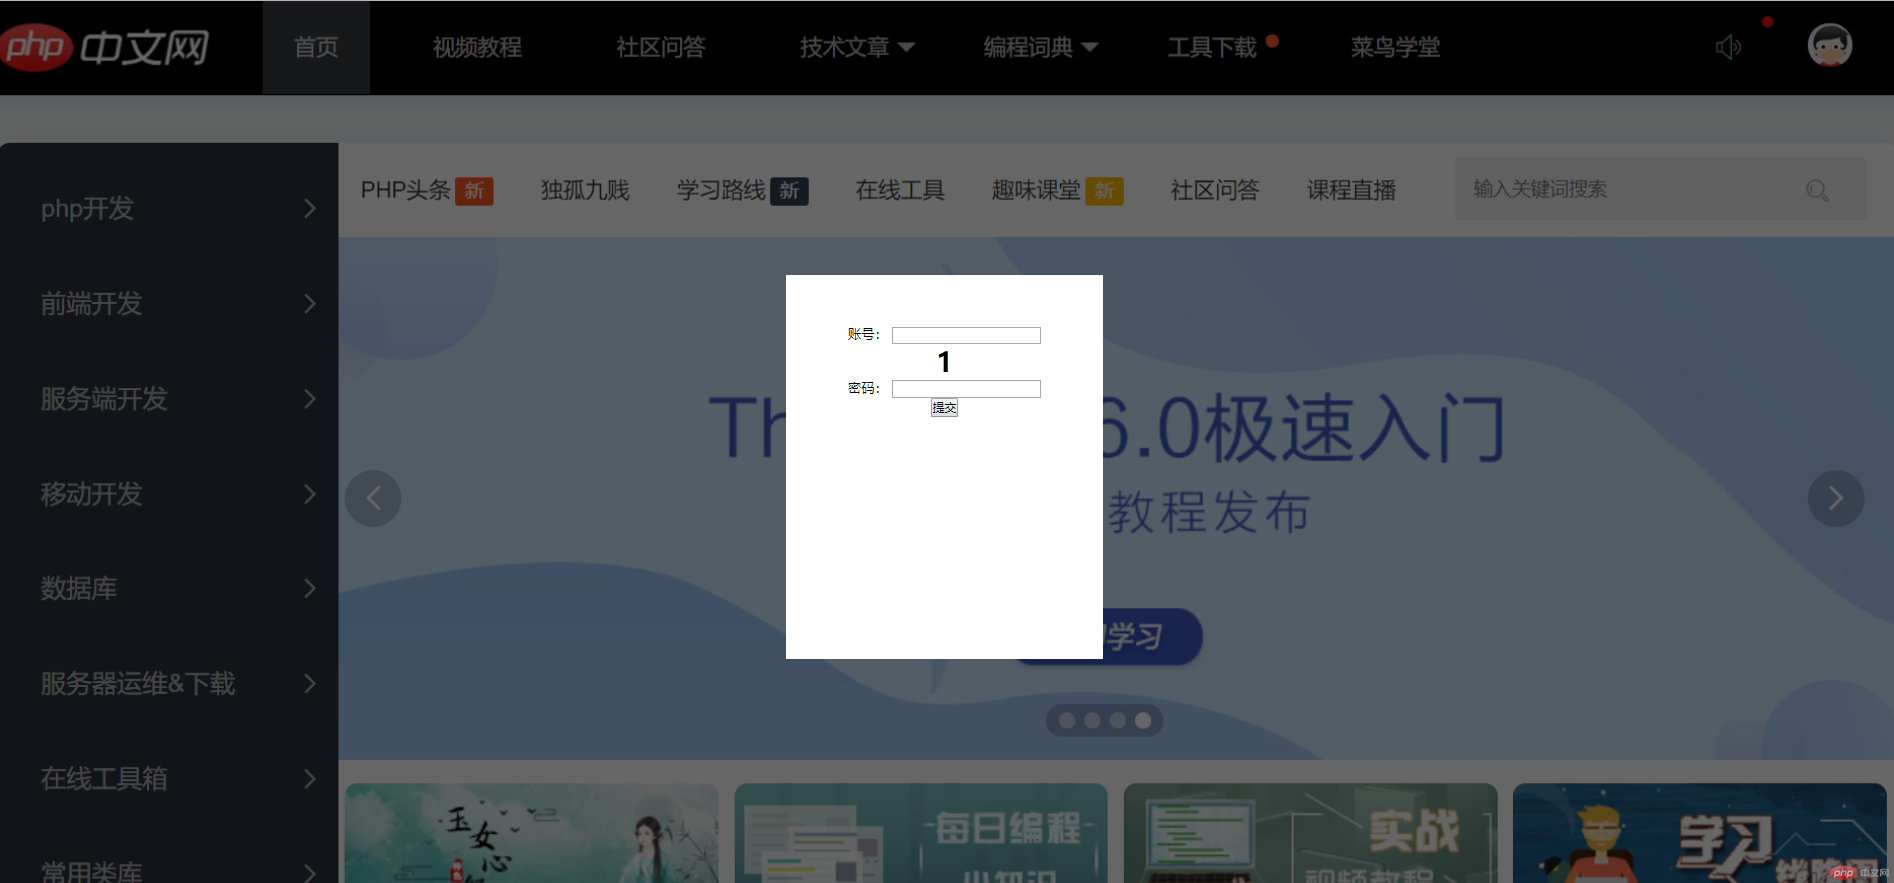
1、设定块元素为绝对定位(absolute),从文档流起始位置将整个文档流背景铺满,背景颜色设置一定比例透明度,遮罩效果完成。
2、在遮罩块元素内嵌套div元素(也必须是绝对定位)form表单即可。
六、固定广告位使用总结
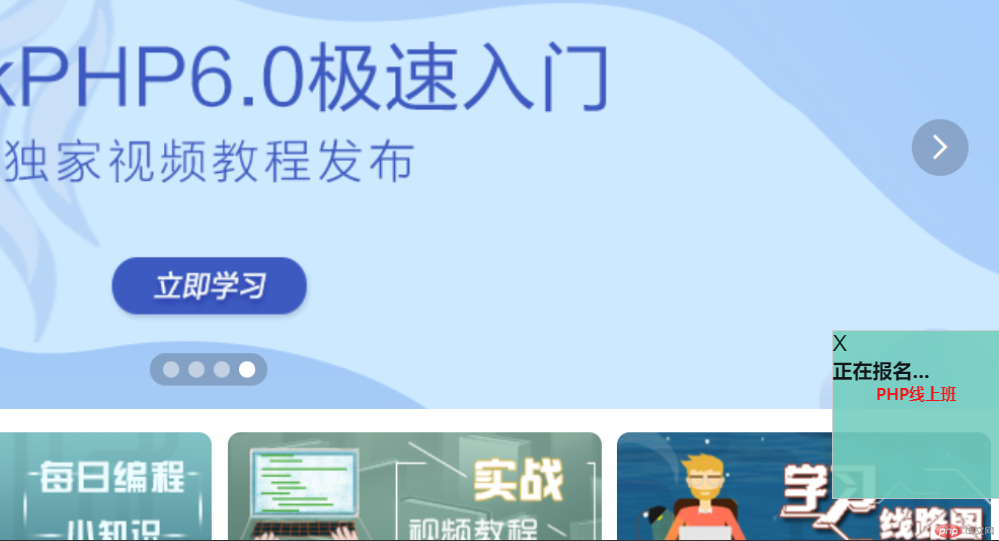
1、将广告内容嵌入块元素,将块元素设为固定定位(fixed),固定起始位置是文档流的起始位置,将块元素自定义设置在具体位置。
2、应用js点击事件和元素隐藏功能将广告内容隐藏。
示例一:外边距的三种归纳
<!DOCTYPE html>
<html lang="">
<head>
	<meta charset="UTF-8">
	<title>外边距的三种归纳:同级上下边距塌陷、父子级上下边距嵌套传递、自动挤压</title>
</head>
<style>
	.div1{
		width: 200px;
		height: 200px;
		background-color: red;
		margin-bottom: 50px;
	}
	.div2{
		width: 200px;
		height: 200px;
		background-color: green;
		margin-top:100px;
	}

	.div3{
		width: 200px;
		height: 200px;
		background-color: red;
		padding-top:50px;
		height: 150px;

	}
	.div4{
		width: 100px;
		height: 100px;
		background-color: green;
	}

	.div5{
		width: 1000px;
		height: 100px;
		background-color: red;
		margin: 0 auto;
		padding: 50px 0;

	}
	.div6{
		width: 100px;
		height: 100px;
		background-color: yellow;
		margin:0 auto;
	}
</style>
<body>

	<!-- 同级上下边距塌陷 -->
	<div class="div1">div1 marign-bootm=50px</div>
	<div class="div2">div2 marign-top=100px;同级执行数值大的外边距:div2生效,div1失效</div>
	<hr>

	<!-- 父子级上下边距嵌套传递 -->
	<div class="div3">
			<div class="div4"></div>
	</div>
	<hr>

	<!-- 左右边距自动挤压 -->
	<div class="div5">
			<div class="div6"></div>
	</div>
</body>
</html>点击 "运行实例" 按钮查看在线实例

示例二:内边距对盒模的分析
<!DOCTYPE html>
<html lang="">
<head>
	<meta charset="UTF-8">
	<title>内边距对盒模的分析</title>
	<style>
		.div1{
			width: 250px;
			height: 250px;
			border: 1px solid red;
			padding-top: 50px;
			padding-left: 50px;
		}

		.div2{
			border: 1px solid red;
			padding-top:50px;
			padding-left: 50px;
			padding-bottom: 50px;
		}
		.div3{
			width: 300px;
		}

		.div4{
			width: 300px;
			height: 300px;
			border: 1px solid red;
			box-sizing:border-box;
			padding: 50px;
		}
	</style>
</head>
<body>

	<!-- 子级设置内边距后,父级重新调整宽高尺寸 -->
	<div class="div1">
		<img src="./images/girl.jpg">
	</div>
	<hr>

	<!-- 宽度分离 -->
	<div class="div3">
		<div class="div2">
			<img src="./images/girl.jpg">
		</div>
	</div>
	<hr>

	<!-- 将父级宽度设置在边框上 -->
	<div class="div4">
		<img src="./images/girl.jpg">
	</div>
</body>
</html>点击 "运行实例" 按钮查看在线实例

示例三:浮动及清除浮动
<!DOCTYPE html>
<html lang="en">
<head>
	<meta charset="UTF-8">
	<title>浮动及清除浮动</title>
	<style>
		*{
			padding: 0;
			margin: 0;
		}
		body{
			background: url('./images/1600x1200-Canyon.jpg');
		}
		.div1{
			width: 100%;
			height: 40px;
			background:	#008B8B;
			position: relative;
			float: left;
			margin-bottom: 100px;
		}
		ul{
			height: 40px;
			position: absolute;
			left: 50%;
			margin-left: -420px;
		}
		ul li{
			width: 90px;
			height: 40px;
			text-align: center;
			line-height: 40px;
			float: left;
			list-style: none;
			margin-left: 10px;
		}
		 ul li:hover{
		 	background:	#20B2AA;
		 }
		 a{
		 	text-decoration: none;
		 	color: white;
		 	font-size: 20px;
		 }

		 .div2{
			width: 100%;
			height: 40px;
			background:	#008B8B;
			/*float: left;*/
		}

		ol{
			height: 40px;
			position: absolute;
			left: 50%;
			margin-left: -420px;
			/*box-sizing: border-box;*/
		}
		ol li{
			width: 90px;
			height: 40px;
			text-align: center;
			line-height: 40px;
			float: left;
			list-style: none;
			margin-left: 10px;
		}
		 ol li:hover{
		 	background:	#20B2AA;
		 }
		 .clear{
		 	clear: both;
		 }
	</style>
</head>
<body>

	<!-- 浮动板块 -->
	<div class="div1">
		<ul>
			<li><a href="#">首页</a></li>
			<li><a href="#">古体诗词</a></li>
			<li><a href="#">诗歌</a></li>
			<li><a href="#">现代诗词</a></li>
			<li><a href="#">书画</a></li>
			<li><a href="#">名作</a></li>
			<li><a href="#">图文</a></li>
			<li><a href="#">导航</a></li>
		</ul>
	</div>

	<!-- 设置取消两边浮动 -->
	<div class="clear"></div>

	<!-- 未浮动板块 -->
	<div class="div2">
		<ol>
			<li><a href="#">首页</a></li>
			<li><a href="#">古体诗词</a></li>
			<li><a href="#">诗歌</a></li>
			<li><a href="#">现代诗词</a></li>
			<li><a href="#">书画</a></li>
			<li><a href="#">名作</a></li>
			<li><a href="#">图文</a></li>
			<li><a href="#">导航</a></li>
		</ol>
	</div>

</body>
</html>点击 "运行实例" 按钮查看在线实例

示例四:登录遮罩
<!DOCTYPE html>
<html lang="en">
<head>
	<meta charset="UTF-8">
	<title>登录遮罩</title>
	<style>
		*{
			padding: 0;margin: 0;
		}
		body{
			background: url('./images/zm.png');
			background-size: cover;
			background-repeat: no-repeat;
		}

		.div2{
			left: 0;
			height: 0;
			width: 100%;
			height: 100%;
			background: black;
			position: absolute;
			opacity: 0.6;
		}
		.div3{
			width: 380px;
			height: 400px;
			background: #FFFFFF;
			position: absolute;
			top: 50%;
			left: 50%;
			margin-left: -190px;
			margin-top: -230px;
			text-align: center;
			padding-top: 60px;
		}
	</style>
</head>
<body>
	<div class="div2"></div>
	<div class="div3">
		<form action="0702.html" method="get">
			<p>
			<label for="username">账号:</label>
			<input type="text" name="username" id="username"><br>
		</p>
		<h1>1</h1>
		<p>
			<label for="password">密码:</label>
			<input type="password" name="password" id="password">
		</p>
		<input type="submit" value="提交" id="butt">
		</form>

	</div>
</body>
</html>点击 "运行实例" 按钮查看在线实例

示例五:广告固定定位
<!DOCTYPE html>
<html lang="en">
<head>
	<meta charset="UTF-8">
	<title>固定广告位</title>
	<style>
		*{
			padding: 0;margin: 0;
		}
		body{
			background: url('./images/zm.png');
			background-size: cover;
			background-repeat: no-repeat;
			height: 1000px;
		}
		.div1{
			width: 200px;
			height: 200px;
			border: 1px solid #ccc;
			background: #74CEBE;
			opacity: 0.9;
			position: fixed;
			right: 0;
			bottom: 100px;
		}
		button{
			border: none;
			background: #74CEBE;
			font-size: 26px;

		}
		h2{
			color: black;
		}
		h3{
			color: red;
			text-align: center;
		}

	</style>
</head>
<body>

	<div class="div1" >
		<button onclick="this.parentNode.style.display='none'" id="xx">X</button>
		<a href="http://www.php.cn/k.html" style="text-decoration: none;"><h2>正在报名···</h2>
		<h3>PHP线上班</h3></a>
	</div>
</body>
</html>点击 "运行实例" 按钮查看在线实例
