Correction status:qualified
Teacher's comments:感觉你是把课堂源代码抄了一遍提交了, 你可以有一些自己的想法的


*将HTML元素集合(类数组对象)转换为数组
Array.prototype.slice.call(html元素集合,0);
Array就相当于一个构造函数,prototype.slice就是这个构造函数的原型属性
<ul>
        <li>1</li>
        <li>2</li>
        <li>3</li>
        <li>4</li>
        <li>5</li>
        <li>6</li>
</ul>
<script>
        // 将HTML所有的值转换为数组
        // Array.prototype.slice.call(html元素集合,0);
        var lis = document.getElementsByTagName('li');
        // 将这个HTML元素集合转为数组
        // Array就相当于一个构造函数,prototype.slice就是这个构造函数的原型属性
        // 因为HTML元素是没有slice方法的,所以需要使用.call或者.apply
        // slice.call方法
        var liarr = Array.prototype.slice.call(lis, 0);
        // slice.apply方法
        var liarr1 = Array.prototype.slice.apply(lis, [0]);
        console.log(lis);
        console.log(liarr);
        console.log(liarr1);
        // map方法
        var liarr2 = Array.prototype.map.call(lis, function (x) {
            return x;
        })
        console.log(liarr2);
        // JavaScript ES6方法:Array.from()
        var liarr3 = Array.from(lis);
        console.log(liarr3);


</script>点击 "运行实例" 按钮查看在线实例
*定时器的种类与使用场景
定时器
setTimeout()一次性的定时器
setTimeout(要执行的动作(函数), 定时时间(毫秒));
setInterval()间歇式的可多次重复使用
ClearTimeout()清除定时器
<h4>定时器</h4>
    <button>登录</button>
    <button>取消</button>
    <p></p>
<script>
        // 获取登录按钮
        var btn = document.getElementsByTagName('button')[4];
        // 获取取消按钮
        var btn1 = document.getElementsByTagName('button')[5];
        // 获取P标签
        var p = document.getElementsByTagName('p')[0];
        // 定时器
        // setTimeout()一次性的定时器
        // setTimeout(要执行的动作(函数), 定时时间(毫秒));
        // setInterval()间歇式的可多次重复使用
        var timer = null;
        // 给登录按钮一个点击事件,定时三秒钟跳转到PHP中文网
        btn.addEventListener('click', login, false);
        function login(event) {
            p.innerText = "正在登录中......"
            // 定时三秒钟跳转到PHP中文网
            // setTimeout()一次性的定时器
            timer = setTimeout(function() {
                location.assign('http://php.cn');
            }, 3000);
        }
        // 给取消按钮添加一个定时器,取消跳转(清除定时器)
        btn1.addEventListener('click', cancel, false);
        function cancel() {
            //清除定时器
            clearTimeout(timer);
            p.innerText = "";
        }
</script>点击 "运行实例" 按钮查看在线实例
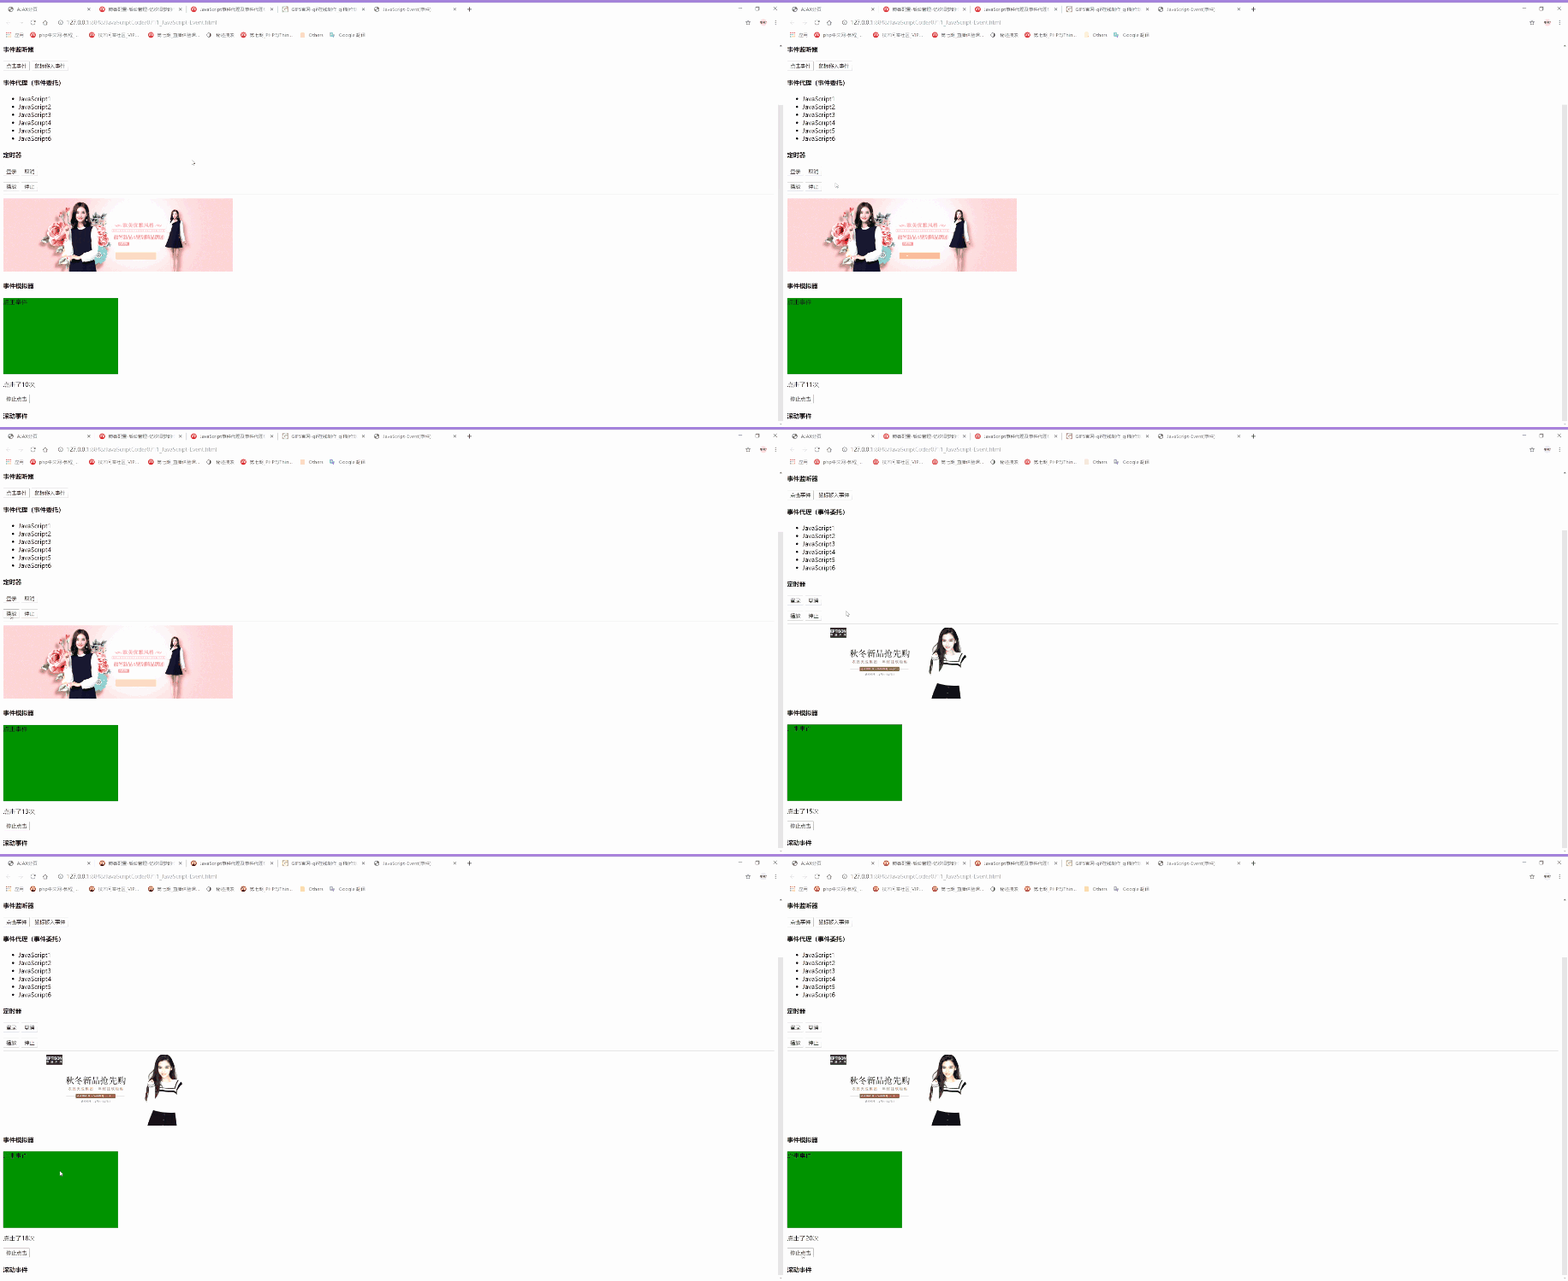
*setInterval()间歇式可多次使用的定时器
<button id="play">播放</button>
    <button id="stop">停止</button>
    <hr>
    <img src="images/banner1.jpg" alt="" width="600px">
    <!-- <img src="images/banner2.jpg" alt="" width="600px">
    <img src="images/banner3.jpg" alt="" width="600px"> -->
<script>
    // setInterval()间歇式可多次使用的定时器
    // 获取播放按钮
    var play = document.getElementById('play');
    // 获取停止按钮
    var stop = document.getElementById('stop');
    // 获取所有图片
    var imgs = document***ages;
    // 添加定时器
    var timers = null;
    // 给播放按钮添加点击事件
    // Math.random() 生成随机数
    // Math.random()*3 生成0到3的随机数
    // Math.ceil()向上取整
    play.addEventListener('click', plays, false);
    function plays(){
        timers = setInterval(function() {
            imgs[0].src = "images/banner"+ Math.ceil(Math.random()*3) +".jpg";
        },1000)
    }
    // 清除定时器
    // 给停止按钮添加点击事件
    stop.addEventListener('click', stops, false);
    function stops() {
        clearInterval(timers);
    }
</script>点击 "运行实例" 按钮查看在线实例
*JavaScript事件模拟器
事件模拟器
生成事件
var event = new Event('click') 点击事件
派发事件
btn.dispatchEvent(event)
<div class="boxs" style="width: 300px; height: 200px; background-color:green">点击事件</div>
    <p id="res"></p>
    <button id="btnss">停止点击</button>
<script>
        // 获取box
        var boxs = document.getElementsByClassName('boxs')[0];
        var res = document.getElementById('res');
        var btnss = document.getElementById('btnss');
        var num = 0;
        // 创建点击事件
        var event = new Event('click');
        // 设置定时器,让这个事件重复点击
        var timer = setInterval(function () {
            // 将事件派发给box
            boxs.dispatchEvent(event);
            //点击次数
            num += 1;
            res.innerHTML = "点击了"+num+"次"
        },2000)
        btnss.addEventListener('click', stopss, false);
        function stopss() {
            clearInterval(timer);
        }
</script>点击 "运行实例" 按钮查看在线实例
事件模拟器可以模仿用户操作。可以自动并且重复的执行某一项操作

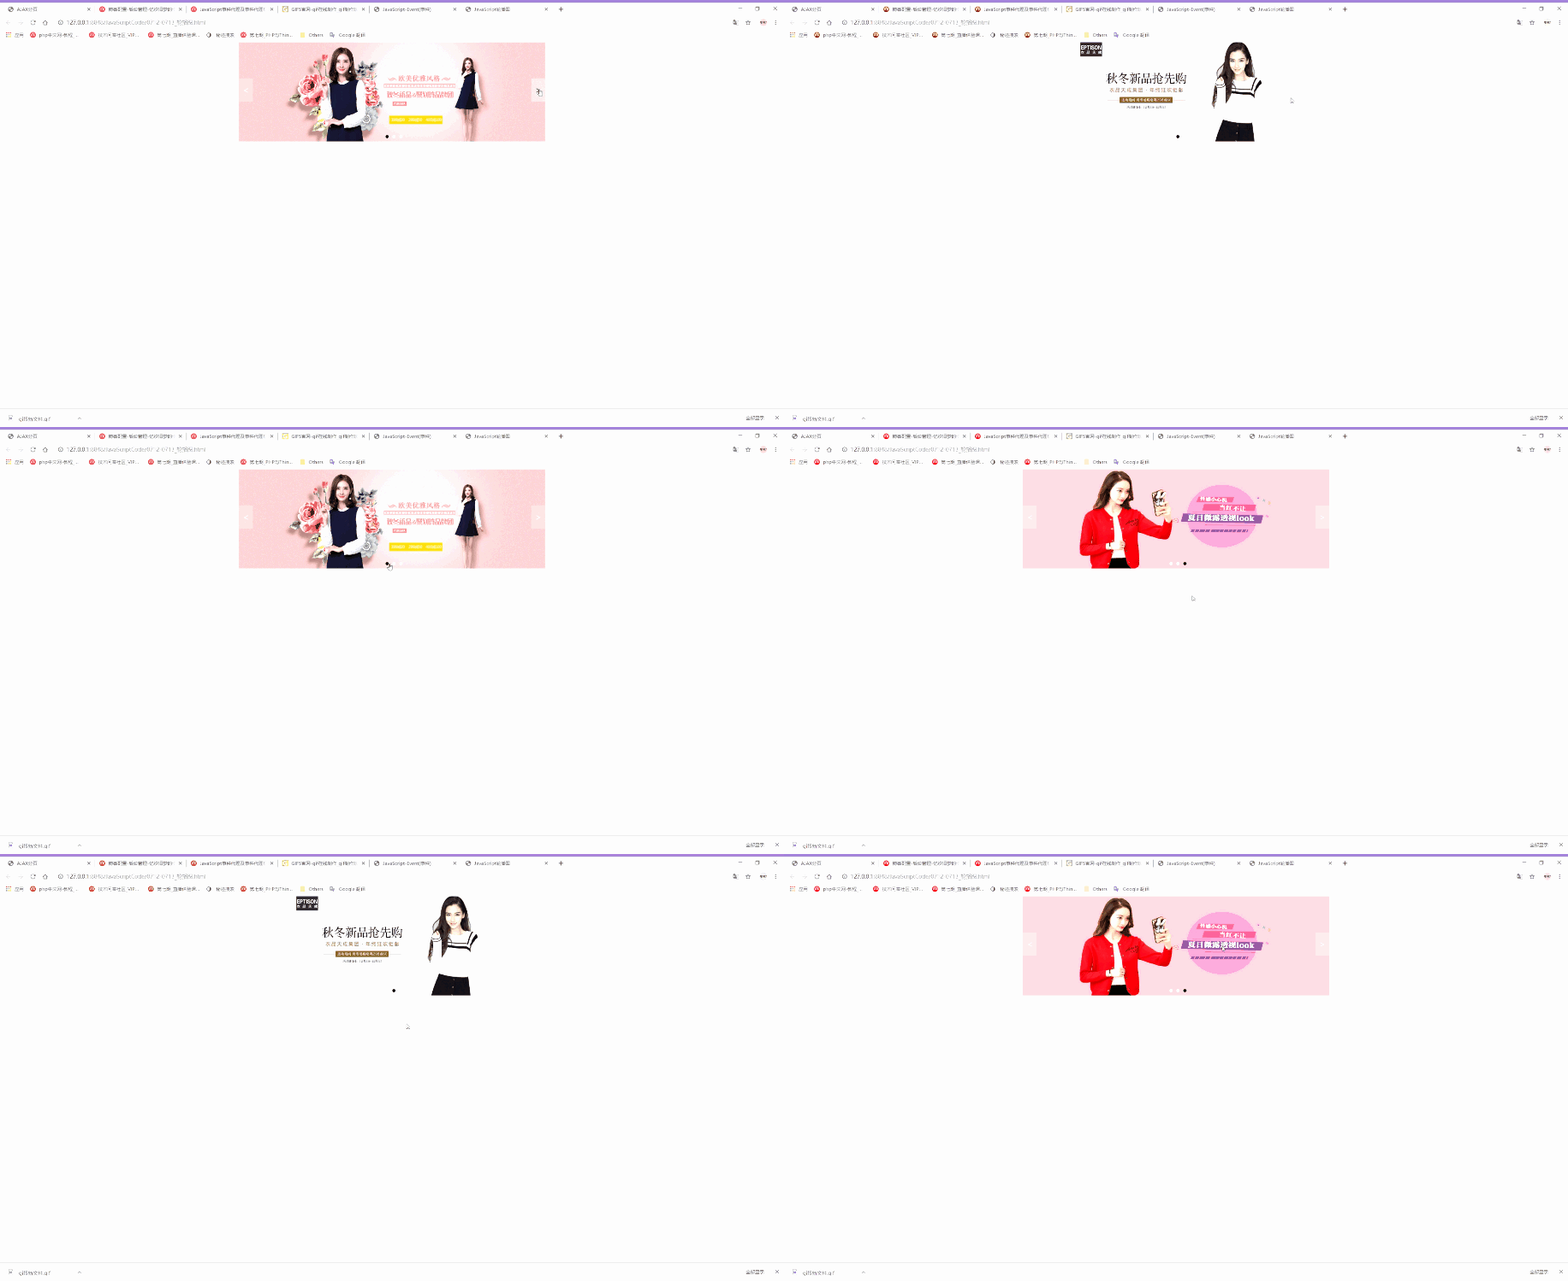
*JavaScript轮播图
js轮播图的实现需要结合很多的js知识,是一个非常经典的案列
通过使用Array.prototype.slice.call();来把页面中所有图片的元素集合转为数组
再通过遍历数组的方式循环遍历,设置小圆点的数量,与图片数量关联,实现每添加一张图,小圆点数量自动更新
使用html5的自定义属性data- 设置小圆点的data-index值等于图片data-index的值,实现图片关联小圆点
然后使用点击事件来实现点击小圆点,自动切换对应的图片
最后使用鼠标移入移出事件结合定时器来实现鼠标移出图片自动播放,鼠标移入后停止自动播放
<!DOCTYPE html>
<html lang="en">
<head>
    <meta charset="UTF-8">
    <meta name="viewport" content="width=device-width, initial-scale=1.0">
    <meta http-equiv="X-UA-Compatible" content="ie=edge">
    <title>JavaScript轮播图</title>
    <style type="text/css">
        *{
            margin: 0;
            padding: 0;
        }
        .box {
            width: 800px;
            margin: auto;
        }
        .box img {
            width: 800px;
            height: 260px;
        }
        .box .hide {
            width: 800px;
            display: none;
        }
        .box .active {
            display: block;
        }
        .point-list {
            width: 100px;
            margin-top: -26px;
            margin-left: auto;
            margin-right: auto;
            position: relative;
            text-align: center;
        }
        .point-list .active {
            display:inline-block;
            background-color: black;
        }
        .point {
            display:inline-block;
            width: 8px;
            height: 8px;
            background-color: white;
            border-radius: 4px;
            margin-left: 10px;
            /* position: absolute; */
            /* left: 0;
            bottom: 12px;            */
        }
        .point:hover {
            cursor: pointer;
        }
        .skip-list {
            position: relative;
            /* height: 260px; */
            /* line-height: -260px; */
        }
        .skip {
            display:inline-block;
            width: 36px;
            height: 60px;
            background-color: lightgrey;
            line-height: 60px;
            text-align: center;
            opacity: 0.5;
            font-size: 22px;
            color: white;
        }
        .prev {
            position: absolute;
            left: 0;
            bottom: 100px;
        }
        .next {
            position: absolute;
            right: 0;
            bottom: 100px;
        }
        .skip:hover {
            cursor: pointer;
            opacity: 0.8;
            color: black;
        }
    </style>
</head>
<body>
    <div class="box">
        <img src="images/banner1.jpg" alt=""  data-index="1" class="hide active">
        <img src="images/banner2.jpg" alt=""  data-index="2" class="hide">
        <img src="images/banner3.jpg" alt=""  data-index="3" class="hide">
        <div class="point-list">
            <!-- <span class="point active" data-index="1"></span>
            <span class="point" data-index="2"></span>
            <span class="point" data-index="3"></span> -->
        </div>
        <div class="skip-list">
            <span class="skip prev"><</span>
            <span class="skip next">></span>
        </div>
    </div>
    <script>
        var s = document.getElementsByTagName('span')[0];
        // console.log(s);

        // 拿到所有图片:document***ages
        var img = document***ages;
        // console.log(img);
        // 将拿到的图片列表由HTML元素集合转换为数组
        var imgarray = Array.prototype.slice.call(img,0);
        console.log(imgarray);
        // 设置小圆点的数量和样式,与图片数量关联,实现每添加一张图,小圆点数量自动更新
        // 获取小圆点的父节点
        var pointlist = document.getElementsByClassName('point-list').item(0);
        // 遍历数组 图片数组
        imgarray.forEach(function(img,index) {
            // 获取小圆点
            var span = document.createElement('span');
            // console.log(img);
            // 给第一张图片的小圆点添加active默认样式
            if (index === 0) {
                span.classList.add('point', 'active');
            }
            // 小圆点添加样式
            span.classList.add('point');
            // 设置小圆点的data-index值等于图片data-index的值,实现图片关联小圆点
            span.dataset.index = img.dataset.index;
            // console.log(img.dataset.index);
            pointlist.appendChild(span);
        });
        // 为小圆点添加点击事件,点击切换图片
        // 获取小圆点
        var point = document.getElementsByClassName('point');
        // 将小圆点转为数组
        var pointarr = Array.prototype.slice.call(point, 0);
        // console.log(pointarr);
        // 通过 forEach循环给小圆点添加点击事件
        pointarr.forEach(function (points) {
            // 点击事件
            addEventListener('click', setpoint, false);
        });
        // 设置图片切换
        function setpoint(event) {
            console.log(event.target.dataset.index);

            imgarray.forEach(function (img) {
                // 根据小圆点的data-index值与图片data-index值对应关系来确定要切换的图片
                if (img.dataset.index === event.target.dataset.index) {
                    // 先清除默认的图片
                    imgarray.forEach(function(img){img.classList.remove('active')});
                    // 显示点击小圆点对应的图片
                    img.classList.add('active');
                    // 更改小圆点高亮状态
                    setpointactive(img.dataset.index);
                }

            });

            }
            // 为翻页按钮添加点击事件,点击翻页切换图片
            // 获取翻页按钮
            var skip = document.getElementsByClassName('skip');
            // console.log(skip);
            // 点击事件
            skip[0].addEventListener('click', skipImg, false);
            skip[1].addEventListener('click', skipImg,false);
            function skipImg(ev) {
                // 获取当前正在显示的图片
                var currentImg = null;
                imgarray.forEach(function (img) {
                    // 判断当前图片属性中是否有active样式
                    // .contains(active) 判断属性中是否存在active
                    if (img.classList.contains('active')) {

                        currentImg= img;
                    };
                });
                // console.log(currentImg);

                if (ev.target.classList.contains('next')) {
                    // 移除默认样式
                    currentImg.classList.remove('active');
                    // 获取下一个子元素节点(下一张图片)
                    currentImg = currentImg.nextElementSibling;
                    // 判断一下currentImg不能为空并且值是图片,然后给图片
                    if ( currentImg != null && currentImg.nodeName === "IMG" ) {
                        currentImg.classList.add('active');
                    }else{
                        // currentImg.parentNode.firstElementChild.classList.add('active');
                        // 如果是最后一张图片 currentImg返回空,则回到第一张图片
                        // 通过数组索引来获取第一张图片
                        currentImg=imgarray[0];
                        currentImg.classList.add('active');
                    };
                };
                if (ev.target.classList.contains('prev')) {
                     // 移除默认样式
                    currentImg.classList.remove('active');
                    // 获取下一个子元素节点(下一张图片)
                    currentImg = currentImg.previousElementSibling;
                    // 判断一下currentImg不能为空并且值是图片,然后给图片
                    if ( currentImg != null && currentImg.nodeName === "IMG" ) {
                        currentImg.classList.add('active');
                    }else{
                        // currentImg.parentNode.firstElementChild.classList.add('active');
                        // 如果是最后一张图片 currentImg返回空,则回到第一张图片
                        // 通过数组索引来获取第一张图片
                        currentImg=imgarray[imgarray.length-1];
                        currentImg.classList.add('active');
                    };
                };
                // 获取当前显示图片的data-index值
                var imgindex = currentImg.dataset.index;
                setpointactive(imgindex);
            }
            // 公共函数:设置小圆点高亮
            function setpointactive(imgindex) {
               // 清除小圆点原有的高亮
                pointarr.forEach(function (point) {point.classList.remove('active')});
                // 如果当前图片的data-index值等于小圆点data-index的值,则当前小圆点高亮显示
                pointarr.forEach(function (point) {
                if ( point.dataset.index === imgindex ) {
                    point.classList.add('active');
                    };

                });
            }
            // 定时器 自动切换图片
            // 设置鼠标移入移出事件,鼠标移出图片自动切换,鼠标移入停止自定切换
            console.log(point[1]);
            var timer = null;
            var box = document.getElementsByClassName('box')[0];
            box.addEventListener('mouseover', boxm, false);
            box.addEventListener('mouseout', boxmo, false);
            // 鼠标移出事件
            function boxmo() {
                // 事件模拟器,通过自动点击skip按钮来实现自动切换
                // 创建事件
                var aaa = new Event('click');
                // 定时点击
                timer = setInterval(function () {
                // 分配事件给skip
                skip[1].dispatchEvent(aaa);

                },3000);
            }
            // 鼠标移入事件
            function boxm(event) {
                // 清除定时器
                clearInterval(timer);
            }
    </script>
</body>
</html>点击 "运行实例" 按钮查看在线实例
