Correction status:qualified
Teacher's comments:都自学到了浮动, 不错


1.实例演示:<iframe>标签的使用
iframe 元素会创建包含另外一个文档的内联框架(即行内框架)。
    <h3>内联框架实例演示1</h3>
    <!-- frameborder是定义边框的粗细,还可以使用width和height属性定义框架的宽度和高度 -->
    <iframe src="https://baidu.com" frameborder="1" width="500" height="300"></iframe>

    <h3>内联框架实例演示2</h3>
    <!-- 该示例是可以使用链接在当前页面打开一个网页,一般可以用于网站管理后台页面的制作,可以同时在一个页面打开多个网页窗口。
    需要定义一下name属性,target里面的需要保持一致。 -->
    <a href="https://baidu.com" target="baidu">百度一下</a>
    <iframe frameborder="0" name="baidu" width="500" height="300"></iframe>

    <h3>内联框架实例演示3</h3>
    <!-- 下面演示一下网站管理后台简单实例 -->
    <ul>
        <li><a href="https://baidu.com" target="admin">网站配置</a></li>
        <li><a href="https://www.qq.com" target="admin">用户管理</a></li>
        <li><a href="https://www.sina.com.cn" target="admin">文章管理</a></li>
        <li><a href="https://163.com" target="admin">权限管理</a></li>
    </ul>
    <iframe frameborder="1" name="admin" width="500" height="300"></iframe>
2. 实例演示: css样式设置的优先级
CSS样式设置优先级的顺序为:行内样式>内联样式>外联样式。
这里我们新建一个文件命名为demo1.html,导入外部样式表demo1.css
<!DOCTYPE html>
<html lang="en">

<head>
    <meta charset="UTF-8">
    <meta name="viewport" content="width=device-width, initial-scale=1.0">
    <meta http-equiv="X-UA-Compatible" content="ie=edge">
    <link rel="stylesheet" href="demo1.css">
    <style>
        p {
            color: blueviolet;
        }
    </style>
    <title>Document</title>
</head>

<body>
    <p>PHP是世界上最好的编程语言!</p>
    <p style="color: blue">PHP是世界上最好的编程语言!</p>
</body>

</html>demo1.css代码如下:
p {
    color: brown;
}运行demo1.html文件后如下图所示:

<p>PHP是世界上最好的编程语言!</p>这一行代码运行显示的结果证明内联样式的优先级是大于外联样式的,<p>PHP是世界上最好的编程语言!</p>以及<p style="color: blue">PHP是世界上最好的编程语言!</p>这两行的代码可以证明行内样式的优先级是大于内联样式的,所以综上所述CSS样式设置优先级的顺序为:行内样式>内联样式>外联样式。
3. 实例演示: css的id, class与标签选择器的使用规则
<!DOCTYPE html>
<html lang="en">

<head>
    <meta charset="UTF-8">
    <meta name="viewport" content="width=device-width, initial-scale=1.0">
    <meta http-equiv="X-UA-Compatible" content="ie=edge">
    <style>
        p {
            color: blue;
        }

        #p1 {
            color: blueviolet;
        }

        .p1 {
            color: brown;
        }
    </style>
    <title>Document</title>
</head>

<body>
    <!-- 注意:id选择器属性命名同一个HTML网页中只能同时存在一个 -->
    <!-- 类选择器class的名称可以和id选择器的一样,但是优先级id>class -->
    <!-- 优先级:ID选择器>类选择器>标签选择器 -->
    <p>PHP是世界上最好的编程语言!</p>
    <p id="p1">PHP是世界上最好的编程语言!</p>
    <p class="p1">PHP是世界上最好的编程语言!</p>
    <p id="p1" class="p1">PHP是世界上最好的编程语言!</p>
</body>

</html>运行效果图如下所示:

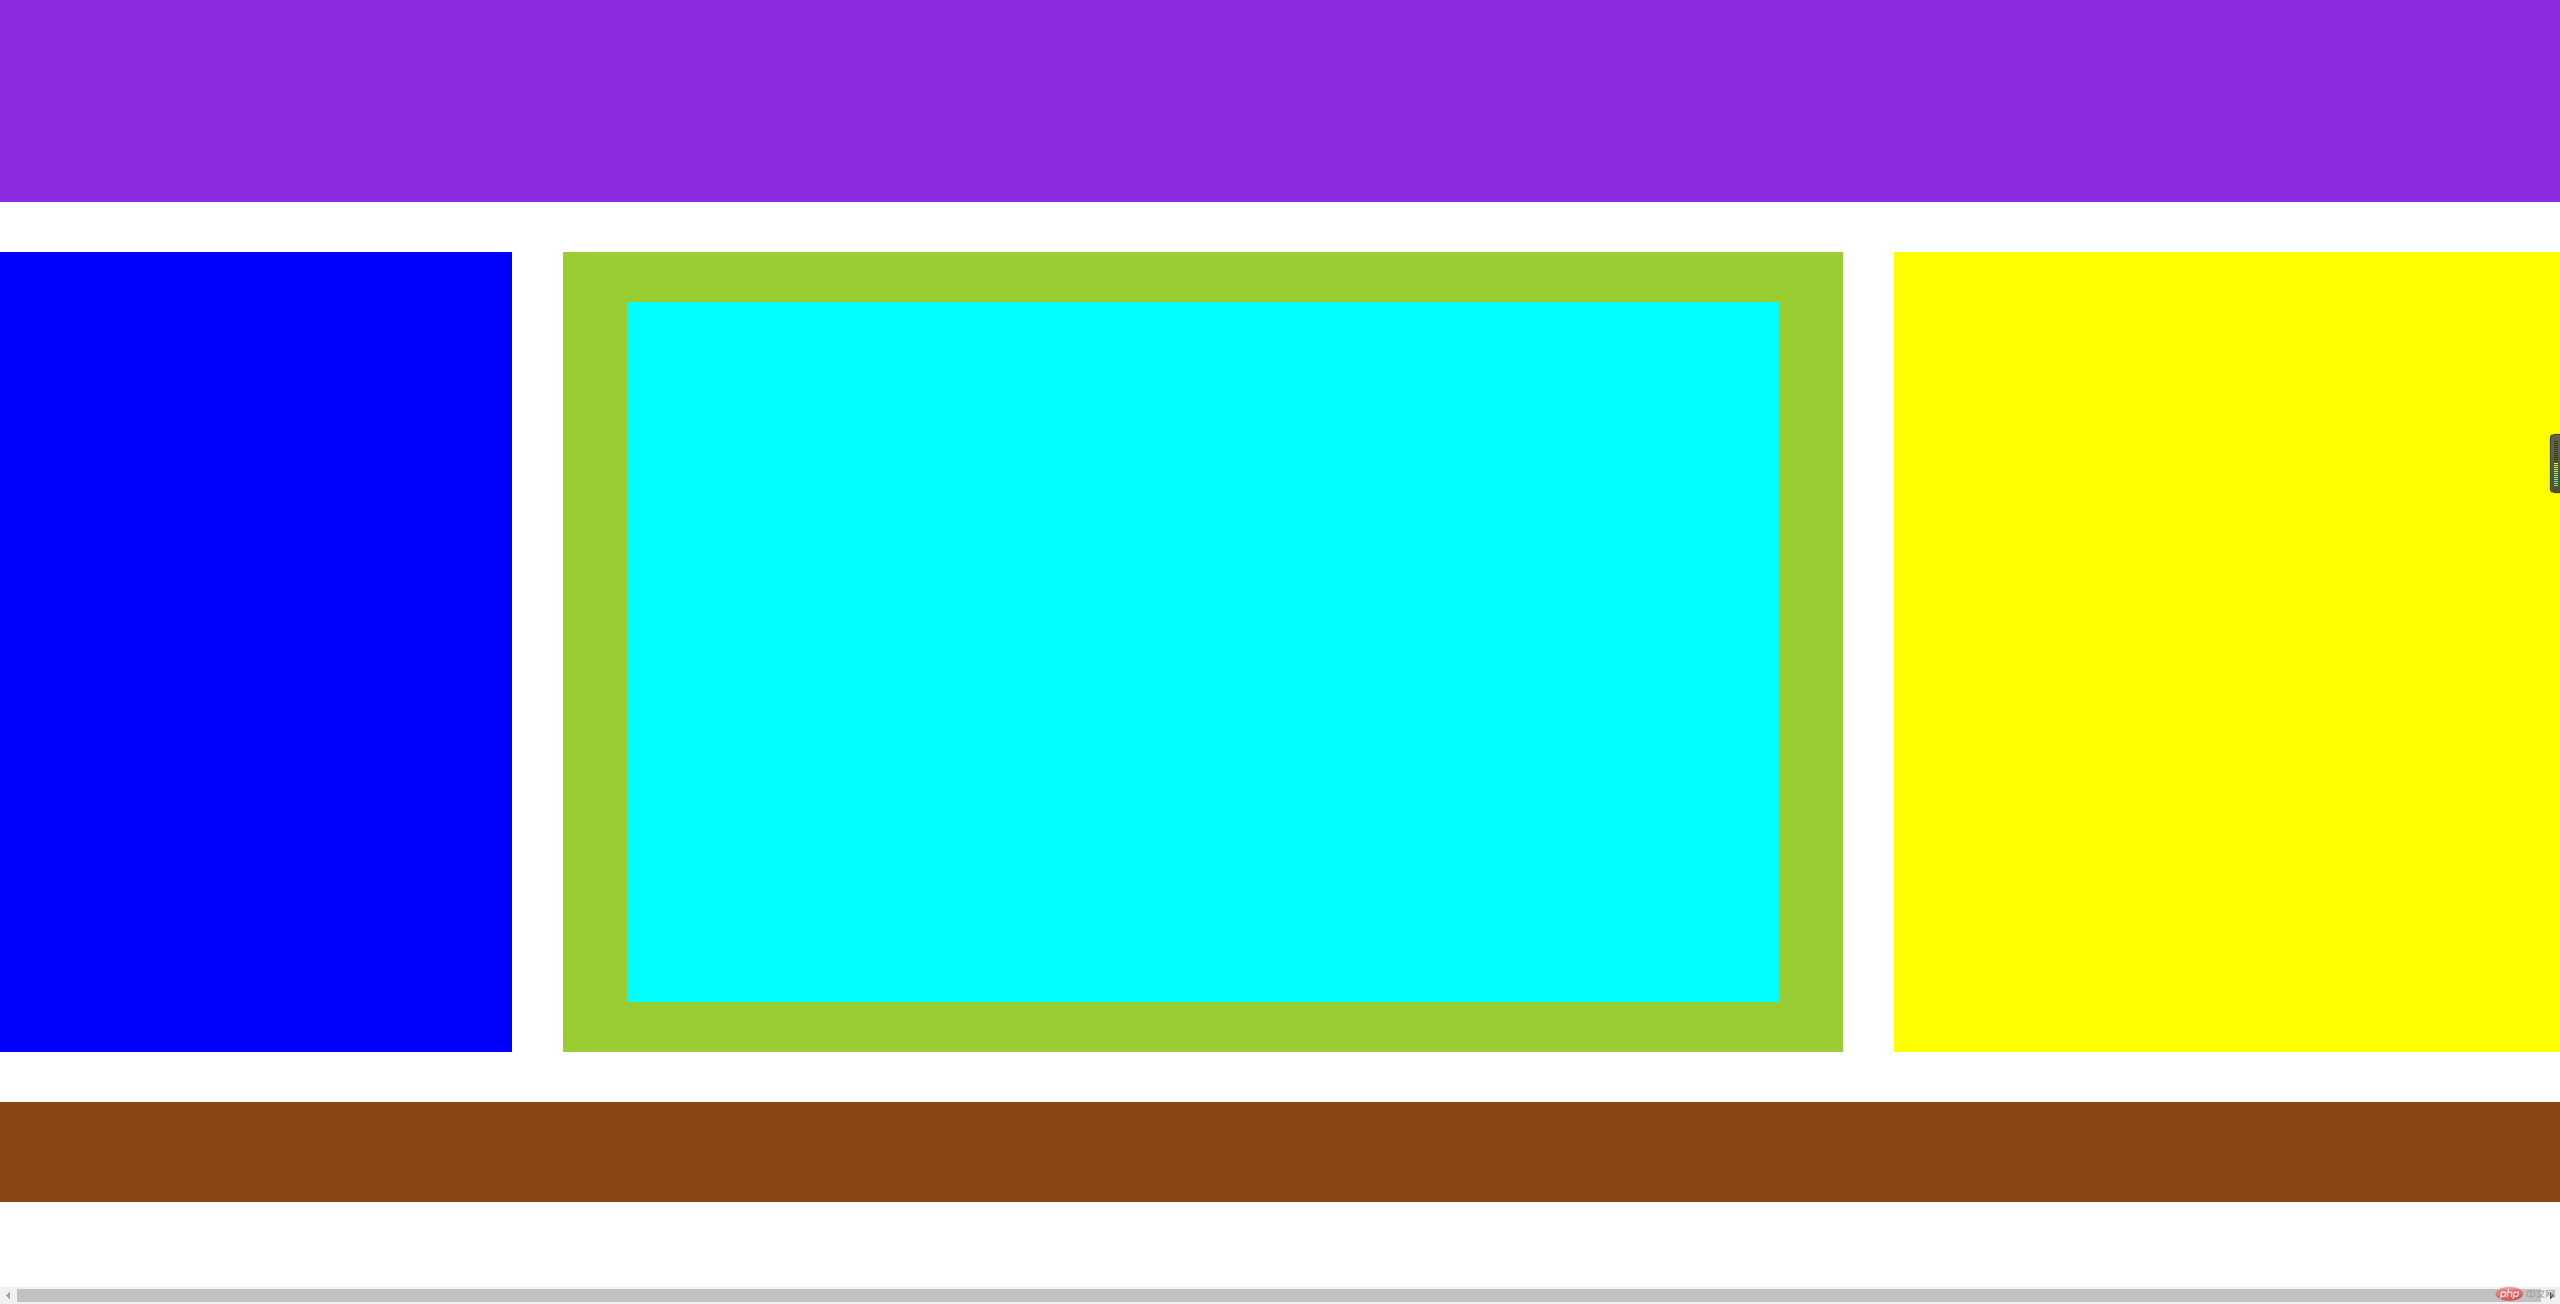
4. 实例演示盒模型的五大要素: width, height, padding, border, margin
<!DOCTYPE html>
<html lang="en">

<head>
    <meta charset="UTF-8">
    <meta name="viewport" content="width=device-width, initial-scale=1.0">
    <meta http-equiv="X-UA-Compatible" content="ie=edge">
    <title>Document</title>
    <style>
        /*margin是外边距,padding是内边距。*/
        /* 对全局定义内边距外边距都为0 */

        * {
            padding: 0;
            margin: 0;
        }

        .header {
            width: 100%;
            height: 200px;
            border: 1px solid blueviolet;
            /* border 属性分别对应宽度 颜色 样式 solid是实线 */
            background-color: blueviolet;
            /* background-color是定义背景颜色 */
        }

        .main .left {
            width: 20%;
            /* 占当前页面宽度的20% */
            height: 800px;
            /* border: 1px solid blue; */
            background-color: blue;
            /* 设置左浮动,脱离文档流 */
            float: left;
            position: relative;
            margin-right: 2%;
            margin-top: 50px;
        }

        .main .middle {
            width: 50%;
            /* 占当前页面宽度的50% */
            height: 800px;
            background-color: yellowgreen;
            /* 设置左浮动,脱离文档流 */
            float: left;
            position: relative;
            margin-right: 2%;
            margin-top: 50px;
        }

        .main .middle .article {
            width: 90%;
            /* 此时的width是占middle这个div容器宽度的95% */
            height: 700px;
            background-color: aqua;
            /* 我们可以设置article的外边距来调整article这个div容器的位置 */
            margin-top: 50px;
            margin-left: 5%;
        }

        .main .right {
            width: 26%;
            /* 占当前页面宽度的26% */
            height: 800px;
            background-color: yellow;
            /* 设置左浮动,脱离文档流 */
            float: left;
            position: relative;
            margin-top: 50px;
        }

        .footer {
            width: 100%;
            height: 100px;
            background-color: saddlebrown;
            margin-top: 900px;
        }
    </style>
</head>

<body>
    <div class="header">

    </div>

    <div class="main">
        <div class="left"></div>
        <div class="middle">
            <div class="article"></div>
        </div>
        <div class="right"></div>
    </div>

    <div class="footer">

    </div>
</body>

</html>运行效果如下图所示:
