


1. 实例演示相邻选择器与兄弟选择器,并分析异同
2. 实例演示:nth-child() 和 :nth-of-type()选择器,并分析异同
3. 实例演示:padding 对盒子大小的影响与解决方案, 使用宽度分离或box-sizing
4. 实例演示: margin中的同级塌陷, 嵌套传递与自动挤压, 并提出解决方案或应用场景
(一)实例演示相邻选择器与兄弟选择器,并分析异同
今天上课讲了常用的选择器,除了id选择器和class选择器外,今天还讲了
属性选择器:
示例:li[id="bg-blue"] {....}
群组选择器:
选择不同的元素之间用英文逗号,分隔开来。示例:#bg-blue,.bg-green {...}
相邻选择器:
用来选中某个元素相邻的下一个元素。示例:#bg-blue + * {...}
兄弟选择器:
用来选中某个元素相邻的接下来的所有同级的元素。示例:#bg-blue ~ * {...}
下面是具体的代码演示:
<!DOCTYPE html>
<html lang="en">

<head>
    <meta charset="UTF-8">
    <meta name="viewport" content="width=device-width, initial-scale=1.0">
    <meta http-equiv="X-UA-Compatible" content="ie=edge">
    <title>Document</title>
    <!-- <link rel="stylesheet" href="style1.css"> -->
    <style>
        ul {
            margin: 0;
            padding-left: 0;
            border: 1px dashed red;
        }

        ul li {
            list-style: none;
            width: 40px;
            height: 40px;
            border-radius: 50%;
            background-color: wheat;
            text-align: center;
            line-height: 40px;
            display: inline-block;
            box-shadow: 2px 2px 1px #888;
        }
        /* 相邻选择器 */

        #bg-blue+* {
            background-color: blue;
        }
        /* 兄弟选择器 */
        /* #bg-blue~* {
            background-color: yellow;
        } */
    </style>
</head>

<body>
    <ul>
        <li class="bg-green">1</li>
        <li id="bg-blue">2</li>
        <li class="bg-green">3</li>
        <li class="bg-green">4</li>
        <li>5</li>
        <li>6</li>
        <li>7</li>
        <li>8</li>
        <li>9</li>
        <li>10</li>
    </ul>
</body>

</html>点击 "运行实例" 按钮查看在线实例

相邻选择器只能选中元素相邻的下一个元素。
<!DOCTYPE html>
<html lang="en">

<head>
    <meta charset="UTF-8">
    <meta name="viewport" content="width=device-width, initial-scale=1.0">
    <meta http-equiv="X-UA-Compatible" content="ie=edge">
    <title>Document</title>
    <!-- <link rel="stylesheet" href="style1.css"> -->
    <style>
        ul {
            margin: 0;
            padding-left: 0;
            border: 1px dashed red;
        }

        ul li {
            list-style: none;
            width: 40px;
            height: 40px;
            border-radius: 50%;
            background-color: wheat;
            text-align: center;
            line-height: 40px;
            display: inline-block;
            box-shadow: 2px 2px 1px #888;
        }
        /* 相邻选择器 */
        /* #bg-blue+* {
            background-color: blue;
        } */
        /* 兄弟选择器 */

        #bg-blue~* {
            background-color: yellow;
        }
    </style>
</head>

<body>
    <ul>
        <li class="bg-green">1</li>
        <li id="bg-blue">2</li>
        <li class="bg-green">3</li>
        <li class="bg-green">4</li>
        <li>5</li>
        <li>6</li>
        <li>7</li>
        <li>8</li>
        <li>9</li>
        <li>10</li>
    </ul>
</body>

</html>点击 "运行实例" 按钮查看在线实例

兄弟选择器则可以选择相邻的接下去所有的同级元素。
(二)实例演示:nth-child() 和 :nth-of-type()选择器,并分析异同
nth-child()跟nth-of-type()用法差不多,区别在于,nth-child选择的是子元素,而nth-of-type选择的是标签的类型。
如果关注点是位置,则用nth-child,如果既关注位置,又关注类型,则用nth-of-type。
下面是第一个示例,我们要选中下图中两个div中的第二个元素,将背景颜色改为绿色。
<!DOCTYPE html>
<html lang="en">

<head>
    <meta charset="UTF-8">
    <meta name="viewport" content="width=device-width, initial-scale=1.0">
    <meta http-equiv="X-UA-Compatible" content="ie=edge">
    <title>Document</title>
    <style>
        div :nth-last-child(2) {
            background-color: green;
        }
    </style>
</head>

<body>
    <div>
        <p>蛮王</p>
        <p>瑞文</p>
        <li>贾克斯</li>
    </div>

    <div>
        <p>金克丝</p>
        <li>拉克丝</li>
    </div>
</body>

</html>点击 "运行实例" 按钮查看在线实例
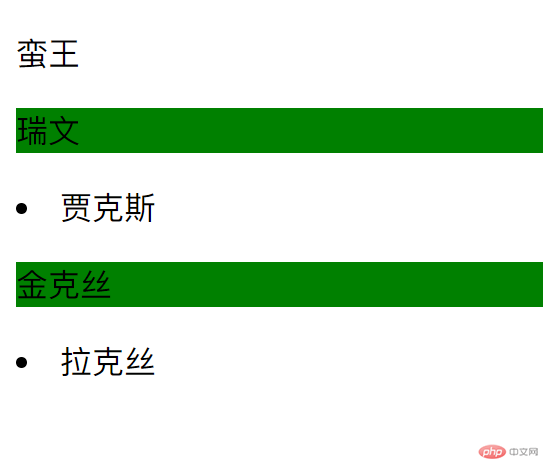
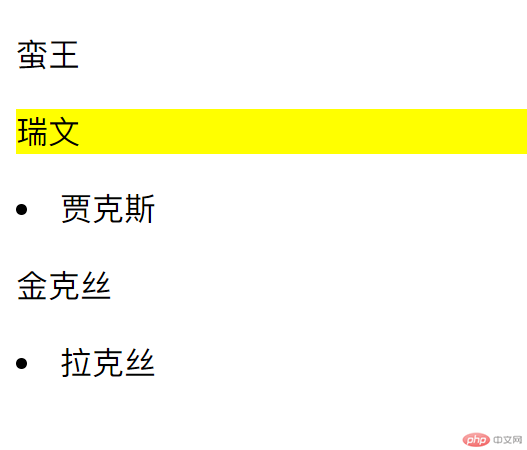
但是如果我们想只选择上面那个div里面的第二个p标签的话,那么就可以用到nth-of-type选择器。代码如下:
<!DOCTYPE html>
<html lang="en">

<head>
    <meta charset="UTF-8">
    <meta name="viewport" content="width=device-width, initial-scale=1.0">
    <meta http-equiv="X-UA-Compatible" content="ie=edge">
    <title>Document</title>
    <style>
        /* div :nth-last-child(2) {
            background-color: green;
        } */

        p:nth-of-type(2) {
            background-color: yellow;
        }
    </style>
</head>

<body>
    <div>
        <p>蛮王</p>
        <p>瑞文</p>
        <li>贾克斯</li>
    </div>

    <div>
        <p>金克丝</p>
        <li>拉克丝</li>
    </div>
</body>

</html>点击 "运行实例" 按钮查看在线实例
(三)实例演示:padding 对盒子大小的影响与解决方案, 使用宽度分离或box-sizing
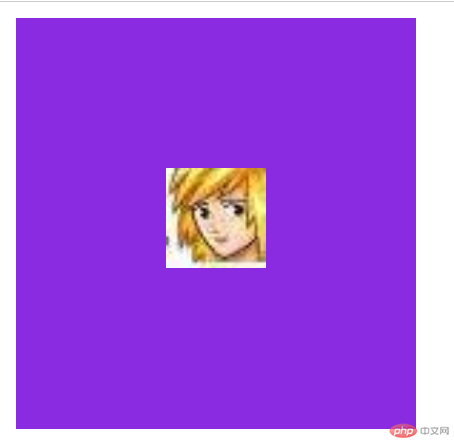
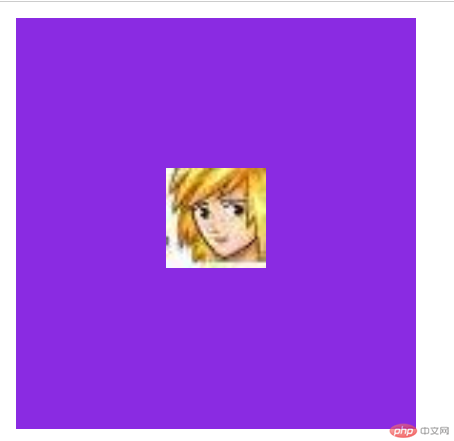
盒子模型里面,如果想要将图片放在容器中间的话,我们可以使用padding的方法去给容器添加内边距,把图片顶到中间去。
方法一:
<!DOCTYPE html>
<html lang="en">

<head>
    <meta charset="UTF-8">
    <meta name="viewport" content="width=device-width, initial-scale=1.0">
    <meta http-equiv="X-UA-Compatible" content="ie=edge">
    <title>padding</title>
    <style>
        div {
            width: 200px;
            background-color: blueviolet;
            padding: 75px;
        }

        div {
            width: 50px;
        }
    </style>
</head>

<body>
    <div>
        <img src="./1.jpg" alt="" width="50px" height="50px">
    </div>
</body>

</html>点击 "运行实例" 按钮查看在线实例
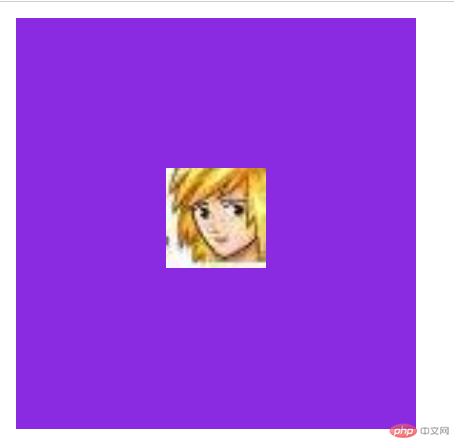
方法二-宽度分离:
增加一个中间层,在里面的容器里设置padding
<!DOCTYPE html>
<html lang="en">

<head>
    <meta charset="UTF-8">
    <meta name="viewport" content="width=device-width, initial-scale=1.0">
    <meta http-equiv="X-UA-Compatible" content="ie=edge">
    <title>padding</title>
    <style>
        .box1 {
            width: 200px;
            background-color: blueviolet;
        }

        .box2 {
            padding: 75px;
            width: 50px;
        }
    </style>
</head>

<body>
    <div class="box1">
        <div class="box2">
            <img src="./1.jpg" alt="" width="50px" height="50px">
        </div>

    </div>
</body>

</html>点击 "运行实例" 按钮查看在线实例
方法三:box-sizing
通过box-sizing把盒子从content边缘变成border边缘。这样盒子就不会被撑大了。
<!DOCTYPE html>
<html lang="en">

<head>
    <meta charset="UTF-8">
    <meta name="viewport" content="width=device-width, initial-scale=1.0">
    <meta http-equiv="X-UA-Compatible" content="ie=edge">
    <title>padding</title>
    <style>
        .box1 {
            width: 200px;
            background-color: blueviolet;
            box-sizing: border-box;
            padding: 75px;
        }
    </style>
</head>

<body>
    <div class="box1">
        <img src="./1.jpg" alt="" width="50px" height="50px">

    </div>
</body>

</html>点击 "运行实例" 按钮查看在线实例
(四)实例演示: margin中的同级塌陷, 嵌套传递与自动挤压, 并提出解决方案或应用场景
margin的问题比较多,分为同级塌陷、嵌套传递和自动挤压。
同级塌陷:
<!DOCTYPE html>
<html lang="en">

<head>
    <meta charset="UTF-8">
    <meta name="viewport" content="width=device-width, initial-scale=1.0">
    <meta http-equiv="X-UA-Compatible" content="ie=edge">
    <title>同级塌陷</title>
    <style>
        .item1 {
            width: 100px;
            height: 100px;
            margin-bottom: 30px;
            background-color: pink;
        }

        .item2 {
            width: 100px;
            height: 100px;
            margin-top: 20px;
            background-color: blue;
        }
    </style>
</head>

<body>
    <div class="item1"></div>
    <div class="item2"></div>
</body>

</html>点击 "运行实例" 按钮查看在线实例
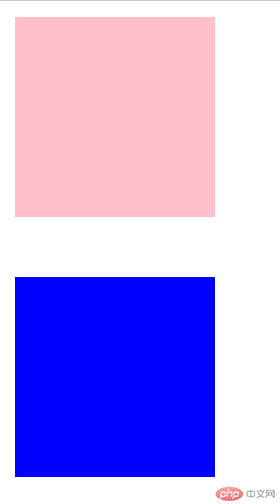
当上下都有margin属性时,会产生同级塌陷,就是说那个margin属性大,就显示哪个margin属性,另外一个margin属性不显示。
嵌套传递:
<!DOCTYPE html>
<html lang="en">

<head>
    <meta charset="UTF-8">
    <meta name="viewport" content="width=device-width, initial-scale=1.0">
    <meta http-equiv="X-UA-Compatible" content="ie=edge">
    <title>嵌套传递</title>
    <style>
        .box3 {
            width: 200px;
            height: 200px;
            margin-bottom: 30px;
            background-color: pink;
        }

        .box4 {
            width: 100px;
            height: 100px;
            margin-top: 20px;
            background-color: blue;
            margin-top: 50px;
        }
    </style>

</head>

<body>
    <div class="box3">
        <div class="box4"></div>
    </div>
</body>

</html>点击 "运行实例" 按钮查看在线实例
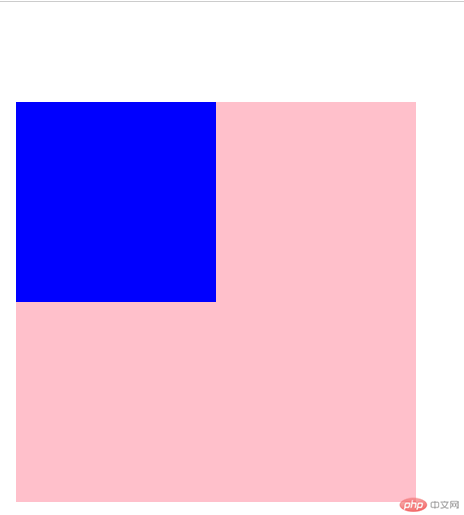
明明给里面的div设置了margin属性,但是实际上却是外面的div有了margin属性,这个就叫做嵌套传递。解决方法有给父元素加一个padding属性,把子元素顶下去。
自动挤压:
如果给一个元素设置左边边距为自动值的话,那么浏览器就会把尽可能大的空间给到这个元素。同理,如果是右边距是自动值的话,就右边距给到最大。所以如果左右都是auto的话,那么这个元素就会居中了。
<!DOCTYPE html>
<html lang="en">

<head>
    <meta charset="UTF-8">
    <meta name="viewport" content="width=device-width, initial-scale=1.0">
    <meta http-equiv="X-UA-Compatible" content="ie=edge">
    <title>自动挤压</title>
    <style>
        .box {
            width: 150px;
            height: 150px;
            background-color: blue;
            margin: auto;
        }
    </style>
</head>

<body>
    <div class="box"></div>
</body>

</html>点击 "运行实例" 按钮查看在线实例

这个特点以后可以用在想把元素在浏览器居中的时候使用,非常方便。