


相邻选择器选中的是紧挨着的下一个元素,用 #id + * 号表示。
兄弟选择器选择的是从本身开始以后的元素,用 #id + ~ 号表示。
Nth-child(): 伪类:子元素选择器。
Nth-of-type():伪类:类型选择器。
如果关注点是位置,用nth-child()
如果既关注位置也关注类型,用nth-of-type()
<!DOCTYPE html>
<html lang="en">
<head>
    <meta charset="UTF-8">
    <link rel="stylesheet" href="static/css/style.css">
    <title>选择器</title>
</head>
<body>
<ul>
    <li class="bg-one">1</li>
    <li id="bg-one">2</li>
    <li class="bg-one">3</li>
    <li class="bg-one">4</li>
    <li id="bg-two">5</li>
    <li>6</li>
    <li>7</li>
    <li>8</li>
    <li>9</li>
    <li>10</li>

</ul>

</body>

</html>
点击 "运行实例" 按钮查看在线实例
ul {
    margin: 0;
    padding-left: 0;
    border: 1px dashed lightcoral;
}
ul li {
    list-style-type: none;
    width: 50px;
    height: 50px;
    background-color: #8abeb7;
    border: 1px solid red;
    line-height: 50px;
    /*水平和垂直居中*/
    text-align: center;
    border-radius: 50%;
    /*将一个块级元素转为内联元素*/
    display: inline-block;
}
/*相邻选择器, #bg-one 这个id属性,用 *是选中后边的最相邻的*/
#bg-one + * {
    /*background-color: aqua;*/
}
/*兄弟选择器,#bg-two这个id属性后的都是属于兄弟选择器的选择范围*/
#bg-two ~ * {
    /*background-color: green;*/
}
/*nth-child() 伪类:子元素选择器  ()中是索引从1开始*/
ul :nth-child(7) {
    background-color: red;
}
/*nth-of-type() 伪类:类型选择器*/
ul li:nth-of-type(8) {
    background-color: hotpink;
    color: white;
}点击 "运行实例" 按钮查看在线实例
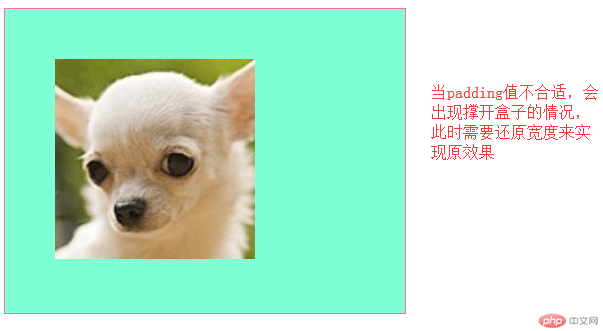
通过实例:将图片显示在容器中间 来演示padding对盒子大小影响以及解决方案
a) 当padding撑开盒子的时候,可以通过直接还原宽度来还原原本的效果
还原后效果:
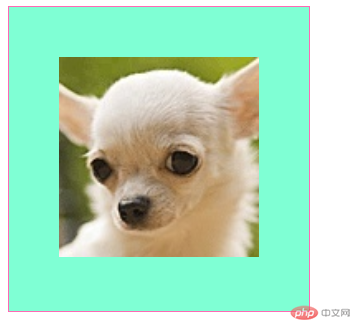
此方式为:通过手工修改盒子宽度实现图片居中
方式2:宽度分离,通过添加一个中间层实现图片居中
<div><div></div></div>
方式3:box-sizing: border-box;来限制盒子
代码汇总:
<!DOCTYPE html>
<html lang="en">
<head>
    <meta charset="UTF-8">
    <link rel="stylesheet" href="static/css/style1.css">
    <title>padding</title>
</head>
<body>
<!--将图片显示在容器中间-->
<div class="box1">
    <img src="images/jww.jpg" alt="吉娃娃" width="200px">
</div>

<!--宽度分离  通过添加一个中间层实现图片居中-->
<div class="wrap">
    <div class="box2">
        <img src="images/jww.jpg" alt="吉娃娃" width="200px">
    </div>
</div>
<!--box-sizing-->
<div class="box3">
    <img src="images/jww.jpg" alt="吉娃娃" width="200px">
    <a href="https://www.w3school.com.cn/cssref/pr_box-sizing.asp">点我看box-sizing用法</a>
</div>

</body>
</html>
点击 "运行实例" 按钮查看在线实例
/*通过手工修改宽度数值实现图片居中*/
.box1 {
    width: 300px;
    border: 1px solid hotpink;
    background-color: aquamarine;
}
.box1 {
    padding: 50px;
    width: 200px;
}

/*宽度分离*/
.wrap {
    width: 300px;

}

.box2 {
    padding: 50px;
    background-color: aqua;
    border: 1px solid coral;
}

/*box-sizing*/
.box3 {
    width: 300px;
    box-sizing: border-box;
    padding:50px;
    background-color: lightcoral;
    border: 1px solid slateblue;
}点击 "运行实例" 按钮查看在线实例
margin中的同级塌陷, 嵌套传递与自动挤压
同级塌陷:指垂直方向上的高度塌陷
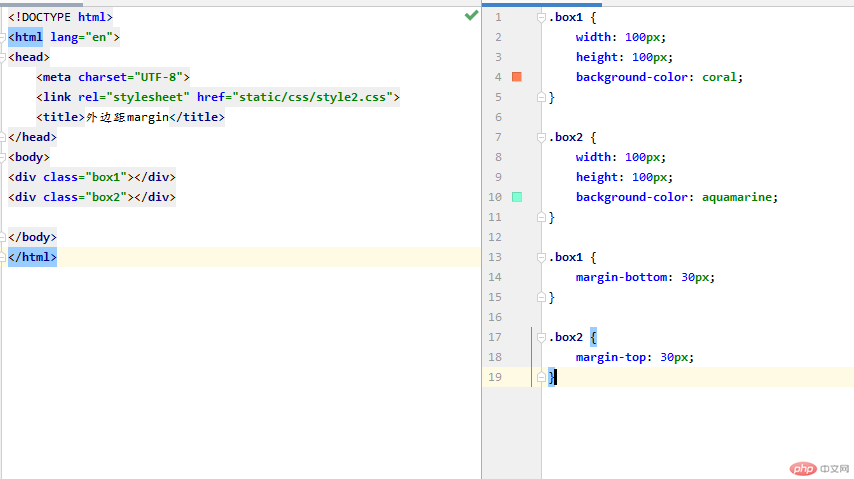
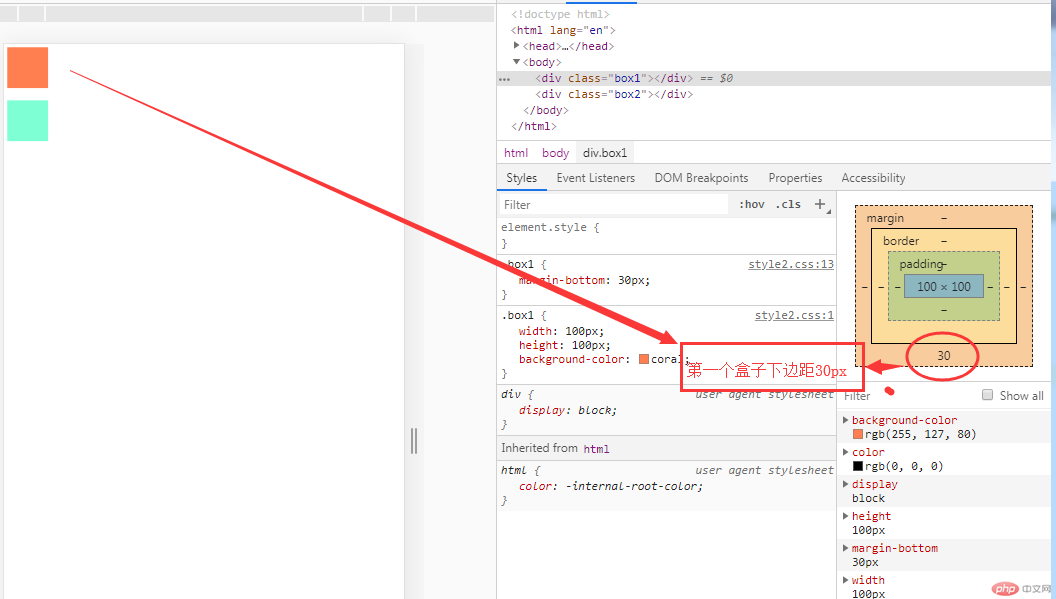
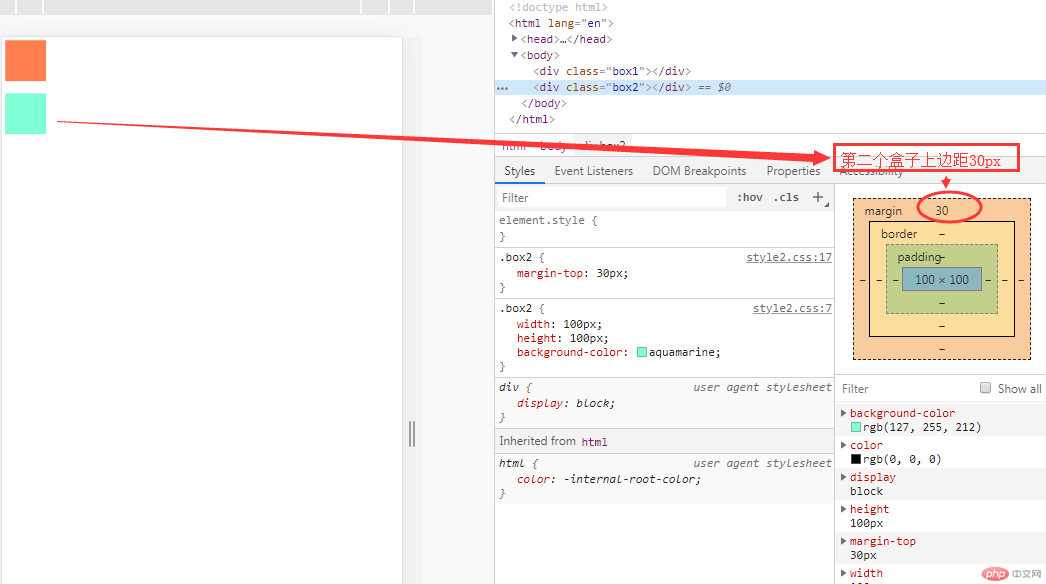
通过修改 box1的上边距像素为50px,发现下边的盒子陷入到上边盒子的边距里面去了,谁向谁塌陷,遵循谁大以谁为准。
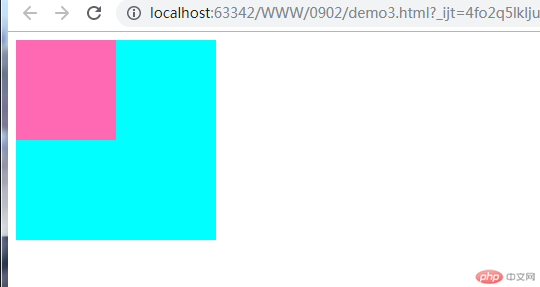
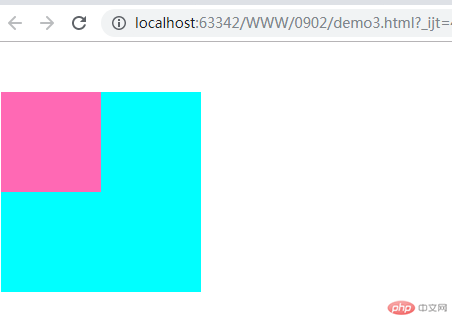
嵌套传递:是一个嵌套级的关系,子元素的外边距会自动传递到父元素上
举例: <div class=”box3”>
<div class=”box4”></div>
</div>
传递前效果:
传递后效果:
自动挤压:某一个元素设置外边距的时候,会尽可能的自动挤压,尽可能的将位置留给对方尽可能的扩大。


代码:
<!DOCTYPE html>
<html lang="en">
<head>
    <meta charset="UTF-8">
    <link rel="stylesheet" href="static/css/style2.css">
    <title>外边距margin</title>
</head>
<body>
<!--同级塌陷-->
<div class="box1"></div>
<div class="box2"></div>
<!--嵌套传递-->
<div class="box3">
    <div class="box4"></div>
</div>
<!--自动挤压-->
<div class="box5"></div>
</body>
</html>
点击 "运行实例" 按钮查看在线实例
/*!*同级塌陷*!*/
/*.box1 {*/
/*    width: 100px;*/
/*    height: 100px;*/
/*    background-color: coral;*/
/*}*/

/*.box2 {*/
/*    width: 100px;*/
/*    height: 100px;*/
/*    background-color: aquamarine;*/
/*}*/

/*.box1 {*/
/*    margin-bottom: 30px;*/
/*}*/

/*.box2 {*/
/*    margin-top: 30px;*/
/*}*/

.box3 {
    width: 200px;
    height: 200px;
    background-color: aqua;
}
.box4 {
    width: 100px;
    height: 100px;
    background-color: hotpink;
}
/*此处子元素会传递到父元素*/
.box4 {
    /*margin-top: 50px;*/
}
/*通过修改父元素内边距距离和整体高度实现*/
.box3 {
    padding-top: 50px;
    height: 150px;
}
.box5 {
    width: 150px;
    height: 150px;
    background-color: #008856;
}
.box5 {
    margin:auto;
    /*比如要求做坐外边赋值auto,会自动给左侧尽力空出位置,挤压到右侧*/
    /*margin-left: auto;*/
    /*当赋值右外边auto,自动尽力挤压到左侧*/
    /*margin-right: auto;*/
}点击 "运行实例" 按钮查看在线实例
总结:
1.
相邻选择器选中的是紧挨着的下一个元素,用 #id + * 号表示。
兄弟选择器选择的是从本身开始以后的元素,用 #id + ~ 号表示。
Nth-child(): 伪类:子元素选择器。
Nth-of-type():伪类:类型选择器。
如果关注点是位置,用nth-child()
如果既关注位置也关注类型,用nth-of-type()
2.
padding的展示方式影响了盒子的效果,可以通过多种方式实现最终效果。
3.
同级塌陷:指垂直方向上的高度塌陷
嵌套传递:是一个嵌套级的关系,子元素的外边距会自动传递到父元素上
自动挤压:某一个元素设置外边距的时候,会尽可能的自动挤压,尽可能的将位置留给对方尽可能的扩大。