Correction status:qualified
Teacher's comments:浮动的用途还有很有用的, 并非全是负面


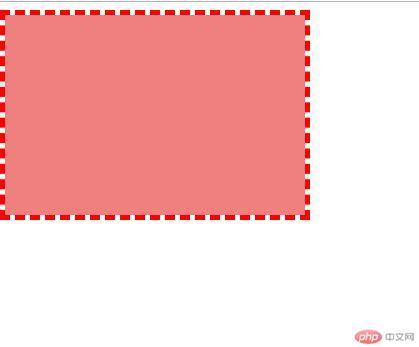
实例演示如何消除子元素浮动造成父元素高度折叠的影响
<!DOCTYPE html>
<html>
<head>
	<meta charset="utf-8">
	<title>外边距</title>
	<link rel="stylesheet" type="text/css" href="div.css">
	<style type="text/css">
.box1 {
	width: 300px;

	border: 5px dashed red;
}
.box2 {
	width: inherit;
	height: 200px;
	background-color: lightcoral;

}

/* .box2{
	float: left;
} */
.box1 {
	overflow: hidden;
}

	</style>
</head>
<body>

<div class="box1">
	<div class="box2"></div>
</div>


</body>
</html>点击 "运行实例" 按钮查看在线实例

总结:当设置父元素CSS属性值overflow:hidden后,子元素的高度变化时,父元素的高度也随着子元素变化。
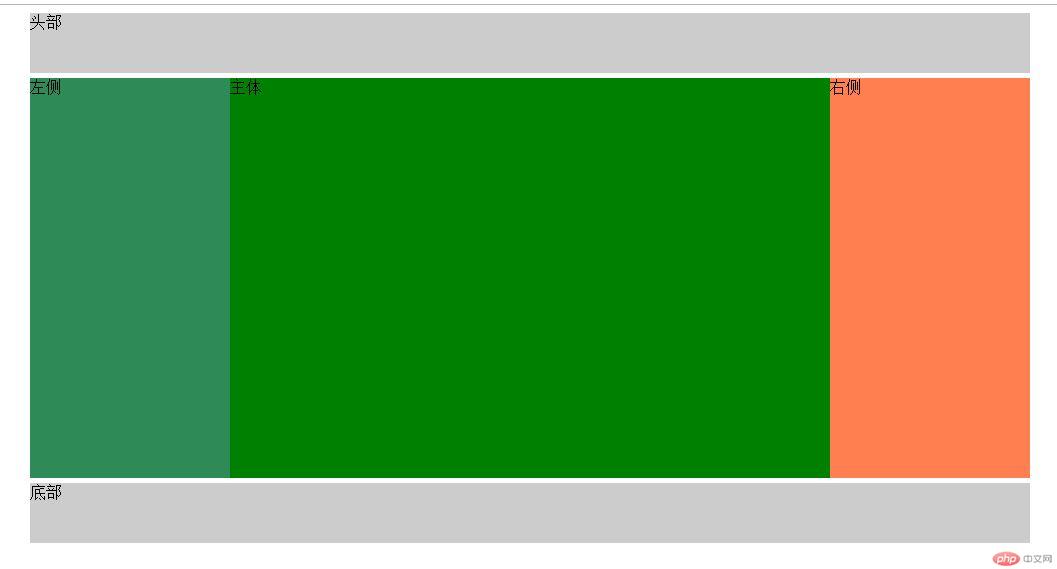
2.实例演示三列布局的实现原理(绝对定位实现,浮动定位实现)
绝对定位:
<!DOCTYPE html>
<html>
<head>
	<meta charset="utf-8">
	<title>三列布局(绝对定位)</title>
	<link rel="stylesheet" type="text/css" href="div.css">
	<style type="text/css">
	.container {
		width: 1000px;
		margin: 0 auto;
	}
	.header,.footer {
		height: 60px;
		background-color: #ccc;
	}
	.main {
		background-color: blue;
		margin: 5px auto;
	}
	.main_left {
		width: 200px;
		min-height: 400px;
		background-color: seagreen;
	}
	.main_content {
		min-height: 400px;
		background-color: green;
	}
	.main_right {
		width: 200px;
		min-height: 400px;
		background-color: coral;
	}
	.main {
		position: relative;
	}
	.main_left {
		position: absolute;
		left: 0;
		top: 0;
	}
	.main_right {
		position: absolute;
		right:  0;
		top: 0;
	}
	.main_content {
		margin-left: 200px;
		margin-right: 200px;
	}
	</style>
</head>
<body>

<div class="container">
	<div class="header">头部</div>


<div class="main">
	<div class="main_left">左侧</div>
	<div class="main_content">主体</div>
	<div class="main_right">右侧</div>
</div>

<div class="footer">底部</div>

</div>
</body>
</html>点击 "运行实例" 按钮查看在线实例
通过对主体先使用绝对定位,然后,将两侧的侧边栏使用绝对定位,左侧参考左上角,右侧参考右上角,中间的主体部分,运用挤压方式,测出中间主体的宽度,margin-left/right 设置后生效。

浮动定位:
<!DOCTYPE html>
<html>
<head>
	<meta charset="utf-8">
	<title>三列布局(浮动定位)</title>
	<link rel="stylesheet" type="text/css" href="div.css">
	<style type="text/css">
	.container {
		width: 1000px;
		margin: 0 auto;
	}
	.header,.footer {
		height: 60px;
		background-color: #ccc;
	}
	.main {
		background-color: blue;
		margin: 5px auto;
	/* 使用overflow:hidden方式来达到清除浮动的效果 */
		overflow: hidden;
	}
	.main_left {
		width: 200px;
		min-height: 400px;
		background-color: seagreen;
	}
	.main_content {
		min-height: 400px;
		background-color: green;
	}
	.main_right {
		width: 200px;
		min-height: 400px;
		background-color: coral;
	}
	/* 浮动定位 */
	.main_left {
		float: left;
	}
	.main_right {
		float: right;
	}
	.main_content {
		float: left;
		width: 600px;

	}
	 /* 清除浮动 下面的方式不推荐使用,因为主体内容有父元素,对父元素有影响 */
	/*  .footer {
		clear: both;
	}
	 */


	</style>
</head>
<body>

<div class="container">
	<div class="header">头部</div>


<div class="main">
	<div class="main_left">左侧</div>
	<div class="main_content">主体</div>
	<div class="main_right">右侧</div>
</div>

<div class="footer">底部</div>

</div>
</body>
</html>点击 "运行实例" 按钮查看在线实例

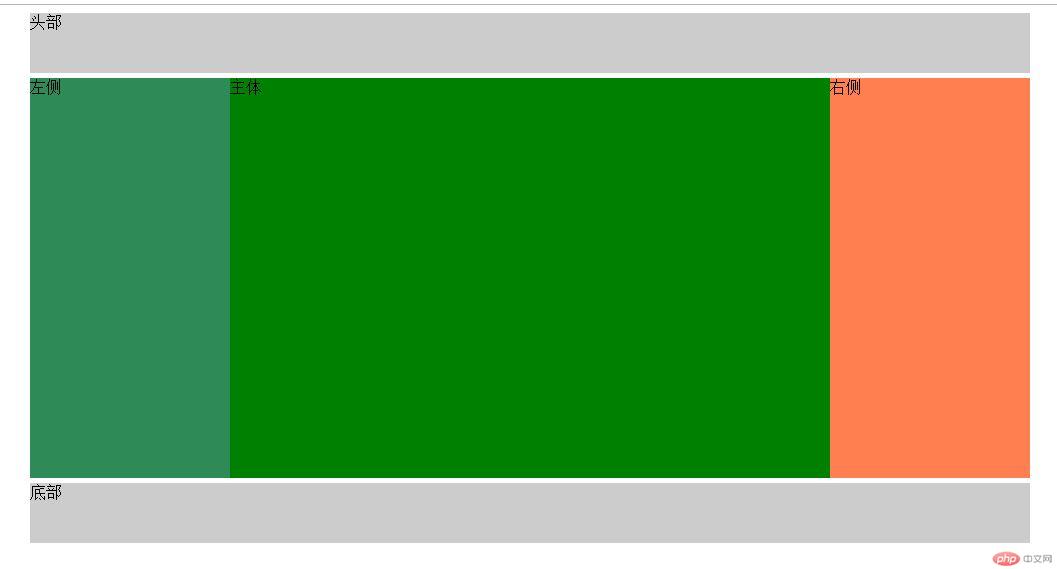
浮动定位中,左侧向左浮动,右侧向右浮动,中间的部分随意,一般习惯使用左浮动并设置中间的宽度,底部页脚部分会消失,其实不是消失,而是由于主体内容浮动后脱离文档流,底部灰色部分隐藏到主体内容后边。通过清除浮动达到显示底部内容(overflow: hidden)这个属性值添加到主体元素的父元素CSS类选择器。