Correction status:qualified
Teacher's comments:把课堂代码又抄了一遍, 如果是这样, 就应该多写几遍, 彻底的记住它


1. 写一个自定义异常类来处理上传过程以及各种错误


<?php


// 文件上传
// PHP使用一个超全局变量: $_FILES 来处理文件上传

// 1. 配置参数
// 允许上传的文档类型
$fileType = ['jpg', 'jpeg', 'gif'];

// 设置允许文件上传的最大的长度
$fileSize = 3145728;

// 上传到服务器的指定目录
$filePath = '/uploads/';

// 原始文件名
$fileName = $_FILES['my_file']['name'];

// 上传到服务器上临时文件名

$tempFile = $_FILES['my_file']['tmp_name'];

// 2. 判断文件是否上传成功?
//$_FILES['my_file']['error'], 0;表示成功,大于1出错
$uploadError = $_FILES['my_file']['error'];
if ($uploadError > 0){
    switch ($uploadError){
        case 1:
        case 2: die('上传文档不允许超过3M');
        case 3: die('上传文件不完整');
        case 4: die('没有文件被上传');
        default: die('未知错误');
    }
}


// 3. 判断文件扩展名是否正确?
// girl.jpg

$extension = explode('.', $fileName)[1];
if (!in_array($extension, $fileType)) {
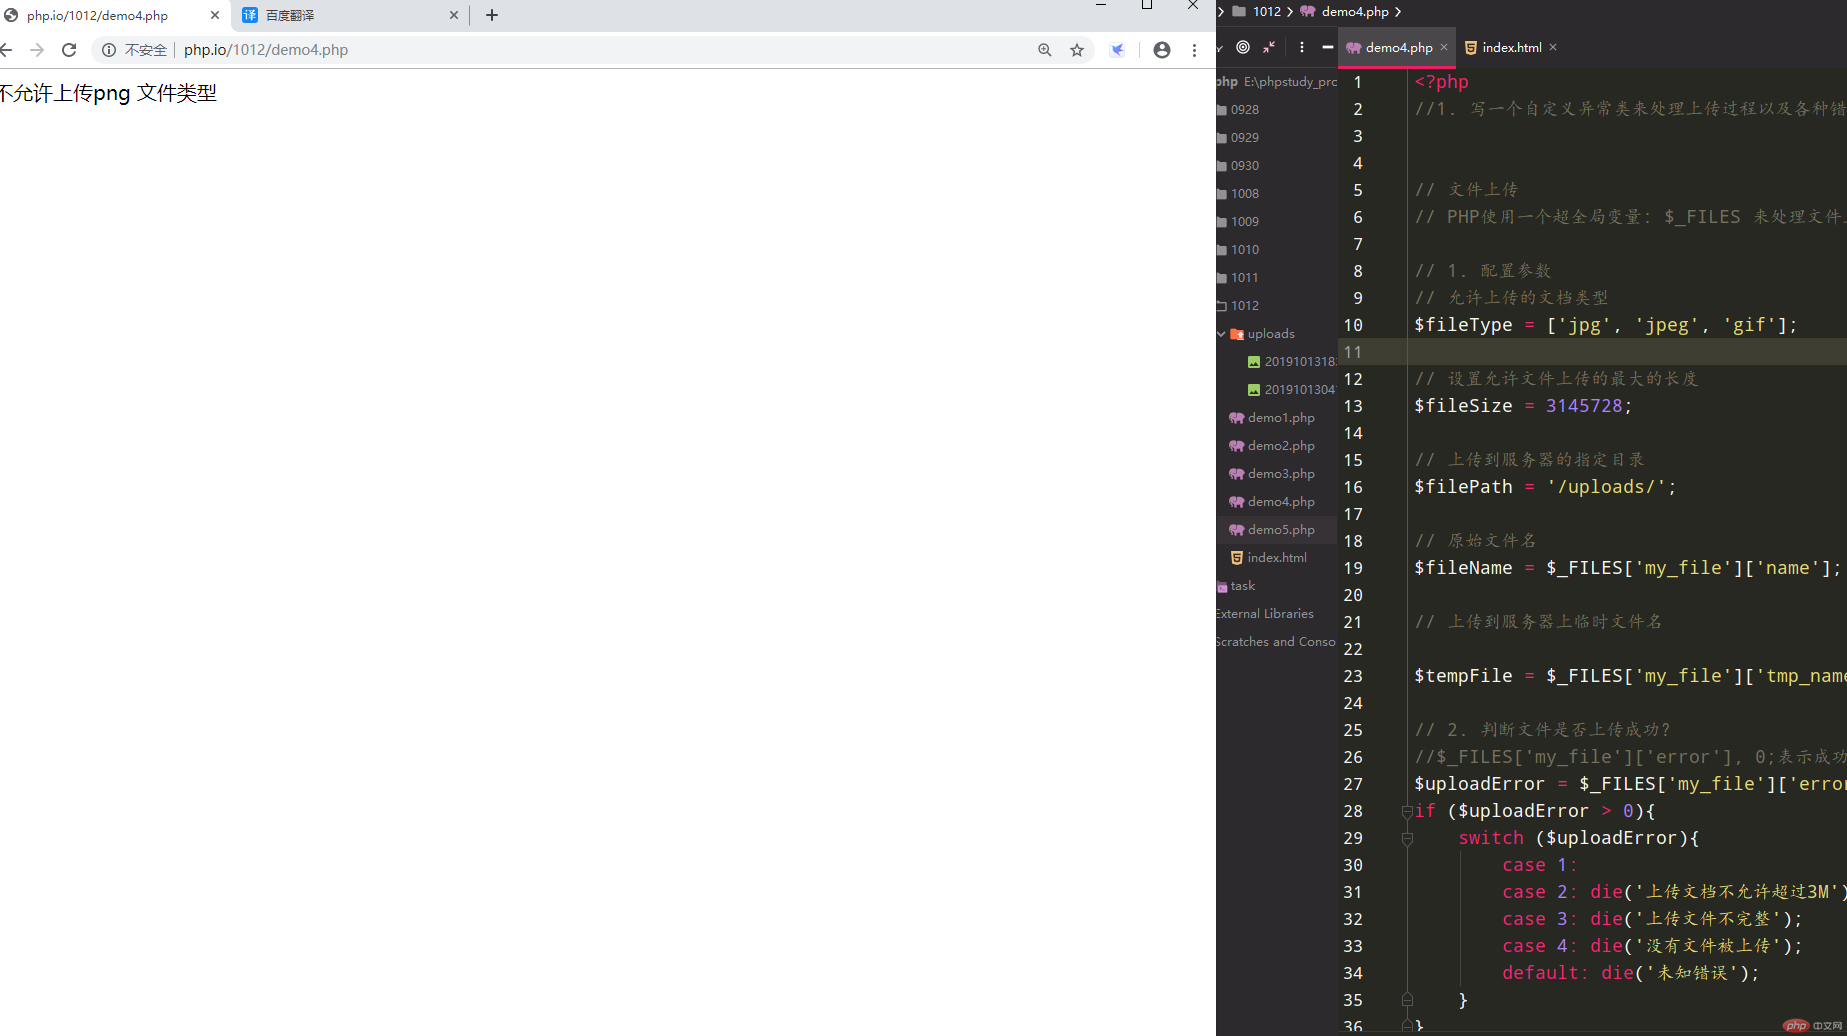
    die ('不允许上传' . $extension . ' 文件类型');
}


// 4. 为了防止同名覆盖,将上传的文件重命名:md5+时间戳
$fileName = date('YmdHis',time()).md5(mt_rand(1,99)).'.' . $extension;

// 5. 上传文件
if (is_uploaded_file($tempFile)) {
    if (move_uploaded_file($tempFile, __DIR__.$filePath.$fileName)){
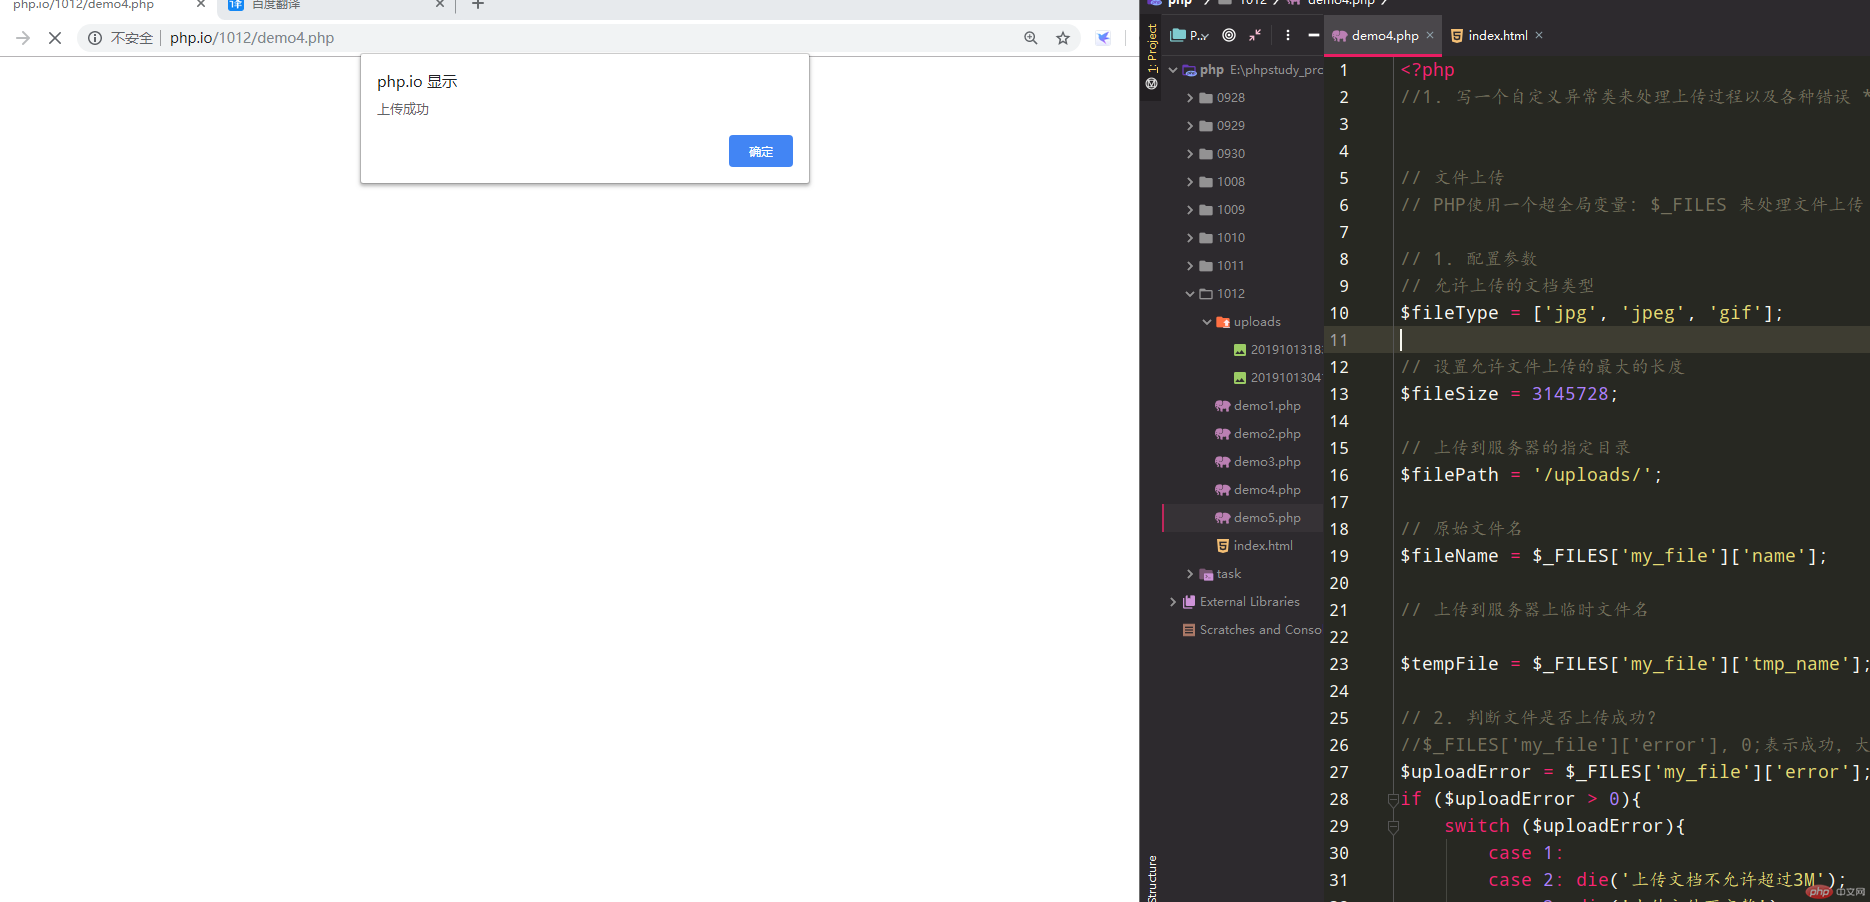
        echo '<script>alert("上传成功");history.back();</script>';

    } else {
        die('文件无法移动到指定目录,请检查目录权限');
    }
} else {
    die('非法操作');
}
exit();

?>点击 "运行实例" 按钮查看在线实例
<!doctype html>
<html lang="en">
<head>
    <meta charset="UTF-8">
    <meta name="viewport"
          content="width=device-width, user-scalable=no, initial-scale=1.0, maximum-scale=1.0, minimum-scale=1.0">
    <meta http-equiv="X-UA-Compatible" content="ie=edge">
    <title>文件上传</title>
</head>
<body>
<!--1.请求类型必须是pos-->
<!--数据编码类型:使用符合类型,通知服务器上传的是文件类型-->
<form action="demo4.php" method="post" enctype="multipart/form-data">
    <input type="file" name="my_file" id="">
    <input type="hidden" name="MAX_FILE_SIZE" value="3145728">
    <button>上传</button>

</form>
</body>
</html>
点击 "运行实例" 按钮查看在线实例
2. (选做) 写一个与指定数据表绑定的类, 实现基本的模型功能,例如查询, 新增, 更新,删除等操作

<?php


// 框架中的模型通常是与一张数据表进行关联
// 实现了类 到 数据表 的映射

namespace _1012;

use PDO;

// 类名与表名对应
class Staff
{
    // 属性与表中的字段对应
    private $staff_id;
    private $name;
    private $age;
    private $sex;
    private $position;
    private $hiredate;

    //属性重载
    public function __get($name)
    {
        return $this->$name;
    }

    public function __set($name, $value)
    {
        $this->$name = $value;
    }

    // 构造方法
    public function __construct()
    {
        $this->hiredate = date('Y/m/d',$this->hiredate);

        $this->sex = $this->sex ? '男' : '女';
    }


}


$pdo = new PDO('mysql:dbname=php', 'root', 'root');
$stmt = $pdo->prepare('SELECT * FROM `staff`');
$stmt->setFetchMode(PDO::FETCH_CLASS,Staff::class);
$stmt->execute();

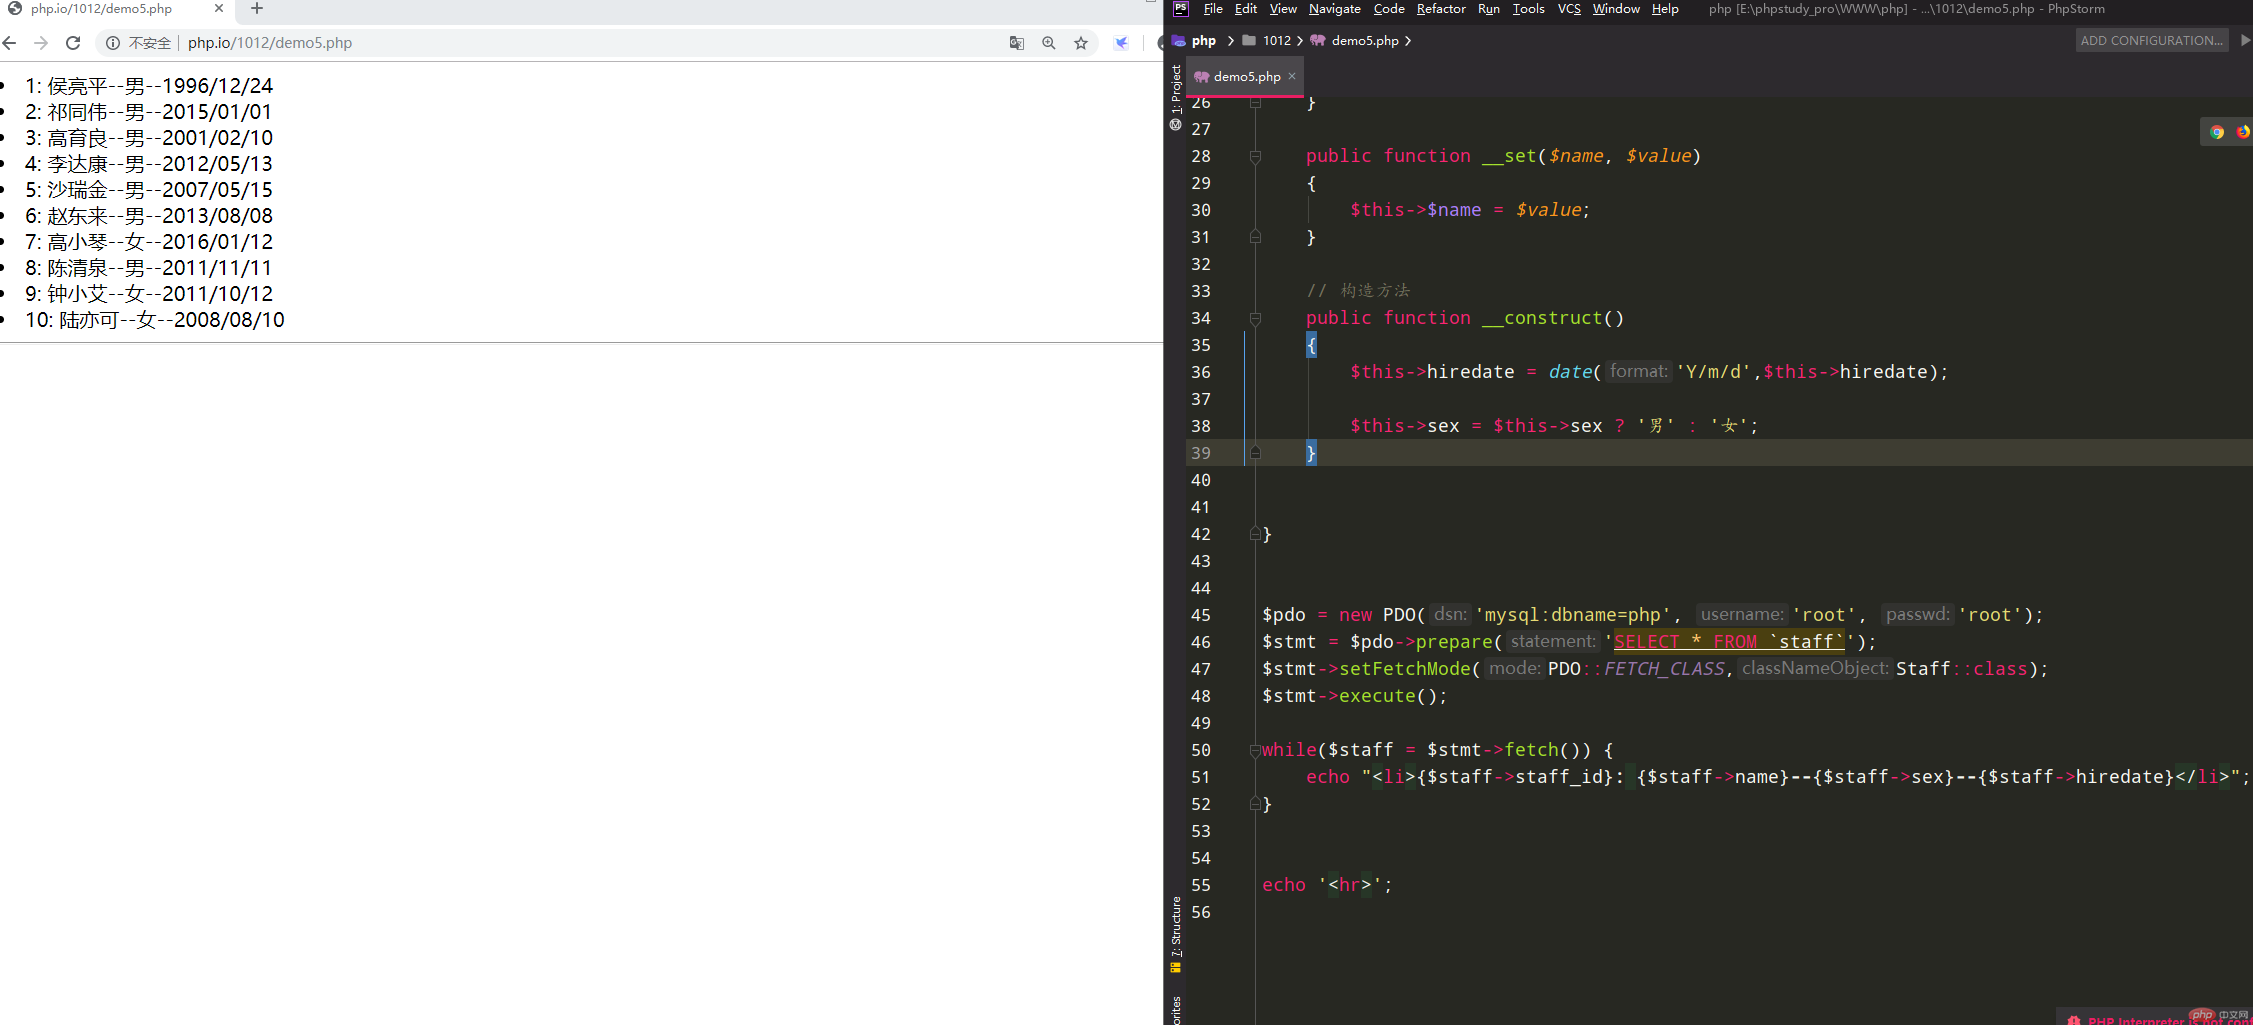
while($staff = $stmt->fetch()) {
    echo "<li>{$staff->staff_id}: {$staff->name}--{$staff->sex}--{$staff->hiredate}</li>";
}


echo '<hr>';

?>点击 "运行实例" 按钮查看在线实例