


一、默写盒模型的全部属性,并准确说出他们的场景
1、content 内容区Width: 宽度Height: 高度Background: 背景
2、padding 内边距 Padding-top Padding-right Padding-bottom Padding-legt
3、border 填充 Border-top Border-right Border-buttom Border-left Width style color
4、margin 外边距Margin-topMargin-ringhtMargin-buttomMargin-left
就是利用盒子模型进行网站布局,如网站中的栏目 图片区域、广告位等。
二、box-sizing: 解决了什么问题,不用它应该如何处理box-sizing
解决了盒子添加边框和内边距时会撑开盒子改变大小,影响布局的问题。如果不用它应为用如下方法解决:手工计算盒子和边框、内边距的大小进行手工调整内容区的大小。
三、盒子外边距之间的合并时怎么回事,并实例演示
同级盒子之间,添加外边距后,出现了为边距的合并,也就外边距的塌陷。二个盒子之间的间距,最终由较大值确定。
<!DOCTYPE html>
<html lang="en">
<head>
    <meta charset="UTF-8">
    <title>三、	盒子外边距之间的合并</title>
    <link rel="stylesheet" href="static/css/3.css">
</head>
<body>
<div class="box1">
    <img src="static/images/1.png" alt="">
</div>
<div class="box2">
    <img src="static/images/2.png" alt="">
</div>
</body>
</html>
</html>
点击 "运行实例" 按钮查看在线实例
.box1{
    width: 300px;
    height: 300px;
    background-color: aqua;
}

.box2 {
    width: 450px;
    height: 400px;
    background-color: lightcyan;
}

.box1 > img {
    width: 100%;
}

.box2 > img{
    width: 100%;
}

.box1 {
    margin-bottom: 20px;
}

.box2{
    margin-top: 30px;
}点击 "运行实例" 按钮查看在线实例
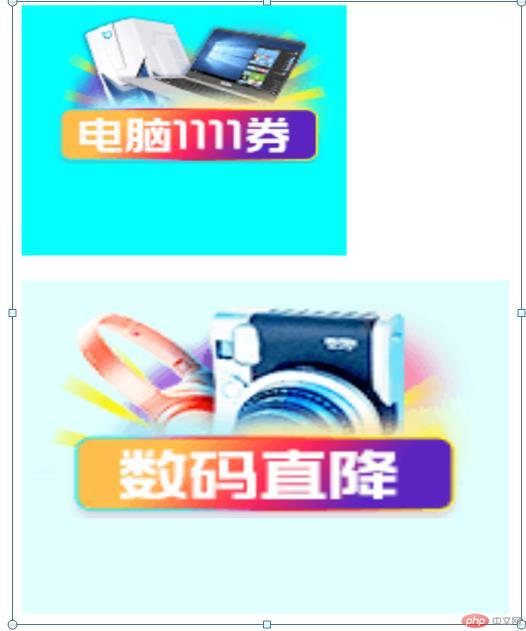
四、嵌套盒子之间内边距和外边距的表现有何不同,如何处理?
子盒子的外边距会传递给父盒子,通过给父盒子添加内边距或边框来解决
外边距在水平方向取值auto时,可以实现盒子的水平居中显示效果。
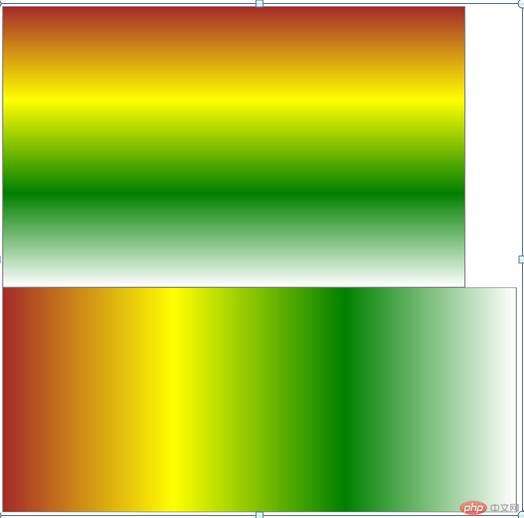
五、实例演示:背景颜色的先性渐变的
<!DOCTYPE html>
<html lang="en">
<head>
    <meta charset="UTF-8">
    <title>背景颜色的先性渐变的</title>
    <link rel="stylesheet" href="static/css/5.css">
</head>
<body>
<div class="box"></div>
<div class="box1"></div>
</body>
</html>
点击 "运行实例" 按钮查看在线实例
.box{
    width: 450px;
    height: 500px;
    box-sizing: border-box;
    background-color: lightcyan;
    border: 1px solid gray;
}
/*线性渐变,从上到下方向渐变*/
.box{
    background: linear-gradient(brown,yellow,green,white);
}

.box1{
    width: 500px;
    height: 400px;
    box-sizing: border-box;
    background-color: lightcyan;
    border: 1px solid gray;
}
/*!*向右渐变**/
.box1{
  background: linear-gradient(to right,brown,yellow,green,white);
}点击 "运行实例" 按钮查看在线实例
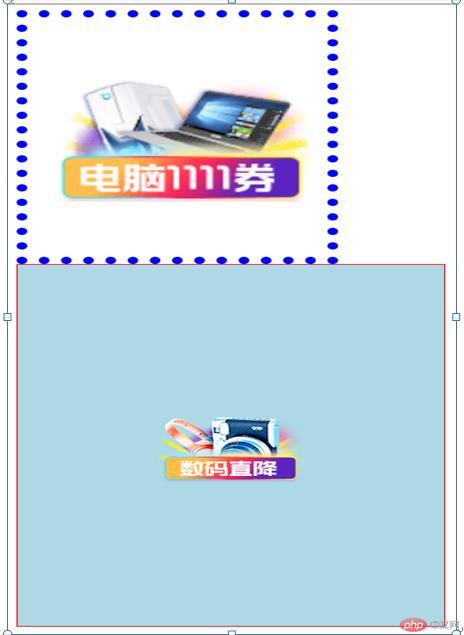
六、实例演示:背景图片的大小和位置的设定
<!DOCTYPE html>
<html lang="en">
<head>
    <meta charset="UTF-8">
    <title>背景图片的大小和位置的设定</title>
    <link rel="stylesheet" href="static/css/6.css">
</head>
<body>
<div class="box1">

</div>
<div class="box2">

</div>
</body>
</html>
点击 "运行实例" 按钮查看在线实例
.box1{
     width: 300px;
     height: 350px;
     box-sizing: border-box;
     border: 10px dotted blue;
    background-image: url("../images/1.png");
 }
.box2{
    width: 400px;
    height: 500px;
    box-sizing: border-box;
    border: 1px solid red;
}

.box1{
    /*background-size: cover;*/
    /*background-position: right center;*/
    background-repeat: no-repeat;
    background-position: center center;
    /*background-size: cover;*/
    background-size: contain;

}
.box2{
    background: lightblue url("../images/2.png") no-repeat center center;
}点击 "运行实例" 按钮查看在线实例
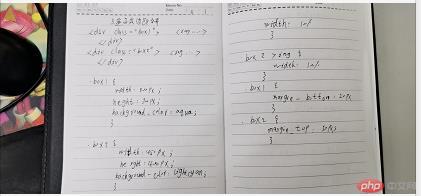
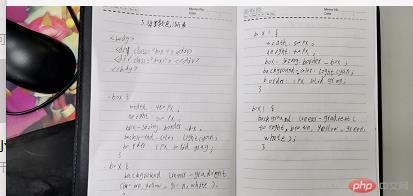
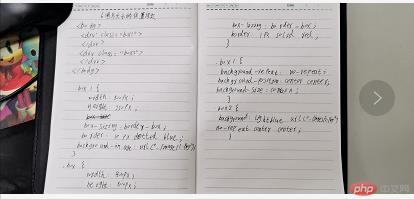
七、手抄作业
八、总结:
通过对盒子的学习,对css的布局有了一定的了解。