


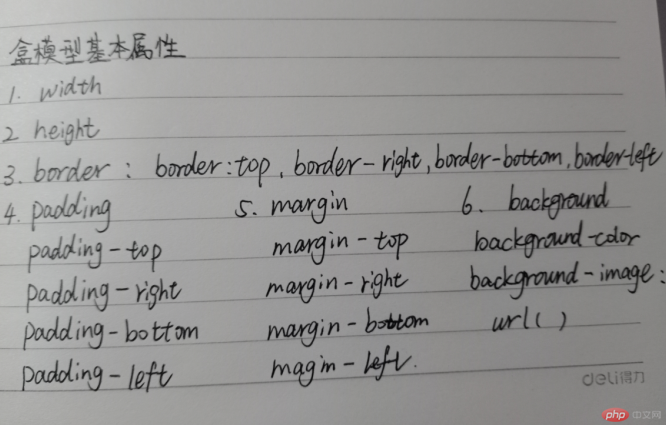
1、默写盒模型的全部属性,并准确说出他们的应用场景
盒模型的六个常用属性:宽、高、背景、内外边距和边框称为盒模型六大要素。
width:宽度,设置内容的宽
height:高度,设置内容的高
background:背景,可以设置盒子的背景颜色以及背景图片。background-color,background-image
padding:内边距(透明的),盒子里的内容和边框之间的距离。
具有方向性,分为padding-top,padding-right,padding-bottom,padding-left
margin:外边距,盒子的边界和周围元素之间的距离。
同样具有方向性,分为margin-top,margin-right,margin-bottom,margin-left
border:盒子的边框,同样分为border-top,border-right,border-bottom,border-left。每条边包括的属性有颜色宽度和线条样式。
2、`box-sizing`: 解决了什么问题, 不用它应该如何处理
box-sizing解决了盒子本身的大小总被添加的内边距和边框撑大的问题,不用box-sizing应手动计算上下和左右占据的部分的像素大小,并把盒子的自身高度减去它们。
box-sizing = content+padding+border
3、盒子外边距之的合并是怎么回事,并实例演示
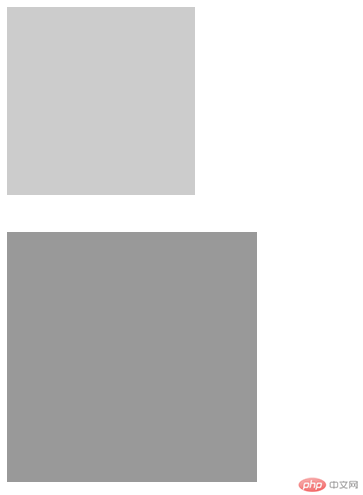
盒子的总外边距是取垂直平级的最大的外边距,也就是说上面的盒子设置下外边距为20,下面的盒子设置上外边距为50,那么这两个盒子之间就会取50作为外边距,而不是70,这种现象又叫外边距塌陷。
示例
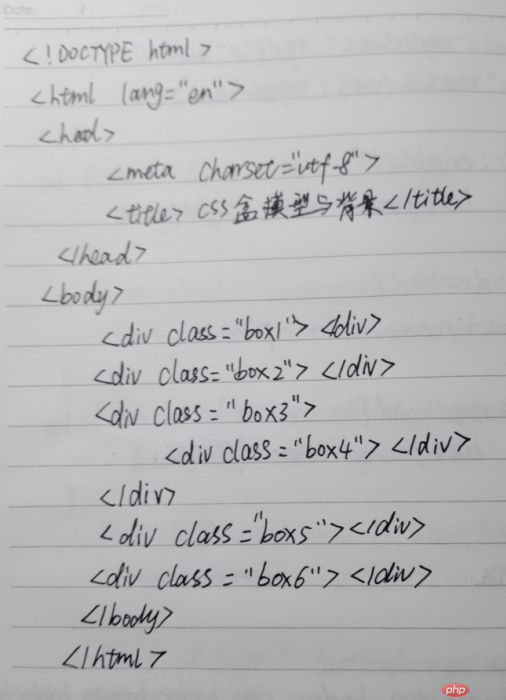
<!DOCTYPE html>
<html lang="en">
<head>
	<meta charset="UTF-8">
	<title>css盒模型</title>
	<link rel="stylesheet" href="static/css/style1.css">
</head>
<body>
<div class="box1"></div>
<div class="box2"></div>
</body>
</html>
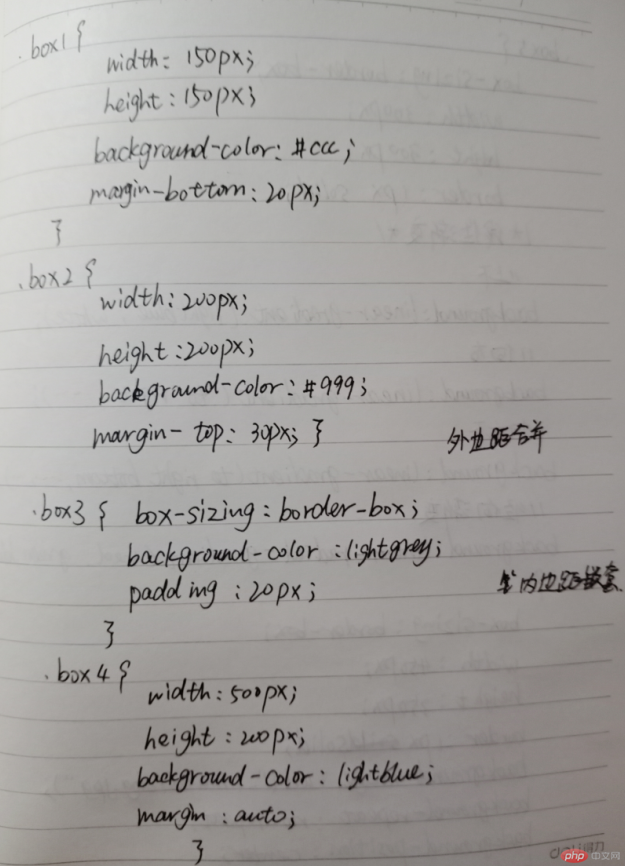
 .box1{
	width: 150px;
	height: 150px;
	background-color: #ccc;
	margin-bottom: 20px;
}

.box2{
	width: 200px;
	height: 200px;
	background-color: #999;
	margin-top: 30px;
}
展示
4、嵌套盒子之间内边距与外边距的表现有何不同, 如何处理
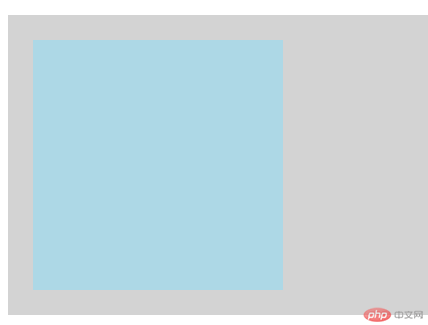
嵌套盒子的外边距会发生传递效应,给子盒子设置的外边距会传递到父盒子上面。处理:给父盒子添加内边距来使子盒子达到添加外边距的效果。
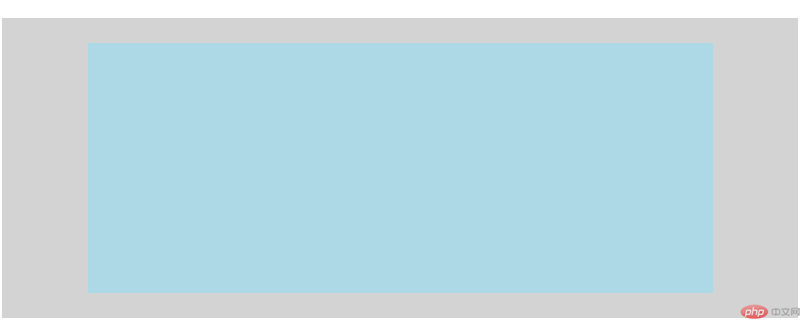
子盒子可以设置margin:auto来实现在父盒子中的居中效果。
<div class="box3">
	<div class="box4"></div>
</div>
.box3{
	box-sizing: border-box;
	background-color: lightgrey;
	padding: 20px;
}

.box4{
	width: 200px;
	height: 200px;
	background-color: lightblue;
}
展示
居中
.box4{
	width: 500px;
	height: 200px;
	background-color: lightblue;
	margin:auto;
}
展示
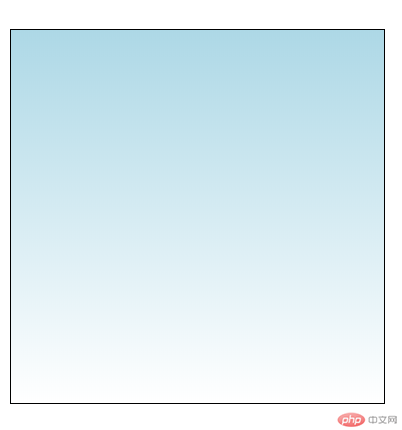
5、实例演示: 背景颜色的线性渐变的
线性渐变
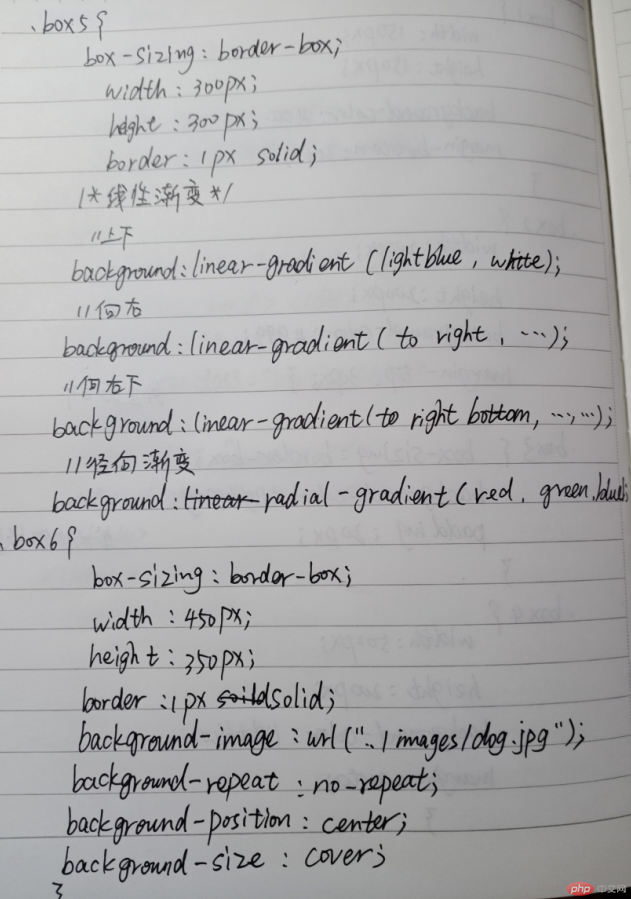
.box5{
	box-sizing: border-box;
	width: 300px;
	height: 300px;
	border:1px solid;
	/*上下*/
	background: linear-gradient(lightblue,white);
	/*向右*/
	background: linear-gradient(to right,lightblue,white);
	/*向左*/
	background: linear-gradient(to left,lightblue,white);
	/*向右下*/
	background: linear-gradient(to right bottom,lightblue,white);
	/*向左下*/
	background: linear-gradient(to left bottom,lightblue,white);
}
图示
6、实例演示: 背景图片的大小与位置的设定
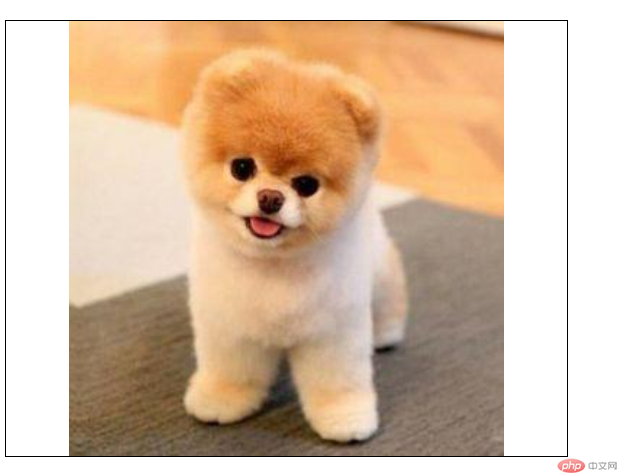
.box6{
	box-sizing: border-box;
	width: 450px;
	height: 350px;
	border:1px solid;
	background-image: url("../images/dog.jpg");
	background-repeat: no-repeat;
	background-position: center;
	/*等比例拉伸,部分图片被裁切*/
	background-size:cover;
	/*内容填充*/
	background-size:contain;
}
展示
手抄代码:
总结:经过对元素属性的学习,以及它们的一些特性的学习,掌握一些小技巧,通过老师讲解让本来看似令人头疼的盒子边距问题变的简单易懂了。