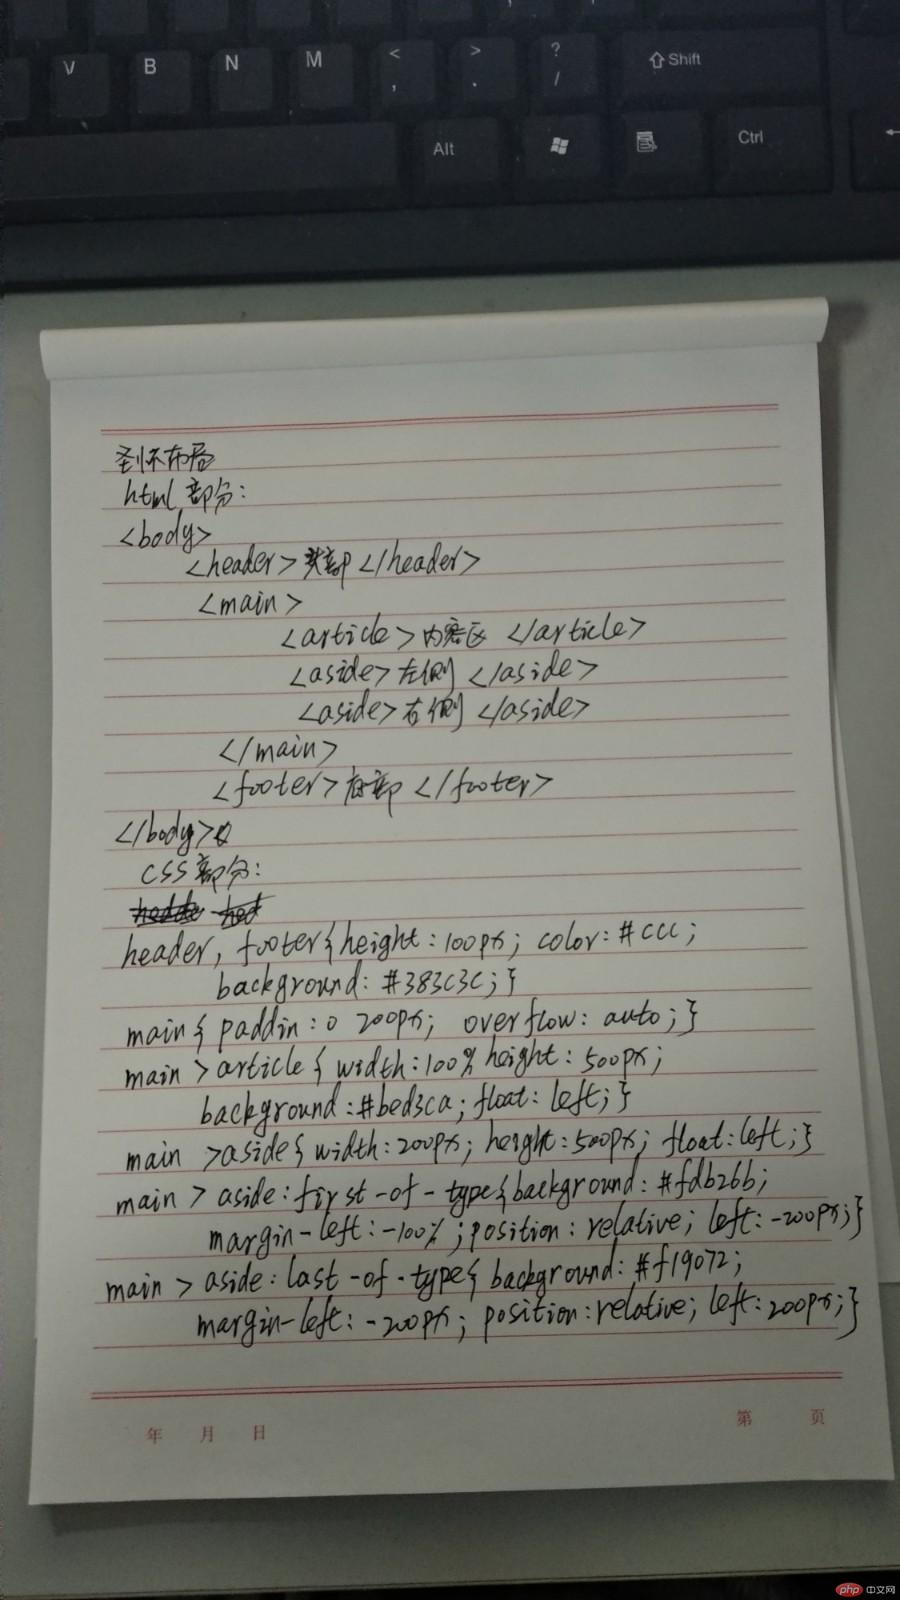
Correction status:qualified
Teacher's comments:代码写得棒极了, 手写也认真


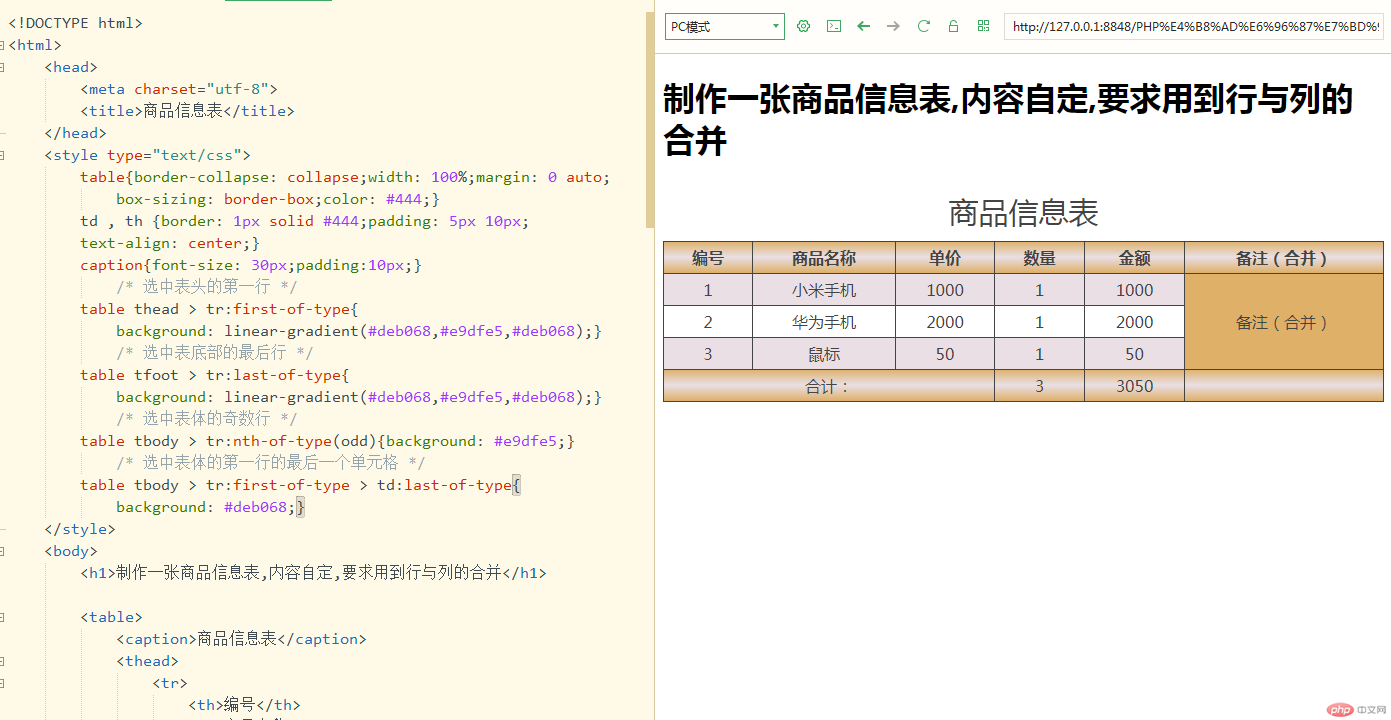
<!DOCTYPE html>
<html>
	<head>
		<meta charset="utf-8">
		<title>商品信息表</title>
	</head>
	<style type="text/css">
		table{
			border-collapse: collapse;
			width: 100%;
			margin: 0 auto;
			box-sizing: border-box;
			color: #444;
			}
		td , th {
			border: 1px solid #444;
			padding: 5px 10px;
			text-align: center;
			}
		caption{
			font-size: 30px;padding:10px;
			}
			/* 选中表头的第一行 */
		table thead > tr:first-of-type{
			background: linear-gradient(#deb068,#e9dfe5,#deb068);
			}
			/* 选中表底部的最后行 */
		table tfoot > tr:last-of-type{
			background: linear-gradient(#deb068,#e9dfe5,#deb068);
			}
			/* 选中表体的奇数行 */
		table tbody > tr:nth-of-type(odd){
			background: #e9dfe5;
			}
			/* 选中表体的第一行的最后一个单元格 */
		table tbody > tr:first-of-type > td:last-of-type{
			background: #deb068;
			}
	</style>
	<body>
		<h1>制作一张商品信息表,内容自定,要求用到行与列的合并</h1>

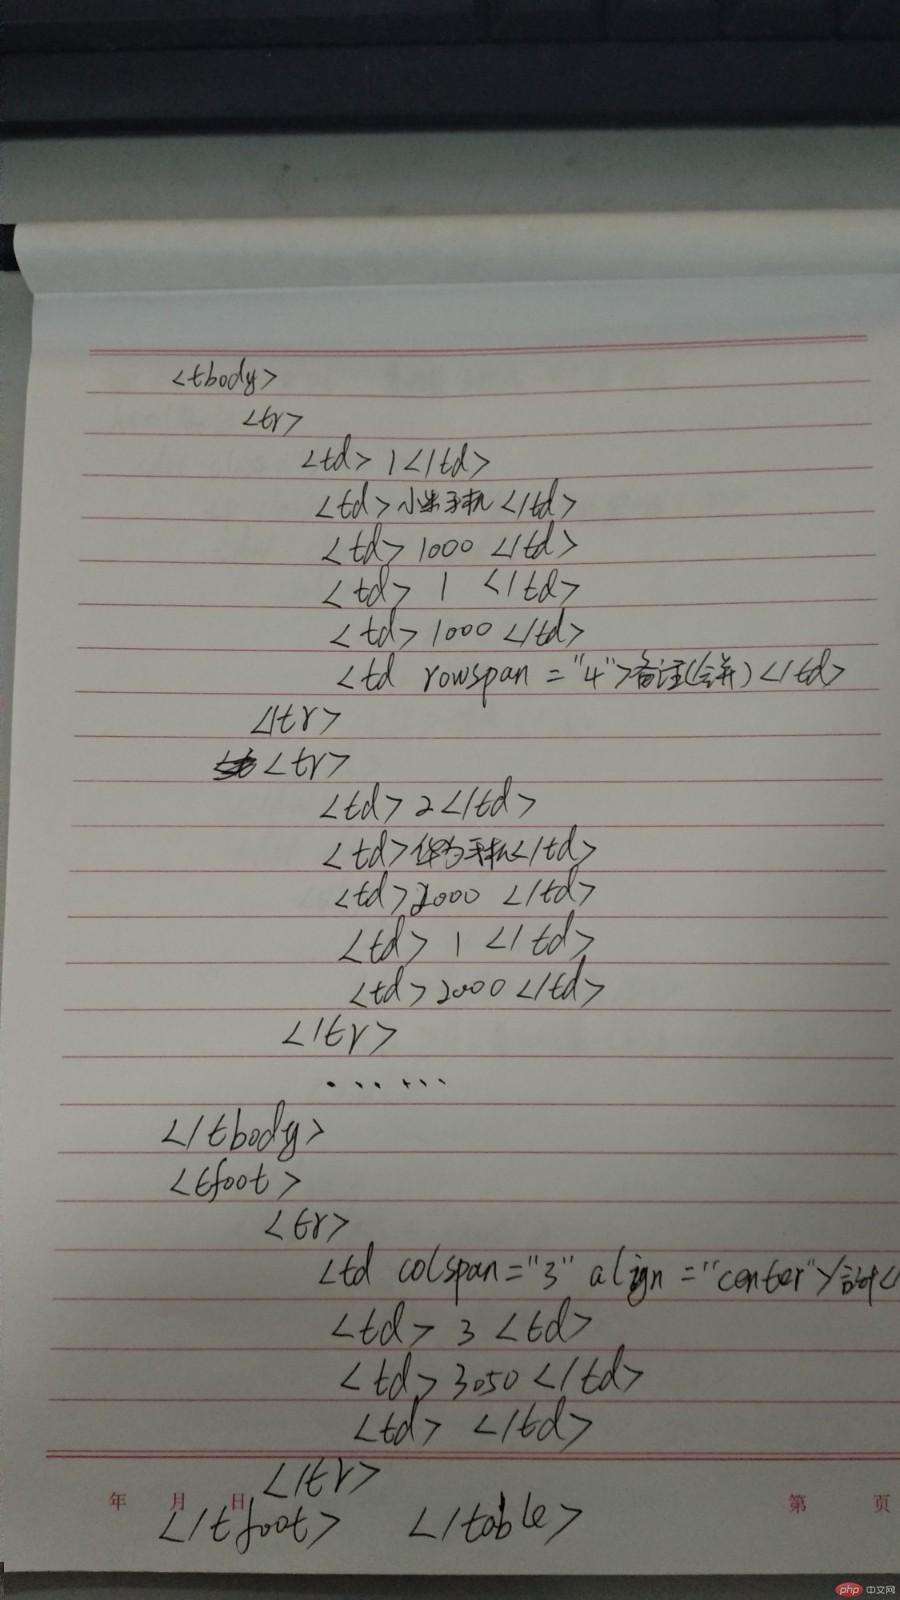
		<table>
			<caption>商品信息表</caption>
			<thead>
				<tr>
					<th>编号</th>
					<th>商品名称</th>
					<th>单价</th>
					<th>数量</th>
					<th>金额</th>
					<th >备注(合并)</th>
				</tr>
			</thead>
			<tbody>
				<tr>
					<td>1</td>
					<td>小米手机</td>
					<td>1000</td>
					<td>1</td>
					<td>1000</td>
					<td rowspan="3">备注(合并)</td>
				</tr>
				<tr>
					<td>2</td>
					<td>华为手机</td>
					<td>2000</td>
					<td>1</td>
					<td>2000</td>
				</tr>
				<tr>
					<td>3</td>
					<td>鼠标</td>
					<td>50</td>
					<td>1</td>
					<td>50</td>
				</tr>
			</tbody>
			<tfoot>
				<tr>
					<td colspan="3" align="center" >合计:</td>

					<td>3</td>
					<td>3050</td>
					<td></td>
				</tr>
			</tfoot>
		</table>
	</body>
</html>点击 "运行实例" 按钮查看在线实例
<!DOCTYPE html>
<html>
	<head>
		<meta charset="utf-8">
		<title>换个姿势作表格</title>
		<style type="text/css">
			.table{
				/* 表格方式显示 */
				display: table;
				/* 计算到边框 */
				box-sizing: border-box;
				/* 边线折叠 */
				border-collapse: collapse;
				/* 表格基本样式 */
					width: 100%;margin: auto;color: #444;
			}
			div > ul{
				/* 行方式显示 */
				display:table-row;
				border: 1px solid #444;
			}
			div > ul > li{
				/* 单元格方式显示 */
				display:table-cell;
				/* 单元格基本样式 */
				border: 1px solid #444;padding: 5px 10px;text-align: center;
			}
			.caption{
				/* 标题方式显示 */
				display:table-caption;
				text-align: center;font-size: 25px;
			}
			.thead{
				/* 表头方式显示 */
				display:table-header-group;
				text-shadow: 1px 1px 0 #e9dfe5;
				background: linear-gradient(#deb068,#e9dfe5,#deb068);
			}
			.tbody{
				/* 表体方式显示 */
				display:table-row-group;
			}
			.tfoot{
				/* 表尾方式显示 */
				display:table-footer-group;
				background: linear-gradient(#deb068,#e9dfe5,#deb068);
			}

		</style>

	</head>
	<body>
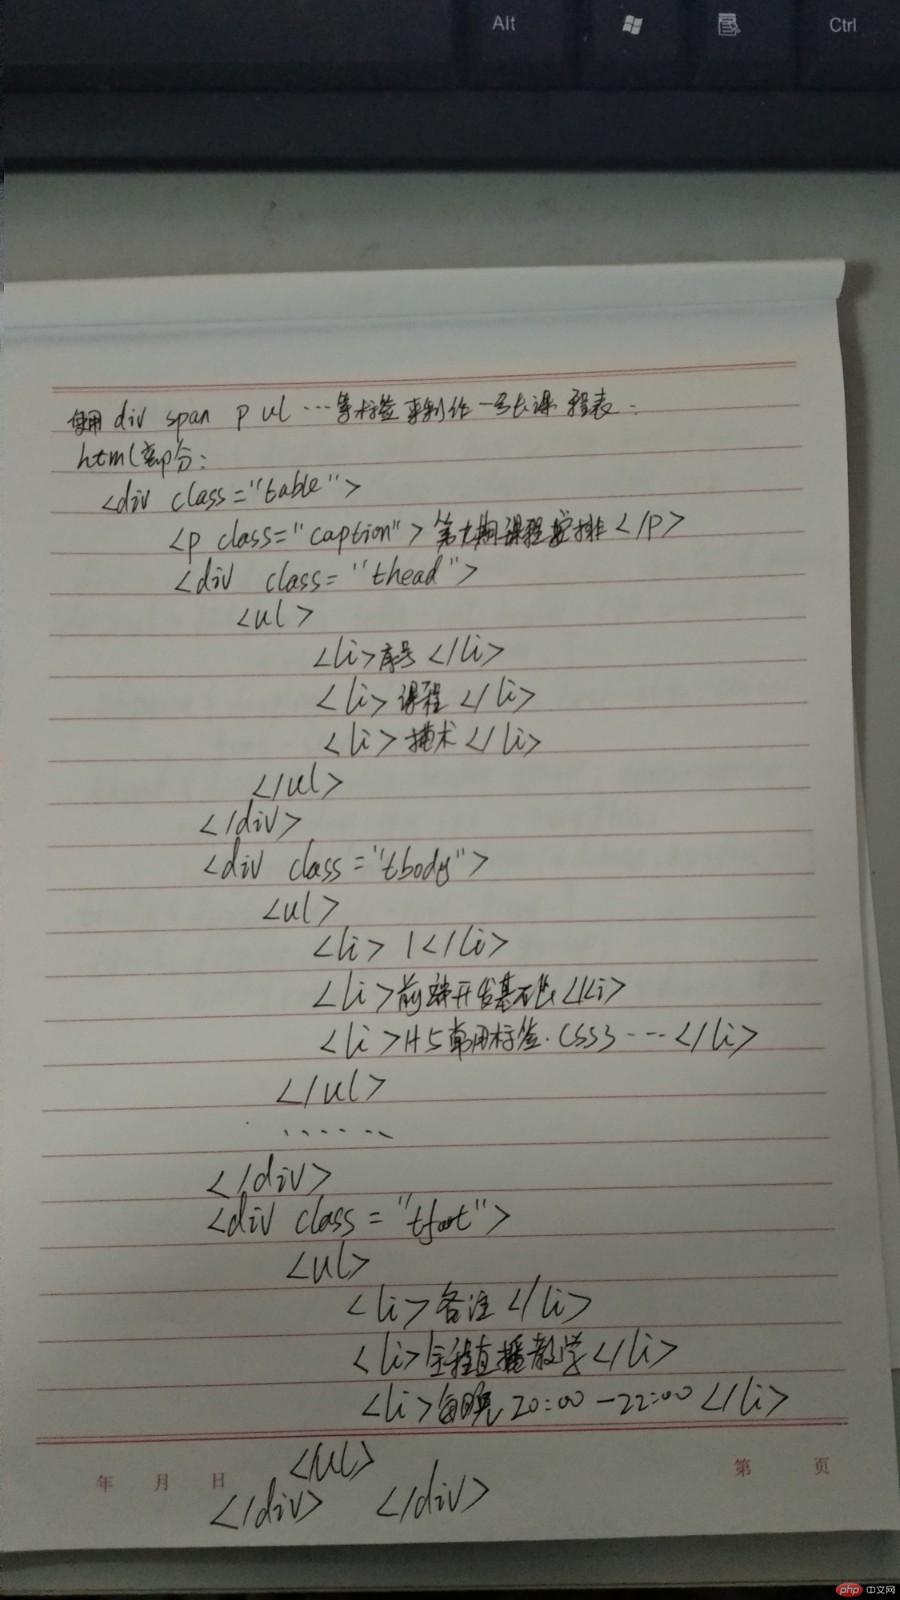
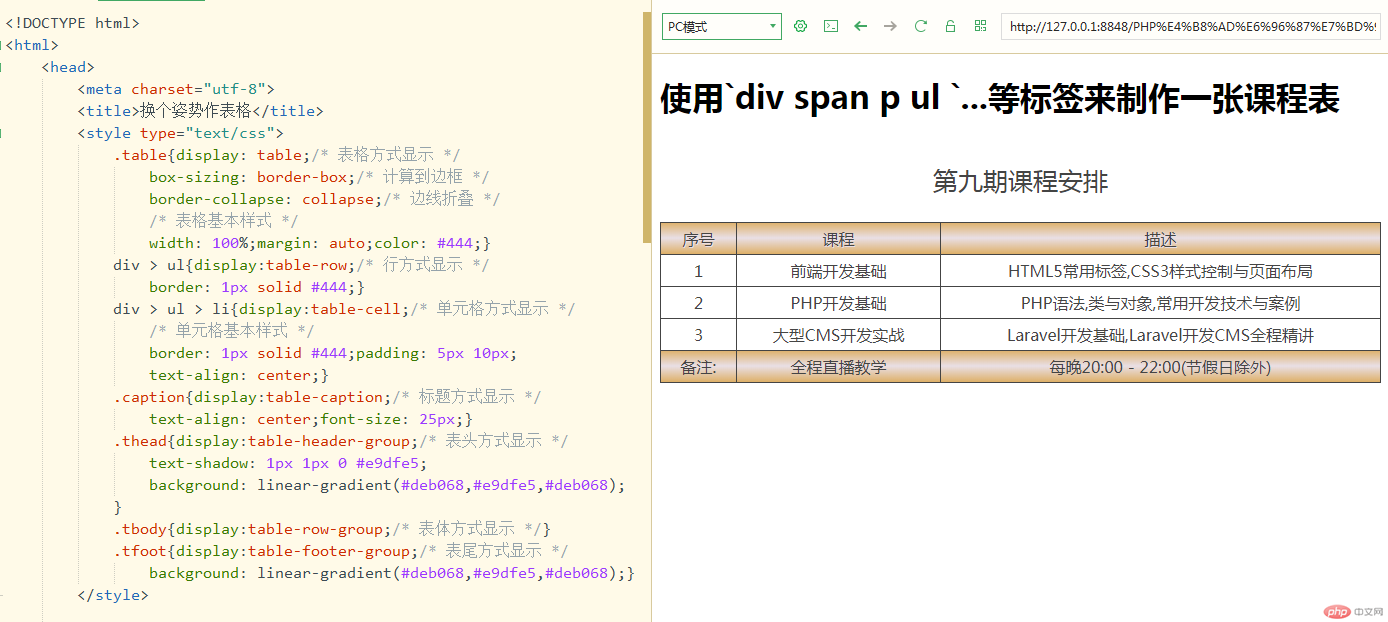
		<h1>使用`div  span p ul `...等标签来制作一张课程表</h1>
		<div class="table">
			<p class="caption">第九期课程安排</p>
			<div class="thead">
				<ul>
					<li>序号</li>
					<li>课程</li>
					<li>描述</li>

				</ul>
			</div>
			<div class="tbody">
				<ul>
					<li >1</li>
					<li>前端开发基础</li>
					<li>HTML5常用标签,CSS3样式控制与页面布局</li>
				</ul>
				<ul>
					<li>2</li>
					<li>PHP开发基础</li>
					<li>PHP语法,类与对象,常用开发技术与案例</li>
				</ul>
				<ul>
					<li>3</li>
					<li>大型CMS开发实战</li>
					<li>Laravel开发基础,Laravel开发CMS全程精讲</li>
				</ul>
			</div>
			<div class="tfoot">
				<ul>
					<li>备注:</li>
					<li>全程直播教学</li>
					<li><span>每晚20:00 - 22:00(节假日除外)</span></li>
				</ul>
			</div>
		</div>
	</body>
</html>点击 "运行实例" 按钮查看在线实例
<!DOCTYPE html>
<html>
	<head>
		<meta charset="utf-8">
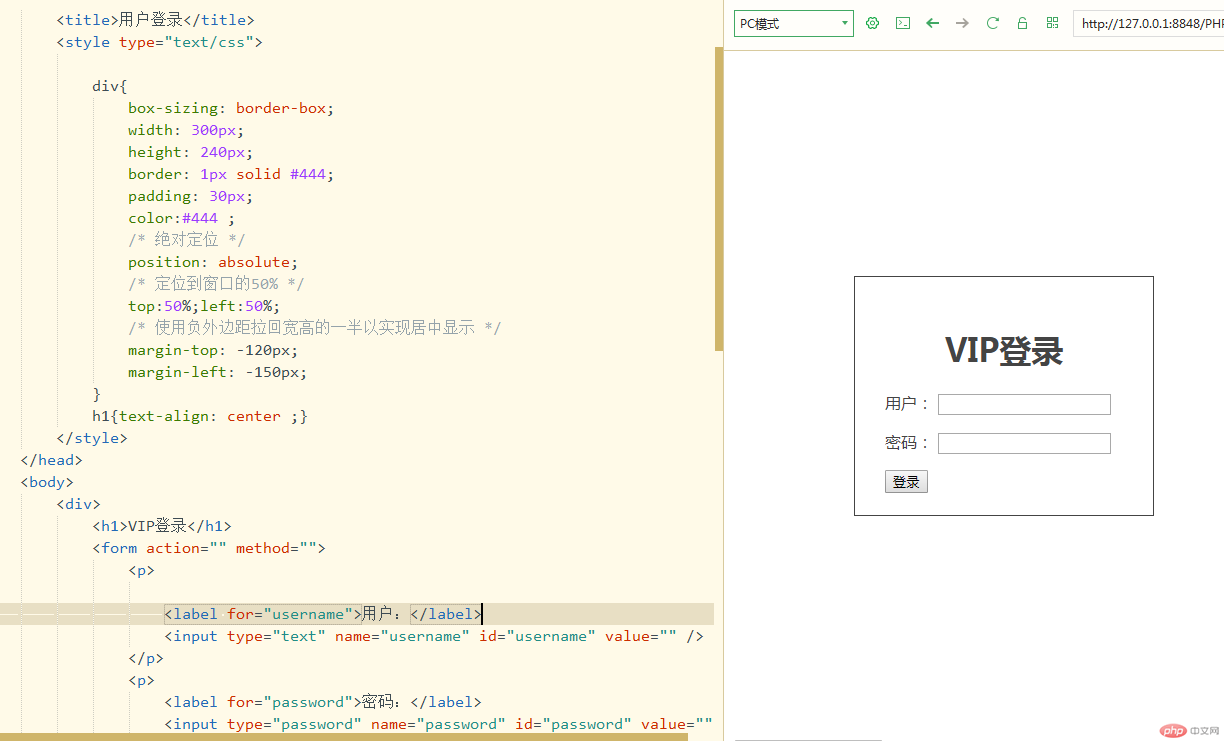
		<title>用户登录</title>
		<style type="text/css">

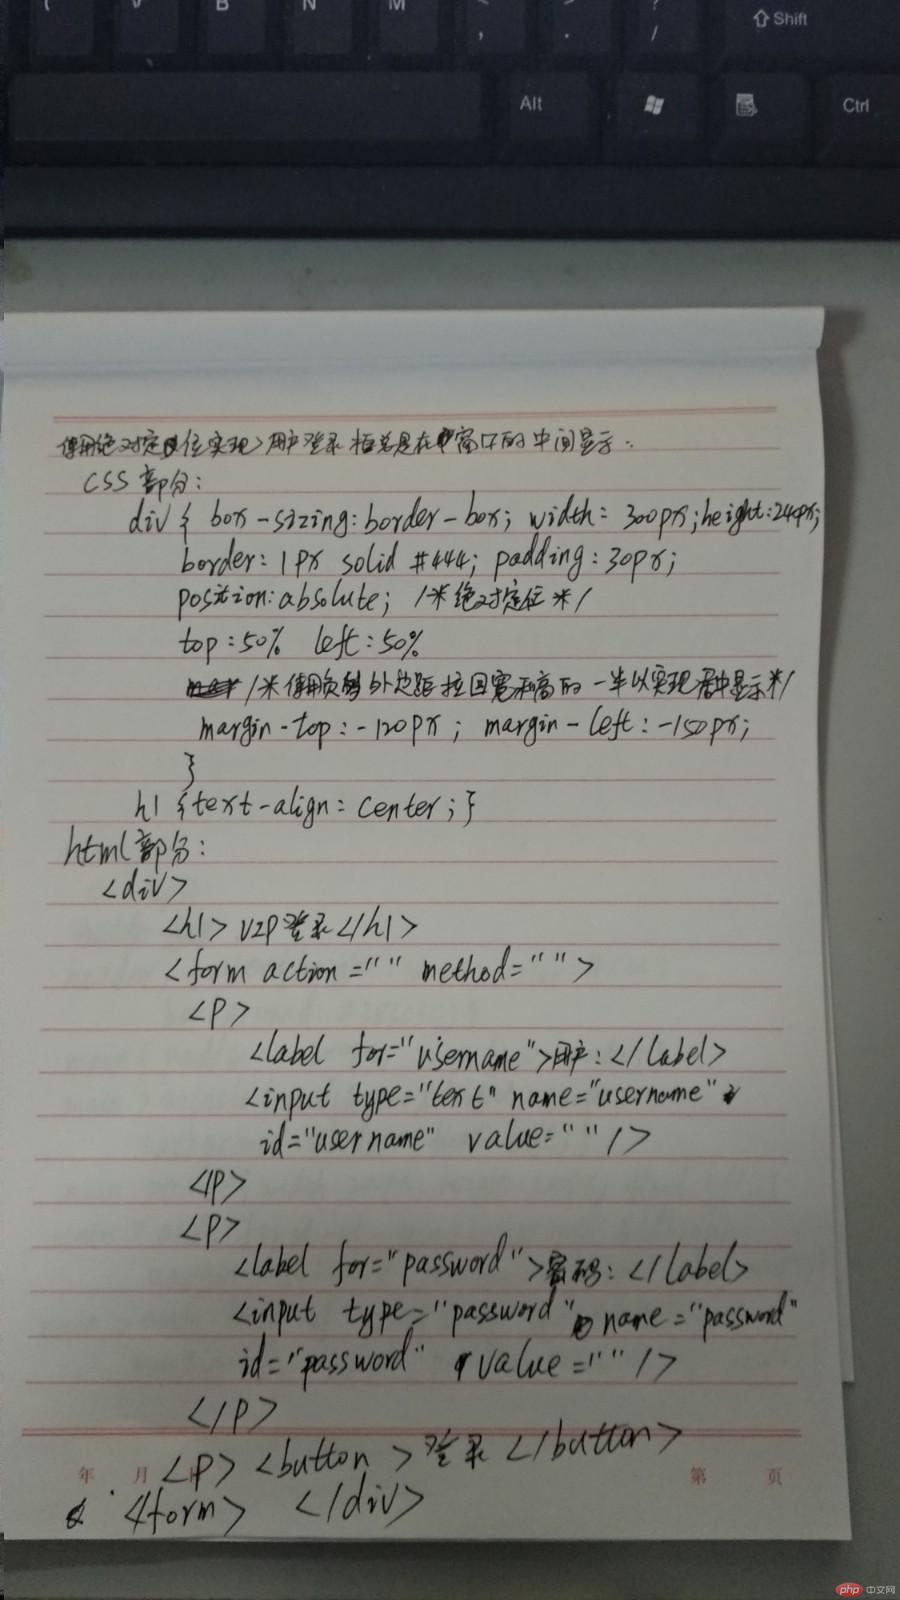
			div{
				box-sizing: border-box;
				width: 300px;
				height: 240px;
				border: 1px solid #444;
				padding: 30px;
				color:#444 ;
				/* 绝对定位 */
				position: absolute;
				/* 定位到窗口的50% */
				top:50%;left:50%;
				/* 使用负外边距拉回宽高的一半以实现居中显示 */
				margin-top: -120px;
				margin-left: -150px;
			}
			h1{text-align: center ;}
		</style>
	</head>
	<body>
		<div>
			<h1>VIP登录</h1>
			<form action="" method="">
				<p>

					<label for="username">用户:</label>
					<input type="text" name="username" id="username" value="" />
				</p>
				<p>
					<label for="password">密码:</label>
					<input type="password" name="password" id="password" value="" />
				</p>
				<p><button >登录</button></p>

			</form>
		</div>
	</body>
</html>点击 "运行实例" 按钮查看在线实例
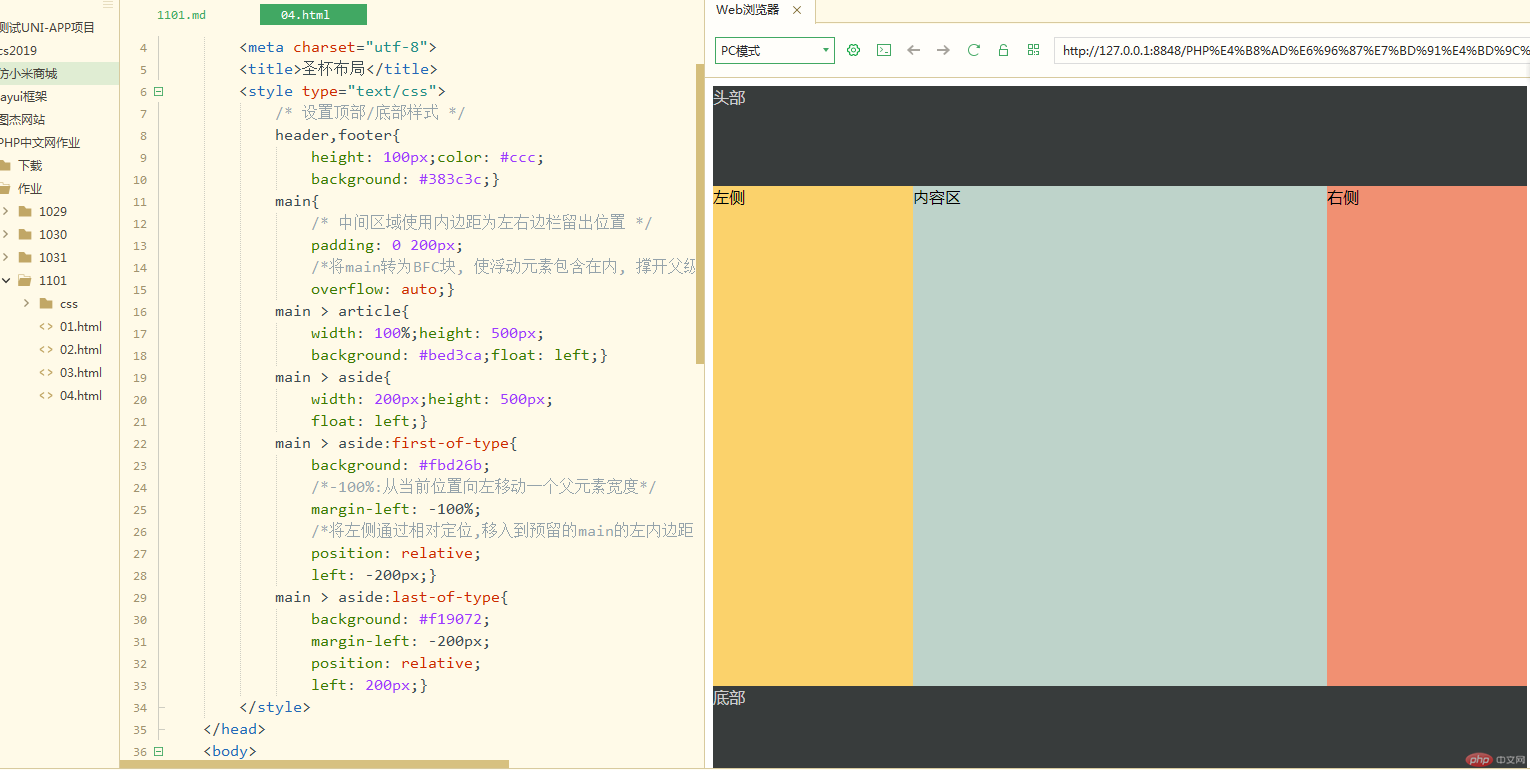
布局思路:
想要中间内容优先渲染,那么中间模块就必须写在左右边栏的前面
左右边栏使用相对定位,把它们定位到相应的位置上
给main设置左右内边距来给左右边栏留出位置
布局流程:
1> 在页面中依次创建header(头部)、main(主本)、footer(底部)三个块元素
2> main(主本)中依次创建article(中间内容)、两个aside(左右边栏)三个块元素
3> 设置header、footer的样式(高度100px;宽度默认;背景及字体等)
4> 设置main的样式(左右内边距设为200PX与左右边栏等宽;使用overflow: auto将main转为BFC块)
5> 设置article的样式(宽度100%;左浮动;背景及字体等)
6> 设置aside公共的样式(宽度200px;左浮动;等)
7> 设置左边栏样式,选中第一个aside(设置左外边距为-100%(向左移动一个父元素宽度,此时左边栏在中间内容区上且与左边对齐);设为相对定位,向左-200px使其归位)
8> 设置右边栏样式,选中最后一个aside(设置左外边距为-200px(此时左边栏在中间内容区上且与右边对齐);设为相对定位,向左200px使其归位)
布局完成
<!DOCTYPE html>
<html>
	<head>
		<meta charset="utf-8">
		<title>圣杯布局</title>
		<style type="text/css">
			/* 设置顶部/底部样式 */
			header,footer{
				height: 100px;color: #ccc;
				background: #383c3c;}
			main{
				/* 中间区域使用内边距为左右边栏留出位置 */
				padding: 0 200px;
				/*将main转为BFC块, 使浮动元素包含在内, 撑开父级*/
				overflow: auto;}
			main > article{
				width: 100%;height: 500px;
				background: #bed3ca;float: left;}
			main > aside{
				width: 200px;height: 500px;
				float: left;}
			main > aside:first-of-type{
				background: #fbd26b;
				/*-100%:从当前位置向左移动一个父元素宽度*/
				margin-left: -100%;
				/*将左侧通过相对定位,移入到预留的main的左内边距中*/
				position: relative;
				left: -200px;}
			main > aside:last-of-type{
				background: #f19072;
				margin-left: -200px;
				position: relative;
				left: 200px;}
		</style>
	</head>
	<body>
		<header>头部</header>
		<main>
			<article>内容</article>
			<aside>左侧</aside>
			<aside>右侧</aside>
		</main>
		<footer>底部</footer>
	</body>
</html>点击 "运行实例" 按钮查看在线实例
