Correction status:qualified
Teacher's comments:其实, 盒模型最直观的观察, 就是用浏览器中的开发工具


作业一
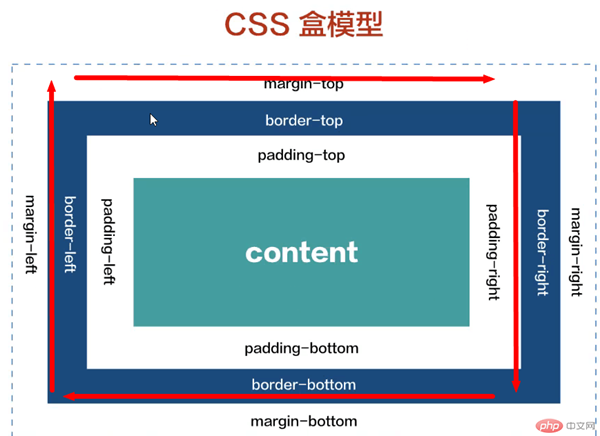
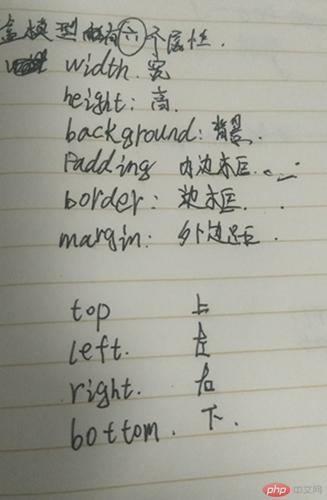
width height 可以设置盒子的宽、高度
background 设置盒子的背景颜色
padding 设置盒子的图片的距离
border 在将内边框给包围住
margin 在盒子的边缘设置宽度,固定盒子之间的距离
盒模型按照顺时针上、右、下、左排列
作业二
作业二
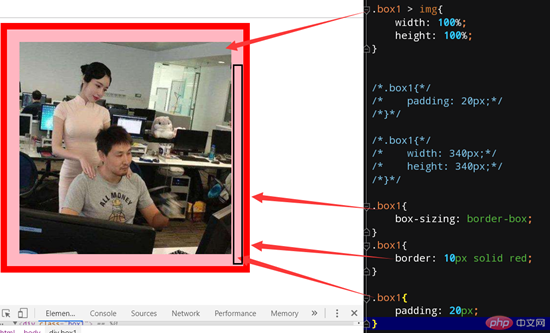
border-box边框盒子 解决添加边框和边距高度问题,不用担心盒子会被撑爆,首先第一步设置
不用时需要计算和盒子的距离和图片位置
<!DOCTYPE html>
<html lang="en">
<head>
    <meta charset="UTF-8">
    <title>外边距合并和同级</title>
    <link rel="stylesheet" href="/static3/style2.css">
</head>
<body>
<div class="box1"></div>
<div class="box2"></div>
<hr>
<div class="box3">
    <div class="box4"></div>
</div>
</body>
</html>
/*上下级*/
div{
    box-sizing: border-box;
}
.box1{
    width: 100px;
    height: 100px;
    background-color: tomato;
}


.box2{
    width: 200px;
    height: 200px;
    background-color: purple;
}

.box1 {
    margin-bottom: 20px;
}


.box2 {
    margin-top: 30px;
}
作业三
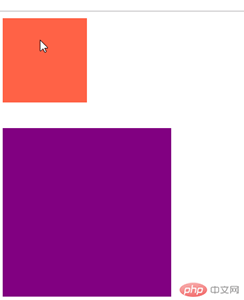
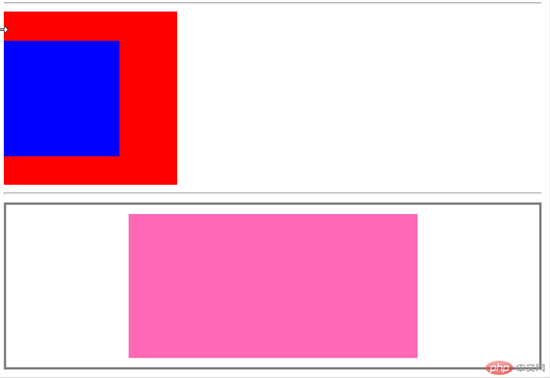
外边距不会影响到盒子之间的大小,在页面中的位置显示
有两种关系: 嵌套关系和同级关系
外边距会由内向外传递
作业四
外边距用于定位盒子在页面上的位置,而内边距处理文本或者是图片的位置
padding-top:30px 可以解决掉内框的上下居中
margin-left: auto; 自动向左边挤
margin: auto; auto自动加入边距
margin: 10px auto; 可以向中文本居中 左右挤压的结果,然后居中
/*相当于一个容器,居中处理*/
.box5 {
    border: 2px solid gray;
}

.box6 {
    width: 300px;
    height: 150px;
    background-color: hotpink;
}
.xob6{
    margin-left: auto;
}
.xob6{
    margin: auto;
}
.box6{
    margin: 10px auto;
作业五
背景颜色裁切
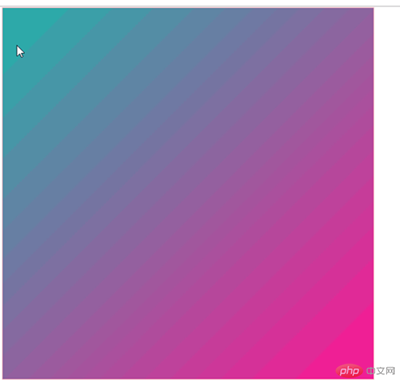
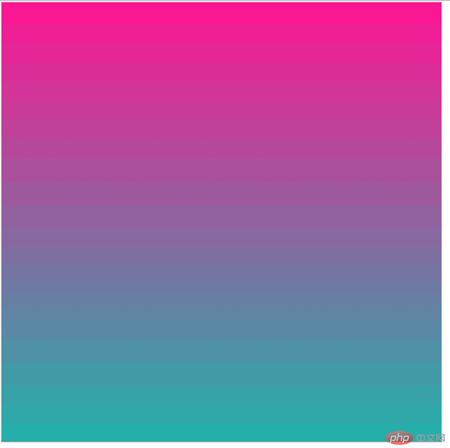
--线性渐变 background: linear-gradient()
向右渐变,向左渐变,向右下角渐变,向右角度渐变,连续渐变
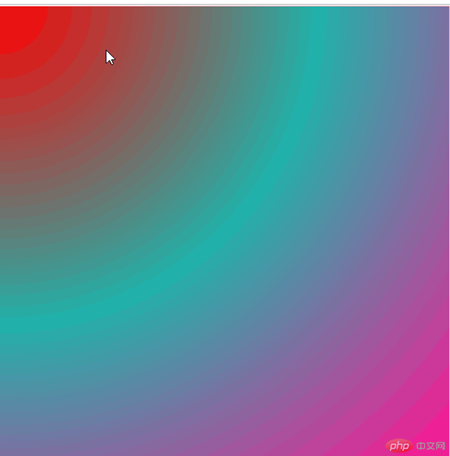
径向渐变: background: radial-gradient()
图片的设置: background-image: url()
作业六
首先设置box-sizing: border-box; 不用担心盒子被撑爆
border: 10px solid red; 边框的使用规范图片的距离和大小
只能设置上下级,水平同级的操作
/*盒模型*/

/*.box1{*/
/*    border: 10px solid red;*/
/*}*/

.box1{
    width: 400px;
    height: 400px;
    background-color: lightpink;
}
/*.box1{*/
/*    width: 380px;*/
/*    height: 380px;*/
/*}*/

.box1 > img{
    width: 100%;
    height: 100%;
}


/*.box1{*/
/*    padding: 20px;*/
/*}*/

/*.box1{*/
/*    width: 340px;*/
/*    height: 340px;*/
/*}*/

.box1{
    box-sizing: border-box;
}
.box1{
    border: 10px solid red;
}

.box1{
    padding: 20px;
}
.box1{
    margin-top: 20px;
    margin-right: 20px;
}
/*图片设置简写*/
.box{
    background: lightblue url("../public/imags/timg.jpg");
}
.box{
    background-size: cover;
}