Correction status:qualified
Teacher's comments:学完之后, 能有这个理解和体会, 我很高兴, 继续


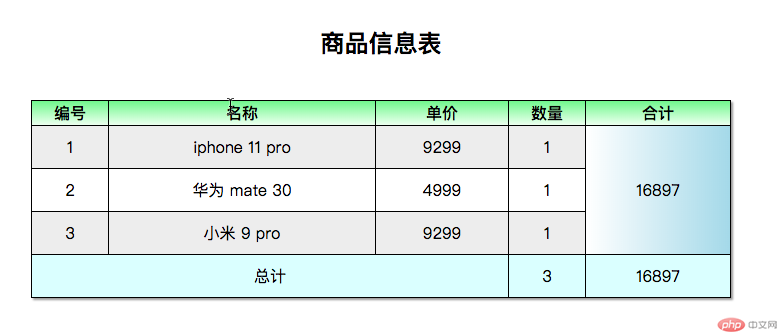
1. 制作一张商品信息表,内容自定,要求用到行与列的合并
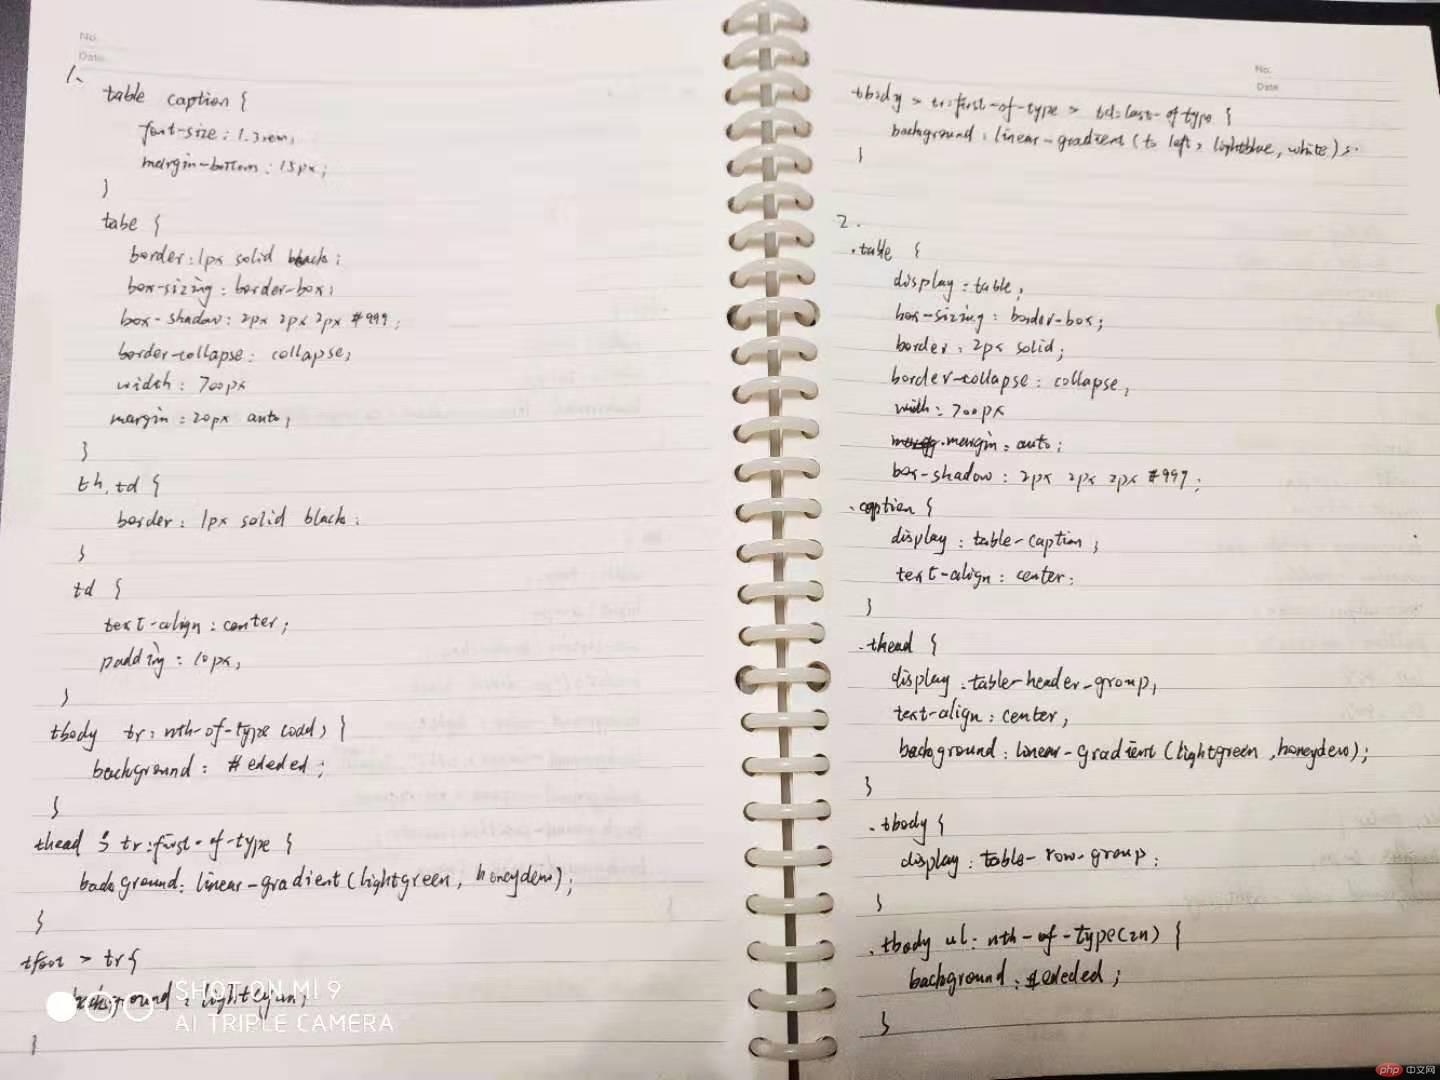
table caption {
    font-size: 1.3rem;
    margin-bottom: 15px;
}
table {
    border: 1px solid black;
    box-sizing: border-box;
    box-shadow: 2px 2px 2px #999;
    border-collapse: collapse;
    width: 700px;
    margin: 20px auto;
}
th,td {
    border: 1px solid black;
}
td {
    text-align: center;
    padding: 10px;
}
tbody tr:nth-of-type(odd){
    background: #ededed;

}

thead > tr:first-of-type {
    background: linear-gradient(lightgreen, honeydew);
}

tfoot > tr {
    background: lightcyan ;
}

tbody > tr:first-of-type > td:last-of-type{
    background: linear-gradient(to left, lightblue,white);
}点击 "运行实例" 按钮查看在线实例
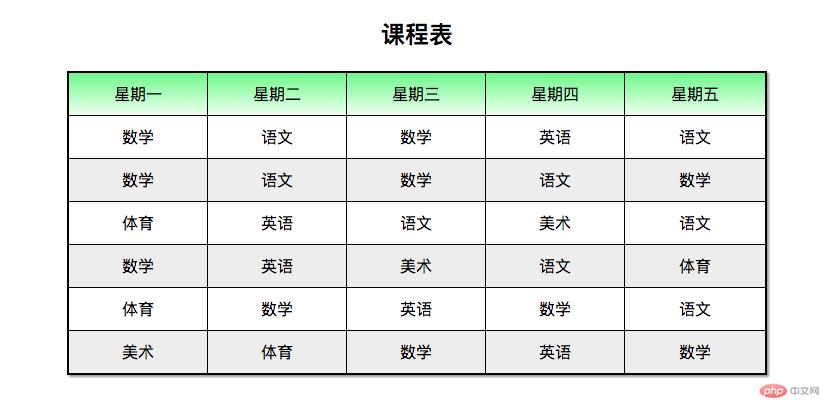
2. 使用<div><span><p><ul>...等标签来制作一张课程表
.table {
    display: table;
    box-sizing: border-box;
    border: 2px solid;
    border-collapse: collapse;
    width: 700px;
    margin: auto;
    box-shadow: 2px 2px 2px #999;
}

.caption {
    display: table-caption;
    text-align: center;
}
.thead {
    display: table-header-group;
    text-align: center;
    background: linear-gradient(lightgreen, honeydew);
}
.tbody {
    display: table-row-group;
}
.tbody ul:nth-of-type(2n){
    background: #ededed;

}

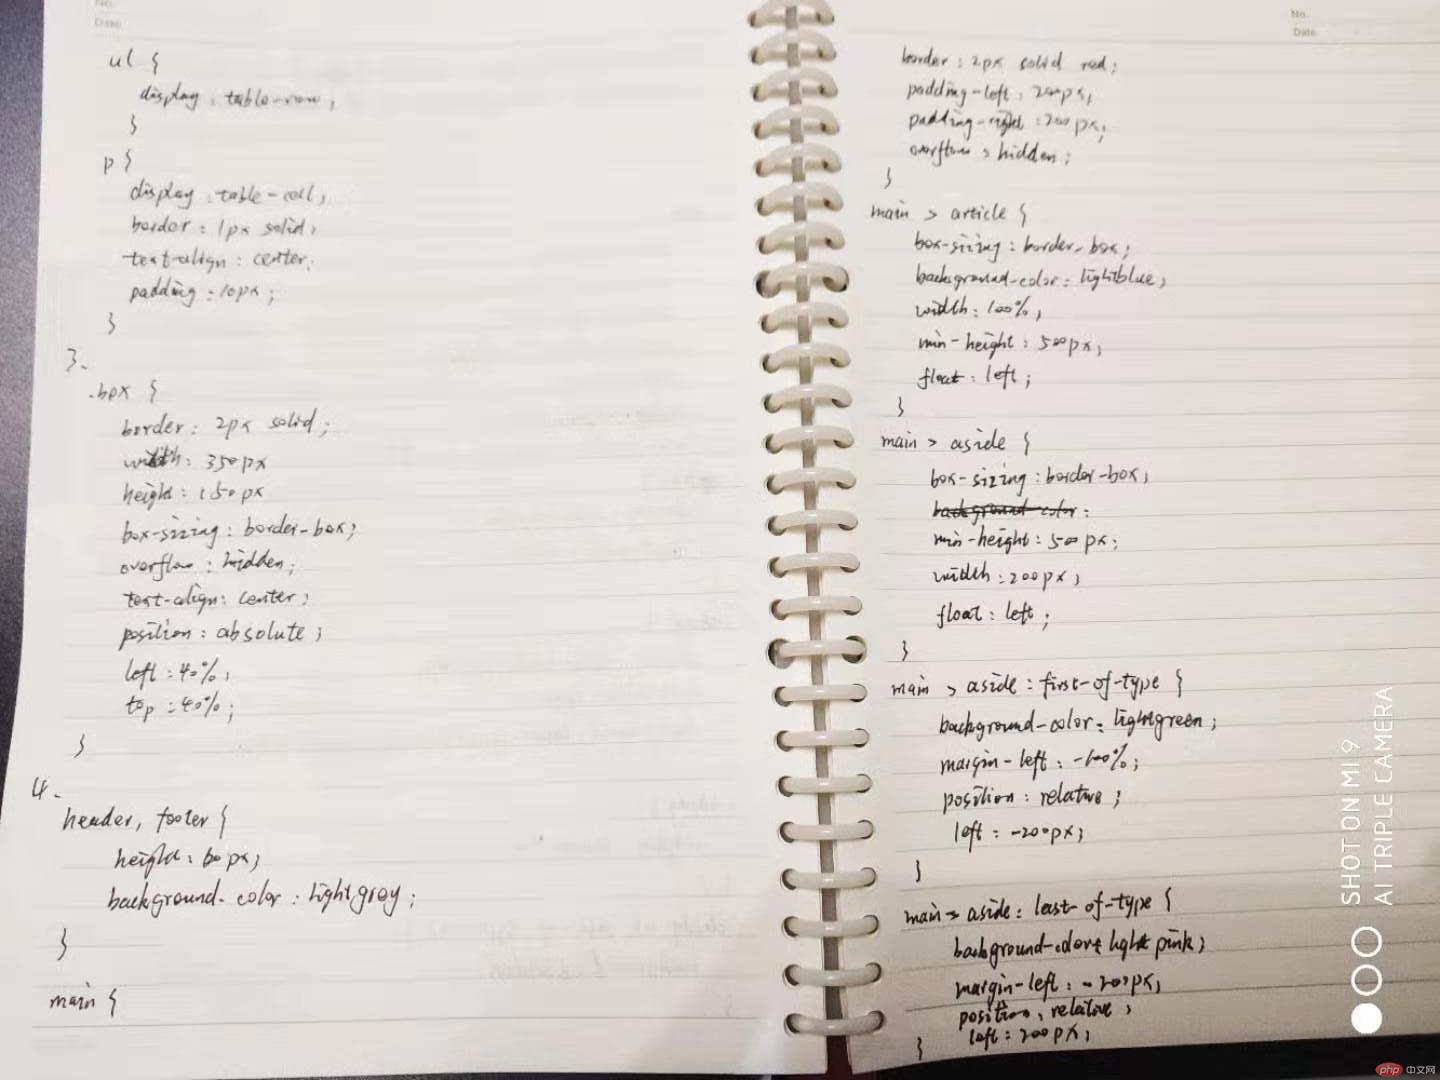
ul {
    display: table-row;
}

p {
    display: table-cell;
    border: 1px solid;
    text-align: center;
    padding: 10px;
}点击 "运行实例" 按钮查看在线实例
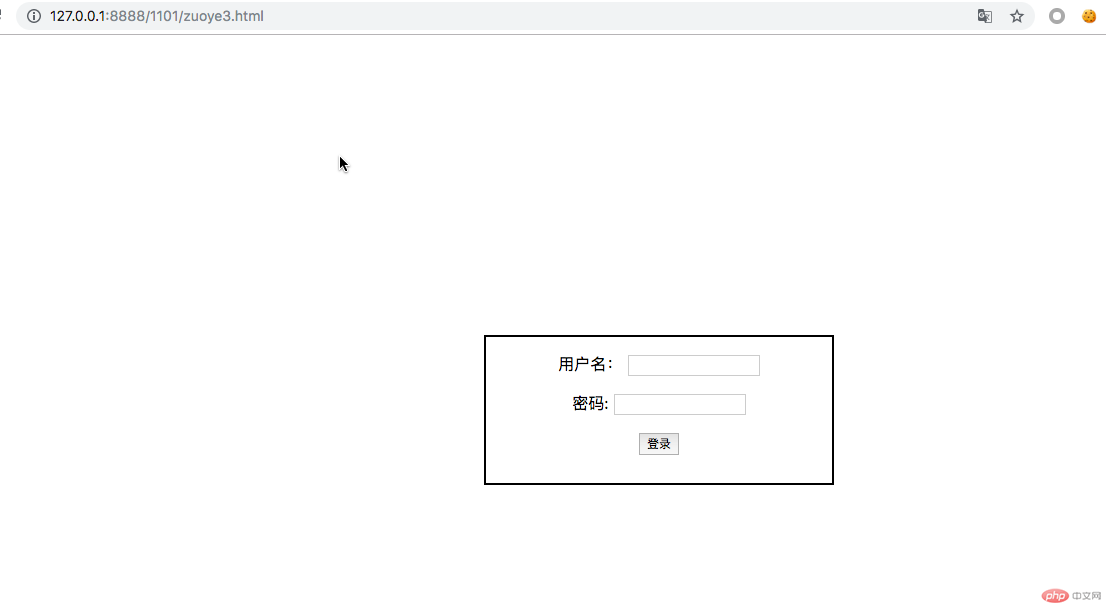
3. 使用绝对定位,实现用户登录框在页面中始终居中显示
.box {
    border: 2px solid;
    width: 350px;
    height: 150px;
    box-sizing: border-box;
    overflow: hidden;
    text-align: center;
    position: absolute;
    left:40%;
    top:40%;
}点击 "运行实例" 按钮查看在线实例
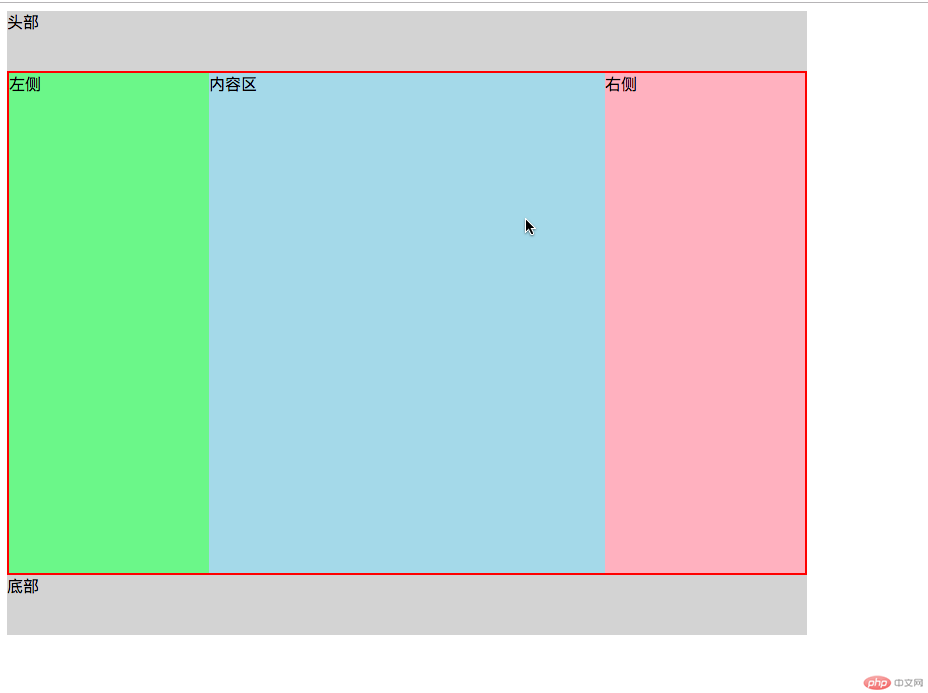
4. 模仿课堂案例, 实现圣杯布局,并写出完整流程与布局思路
内容区使用padding挤出两侧的空间,使用外边距和相对定位属性将两侧的块移动到相应位置。
header, footer {
    height: 60px;
    background-color: lightgray;
}
main {
    border: 2px solid red;
    padding-left: 200px;
    padding-right: 200px;
    overflow: hidden;
}

main > article {
    box-sizing: border-box;
    background-color: lightblue;
    width: 100%;
    min-height: 500px;
    float: left;

}
main > aside {
    box-sizing: border-box;
    min-height: 500px;
    width: 200px;
    float: left;

}
main > aside:first-of-type {
    background-color: lightgreen;
    margin-left: -100%;
    position: relative;
    left: -200px;

}

main > aside:last-of-type {
    background-color: lightpink;
    margin-left: -200px;
    position: relative;
    left: 200px;
}点击 "运行实例" 按钮查看在线实例
总结:
学习了定位以后,终于明白了那些悬浮窗口怎么回事了,感受了css的强大;生成表格不一样定要用table标签,通过css完全可以实现。