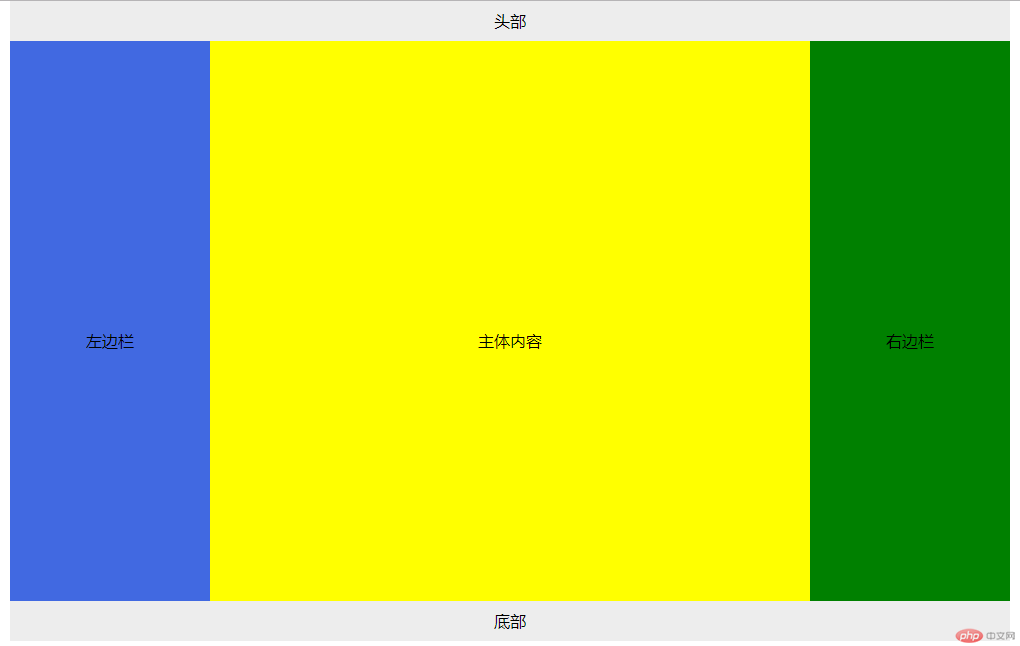


一、制作信息表,包含行与列合并
知识点:
1、合并单元格:列和行合并再HTML 写在要合并单元格内,要合并几个,写几,一定要把被合并的td删除
 向下合并
向下合并
 向右合并
向右合并
2、box-sizing属性
 给单元格添加内边距及边框不增加总大小
3、合并单元格间隙
 合并单元格间隙,写在table中
4、限定类型选择器


:nth-last-of-type:last代表倒数,注意倒数选择写法
实例:
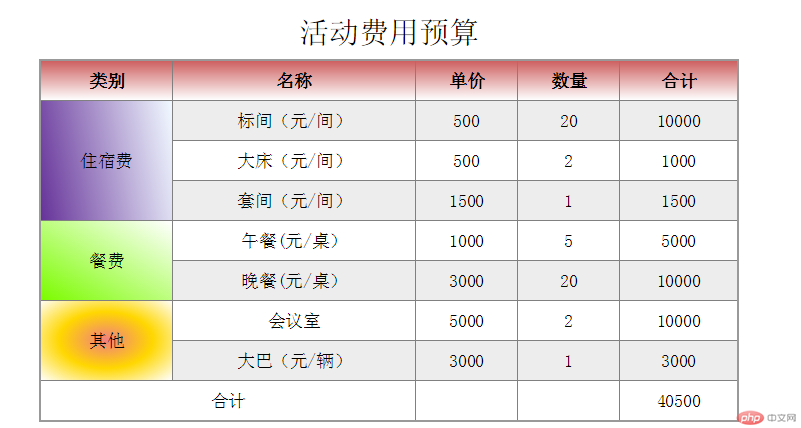
二、使用<div><span><p><ul>...等标签来制作一张课程表
1、将表格、标题、表头、内容、底部用display转为各种以表格标签形式
display: table; 以块级表格样式显示
display: table-caption 以caption标题样式显示
display: table-thead-group 以表头thead样式显示
display: table-row-group 以内容tbody样式显示
display: table-footer-group 以底部tfoot样式显示
display: table-row 以表格行样式显示,类似;tr
display: table-cell 以单元格样式显示,类似;td、th
2、取消默认值
box-sizing:border-box
margin:0
padding:0
3、再用限定类型伪类选择器给单元格加底色
span:first-of-type 选一个span
span:nth-last-of-type(2) 选倒数第二个span
span:last-of-type 选中最后一个span
示例:
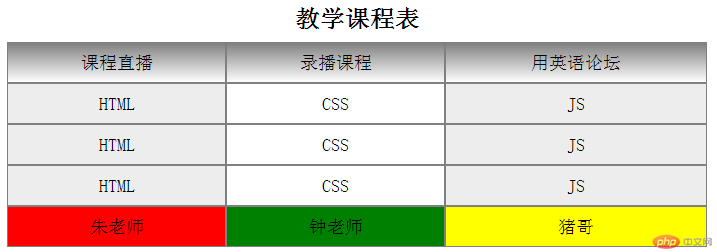
四、模仿圣杯布局
要点;
1、浮动时给父元素添加overflow:auto,转成BFC块,这样父元素可以包裹子元素。
2、给article、left、right,设置浮动。
3、给left和right设置margin负值,使两个侧边栏位于主体内容两侧。
3、用position:relative相对定位将两侧边栏浮动到两侧。
这样就完成了侧边栏固定不变,article大小可变的效果了。
实例:
五、实现登录框在页面中居中显示
设置好固定定位后,只需要在表单父级加一个div,并设置margin:0 auto即可实现居中效果

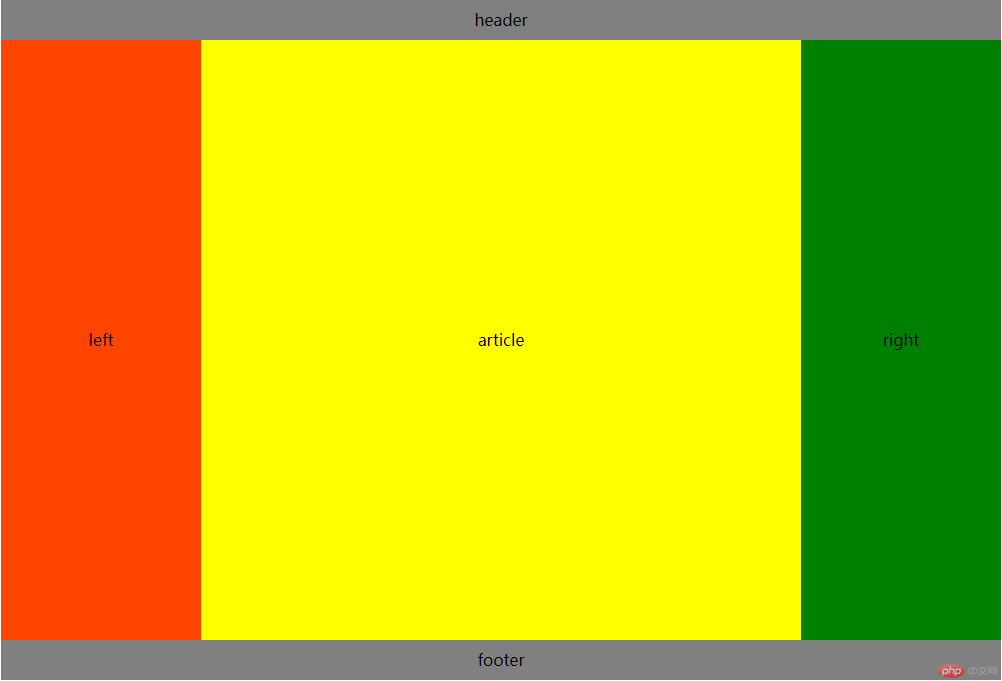
六、圣杯布局--绝对定位
1、给父级元素main添加定位元素:position:
2、将主体部分设置最大宽度 max-width: 600px; 宽度设置:100%。
3、给左右边栏设置绝对定位值,position:absolute
4、左边栏值; left:0 右边栏值:left:800px
实例<!DOCTYPE html>
<html lang="en">
<head>
    <meta charset="UTF-8">
    <title>圣杯布局-绝对定位</title>
<!--    <link rel="stylesheet" href="shb.css">-->
    <style>
        body{
            width: 1000px;
            margin: auto;
            text-align: center;
        }
        header,footer{
            height: 40px;
            line-height: 40px;
            background: #ededed;
            margin: 0 auto;
        }
        main{
            overflow: auto;
            width: 100%;
            padding: 0 200px;
            box-sizing: border-box;
            position:absolute;
        }
        main article{      /*主体内容*/
            width: 100%;
            height: 600px;
            background: yellow;
            line-height: 600px;
            max-width: 600px;

        }
        main aside:first-of-type{     /*左边栏*/
            width: 200px;
            height: 600px;
            background: royalblue;

            position: absolute;
            left: 0px;
            line-height: 600px;
        }
        main aside:last-of-type{  /*右边栏*/
            width: 200px;
            height: 600px;
            background:green;
            position:absolute;
            left:800px;
            line-height: 600px;
        }
        footer{
            position: absolute;
            width: 1000px;
            top:600px
        }
        main article,
        main aside:first-of-type,
        main aside:last-of-type{
            float: left;
        }

    </style>
</head>
<body>
<header>头部</header>
<main>
    <article>主体内容</article>
    <aside>左边栏</aside>
    <aside>右边栏</aside>
</main>
<footer>底部</footer>
</body>
</html>
运行实例 »点击 "运行实例" 按钮查看在线实例