Correction status:qualified
Teacher's comments:笔记非常的棒, 代码也非常规范, 加油


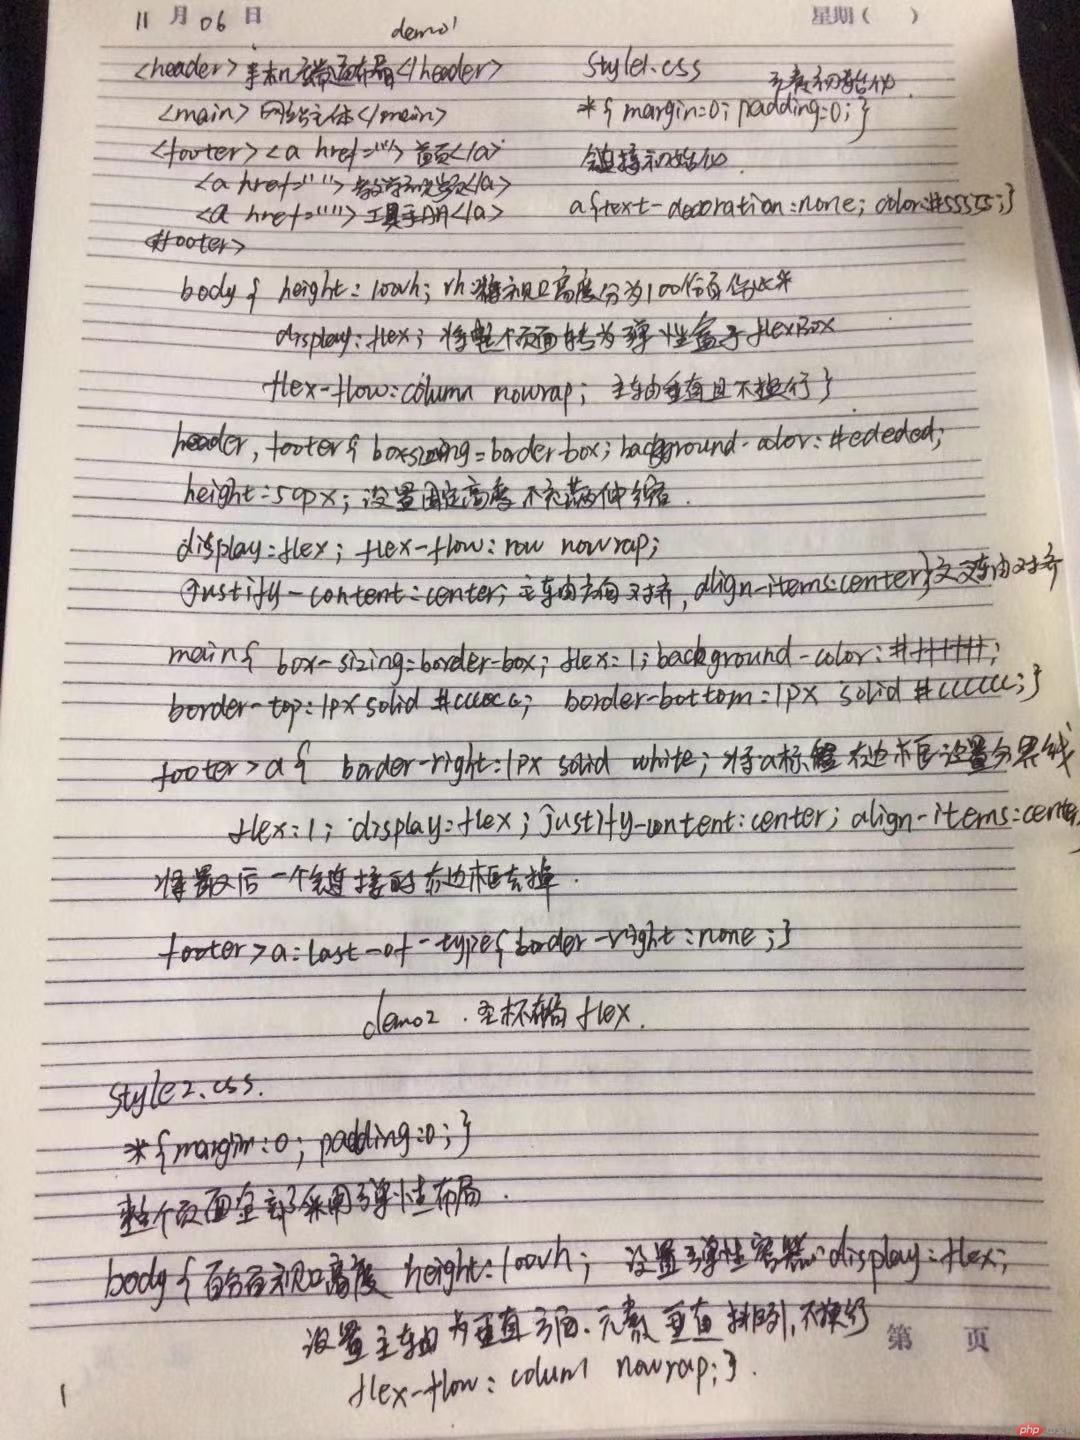
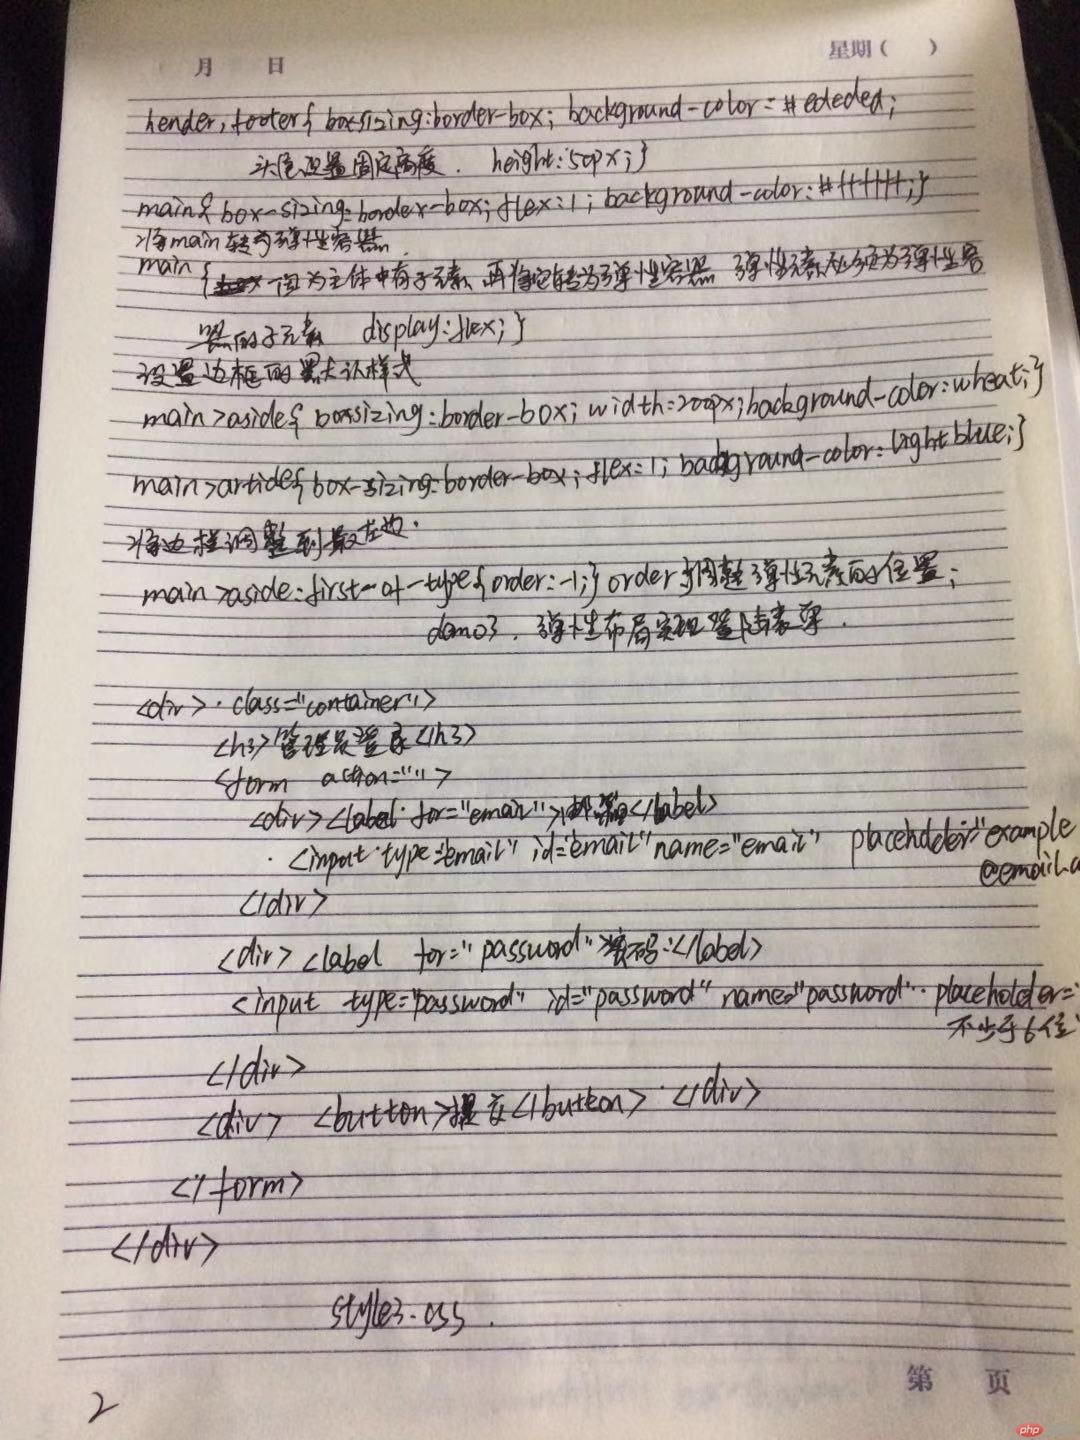
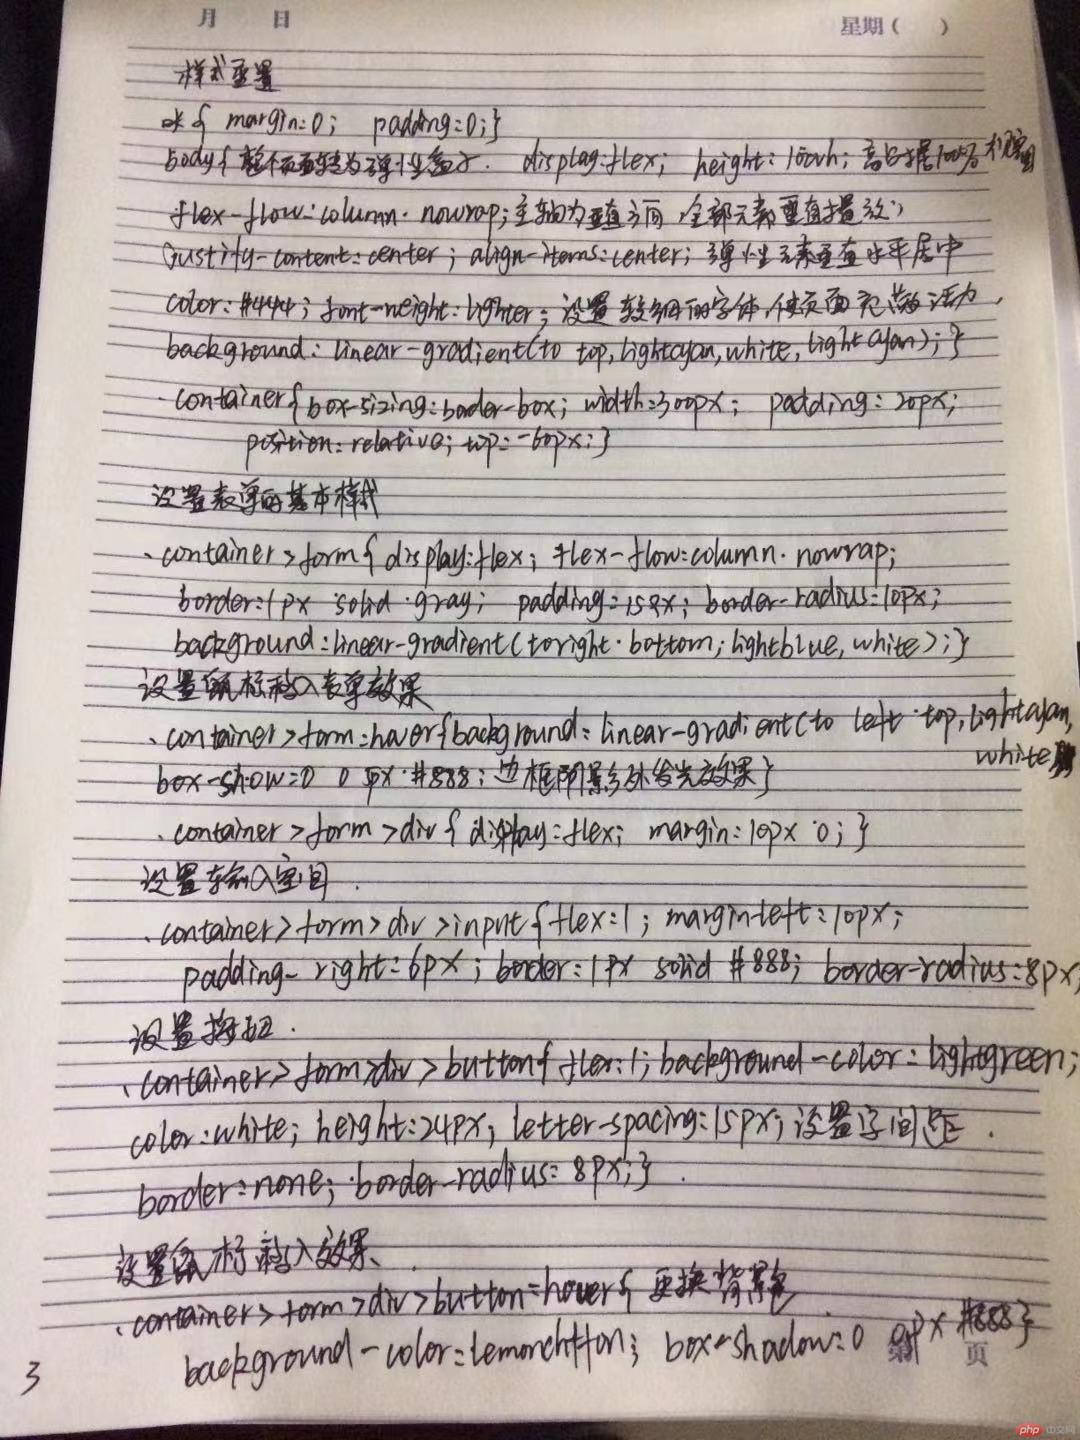
1:将课堂介绍了三个小案例, 自己动手写一遍, 再抄一遍
demo1:
<!DOCTYPE html>
<html lang="en">
<head>
    <meta charset="UTF-8">
    <title>手机端通用布局</title>
    <link rel="stylesheet" href="css/style1.css">
</head>
<body>
<header>php中文网</header>
<main>网站主体</main>
<footer>
    <a href="">首页</a>
    <a href="">教学视频</a>
    <a href="">工具手册</a>
</footer>
</body>
</html>
点击 "运行实例" 按钮查看在线实例
/*元素初始化*/
*{
    margin: 0;
    padding: 0;
}
/*链接初始化*/
a{
    text-decoration: none;
    color: #555555;
}
body{
    /*设置100%高度,与视口等高*/
    /*vh:将视口高度分为100份百分比*/
    height: 100vh;
    /*将整个页面转为弹性盒子FlexBox*/
    display: flex;
    /*主轴垂直且不换行*/
    flex-flow: column nowrap;
}
header,footer{
    box-sizing: border-box;
    background-color: #ededed;
    /*设置固定高度,不充满伸缩*/
    height: 50px;
    /*因为头,尾中有元素需要设置,所以要转为FlexBox*/
    display: flex;
    /*设置FlexBox初始状态:主轴水平且不换行,默认可省*/
    flex-flow: row nowrap;
    /*页头/页脚本中的元素水平垂直居中对齐*/
    /*主轴方向垂直justtify-content主轴方向对齐方式*/
    justify-content: center;
    /*align-items在交叉轴上的对齐方式*/
    align-items: center;
}
main{
    box-sizing: border-box;
    flex: 1;
    background-color: #ffffff;
    border-top:1px solid #cccccc;
    border-bottom: 1px solid #cccccc;
}
footer>a{
    /*右边设置白色边框作为视觉分界线*/
    border-right: 1px solid white;
    /*将所有剩余空间分配给链接*/
    flex: 1;
    display: flex;
    justify-content: center;
    align-items: center;
}
/*将最后一个链接的有边框去掉*/
footer>a:last-of-type{
    border-right: none;
}点击 "运行实例" 按钮查看在线实例
demo2
<!DOCTYPE html>
<html lang="en">
<head>
    <meta charset="UTF-8">
    <title>flex实现圣杯布局</title>
    <link rel="stylesheet" href="css/style2.css">
</head>
<body>
    <header>头部</header>
    <main>
        <article>内容区</article>
        <aside>左边栏</aside>
        <aside>右边栏</aside>

    </main>
    <footer>底部</footer>
</body>
</html>
点击 "运行实例" 按钮查看在线实例
/*样式重置*/
*{
    margin: 0;
    padding: 0;
}
/*整个页面全部采用弹性布局*/
body{
    /*百分百视口高度*/
    height: 100vh;
    /*设置弹性容器*/
    display: flex;
    /*设置主轴为垂直方向,元素垂直排列,且不换行*/
    flex-flow: column nowrap;
}
header,footer{
    box-sizing: border-box;
    background-color: #ededed;
    /*头尾设置固定高度*/
    height: 50px;
}
main{
    box-sizing: border-box;
    /*主体占据全部剩余空间*/
    flex: 1;
    background-color: #ffffff;
}
/*将main区转为弹性容器*/
main{
    /*因为主体中有内容和侧边栏等,再把它转为弹性容器*/
    /*注意:弹性元素必须为弹性容器的子元素才会有效*/
    display: flex;
}
/*设置边框的默认样式*/
main>aside{
    box-sizing: border-box;
    width: 200px;
    background-color: wheat;
}
main>article{
    box-sizing: border-box;
    /*主体内容区域占据全部剩余空间*/
    flex: 1;
    background-color: lightblue;
}
/*将变懒调整到最左边*/
main>aside:first-of-type{
    /*order:调整弹性元素的位置,默认为0,越小越靠前*/
    order:-1;
}点击 "运行实例" 按钮查看在线实例
demo3
<!DOCTYPE html>
<html lang="en">
<head>
    <meta charset="UTF-8">
    <title>弹性布局实现登陆表单</title>
    <link rel="stylesheet" href="css/style3.css">
</head>
<body>
    <div class="container">
        <h3>管理员登录</h3>
        <form action="">
            <div>
                <label for="email">邮箱:</label>
                <input type="email" id="email" name="email" placeholder="examle@email.com">
            </div>
            <div>
                <label for="password">密码:</label>
                <input type="password" id="password" name="password" placeholder="不少于6位">
            </div>
            <div>
                <button>提交</button>
            </div>
        </form>
    </div>
</body>
</html>
点击 "运行实例" 按钮查看在线实例
/*样式重置*/
*{
    margin: 0;
    padding: 0;
    /*参考线*/
    outline: 1px dashed;
}
body{
    /*整个页面转为弹性盒子*/
    display: flex;
    /*高占据100%可视空间*/
    height: 100vh;
    /*主轴为垂直方向,全部元素垂直摆放*/
    flex-flow: column nowrap;
    /*弹性元素水平垂直居中*/
    justify-content: center;
    align-items: center;
    /*设置文本前景色*/
    color: #444;
    /*使用较细的字体,使页面充满活力*/
    font-weight: lighter;
    /*设置三色的从下向上的渐变背景*/
    background:linear-gradient(to top,lightcyan,white,lightcyan);
}
.container{
    box-sizing: border-box;
    width: 300px;
    padding: 20px;
    /*因为有标题的存在;视觉上登录框并不在容器中间*/
    /*使用相对定位,使整个登录组件向顶部上移部分位置*/
    position: relative;
    top: -60px;
}
/*设置登录表单标题的基本样式*/
.container>h3{
    text-align: center;
    margin-bottom: 15px;
    /*使用教习的字体*/
    font-weight: lighter;
}
/*设置表单的基本样式*/
.container>form{
    /*同样,也将整个表单转为flex容器*/
    display: flex;
    /*表单中元素:主轴垂直不换行*/
    flex-flow: column nowrap;
    /*设置表单样式*/
    border:1px solid gray;
    padding: 15px;
    /*添加圆角*/
    border-radius: 10px;
    /*背景渐变色*/
    background: linear-gradient(to right bottom,lightblue,white);
}
/*设置鼠标移入表单的效果*/
.container>form:hover{
    /*更新背景渐变色*/
    background: linear-gradient(to left top,lightcyan,white);
    /*边框阴影模拟外发光效果*/
    box-shadow: 0 0 5px #888;
}
/*将表单中的每一个空间容器div转为弹性容器*/
.container>form>div{
    display: flex;
    /*设置上下外边距使空间在垂直方向上不要太拥挤*/
    margin: 10px 0;
}
/*设置输入空间的样式*/
.container>form>div>input{
    /*将剩余空间分配不给input*/
    flex: 1;
    /*不要与label贴的太近*/
    margin-left: 10px;
    /*文本框中的提示文本,不要离边框太近,稍微向右*/
    padding-right: 6px;
    /*设置输入框的样式,使之看起来更酷一些,于整个表单风格一致*/
    border: 1px solid #888;
    border-radius: 8px;
}
/*设置按钮,也让它占据全部剩余空间*/
.container>form>div>button{
    /*将剩余空间分配给该按钮,是按钮于容器宽度相等*/
    flex: 1;
    background-color: lightgreen;
    color: white;
    height: 24px;
    /*设置字间距*/
    letter-spacing: 15px;
    /*重置按钮边框*/
    border: none;
    border-radius: 8px;
}
/*设置鼠标移入按钮的效果*/
.container>form>div>button:hover{
    /*更换按钮背景色*/
    background-color: lemonchiffon;
    /*边框阴影模拟发光*/
    box-shadow: 0 0 5px #888;
}点击 "运行实例" 按钮查看在线实例


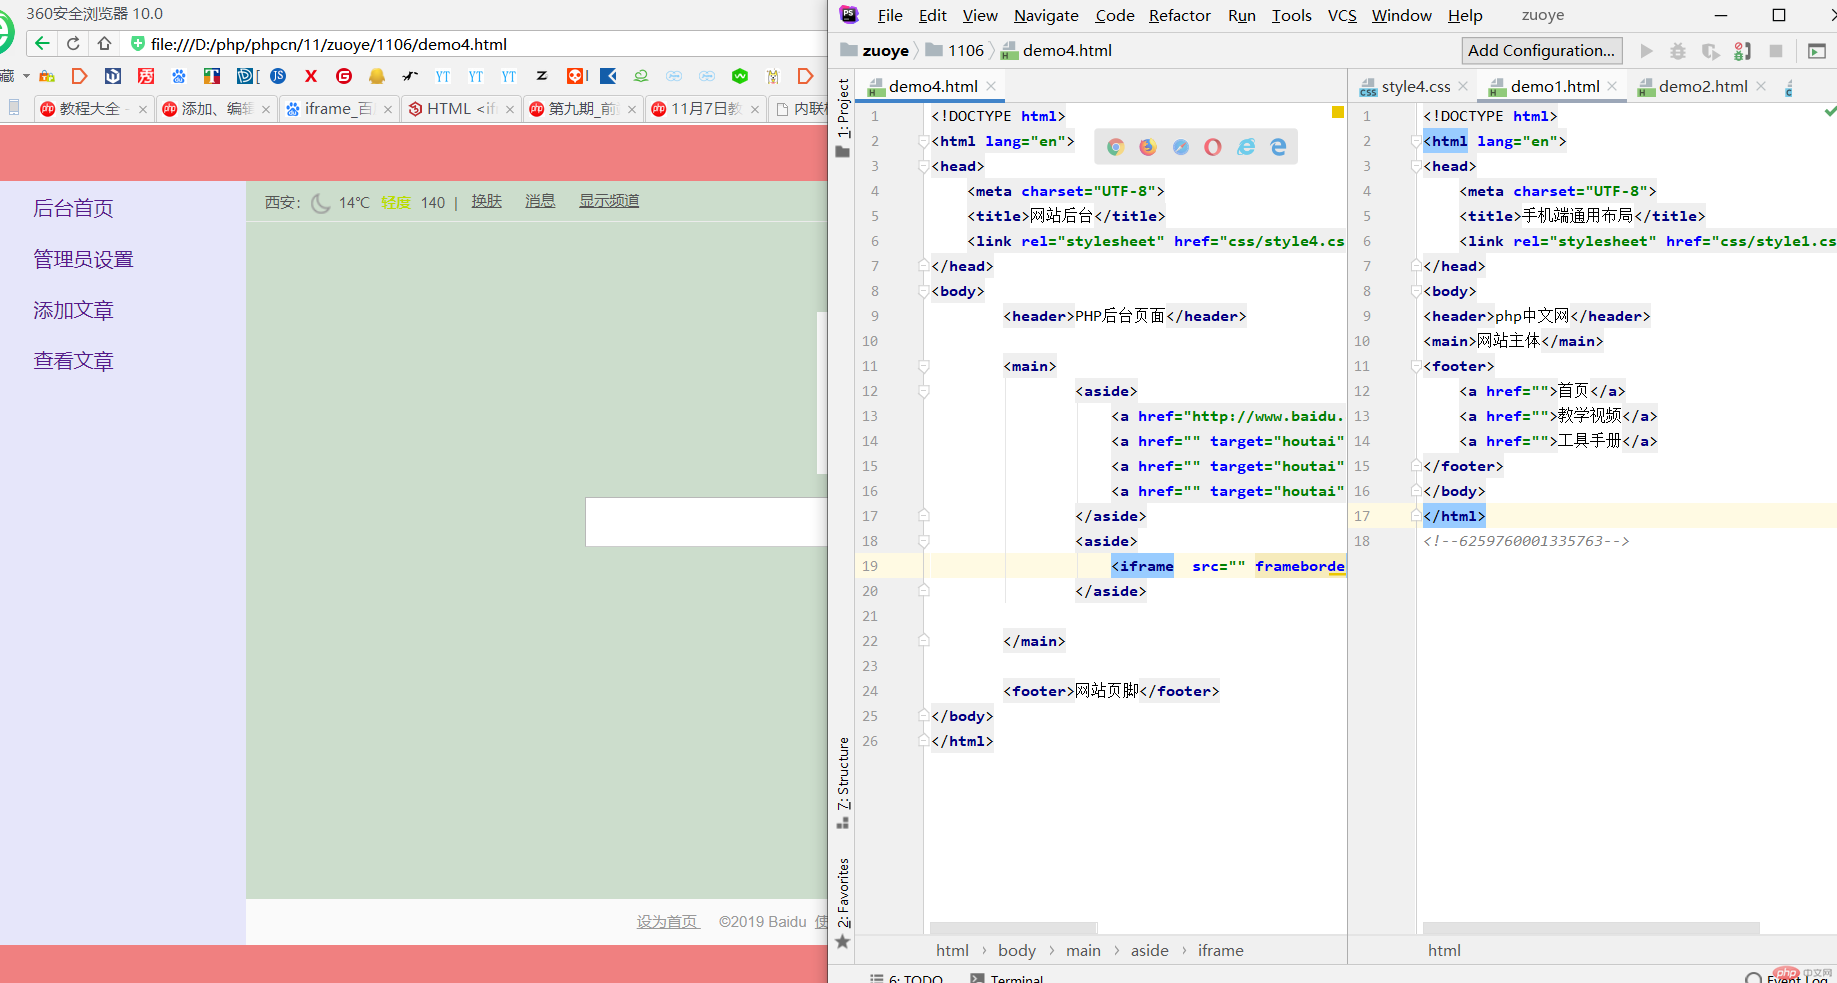
2:自己根据自己情况, 自定义一个小案例, 使用flex实现, 例如网站后台首页...
