Correction status:qualified
Teacher's comments:交作业的每一位同学, 都认真的完成的手写部分, 这不仅仅是配合老师教学, 更主要的是大家自觉的学习精神, 这让我很感动


11月6日作业:
1. 将课堂介绍了三个小案例, 自己动手写一遍, 再抄一遍
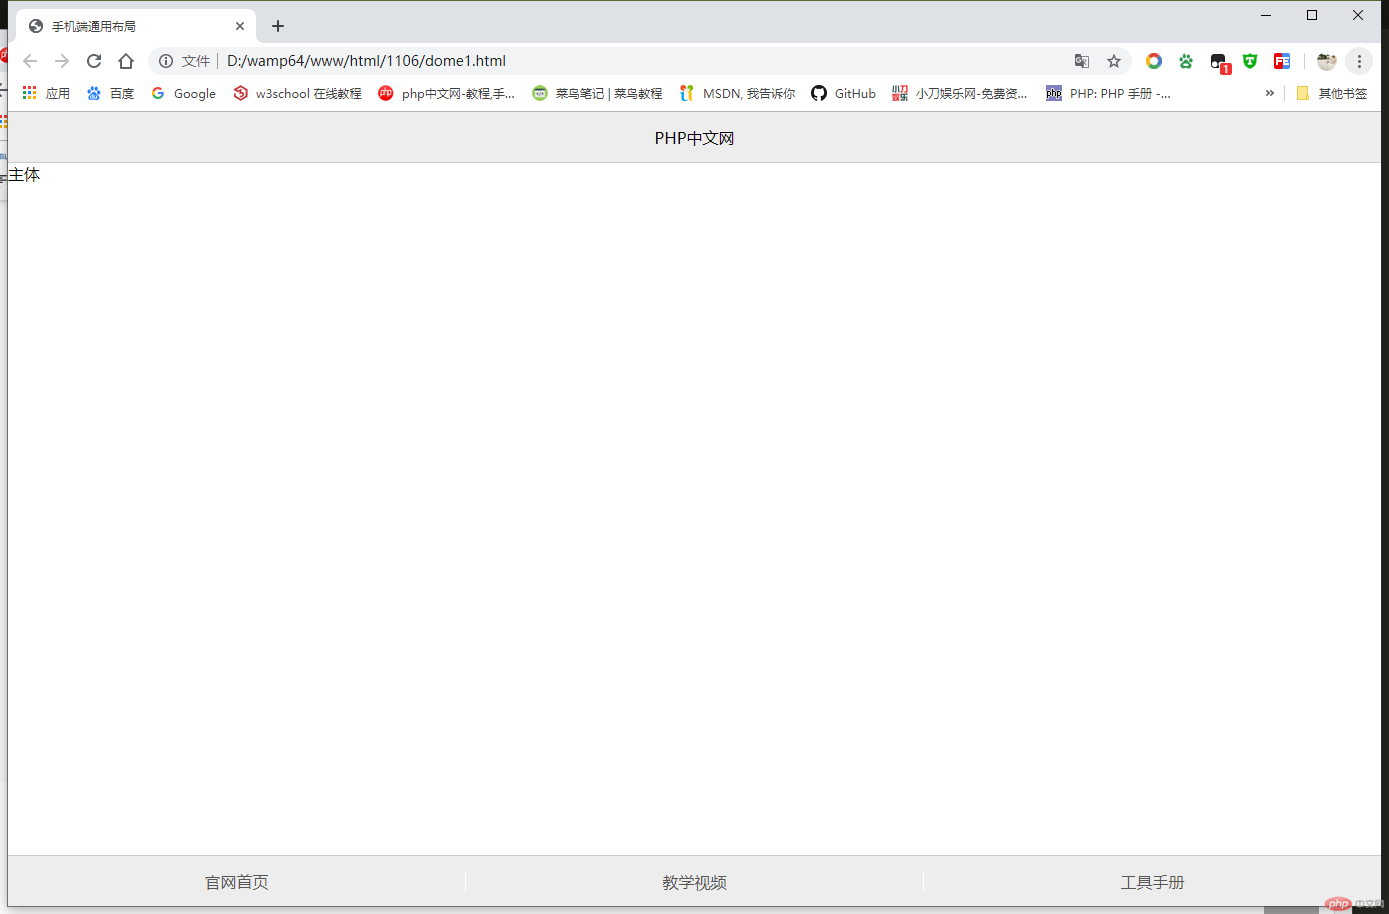
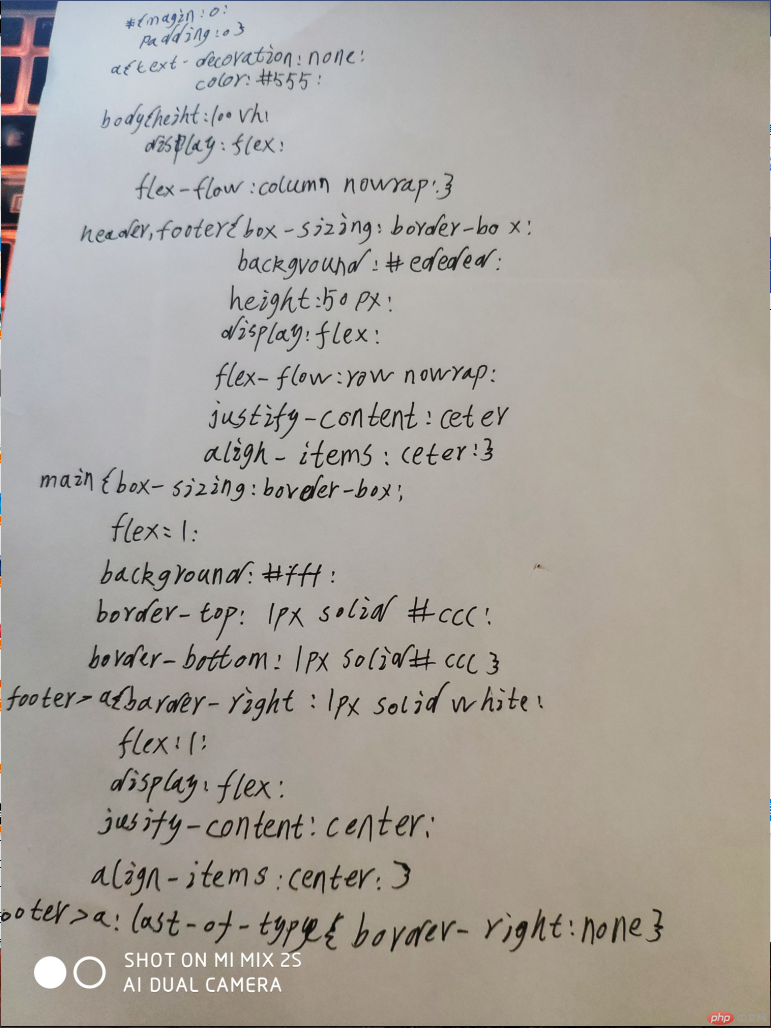
1.1.手机端通用布局
css
 * {
        margin: 0px;
        padding: 0px;
    }

    /*连接初始化*/
    a {
        text-decoration: none;
        /*去除a标签的下划线*/
        color: #555;
    }

    body {
        /*设置100%高度,与视窗等高*/
        /*vh:将视窗高度分为100份的百分比;*/
        height: 100vh;
        display: flex;
        /*设置弹性盒子*/
        flex-flow: column nowrap;
        /*主轴垂直不换行*/
    }

    header,
    footer {
        box-sizing: border-box;
        /*设置不会被边距和呢编剧影响*/
        background: #ededed;
        height: 50px;
        /*设置固定高度*/
        display: flex;
        /*因为头/尾中有元素需要设置,所以要转为FlexBox*/
        flex-flow: row nowrap;
        /*设置弹性盒子为主轴水平排列且不换行*/
        /*设置元素水平垂直居中对齐*/
        justify-content: center;
        align-items: center;
    }

    main {
        box-sizing: border-box;
        /*设置主体元素充满剩余空间*/
        flex: 1;
        background: #fff;
        /*主体添加上下外边框,与页眉与页脚有区隔*/
        border-top: 1px solid #cccccc;
        border-bottom: 1px solid #cccccc;
    }

    footer>a {
        /*右边设置白色边框做为视觉分界线*/
        border-right: 1px solid white;
        /*将所有剩余空间全部分给链接*/
        flex: 1;
        /*链接<a>中的文本比较特殊, 需要再嵌套一层弹性盒子来处理*/
        /*再把每个链接再转为FlexBox,以设置内部的链接文本对齐方式*/
        display: flex;
        /*让链接文本水平垂直居中对齐*/
        justify-content: center;
        align-items: center;
    }

    /*最后个链接的右边框是多余的,需要单独去掉*/
    footer>a:last-of-type {
        border-right: none;
    }
效果:
手抄:
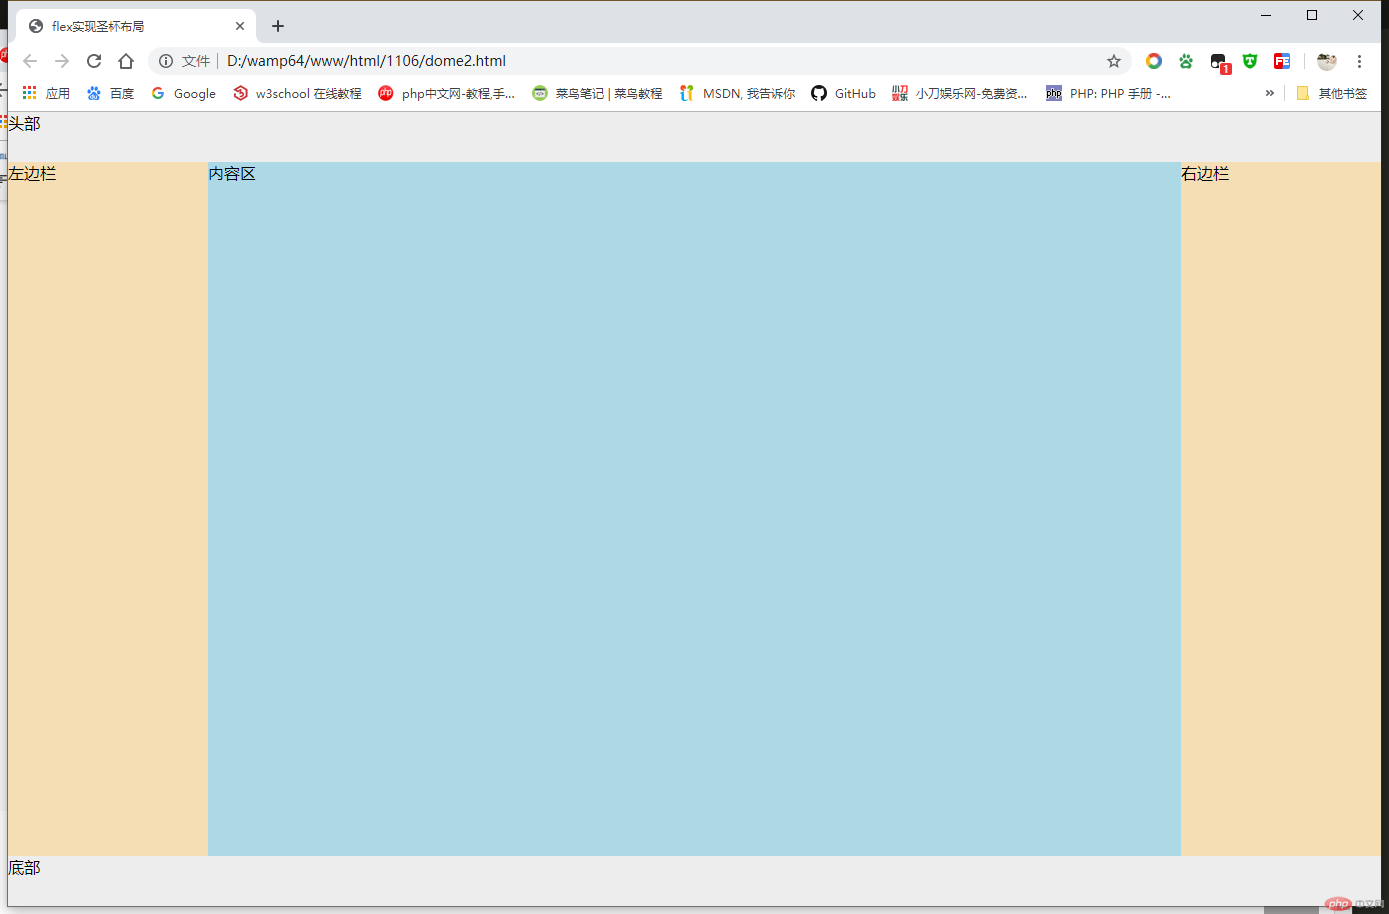
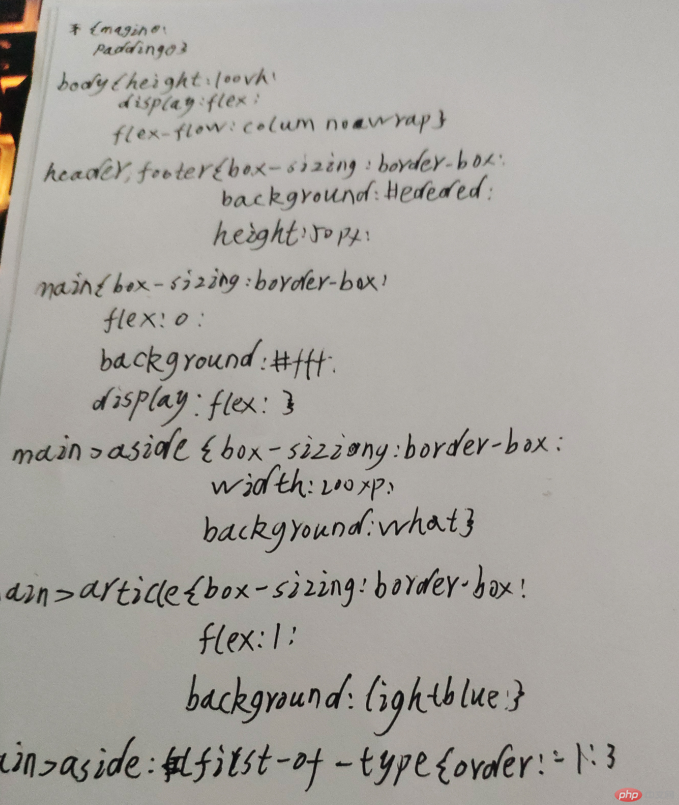
1.2.flex实现圣杯布局
css:
    * {
        margin: 0px;
        padding: 0px;
    }

    body {
        /*百分百视口高度*/
        height: 100vh;
        /*设置为弹性盒子*/
        display: flex;
        /*设置主轴为垂直方向,元素垂直排列,且不换行*/
        flex-flow: column nowrap;
    }

    header,
    footer {
        box-sizing: border-box;
        background: #ededed;
        /*设置头部和底部高度*/
        height: 50px;
    }

    main {
        box-sizing: border-box;
        /*主体占据全部剩余空间*/
        flex: 1;
        background: #fff;
        /*将main区转为弹性容器*/
        /*因为主体中有内容和侧边栏等,再把它转为弹性容器*/
        /*注意: 弹性元素必须是弹性容器的子元素才会有效*/
        display: flex;
    }

    main>aside {
        box-sizing: border-box;
        /*设置左右边栏的宽度*/
        width: 200px;
        background-color: wheat;
    }

    main>article {
        box-sizing: border-box;
        /*主体内容区占据全部剩余空间*/
        flex: 1;
        background: lightblue;
    }

    /*将边栏调整到最左边*/
    main>aside:first-of-type {
        /*order: 调整弹性元素的位置,默认为0, 越步越靠前,可以为负或其它整数*/
        order: -1;
    }
效果:
手抄:
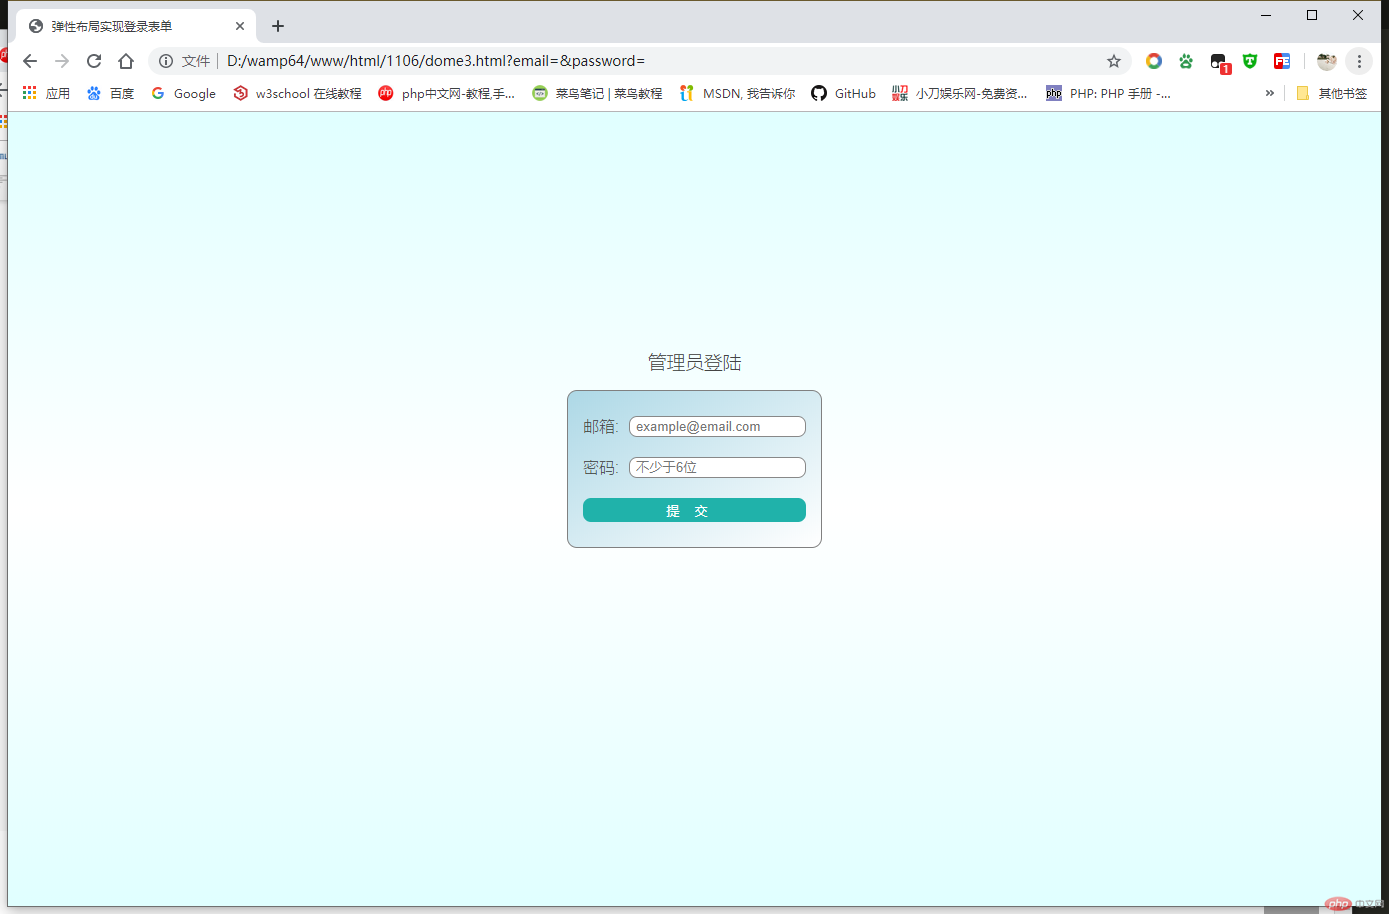
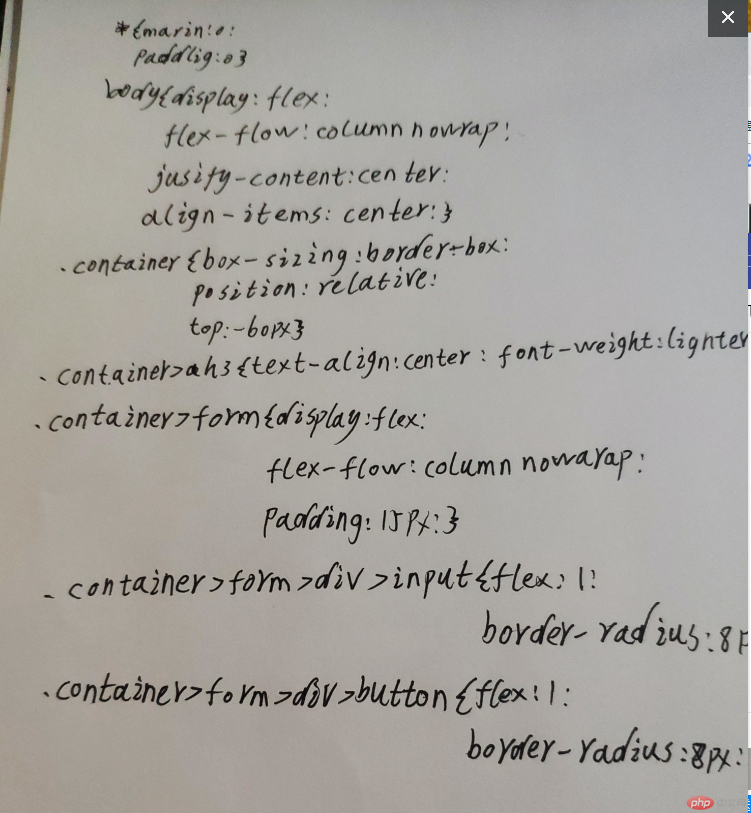
1.3.弹性布局实现登录表单
css:
    * {
        margin: 0px;
        padding: 0px;
    }

    body {
        /*设置整个视窗为弹性盒子*/
        display: flex;
        /*设置设置宽高占据100%的可可视空间*/
        height: 100vh;
        /*设置主轴为垂直方向,全部元素为垂直摆放*/
        flex-flow: column nowrap;
        /*弹性元素水平垂直居中*/
        justify-content: center;
        align-items: center;
        /*设置文本颜色*/
        color: #444;
        /*使用较细的字体,使页面充满活力*/
        font-weight: lighter;
        /*设置三色的从下向上的渐变背景色*/
        background: linear-gradient(to top, lightcyan, white, lightcyan);
    }

    .container {
        box-sizing: border-box;

        /*因为有标题的存在, 视觉上登录框并不在容器中间, 尽管在中间*/
        /*使用相对定位, 使整个登录组件向顶部上移部分位置*/
        position: relative;
        top: -60px;
    }

    /*设置登录表单标题的基本样式*/
    .container>h3 {
        text-align: center;
        margin-bottom: 15px;
        /*使用较细的字体*/
        font-weight: lighter;
    }

    /*设置表单的基本样式*/
    .container>form {
        /*设置表单为弹性盒子*/
        display: flex;
        /*表单中元素,主轴垂直且不换行*/
        flex-flow: column nowrap;
        /*设置表单样式*/
        border: 1px solid gray;
        padding: 15px;
        /*设置container边框为圆角*/
        border-radius: 10px;
        /*背景渐变色*/
        background: linear-gradient(to right bottom, lightblue, white);
    }

    /*设置鼠标移入表单的效果*/
    .container>form:hover {
        /*更新背景渐变色*/
        background: linear-gradient(to left top, lightcyan, white);
        /*边框阴影模拟外发光效果*/
        box-shadow: 0 0 5px #888;
    }

    /*将表单中的每一个控件容器<div>也转为弹性容器*/
    .container>form>div {
        display: flex;
        /*设置上下外边距,使控件在垂直方向上不要太拥挤*/
        margin: 10px 0;
    }

    /*设置输入控件的样式*/
    .container>form>div>input {
        /*将剩余空间全部分配给input控件*/
        flex: 1;
        /*不要与label贴的太近*/
        margin-left: 10px;
        /*文本框中的提示文本,不要离边框太近,稍微向右一些*/
        padding-left: 6px;
        /*设置输入框的样式,使之看上去更酷一些,与整个表单风格一致*/
        border: 1px solid #888;
        /*设置input输入框的圆角*/
        border-radius: 8px;
    }

    /*设置按钮,也让它占据全部剩余空间*/
    .container>form>div>button {
        /*将剩余空间全部分配给按钮*/
        flex: 1;
        /*加点样式*/
        background-color: lightseagreen;
        color: white;
        /*使按钮更高一些*/
        height: 24px;
        /*设置字间距, 不要使用超级无敌大空格,让代码逼格更高*/
        letter-spacing: 15px;
        /*重置按钮边框,先去掉之前的*/
        border: none;
        /*设置按钮圆角*/
        border-radius: 8px;
    }

    /*设置鼠标移入按钮的效果*/
    .container>form>div>button:hover {
        /*更新按钮背景色*/
        background-color: lightcoral;

        /*边框阴影模拟外发光效果*/
        box-shadow: 0 0 5px #888;
    }
效果:
手抄:
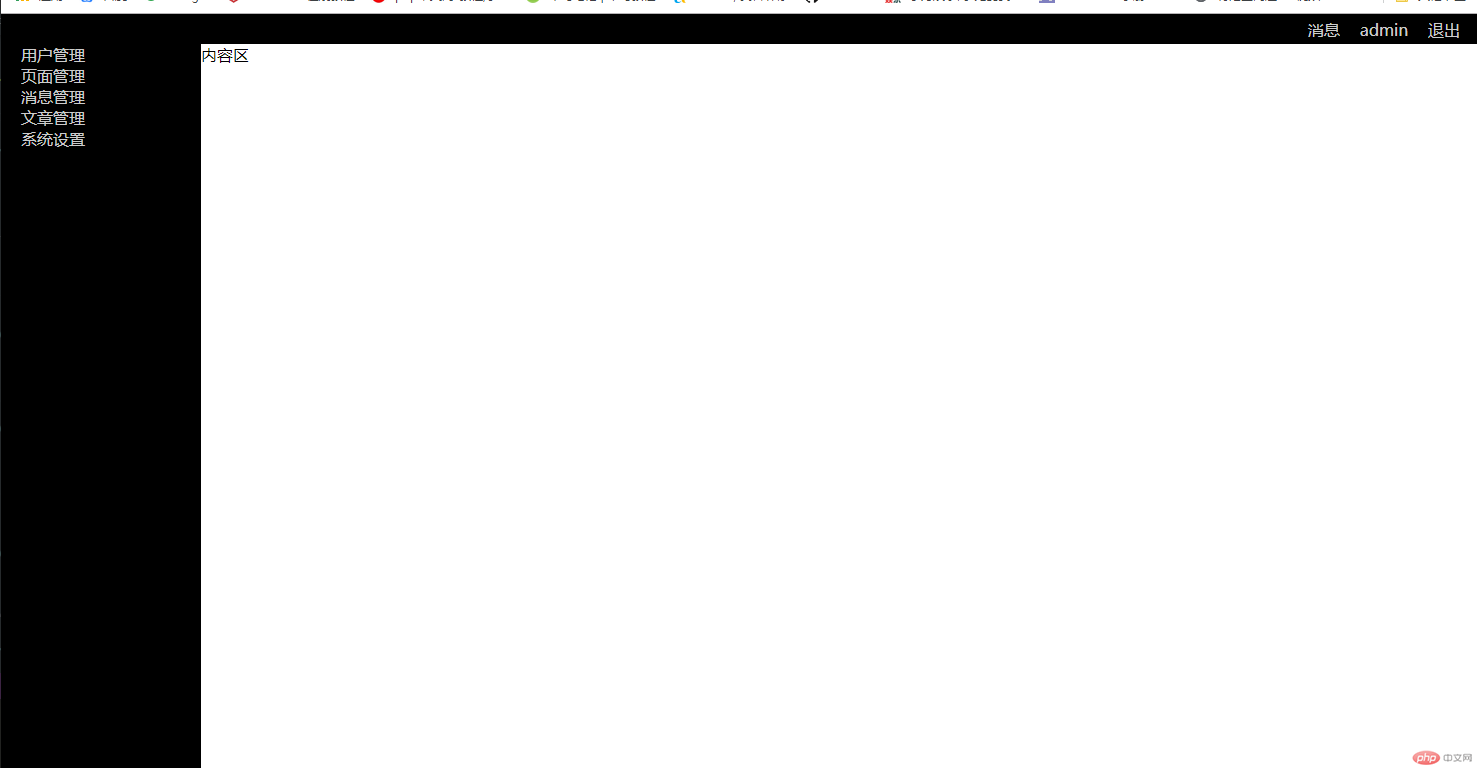
2. 自己根据自己情况, 自定义一个小案例, 使用flex实现, 例如网站后台首页...
简化版后台
css
* {
        margin: 0px;
        padding: 0px;
    }

    body {
        /*设置100%高度,与视窗等高*/
        /*vh:将视窗高度分为100份的百分比;*/
        height: 100vh;
        /*设置弹性盒子*/
        display: flex;
        /*主轴垂直不换行*/
        flex-flow: column nowrap;

    }

    a {
        /*去除a标签的下划线*/
        text-decoration: none;
        color: #ccc;
        margin-left: 20px;
        margin-right: 20px;
    }

    header {
        background: #000;
        color: #ccc;
        height: 30px;
        display: flex;
        /*flex-flow: row-reverse nowrap; */
        justify-content: flex-end;
        align-items: center;

    }

    main {
        box-sizing: border-box;
        /*主体占据全部剩余空间*/
        flex: 1;
        background: #fff;
        /*将main区转为弹性容器*/
        /*因为主体中有内容和侧边栏等,再把它转为弹性容器*/
        /*注意: 弹性元素必须是弹性容器的子元素才会有效*/
        display: flex;
    }

    main>article {
    	box-sizing: border-box;
        /*主体内容区占据全部剩余空间*/
        flex: 1;
    }

    main>aside {
    	display: flex;
    	flex-flow: column nowrap;
    	order: -1;
        background: #000;
        color: #ccc;
        width: 200px;
    }
效果
总结:
通过三个案列练习,对flex容器属性有了更深的了解,对他们的使用场景有了更深刻的认知。