Correction status:qualified
Teacher's comments:最后的总结部分, 有不少做了好久前端的同学都不一定能全明白, 你不简单


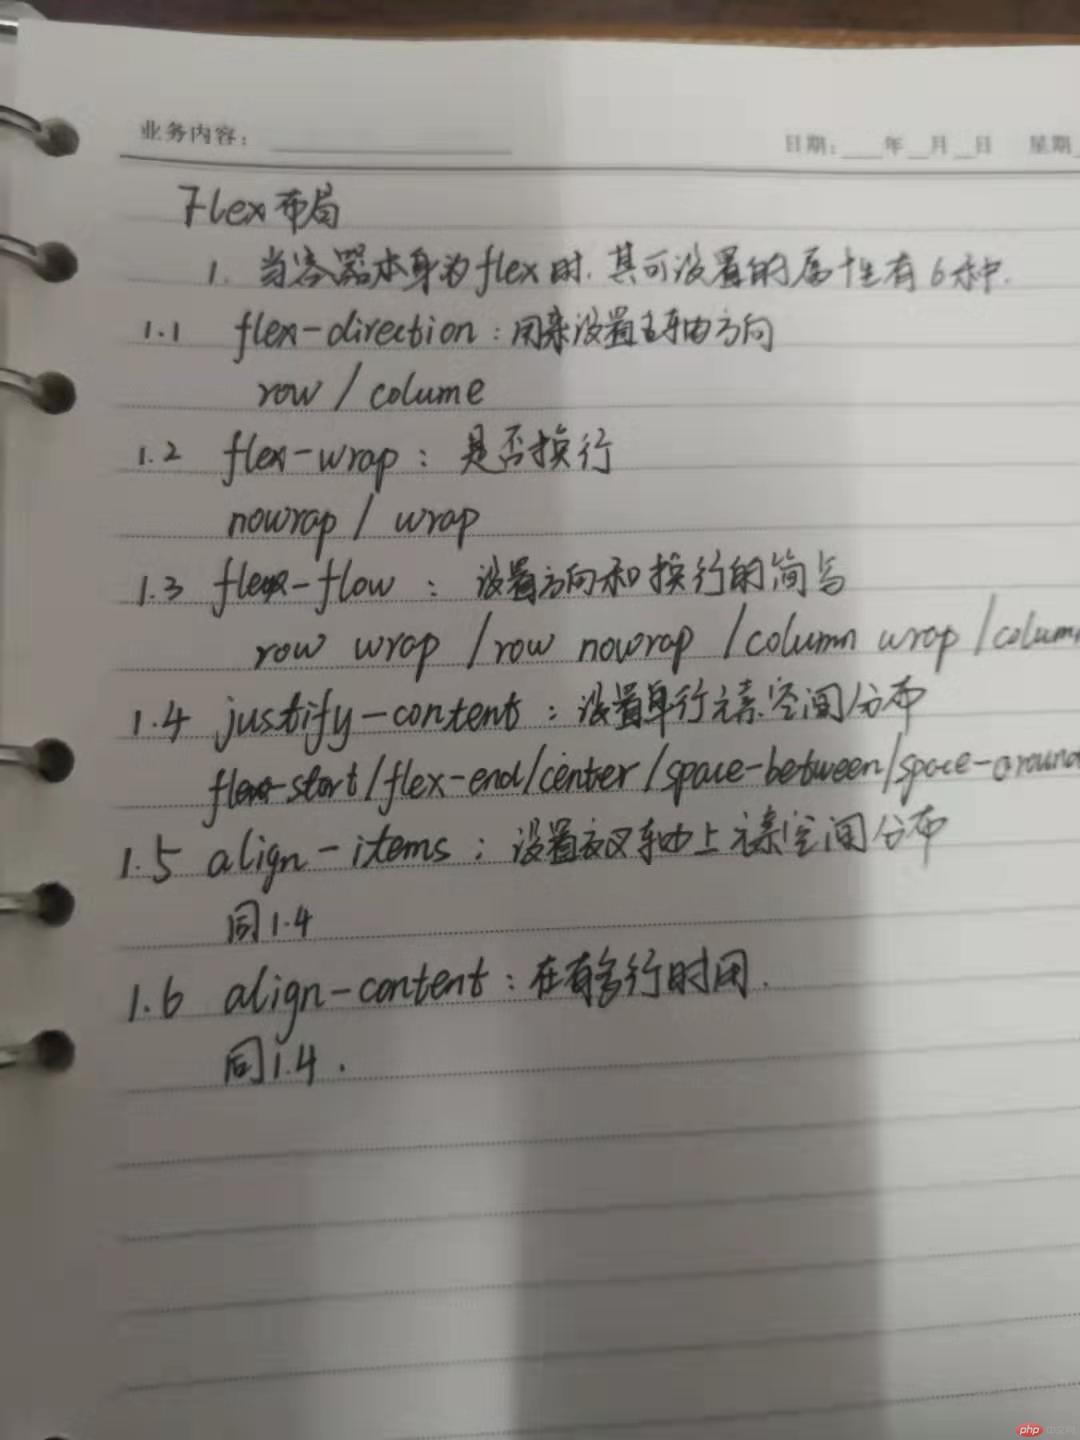
用来设置主轴方向
/*!*flex-direction是用来设置主轴的方向*//*row代表inline方向,column代表block方向。默认值为row*/.container-1{flex-direction: column;/*将主轴从inline方向调整为block方向*!*/}

容器内项目是否换行
/*flex-wrap是用来设置项目是否换行*//*nowrap是默认值代表不换行,wrap代表换行*/.container-2{flex-wrap: wrap;/*设置项目换行*/}
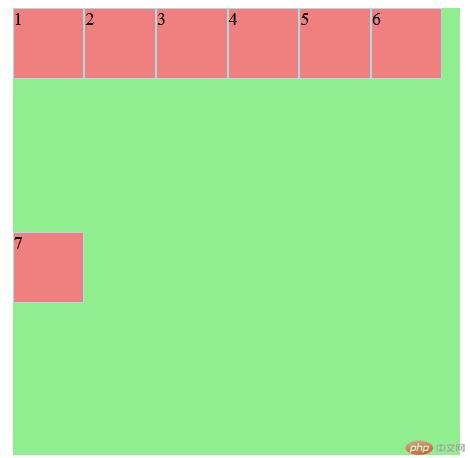
设置方向和是否换行的合体简写版
/*flex-flow是flex-direction和flex-wrap两个的简写方式*//*flex-flow接受两个值,第一个值代表主轴方向,第二个值代表是否换行*/.container-3{flex-flow: column wrap;}
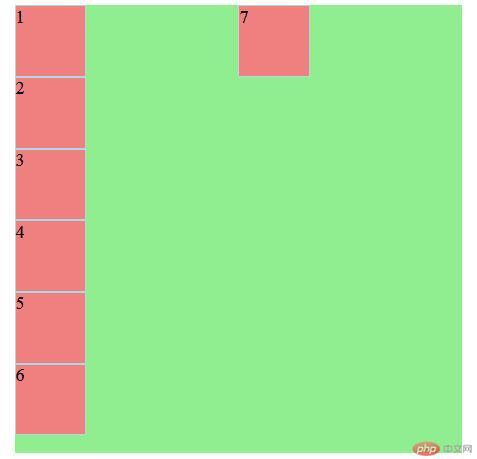
设置主轴方向上项目的空间排布
/*justify-content用来设置在只有一条主轴的情况下项目的空间分布情况*//*flex-start紧贴主轴起始点*//*flex-end紧贴主轴结束点*//*center居中*//*space-between两端对齐*//*space-around分散对齐,两端的空隙为中间空隙的一半*//*space-evenly分散对齐,两端的空隙和中间一样*/.container-4{justify-content: space-evenly;}
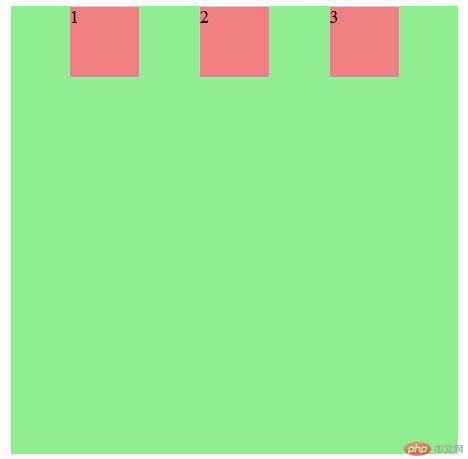
设置交叉轴上项目的空间排布
/*align-items用来设置项目在交叉轴上的对齐方式*//*flex-start紧贴交叉轴起始点*//*flex-end紧贴交叉轴结束点*//*center在交叉轴方向居中*//*space-between在交叉轴方向两端对齐*//*space-around在交叉轴方向分散对齐,两端的空隙为中间空隙的一半*//*space-evenly在交叉轴方向分散对齐,两端的空隙和中间一样*/.container-5{align-items: flex-end;}
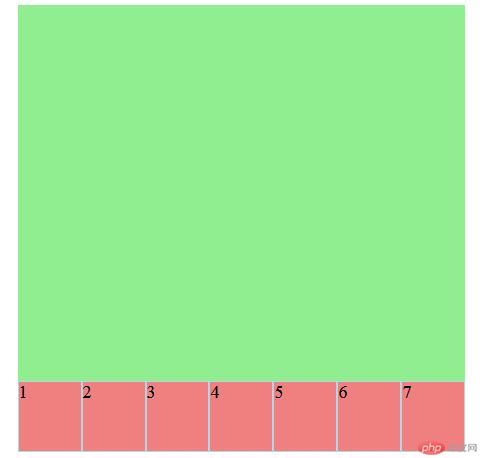
设置项目换行后空间排布
/*align-content用来设置有多条主轴时的空间排布*/.container-6{flex-wrap: wrap;align-content: space-around; /*每行元素离上下两边的距离为中间间隔的一半*/justify-content: space-between;}
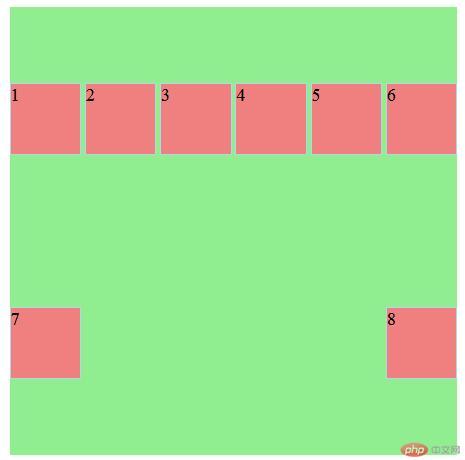
<!DOCTYPE html><html lang="en"><head><meta charset="UTF-8"><title>Flex容器属性功能演示1223</title><style>* {margin: 0;padding: 0;font-size: 20px;}/*初始化6个容器框*/body>div{display: flex;width: 500px;height: 500px;background-color: lightgreen;margin: 10px auto;}/*初始化容器框中的项目*/.item{width: 80px;height: 80px;background-color: lightcoral;border: 1px solid lightblue;box-sizing: border-box;}/*!*flex-direction是用来设置主轴的方向*//*row代表inline方向,column代表block方向。默认值为row*/.container-1{flex-direction: column;/*将主轴从inline方向调整为block方向*!*/}/*flex-wrap是用来设置项目是否换行*//*nowrap是默认值代表不换行,wrap代表换行*/.container-2{flex-wrap: wrap;/*设置项目换行*/}/*flex-flow是flex-direction和flex-wrap两个的简写方式*//*flex-flow接受两个值,第一个值代表主轴方向,第二个值代表是否换行*/.container-3{flex-flow: column wrap;}/*justify-content用来设置在只有一条主轴的情况下项目的空间分布情况*//*flex-start紧贴主轴起始点*//*flex-end紧贴主轴结束点*//*center居中*//*space-between两端对齐*//*space-around分散对齐,两端的空隙为中间空隙的一半*//*space-evenly分散对齐,两端的空隙和中间一样*/.container-4{justify-content: space-evenly;}/*align-items用来设置项目在交叉轴上的对齐方式*//*flex-start紧贴交叉轴起始点*//*flex-end紧贴交叉轴结束点*//*center在交叉轴方向居中*//*space-between在交叉轴方向两端对齐*//*space-around在交叉轴方向分散对齐,两端的空隙为中间空隙的一半*//*space-evenly在交叉轴方向分散对齐,两端的空隙和中间一样*/.container-5{align-items: flex-end;}/*align-content用来设置有多条主轴时每行的空间排布*/.container-6{flex-wrap: wrap;align-content: space-around; /*每行元素离上下两边的距离为中间间隔的一半*/justify-content: space-between;}</style></head><body><div class="container-1"><div class="item">1</div><div class="item">2</div><div class="item">3</div><div class="item">4</div><div class="item">5</div><div class="item">6</div><div class="item">7</div></div><hr><div class="container-2"><div class="item">1</div><div class="item">2</div><div class="item">3</div><div class="item">4</div><div class="item">5</div><div class="item">6</div><div class="item">7</div></div><hr><div class="container-3"><div class="item">1</div><div class="item">2</div><div class="item">3</div><div class="item">4</div><div class="item">5</div><div class="item">6</div><div class="item">7</div></div><hr><div class="container-4"><div class="item">1</div><div class="item">2</div><div class="item">3</div><!-- <div class="item">4</div>--><!-- <div class="item">5</div>--><!-- <div class="item">6</div>--><!-- <div class="item">7</div>--></div><hr><div class="container-5"><div class="item">1</div><div class="item">2</div><div class="item">3</div><div class="item">4</div><div class="item">5</div><div class="item">6</div><div class="item">7</div></div><hr><div class="container-6"><div class="item">1</div><div class="item">2</div><div class="item">3</div><div class="item">4</div><div class="item">5</div><div class="item">6</div><div class="item">7</div><div class="item">8</div></div></body></html>
4.1用传统方式进行网页布局常用的方法有两种,一种是table布局,一种是float+position布局。table布局工作繁琐,后期调整难度大。float+position布局相较table来说更加的方便简洁。
4.2在完成作业的过程中耗时较长的地方就是元素选择和盒子边距的控制。
4.3需要重点注意的是在使用了border之后要加上box-sizing控制盒子尺寸。
4.4在使用float时要克制,尽可能少用。
4.5margin可以设置负值来调整元素位置。
4.6图片元素存在白边,需要将其转化为block。
4.7同一标签可以定义多个class 用空格隔开就行了,如果属性不重复则样式叠加,如果属性重复则以最后面的class为准。
4.8在绝对定位时可以利用四个点来设置垂直居中,即left:0;right:0;top:0;margin:auto ;