Correction status:qualified
Teacher's comments:为了提升效率, 降低出错率, 推荐尽可能使用命令方式来完成基本创建工作


路由是laravel中非常重要的,任何访问都需要经过路由。
laravel提供了路由方式
Route::get($uri, $callback);Route::post($uri, $callback);Route::put($uri, $callback);Route::patch($uri, $callback);Route::delete($uri, $callback);Route::options($uri, $callback);
实际上大部分操作我们只需要用get与post即可完成我们来看一下路由 的实例
Route::get('/login-admin',function (){return '你访问了后台';})
此时我们定义了一个访问login-admin的路由将返回’你访问了后台’这几个字。
这就是一个用get方式提交的一个路由。
我们接下来演示一下post方式所提交的路由。
我们先在视图文件夹创建一个视图目录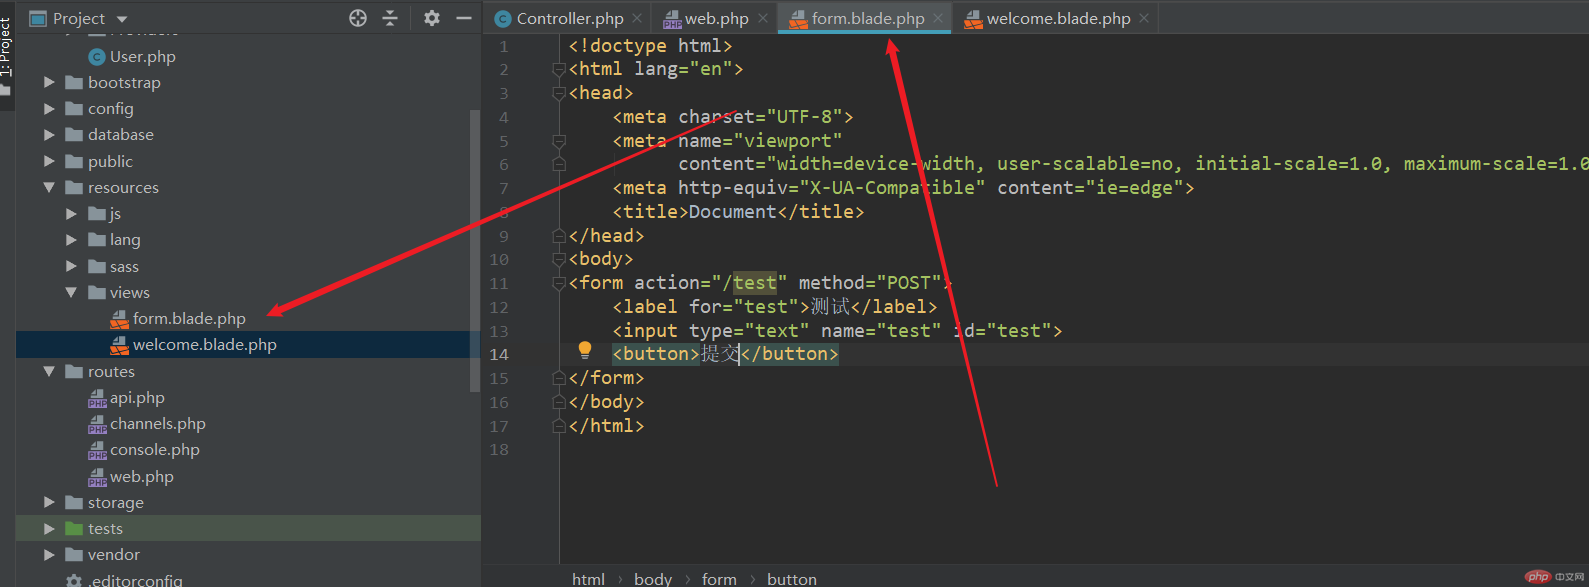
然后我们在路由中进行路由
Route::get('/form',function(){return view('form');});route::post('/test',function (){return '你用post请求到我了';});
我们再进行访问你会发现居然出错了!
因为post提交中laravel为了防止CSRF攻击规定了post,put,delete提交方式必须要再html表单中加入@csrf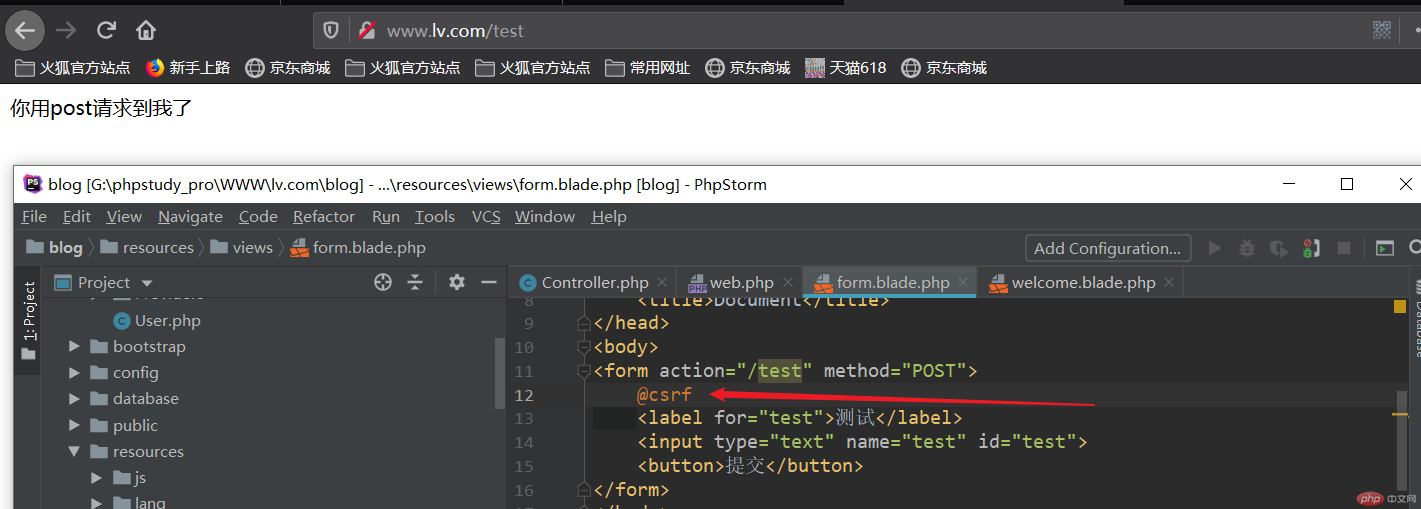
这样子就能请求到post提交方式。
另外还可以在路由中传递参数
Route::get('/form/{a}/{b}',function($a, $b){return $a+$b;});

当然还有可选参数
Route::get('/form/{a?}/{b?}',function($a='2', $b='3'){return $a+$b;// return view('form');});
至于规则那么和编程语言中自然是大同小异。
laravel控制器的位置默认于app/http/controller
如何创建控制器
使用终端命令
php artisan make:controller `控制器名称`
我们这边创建一个Home控制器用来输出首页
这没啥好说的你也可以手动创建,别忘记了命名空间就是了
接下来我们写好控制器部分渲染一下我们的视图再用路由来加载控制器
Route::get('/home','Home@index');
namespace App\Http\Controllers;use Illuminate\Http\Request;class Home extends Controller{public function index(){return view('home');}}
这边就演示一个原生sql语法采用DB类进行操作因为select,update,delete,insert写法和原生一样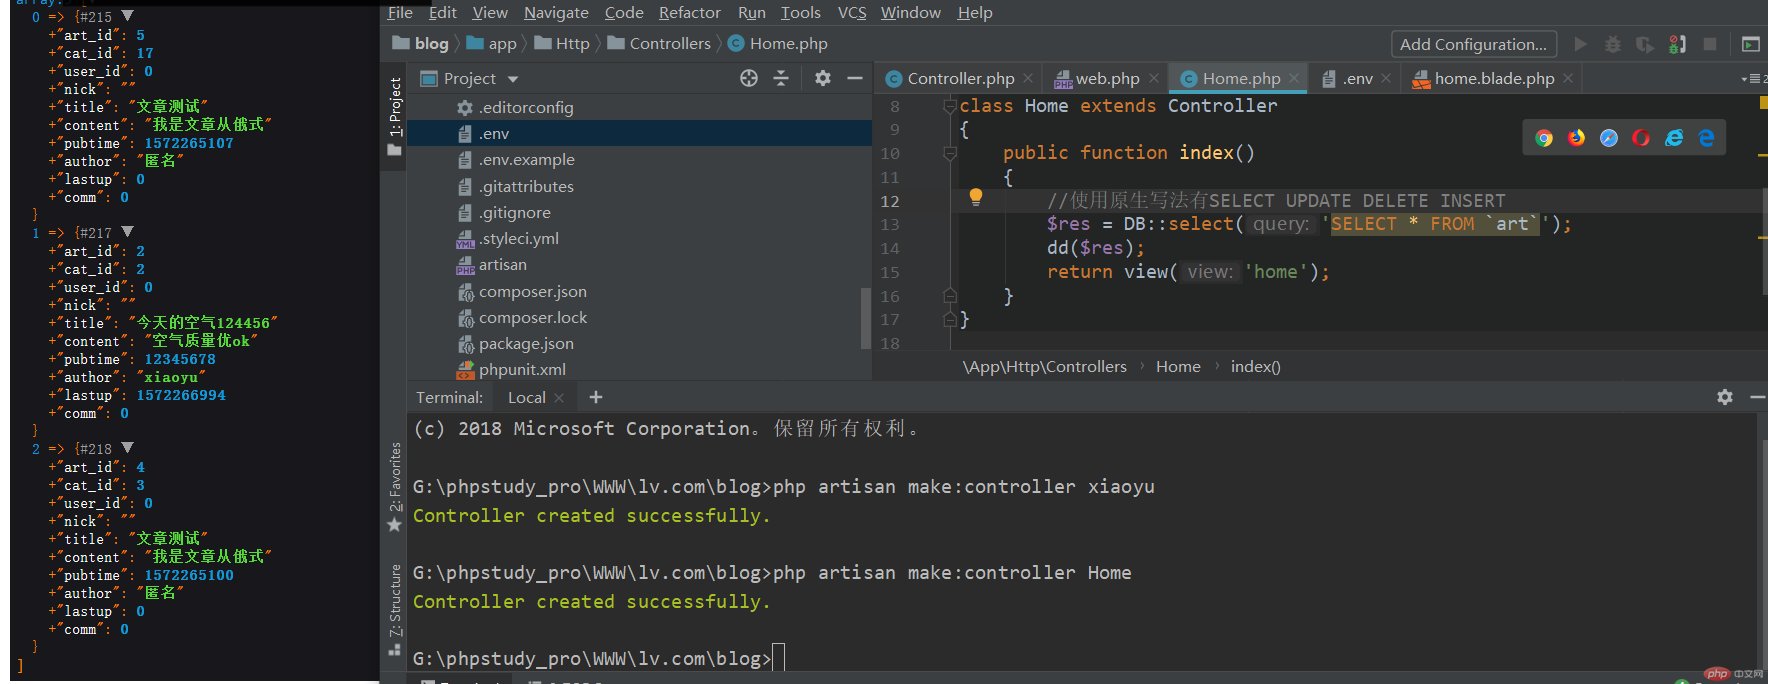
接下来我来使用laravel提供的链式结构来一次增删改查
删除的一个示例
//路由Route::get('/home/delete/{a}','Home@delete');//控制器public function delete($id=''){$res = DB::table('art')->where('art_id',$id)->delete();//laravel从控制器中数据传值给视图会去外壳所以我们需要多套一层//这样子在视图中就存在了article变量;return $this->index();}
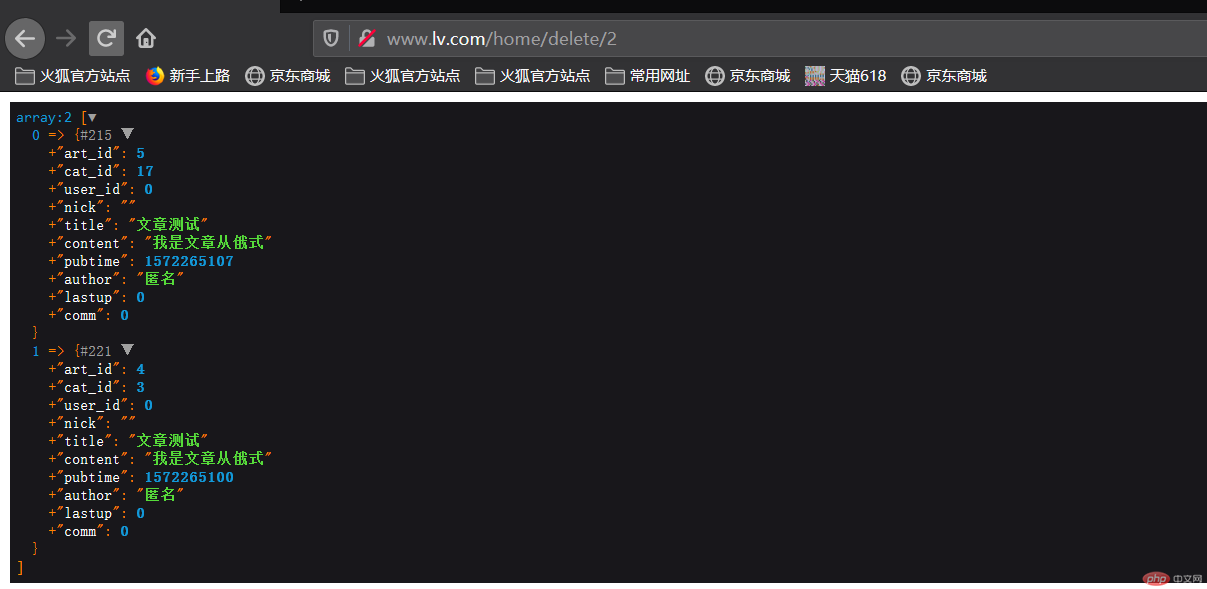
SELECT查询
//路由Route::get('/home/select/{a}','Home@select');//查询public function select($page='1'){$res = DB::table('art')->select('title','content')->limit($page)->get();//laravel从控制器中数据传值给视图会去外壳所以我们需要多套一层$data['article'] = $res;//这样子在视图中就存在了article变量;return view('home',$data);}
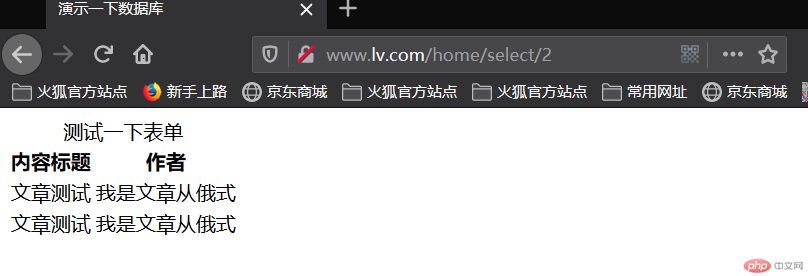
update
public function update(){DB::table('art')->where('art_id',5)->update(['title'=>'更改标题']);return $this->index();}
insert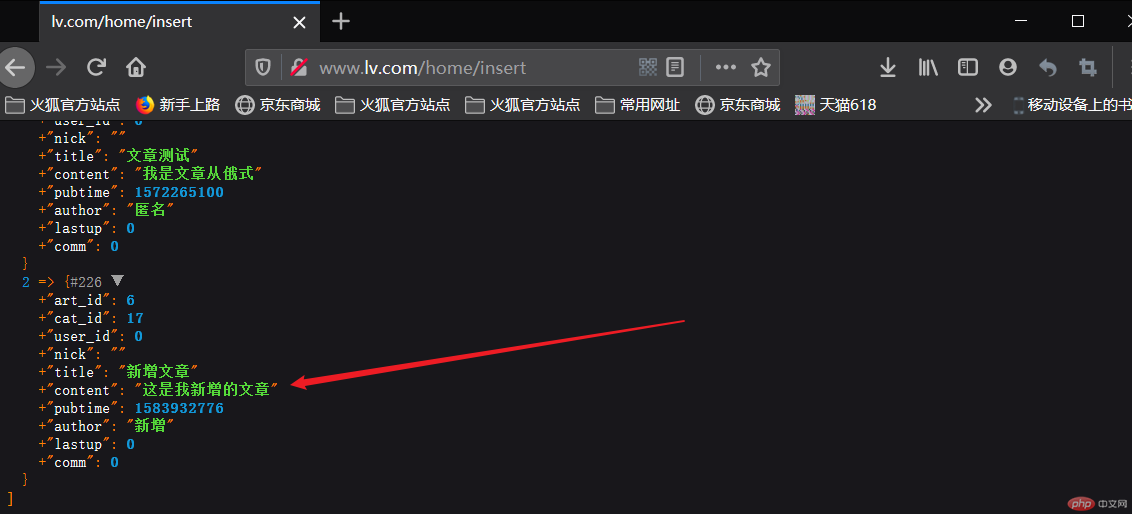
public function insert(){$data = ['art_id'=>'6','cat_id'=>'17','user_id'=> 0,'title'=> '新增文章','content' => '这是我新增的文章','pubtime' => time(),'author' => '新增',];DB::table('art')->insert($data);return $this->index();}
在laravel给我们提供的链式操作方法中,简化了很多的流程,是我们可以很快的上手具体的推荐各位看官方文档https://learnku.com/docs/laravel/5.8/queries/3926