Correction status:qualified
Teacher's comments:js是比较有意思的, 不要着急


1、json是借用了JS对象字面量法来表示数据,是一种轻量级,用于数据交换与存储的格式化的字符串(本质上仍是一个字符串);
2、json数据类型:
3、JS中有关json的两个方法:
序列化:JS对象序列化为JSON格式的字符串JSON.stringify(JS_obj,array|fucntion(key,value){……},'字符缩进数和字符');当第二个参数为数组时:限制序列化成员(序列化白名单);反之为回调函数对JS对象中的元素进一步处理返回JSON中(必须有return value;否则为空,如果不需要某值返回undefined);第三个参数为JSON缩进字符;
注意:JS对象序列化之后,会将以下三种成员删除:
(1)方法(函数)
(2)值为undefined的属性
(3)继承的原型对象成员
解析:将JSON格式的字符串解析/还原为JS对象JSON.parse(json,function(key,value){……;return value;});当只有一个参数时:直接解析JSON对象返回JS对象;当为两个参数时:第二个参数为回调函数,把JSON对象中的值处理后在返回;
4、JSON与JS对象的区别:
tips:为了规范/自定义序列化的返回结果,允许在JS对象中创建一个方法:toJSON;toJSON在调用JSON.stringify()时自动调用,像魔术方法一样;
1、同步和异步的概念:
同步:发出请求得到响应放回数据,才可以发送另一个
异步:发出请求,不需要得到响应回复就可以发出另一个请求,(回调函数);
2、XMLHttpRequest基本流程(两种形式GET和POST):
(1)、请求的进本流程(GET)
创建请求对象:xhr=new XMLHttpRequest();监听请求回调:xhr.onreadystatechange=function(){};设置请求参数:xhr.open(请求类型,请求url,是否异步)(默认true,异步)发送请求:xhr.send(null)
(2)、请求的基本流程(POST)
创建请求对象:xhr=new XMLHttpRequest();监听请求回调:xhr.onreadystatechange=function(){};设置请求头:xhr.open(请求类型,请求url,是否异步):默认true,异步设置请求头:xhr.setRequestHeader()准备请求的数据:var data={……}发送请求:xhr.send(data);可以添加键值对形式返回:send(‘user=’+data);
3、监听事件:onreadystatechange(在xhr监听对象中,xhr可以用this代替)
reponseText:返回ajax请求文本reponseXML:返回的html/xml;readyState===4:标识Ajax请求状态(4代表成功)status:返回数据(200代表OK)
4、发送数据的两种格式在请求头中设置:
xhr.setRequestHeader('content-type','applicaton/x-www-form-urlencoded')表单数据形式xhr.setRequestHeader('content-type','applicaton/json;charset=utf-8')json数据形式
在Ajax中POST形式中还有一种默认表单数据发送形式(不需要设置请求头):FormData();
var data=new FormData();data.append(key,value);xhr.send(data);
5、附加知识点:setTimeout(函数、time) 方法用于在指定的毫秒数后调用函数或计算表达式。onsubmit="return false"禁用表单提交事件;
6、获取Ajax发送的数据:以GET形式发送的数据:$_GET
以POST形式发送的数:$_POST
数据格式如果是JSON格式,则以file_get_contents(‘php://input’)获取,其他都已$_POST获取;
Ajax请求返回的响应一般是responseText文本格式,所以服务端接受Ajax默认返回数据转化成JSON格式返回;
1.Ajax请求GET形式
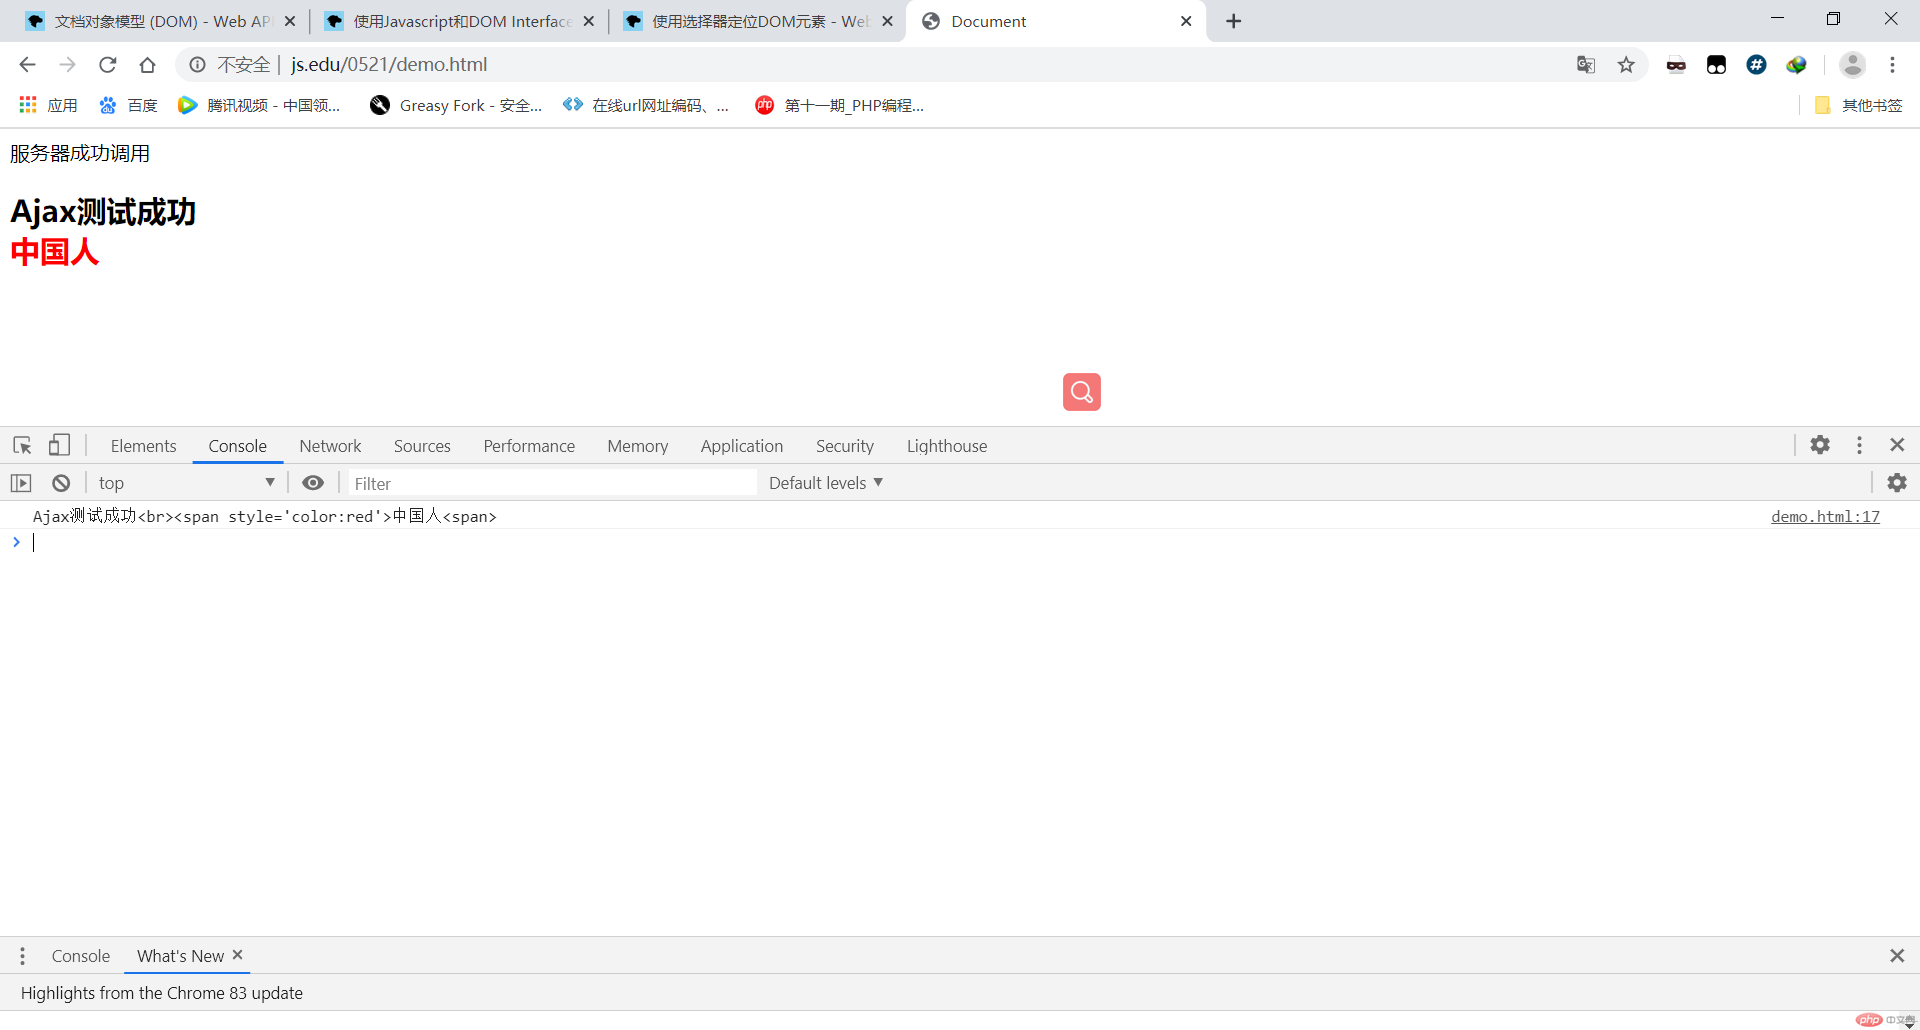
<!DOCTYPE html><html lang="en"><head><meta charset="UTF-8" /><meta name="viewport" content="width=device-width, initial-scale=1.0" /><title>Document</title></head><body><span>服务器成功调用</span></body><script>// 创建请求对象var xhr = new XMLHttpRequest();//创建回调监听xhr.onreadystatechange = function () {if (xhr.readyState === 4 && xhr.status === 200) {console.log(xhr.responseText);var h2 = document.createElement("h2");h2.innerHTML = xhr.responseText;document.body.appendChild(h2);}};xhr.open("GET", "test.php", true);xhr.send(null);</script></html>
运行结果
2.Ajax请求POST形式(json格式):
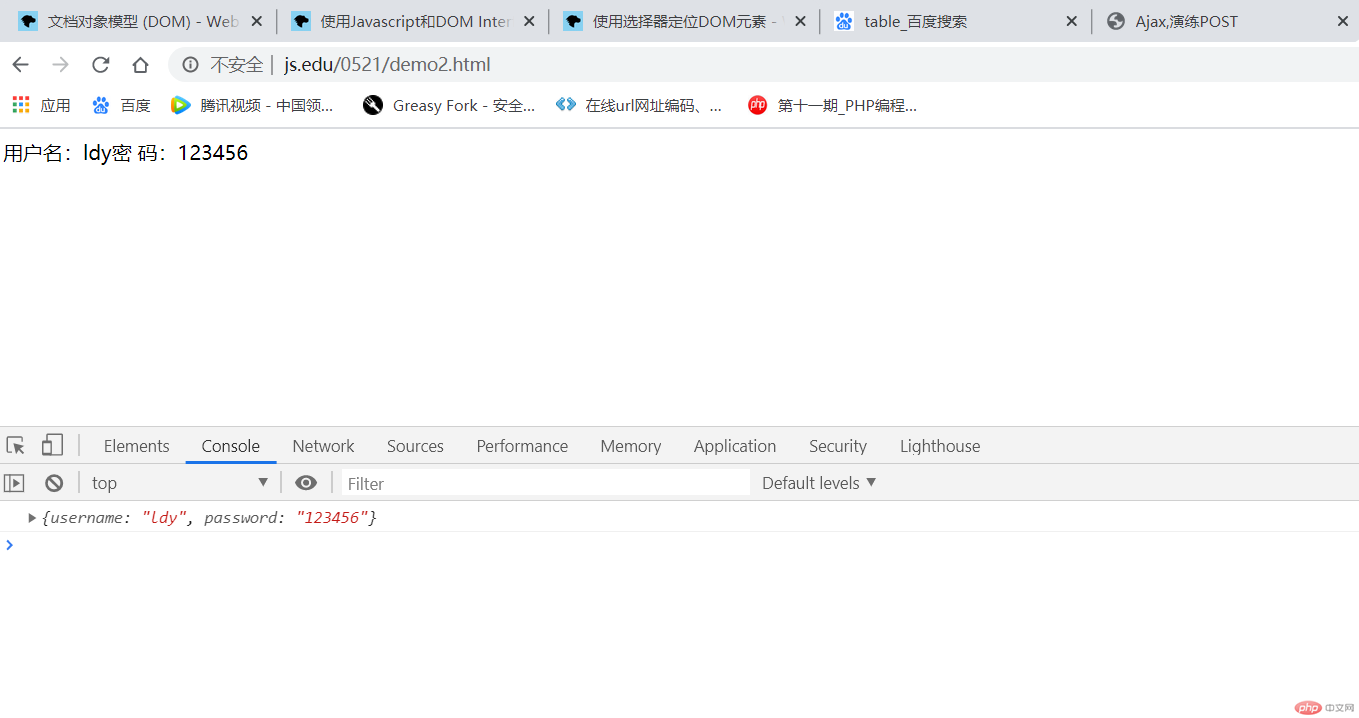
<!DOCTYPE html><html lang="en"><head><meta charset="UTF-8" /><meta name="viewport" content="width=device-width, initial-scale=1.0" /><title>Ajax,演练POST</title></head><body><script>// new一个XMLHttpRequest对象var xhr = new XMLHttpRequest();//监听事件操作xhr.onreadystatechange = function () {if (xhr.readyState === 4 && xhr.status === 200) {var data = JSON.parse(xhr.responseText);// console.log(data);var name = document.createElement("span");name.innerText = "用户名:" + data.username;document.body.append(name);var pass = document.createElement("span");pass.innerText = "密 码:" + data.password;document.body.append(pass);}};//初始化请求参数xhr.open("POST", "test3.php", true);//设置请求头xhr.setRequestHeader("content-type", "application/json;charset=utf-8");//准备请求数据var user = {username: "ldy",password: "123456",};//发送数据xhr.send(JSON.stringify(user));</script></body></html>
代码演示结果:
3.Ajax请求POST形式(FormData对象):
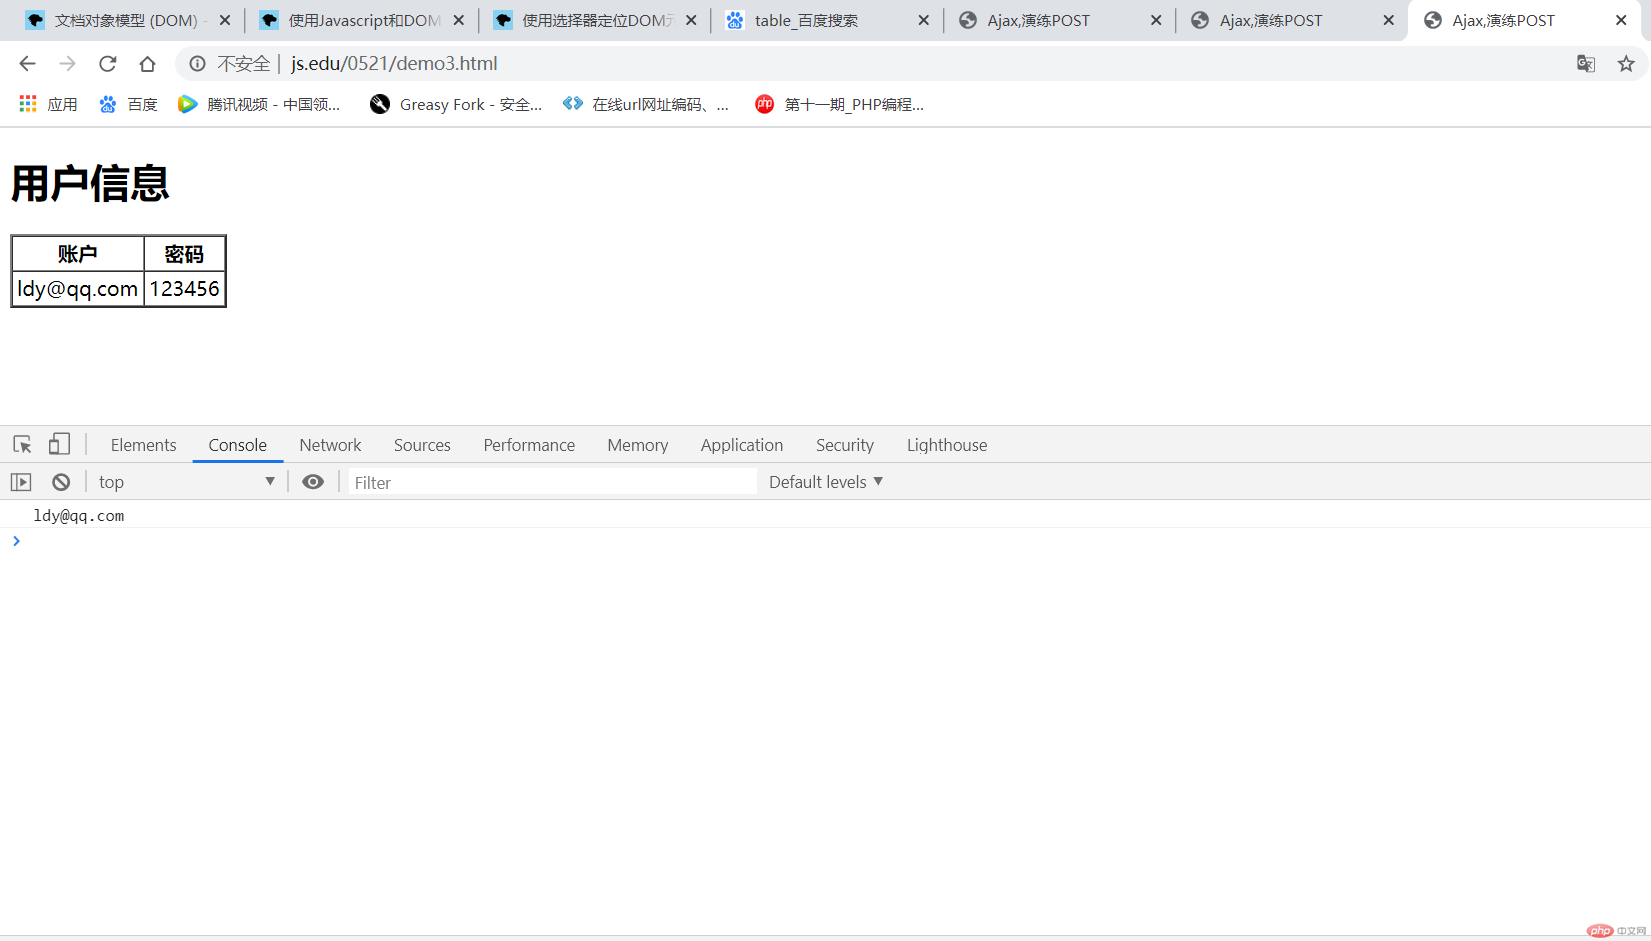
<!DOCTYPE html><html lang="en"><head><meta charset="UTF-8" /><meta name="viewport" content="width=device-width, initial-scale=1.0" /><title>Ajax,演练POST</title><style></style></head><body><h1>用户信息</h1><table aglin="center" cellpadding="3" cellspacing="0" border="2" }><tr><th>账户</th><th>密码</th></tr></table><script>// new一个XMLHttpRequest对象var xhr = new XMLHttpRequest();//监听事件操作xhr.onreadystatechange = function () {if (xhr.readyState === 4 && xhr.status === 200) {var user = xhr.responseText;var userdata = JSON.parse(user);console.log(userdata.name);var name = document.createElement("tr");name.innerHTML ="<td>" + userdata.name + "</td><td>" + userdata.ps + "</td>";document.body.getElementsByTagName("table").item(0).append(name);}};//初始化请求参数xhr.open("POST", "test2.php", true);//省略设置请求头// xhr.setRequestHeader("content-type", "application/json;charset=utf-8");//准备请求数据var data = new FormData();data.append("name", "ldy@qq.com");data.append("ps", "123456");//发送数据xhr.send(data);</script></body></html>
演示结果
4.案例代码:
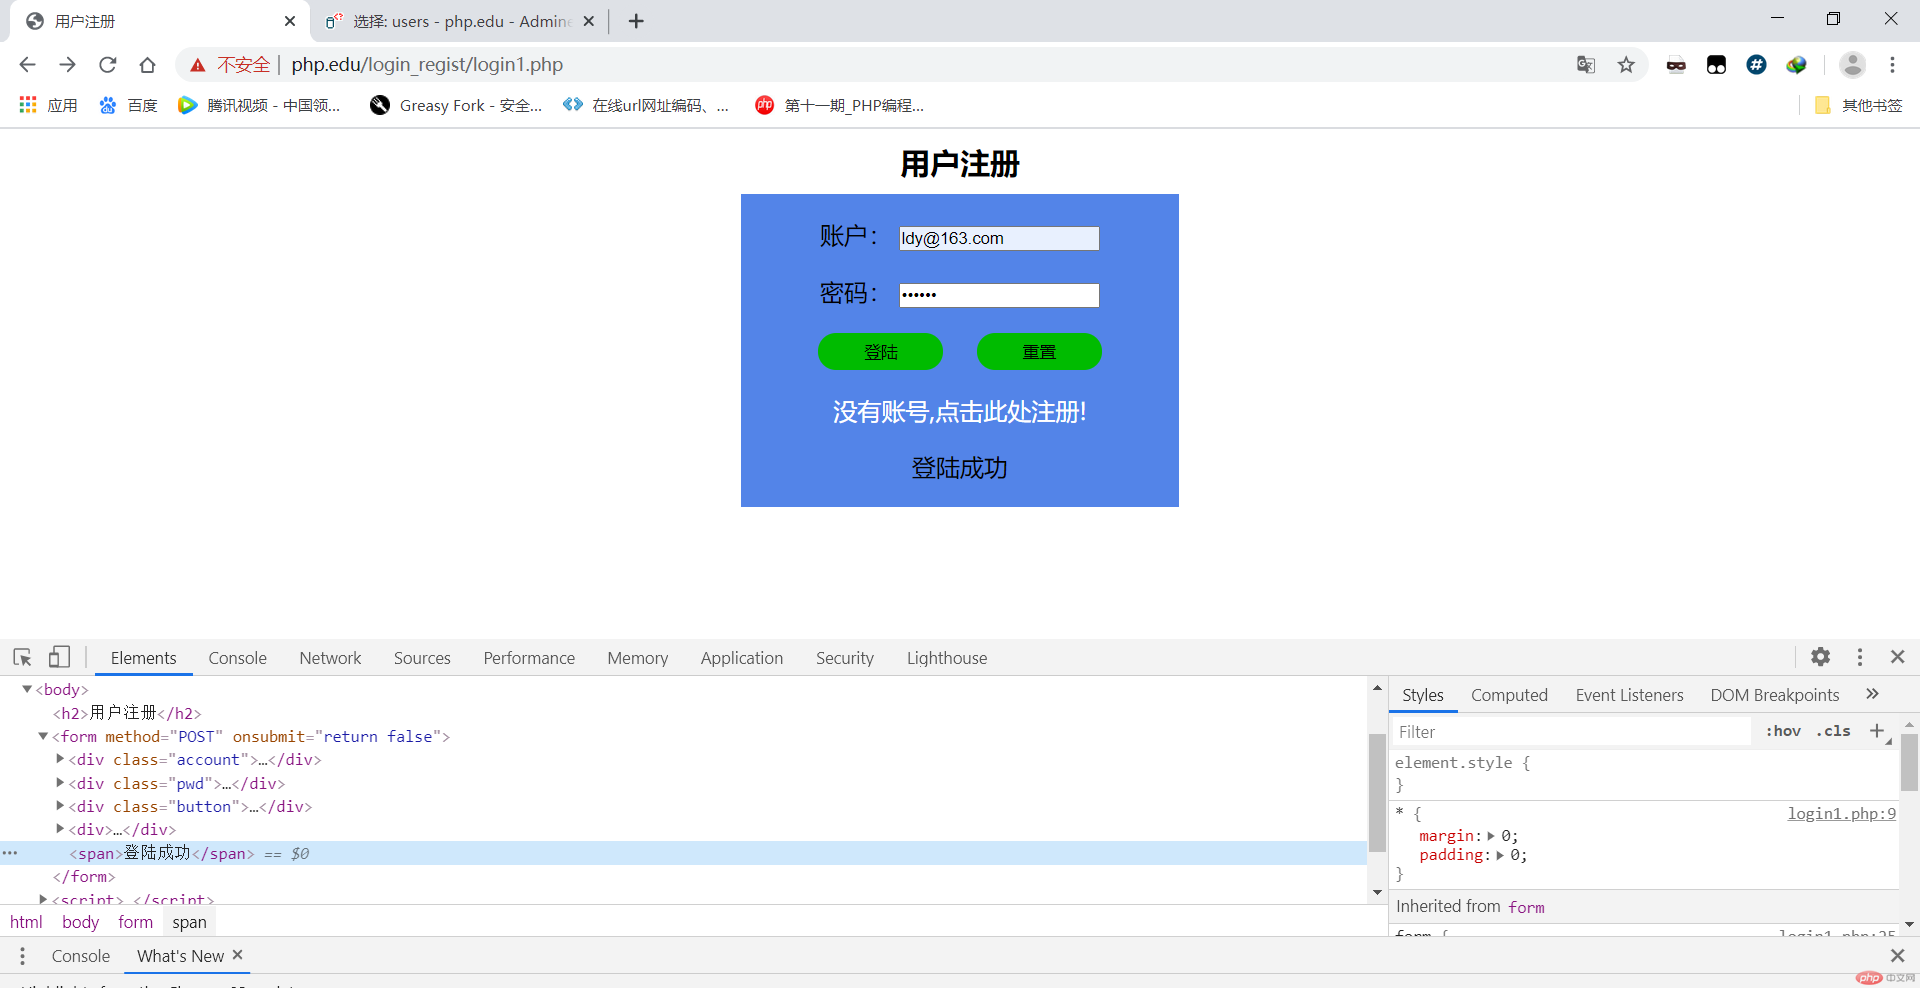
<!DOCTYPE html><html lang="en"><head><meta charset="UTF-8"><meta name="viewport" content="width=device-width, initial-scale=1.0"><title>用户注册</title><style>* {margin: 0;padding: 0;}h2 {/* display: block; */width: 350px;margin: 0 auto;text-align: center;padding-top: 10px;box-sizing: border-box;}form {margin: 10px auto;width: 350px;height: 250px;background-color: #5384e8;display: flex;flex-flow: column nowrap;justify-content: space-evenly;align-content: center;align-items: center;font-size: 1.2rem;}form:hover {box-shadow: 0 0 5px #626262;}form>.button {width: 280px;display: flex;justify-content: space-evenly;}form>.button>input {width: 100px;height: 30px;background-color: #00bb00;border: none;border-radius: 15px;}form>.button>input:hover {background-color: red;color: white;}a {color: white;text-decoration: none;}</style></head><body><h2>用户注册</h2><form method="POST" onsubmit="return false"><div class='account'><label for="username">账户:</label><input type="email" required name="username" id="username" placeholder="example@163.com"></div><div class='pwd'><label for="p2">密码:</label><input type="password" required name="p2" id="p2" placeholder="不少于六位"></div><div class="button"><input type="submit" value="登陆"><input type="reset" value="重置"></div><div><a href="regist.php">没有账号,点击此处注册!</a></div></form></body><script>var form = document.querySelector('form');var btn = document.querySelector('.button>:first-child');btn.onclick = function() {var xhr = new XMLHttpRequest();xhr.onreadystatechange = function() {if (xhr.readyState === 4 && xhr.status === 200) {var res;res = JSON.parse(xhr.responseText);var span = document.createElement('span');span.innerText = res.messages;form.append(span);}}xhr.open("POST", "log.php", true);var user = new FormData(form);xhr.send(user);}</script></html>
运行结果图: