Correction status:qualified
Teacher's comments:事件123, 一个主体, 二个阶段, 三个过程, 自己品一品, 是不是这样?


NodeList:文档节点集合HTMLCollection: 文档元素集合HTMLCollection相当于是NodeList中type=1的节点集合
html节点类型:
| STT | TYPE | 描述 |
|---|---|---|
| 1 | 1 |
元素 |
| 2 | 2 |
属性 |
| 3 | 3 |
文本 |
| 4 | 6 |
注释 |
| 5 | 9 |
文档, document |
| 6 | 11 |
文档片断 |
| STT | 访问内容 | 访问所有节点集合 | 访问元素集合 |
|---|---|---|---|
| 1 | 获取第一个子节点 | firstChild |
firstElementChild |
| 2 | 最后一个子节点 | lastChild |
lastElementChild |
| 3 | 前一个兄弟节点 | previousSibling |
previousElementSibling |
| 4 | 后一个兄弟节点 | nextSibling |
nextElementSibling |
HTMLCollection没有
forEach,用for遍历。
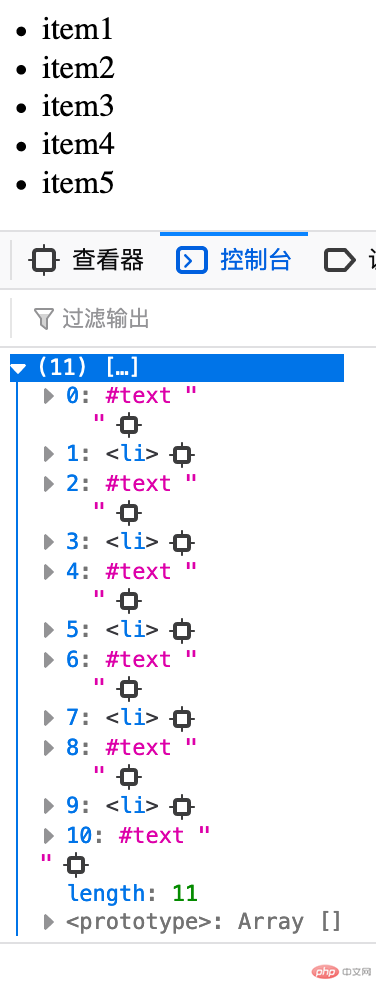
遍历所有节点集合:
<!DOCTYPE html><html lang="en"><head><meta charset="UTF-8"><title>遍历所有节点集合</title></head><body><ul><li>item1</li><li>item2</li><li>item3</li><li>item4</li><li>item5</li></ul></body><script>var ul = document.querySelector("ul");// 遍历var eles = [];ul.childNodes.forEach(function (item) {// 只返回类型为1的元素节点this.push(item);}, eles);console.log(eles);</script></html>
演示效果图:

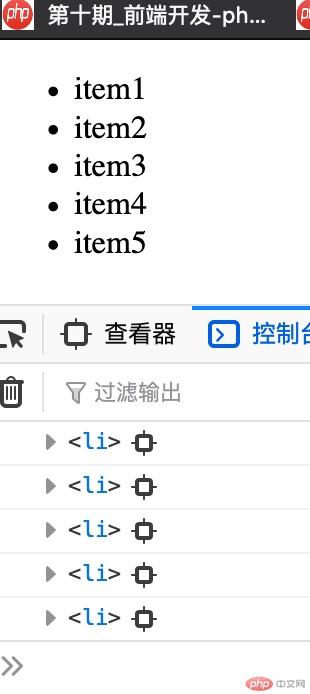
遍历元素节点集合:
<!DOCTYPE html><html lang="en"><head><meta charset="UTF-8"><title>遍历元素节点集合:</title></head><body><ul><li>item1</li><li>item2</li><li>item3</li><li>item4</li><li>item5</li></ul></body><script>var ul = document.querySelector("ul");for (var i = 0; i < ul.childElementCount; i++) {console.log(ul.children.item(i));}</script></html>
演示效果图:

| STT | 添加方式 |
|---|---|
| 1 | 在 html 标签上添加属性 |
| 2 | 给 html 元素绑定事件属性 |
| 3 | 给 html 元素添加属性 |
| 4 | 监听器 |
| 5 | 事件派发 |
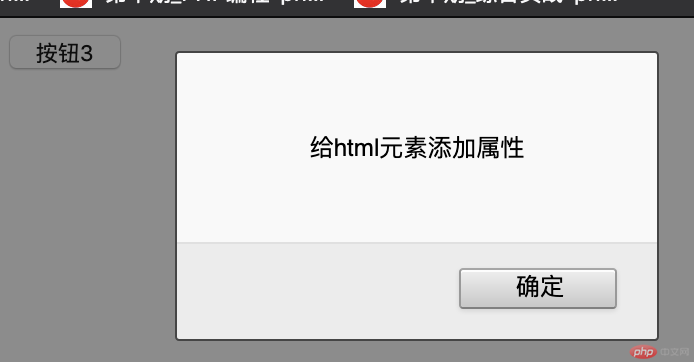
<!DOCTYPE html><html lang="en"><head><meta charset="UTF-8"><title>事件添加方式</title></head><body><!--1、在 html 标签上添加属性--><button onclick="alert('在 html 标签上添加属性');">按钮1</button><button onclick="show(this)">按钮2</button><button>按钮3</button><button>按钮4</button><button>按钮5</button></body><script>// 1. 给html元素绑定事件属性function show(ele) {var text = '给html元素绑定事件属性';alert(text);}// 2. 给html元素添加属性var btn3 = document.querySelector("button:nth-of-type(3)");btn3.onclick = function () {alert('给html元素添加属性');};// 3. 监听器var btn4 = document.querySelector("button:nth-of-type(4)");// btn4.addEventListener(事件类型, 事件回调函数, 传递机制)btn4.addEventListener("click",function () {alert('监听器');},// false: 冒泡阶段触发false);// 4. 事件派发var btn5 = document.querySelector("button:last-of-type");btn5.addEventListener("click",function () {alert('事件派发');},false);// 创建一个事件对象var ev = new Event("click");// 不用点击,也会自动的触发点击事件btn5.dispatchEvent(ev);</script></html>
演示效果图:


事件捕获: 就是像捕鱼收网那样,从最处面向里面触发。
冒泡: 像水烧开了一样,从里面向外面扩散触发。

1、DOM操作的获取dom元素 CSS选择器很好用。
2、节点集合、元素集合的访问方式、遍历方式,内容很抽象,还要多多练习。
3、事件捕获与冒泡的基本原理可以理解,还要实战才能检验出效果。