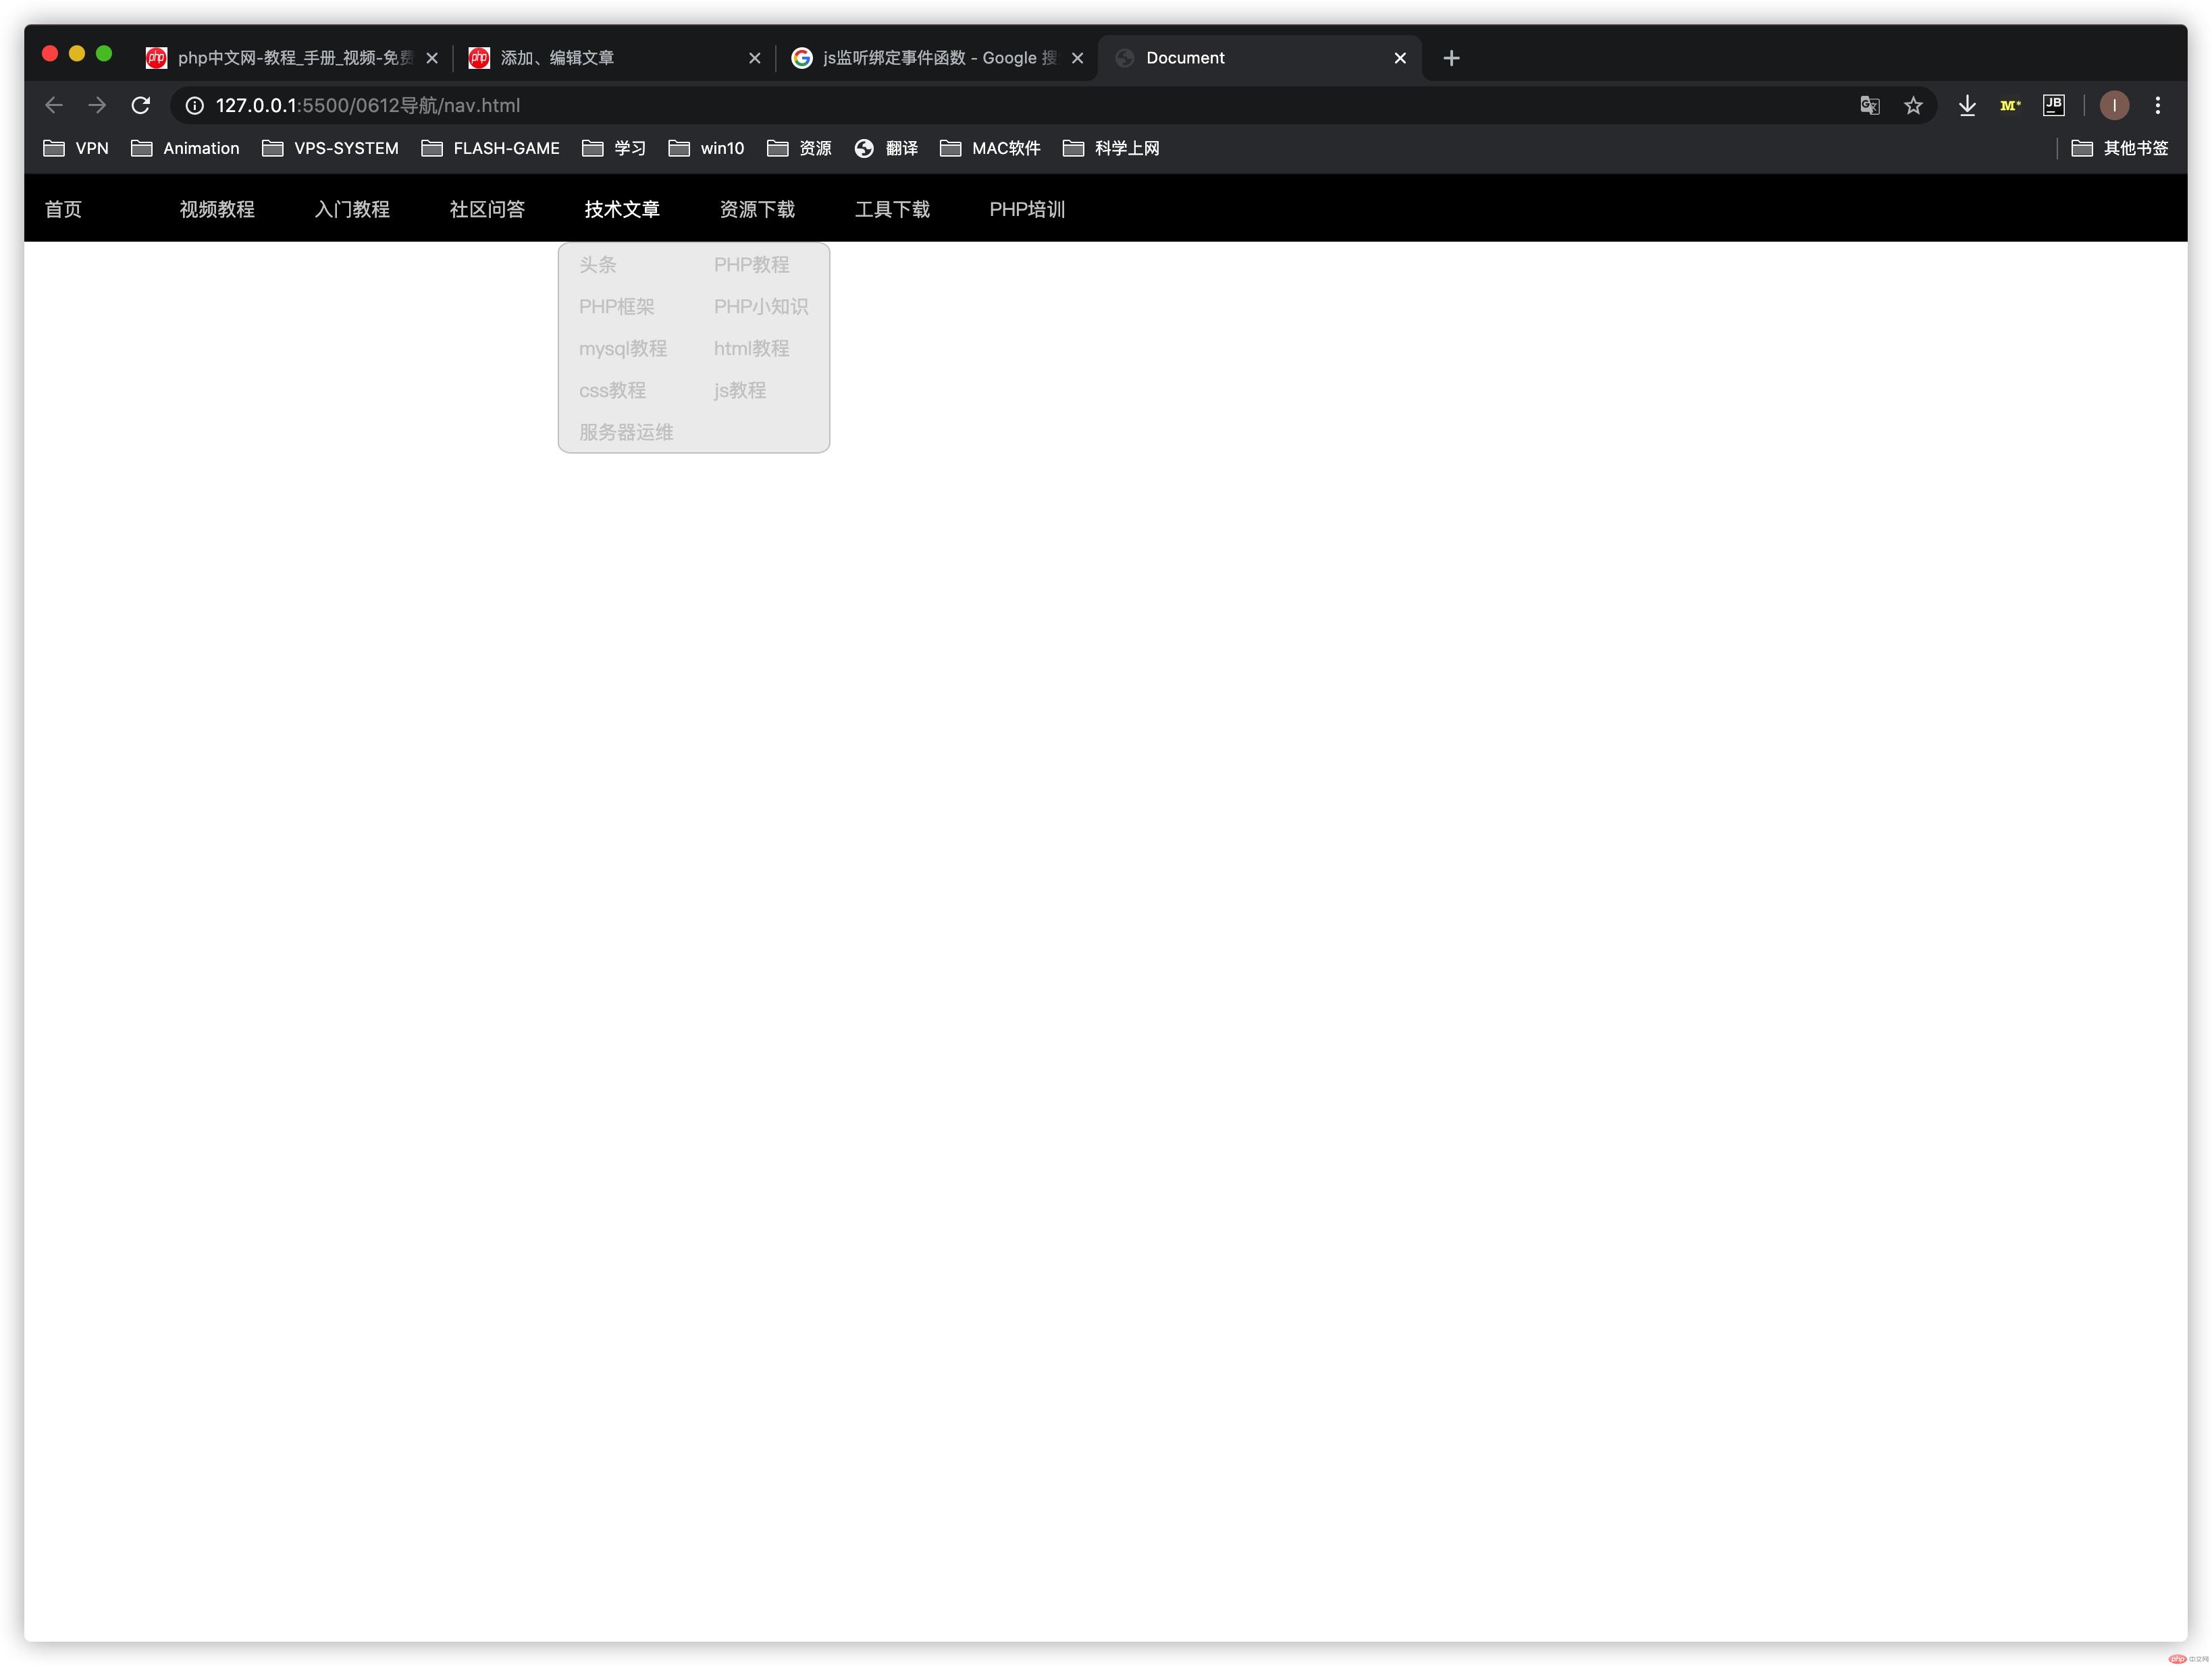
Correction status:qualified
Teacher's comments:其实这个下拉菜单,已经相当专业了, 不算简易了, 许多 商业项目也没过如此,差别仅是样式好看些, 内部逻辑是一样的, 能完全理解这里用到技术, 对于初学者来说, 已经不错了


定位的使用:
语法:position:static
<body><style>.box1 {width: 200px;height: 200px;background-color: red;/* 设置静态定位、偏移 */position: static;top: 20px;left: 20px;}.box2 {width: 400px;height: 400px;background-color: gray;}</style><div class="box1">1</div><div class="box2">2</div></body>
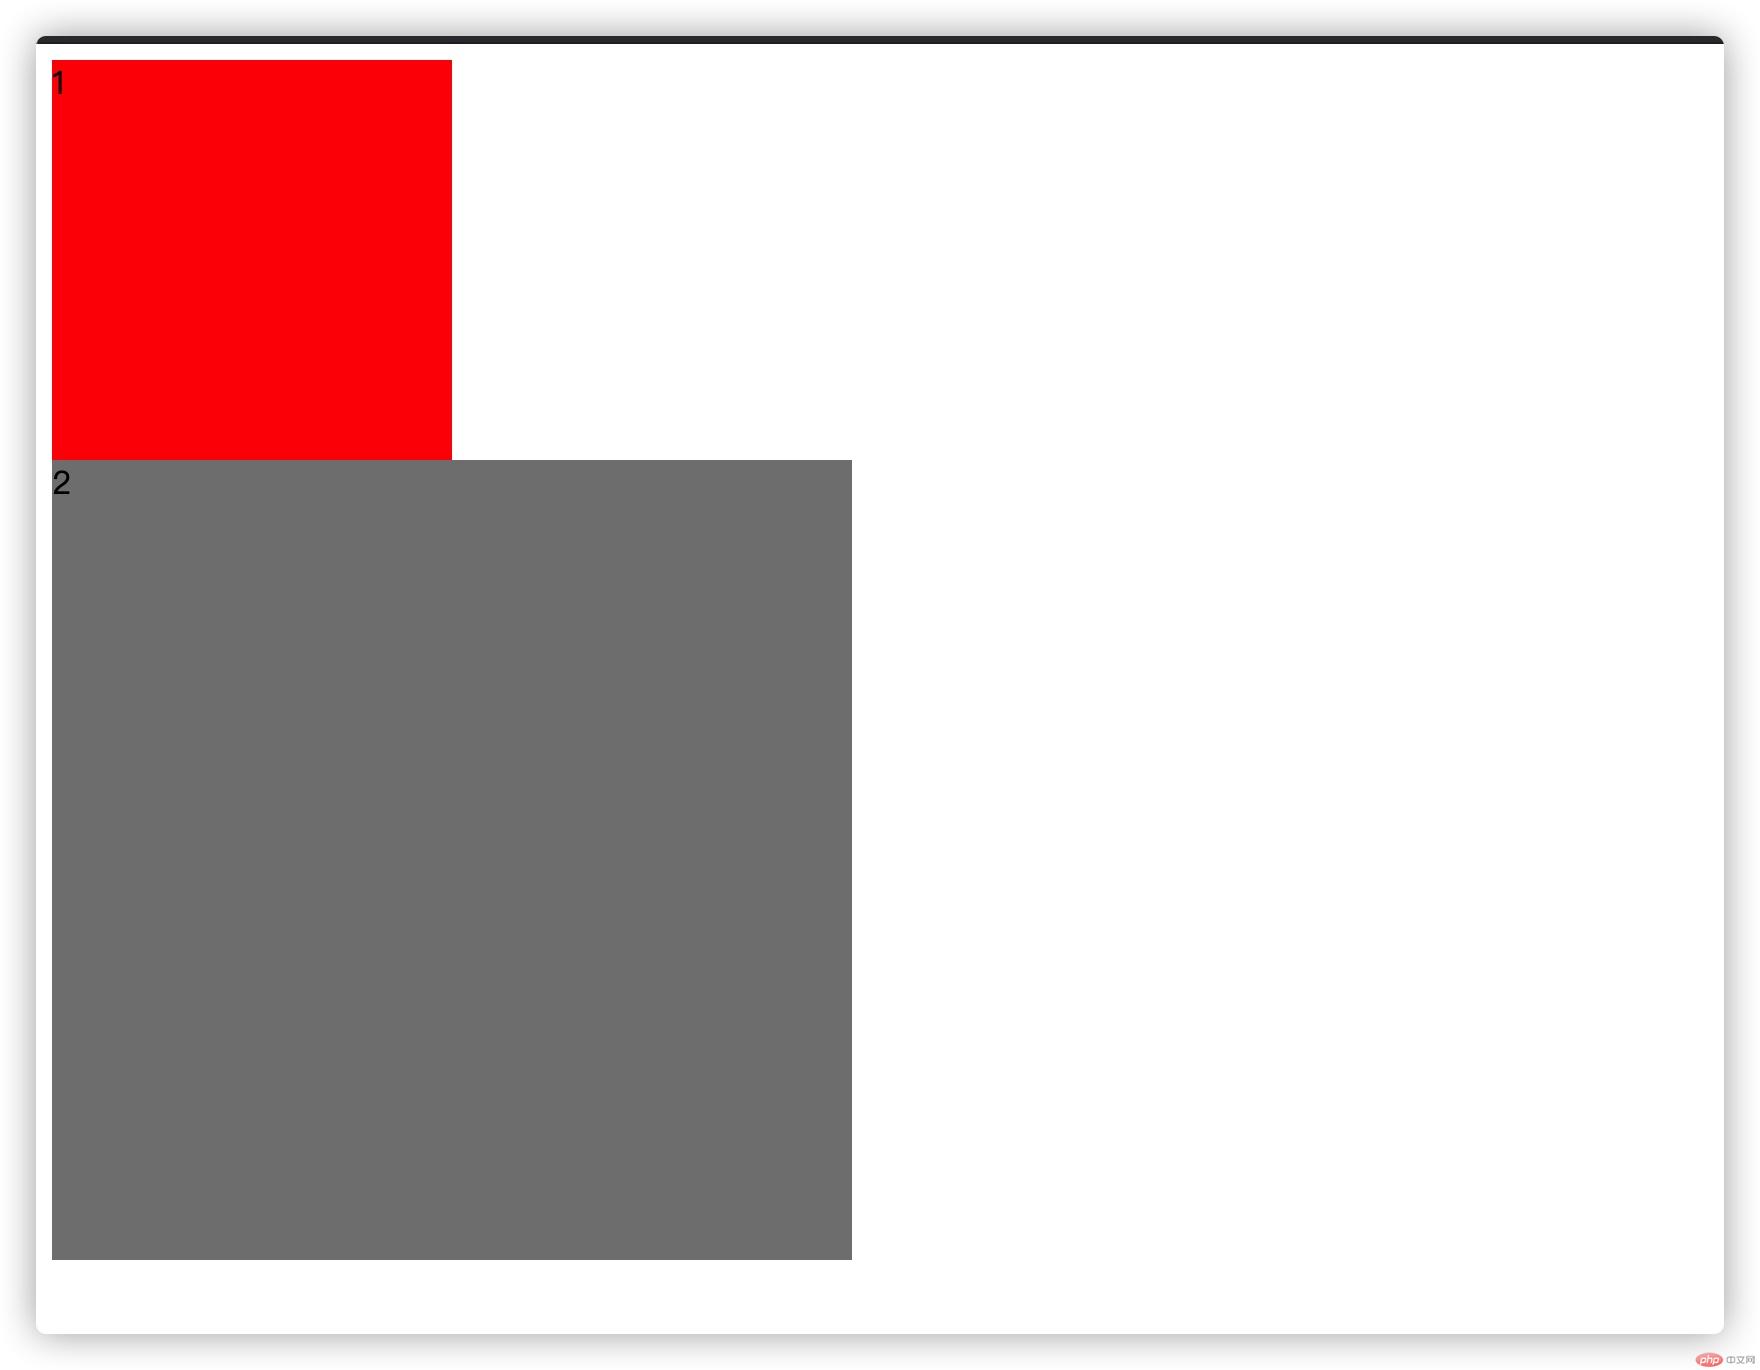
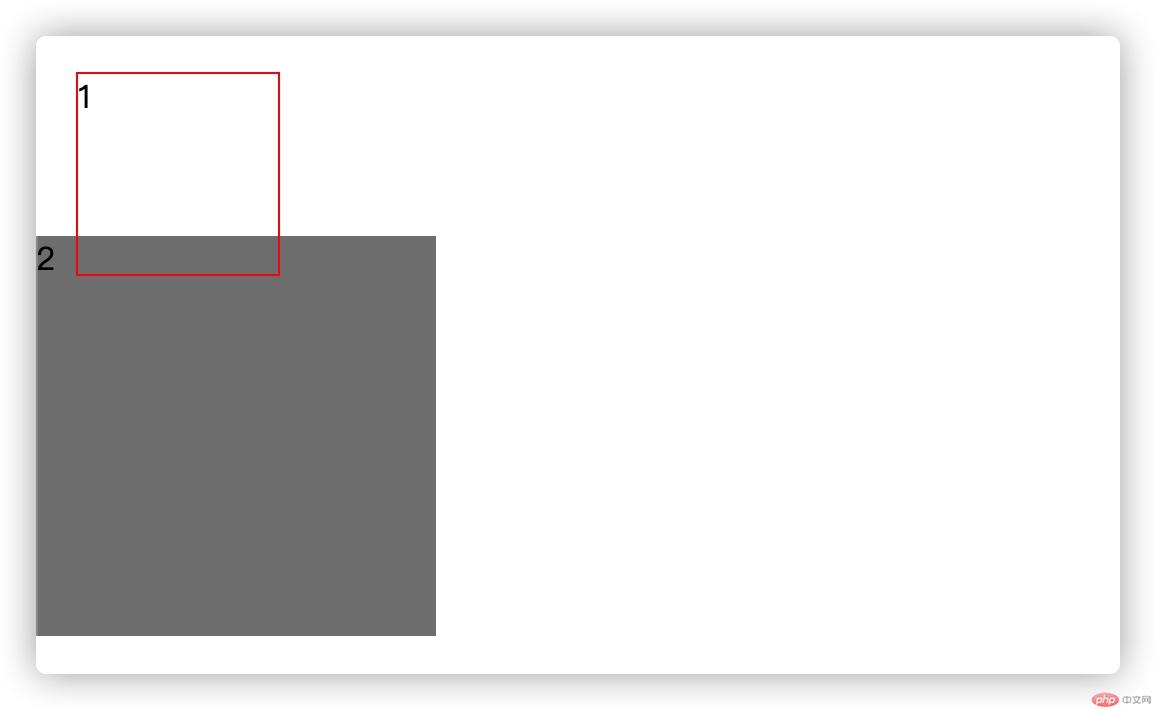
标准流元素设置了静态定位和不设置是一样的,且偏移对静态定位无效,对其他元素也没有影响
语法:` position:relative`
<body><style>* {margin: 0%;padding: 0;}.box1 {width: 100px;height: 100px;border: 1px solid red;/* 相对定位、偏移 */position: relative;top: 20px;left: 20px;}.box2 {width: 200px;height: 200px;background-color: gray;}</style><div class="box1">1</div><div class="box2">2</div></body>
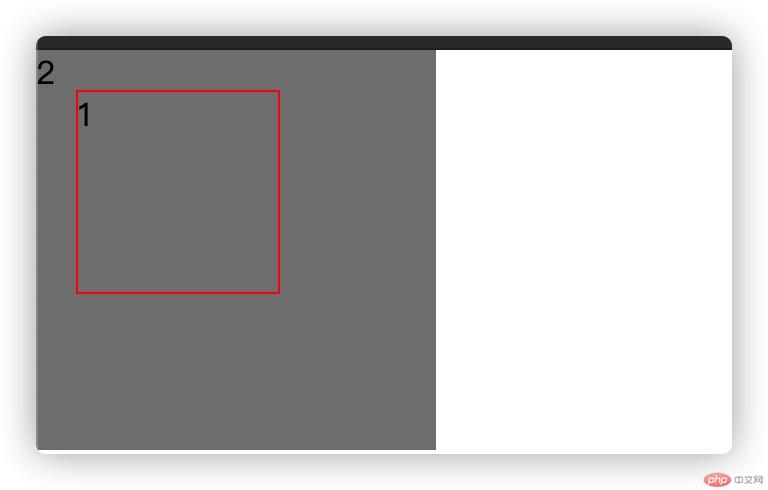
语法:position:absolute
<body><style>* {margin: 0%;padding: 0;}.box1 {width: 100px;height: 100px;border: 1px solid red;/* 设置绝对定位、偏移 */position: absolute;top: 20px;left: 20px;}.box2 {width: 200px;height: 200px;background-color: gray;}</style><div class="box1">1</div><div class="box2">2</div></body>
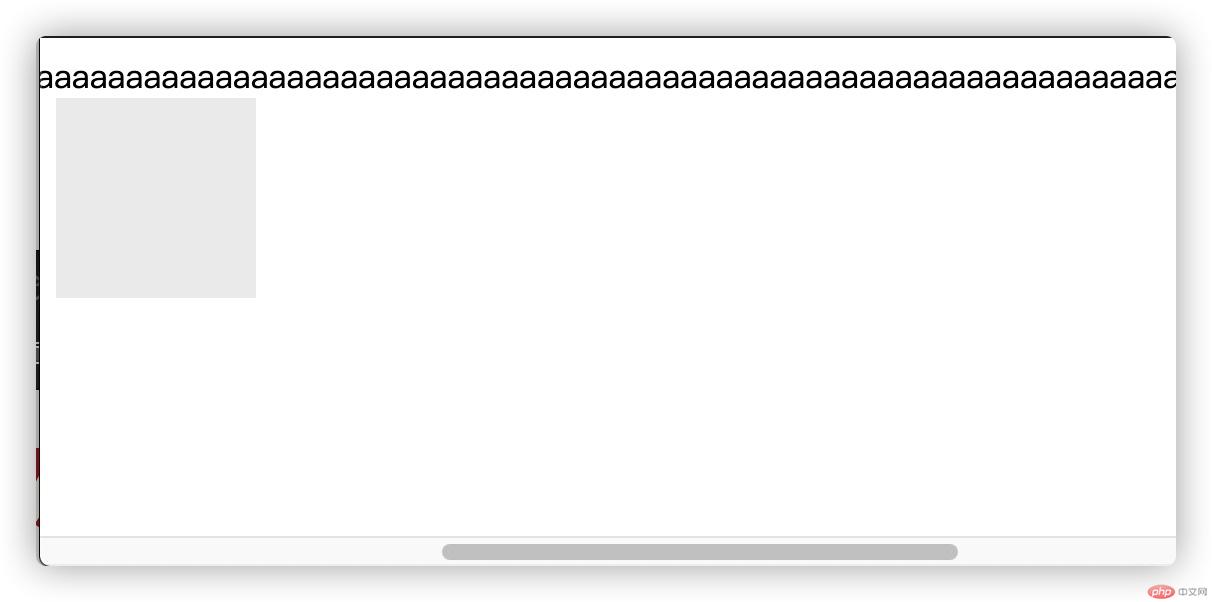
语法:position:fixed
<body><style>.box2 {width: 100px;height: 100px;background-color: #eee;position: fixed;}</style> aaaaaaaaaaaaaaaaaaaaaaaaaaaaaaaaaaaaaaaaaaaaaaaaaaaaaaaaaaaaaaaaaa<div class="box2"></div></body>
| 定位 | 脱标否 | 偏移否 | 参照 |
|---|---|---|---|
| static | 否 | 否 | |
| relative | 否 | 是 | 自身 |
| absolute | 是 | 是 | 含定位父级元素 |
| fixed | 脱 | 是 | 浏览器视口 |
语法:z-index:值
取值:
z-index只针对定位元素有效果(但不包括静态定位)
z-index值越大,层级越高
一种“触发”到“响应”的机制
用户的行为 + 浏览器感知(捕获)到用户的行为+事件处理程序
事件三要素
<body><input type="button" value="按钮" id="btn" onclick="alert(2)"></body><body><input type="button" value="按钮" id="btn" onclick="f()"></body><script>function f(){console.log(3);}</script>
<body><input type="button" value="按钮" id="btn"></body><script>var btn = document.getElementById('btn');btn.onclick = function(){alert(4);}</script>
获取节点对象,然后修改节点对象的属性值
以上两种事件绑定,需要在事件名称前加on
<body><input type="button" value="按钮" id="btn"></body><script>var btn = document.getElementById('btn');btn.addEventListener('click',function(){alert(5);});</script>
每一个节点对象都提供了 addEventListener 方法,这个方法可以给选中的节点添加指定类型的事件及事件处理程序;
事件监听可以多次执行一个对象的同名事件。
<body><input type="button" value="按钮" id="btn"></body><script>function f(){alert(5);}var btn = document.getElementById('btn');btn.addEventListener('click',f);btn.removeEventListener('click',f);</script>
removeEventListener方法移除的监听函数,
必须与对应的addEventListener方法的参数完全一致,
而且必须在同一个元素节点,否则无效
事件冒泡:当多个嵌套的标签。都绑定了同名事件,点击内部的标签,会间接触发上层的事件。(三种事件绑定方式默认监听冒泡阶段,由内向外)
事件捕获:与冒泡的传播顺序相反,有外向内触发,捕获阶段只能通过addEventListener方法进行设置(第三个参数设置为true)
event.target:事件触发的节点
event.currentTarget:事件绑定的节点
由于事件会在冒泡阶段向上传播到父节点,因此可以把子节点的监听函数定义在父
节点上,由父节点的监听函数统一处理多个子元素的事件。
这种方法叫做事件的代理也叫 事件委托 也有人称为 事件代理
<!DOCTYPE html><html lang="en"><head><meta charset="UTF-8" /><meta name="viewport" content="width=device-width, initial-scale=1.0" /><title>Document</title></head><body><ul id="nav"><li><a href="">首页</a></li><li><a href="">视频教程</a></li><li><a href="">入门教程</a></li><li><a href="">社区问答</a></li><li><a href="">技术文章</a><ul><li><a href="">头条</a></li><li><a href="">博客</a></li><li><a href="">PHP教程</a></li><li><a href="">PHP框架</a></li><li><a href="">PHP小知识</a></li><li><a href="">mysql教程</a></li><li><a href="">html教程</a></li><li><a href="">css教程</a></li><li><a href="">js教程</a></li><li><a href="">服务器运维</a></li></ul></li><li><a href="">资源下载</a><ul><li><a href="">PHP工具</a></li><li><a href="">在线工具</a></li><li><a href="">手册下载</a></li><li><a href="">学习课件</a></li><li><a href="">js特效</a></li><li><a href="">后端模板</a></li><li><a href="">网站源码</a></li><li><a href="">类库下载</a></li></ul></li><li><a href="">工具下载</a></li><li><a href="">PHP培训</a></li></ul></body></html<style>//初始化网页* {margin: 0;padding: 0;}//清除a标签默认样式a {display: inline-block;text-decoration: none;color: #ccc;font-size: 14px;width: 100px;box-sizing: border-box;padding-left: 15px;}//导航栏样式#nav {height: 50px;background-color: black;line-height: 50px;vertical-align: auto;}//清除li标签默认样式li {list-style: none;float: left;box-sizing: border-box;}//相对定位,为次级列表提供定位容器#nav > li {position: relative;}//鼠标浮动到a标签上的样式#nav > li > a:hover {color: white;}//子菜单的样式,默认不显示#nav > li > ul {position: absolute;top: 50px;left: -5px;border: 1px solid #ccc;border-radius: 5%;background-color: #eee;width: 200px;line-height: 30px;display: none;}</style><script>//获取节点集合const navs = document.querySelectorAll("#nav>li");//遍历集合navs.forEach(function (nav) {nav.addEventListener("mouseover", show);//监听鼠标移入,绑定事件处理函数nav.addEventListener("mouseout", hidden;//监听鼠标移出,绑定事件处理函数});//完善事件处理函数//显示函数function show(ev) {//判断是否有子菜单if (ev.target.nextElementSibling !== null) {//修改节点属性值ev.target.nextElementSibling.style.display = "block";}}//隐藏函数function hidden(ev) {//受冒泡影响,需要规避li的影响if (ev.target.nextElementSibling !== null && ev.target.nodeName !== "a") {//修改节点属性值ev.target.nextElementSibling.style.display = "none";}}</script>
