Correction status:qualified
Teacher's comments:前端布局的趋势就是去浮动化, 能不用就不用


<!DOCTYPE html><html lang="en"><head><meta charset="UTF-8" /><meta name="viewport" content="width=device-width, initial-scale=1.0" /><title>Document</title></head><style>.container {border: 3px red solid;}.item {width: 200px;height: 200px;border: 1px solid #333;}</style><body><div class="container"><div class="item">1</div><div class="item">2</div><div class="item">3</div></div></body></html>


如何解决这个问题呢?
以下列举几种方法:
一、解决方法一:
给父元素container也添加一个高度.但当子元素随着内容变化的时候,父元素也需要跟着修改参数;PASS不推荐
二、解决方法二:
.给父元素container也添加一个float浮动,,可行,?但是如果父元素上还有元素的话,那就全部需要添加,也不推荐
三、解决方法三:
在container下添加一个空元素利用清除浮动来解决<div style="clear:both"></div>,这样会造成代码的冗余,不利益后期维护。
四、解决方法四:
在不给页面添加原生HTML代码的情况下利用伪元素来处理!
<style>.container::after{......clear:both;}</style>
五、解决方法五:
最简单的方法,直接利用voerflow:hidden;解决!推荐!
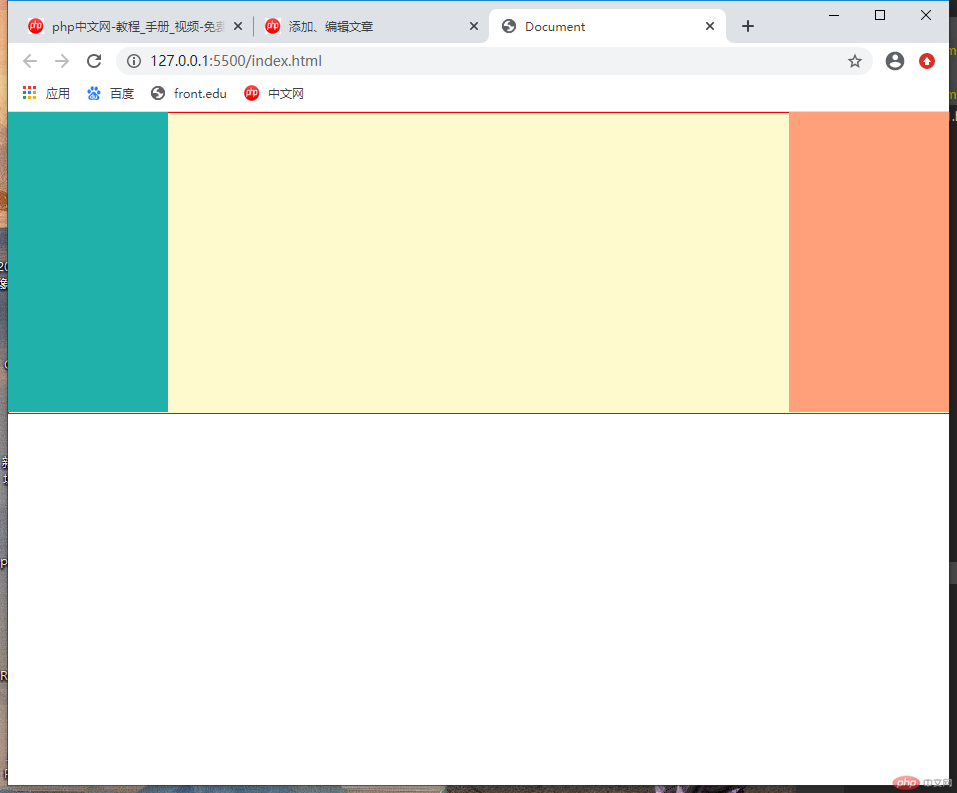
<!DOCTYPE html><html lang="en"><head><meta charset="UTF-8" /><meta name="viewport" content="width=device-width, initial-scale=1.0" /><title>Document</title></head><style>/* 清除所有元素的内外边距*/* {margin: 0;padding: 0;border-sizing:border;}/* 父盒子 */.box {background-color: #ccc;width: 100%;min-height: 300px;overflow: hidden; /* 清除浮动*/}/* 左盒子 */.box_left {width: 160px;height: 300px;background-color:lightseagreen;float: left;}/* 右盒子 */.box_right {width: 160px;height: 300px;background-color:lightsalmon;float: right;}/* 中盒子-自适应*/.box_main {border:1px red solid;height: 300px;width:100%;background-color:lemonchiffon;}</style></head><body><div class="box"><div class="box_left"></div><div class="box_right"></div><div class="box_main"></div></div></body></html>

<!DOCTYPE html><html lang="zh-cn"><head><meta charset="zh-cn" /><meta name="viewport" content="width=device-width, initial-scale=1.0" /><title>定位实现三列布局</title><style>/* 清除所有元素的内外边距*/* {margin: 0;padding: 0;}/* 父盒子 */.box {background-color: #ccc;width: 100%;min-height: 600px;position: relative;}/* 左盒子 */.box_left {width: 160px;height: 600px;background-color: lightseagreen;position: absolute;top:0;left: 0;}/* 右盒子 */.box_right {width: 160px;height: 600px;background-color: lightsalmon;position: absolute;top: 0;right: 0;}/* 中盒子-自适应*/.box_main {height: 600px;background-color: lemonchiffon;}</style></head><body><div class="box"><div class="box_left">左</div><div class="box_right">右</div><div class="box_main">中(自适应窗口)</div></div></body></html>

总结:
根据以上二个实战,如果自己采用浮动的布局方式,就要考虑全局的页面调整,用到clear:both去清除多余的浮动;
如果用定位的方式去布局的话,个人感觉,更加简单!