Correction status:qualified
Teacher's comments:总的来说写的不错,很认真!继续加油!


1.背景控制的常用属性
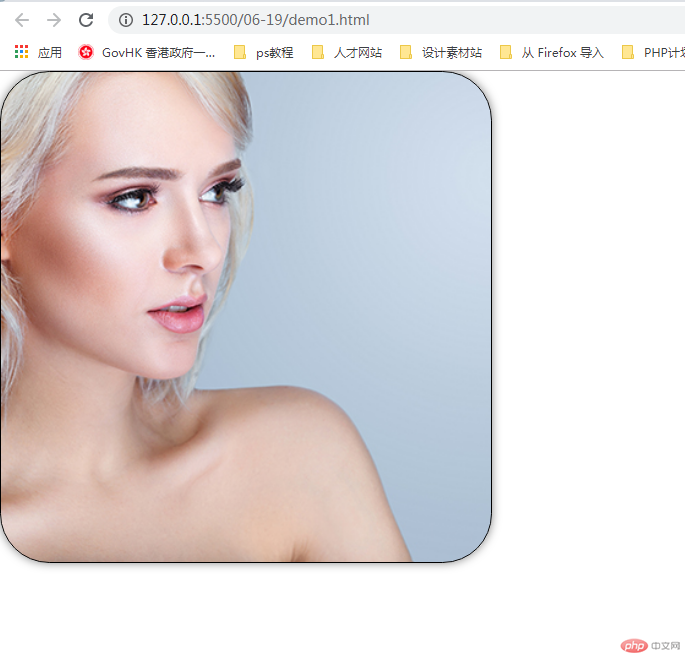
知识点:background-color,background-position,background-repeat
<!DOCTYPE html>
<html lang="en">
<head>
    <meta charset="UTF-8">
    <meta name="viewport" content="width=device-width, initial-scale=1.0">
    <title>背景</title>
    <style>
        .box{
            width:450px;
            height:450px;
            border:1px solid #000;
            /* 半径也可以是像素点 */
            border-radius:50%;
            background-color:lightgreen;
            padding:20px;
            /* 因为内边距是透明的,只能设置宽高,不能设置样式,所以背景色默认是可以从边框透出来到内边距的 */
            /* 控制背景的覆盖范围在内容区,裁切 */
            /* 以边框裁切 */
            background-clip:border-box;
            /* 以内容区裁切 */
            background-clip:content-box;
            /* 渐变 */
            background:linear-gradient(red,yellow);
            background:linear-gradient(45deg,red,yellow);
            background:linear-gradient(to right,red,yellow);
            background:linear-gradient(to left,red,yellow);
            /* rgba,前面是rgb颜色后面的a表示透明度 */
            background:linear-gradient(to left,rgba(255,0,0,0.7),yellow);
            /* 背景图片 */
            background-image:url("girl.jpg");
            /* 不让图片重复填充 */
            background-repeat:no-repeat;
            /* 让图片朝一个方向重复x y */
            /* background-repeat:repeat-x; */
            /* 让图片滚动,还需要别的设置,先了解一下 */
            /* background-attachment:fixed; */
            /* 背景定位 */
            background-position:50px 50%;
            /* 关键词谁在前谁在后无所谓 ,只写一个值的时候后面默认是center*/
            background-position:right center;
            /* 当只有一个值是50%时,第二个值默认也是50% */
            background-position:50%;
            /* 放大到图片与边框3面相接 */
            background-size:contain;
            /* 等比缩放,用到的上面那个多 */
            background-size:cover;
            /* 简写 */
            /* background:blue; */
            bacrground:url("girl.jpg") no-repeat left;
            /* 5px是水平向右,8px是垂直向下,10px是羽化效果值 */
            /* box-shadow:5px 8px 10px #888; */
        }
        .box:hover{
            /* 外发光效果 */
            box-shadow:0 0 10px #888;
            cursor:pointer;
        }
    </style>
</head>
<body>
    <div class="box"></div>
</body>
</html>点击 "运行实例" 按钮查看在线实例

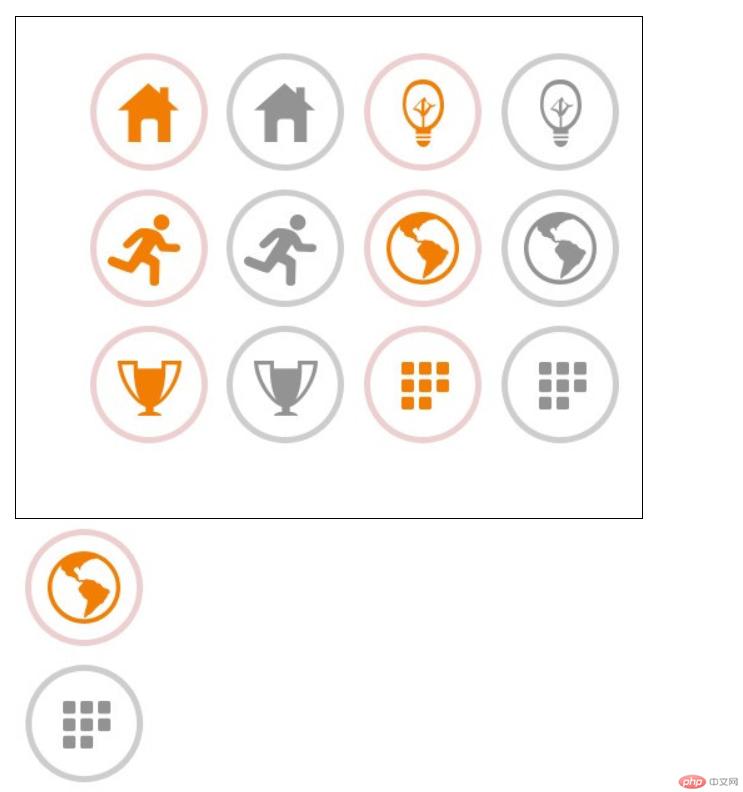
2.精灵图(CSS Sprite)的原理与实现
知识点:background-position,background-repeat
<!DOCTYPE html>
<html lang="en">
<head>
    <meta charset="UTF-8">
    <meta name="viewport" content="width=device-width, initial-scale=1.0">
    <title>背景实战:精灵图/雪碧图</title>
    <style>
        .box1{
            width:500px;
            height:400px;
            border:1px solid #000;
            background-image:url(1.png);
            background-repeat:no-repeat;
            background-position:50px 20px;
        }
        .box2{
            width:110px;
            height:110px;
            background-image:url(1.png);
            background-repeat:no-repeat;
            background-position:-220px -110px;
        }
        .box3{
            width:110px;
            height:110px;
            background-image:url(1.png);
            background-repeat:no-repeat;
            background-position:-220px -220px;
        }
    </style>
</head>
<body>
    <!-- 网站每个内容都是要加载请求的,页面中图片多请求多,占用的资源会大,用一个精灵图一次请求就可以加载到 -->
    <div class="box1"></div>
    <div class="box2"></div>
    <div class="box3"></div>
</body>
</html>点击 "运行实例" 按钮查看在线实例

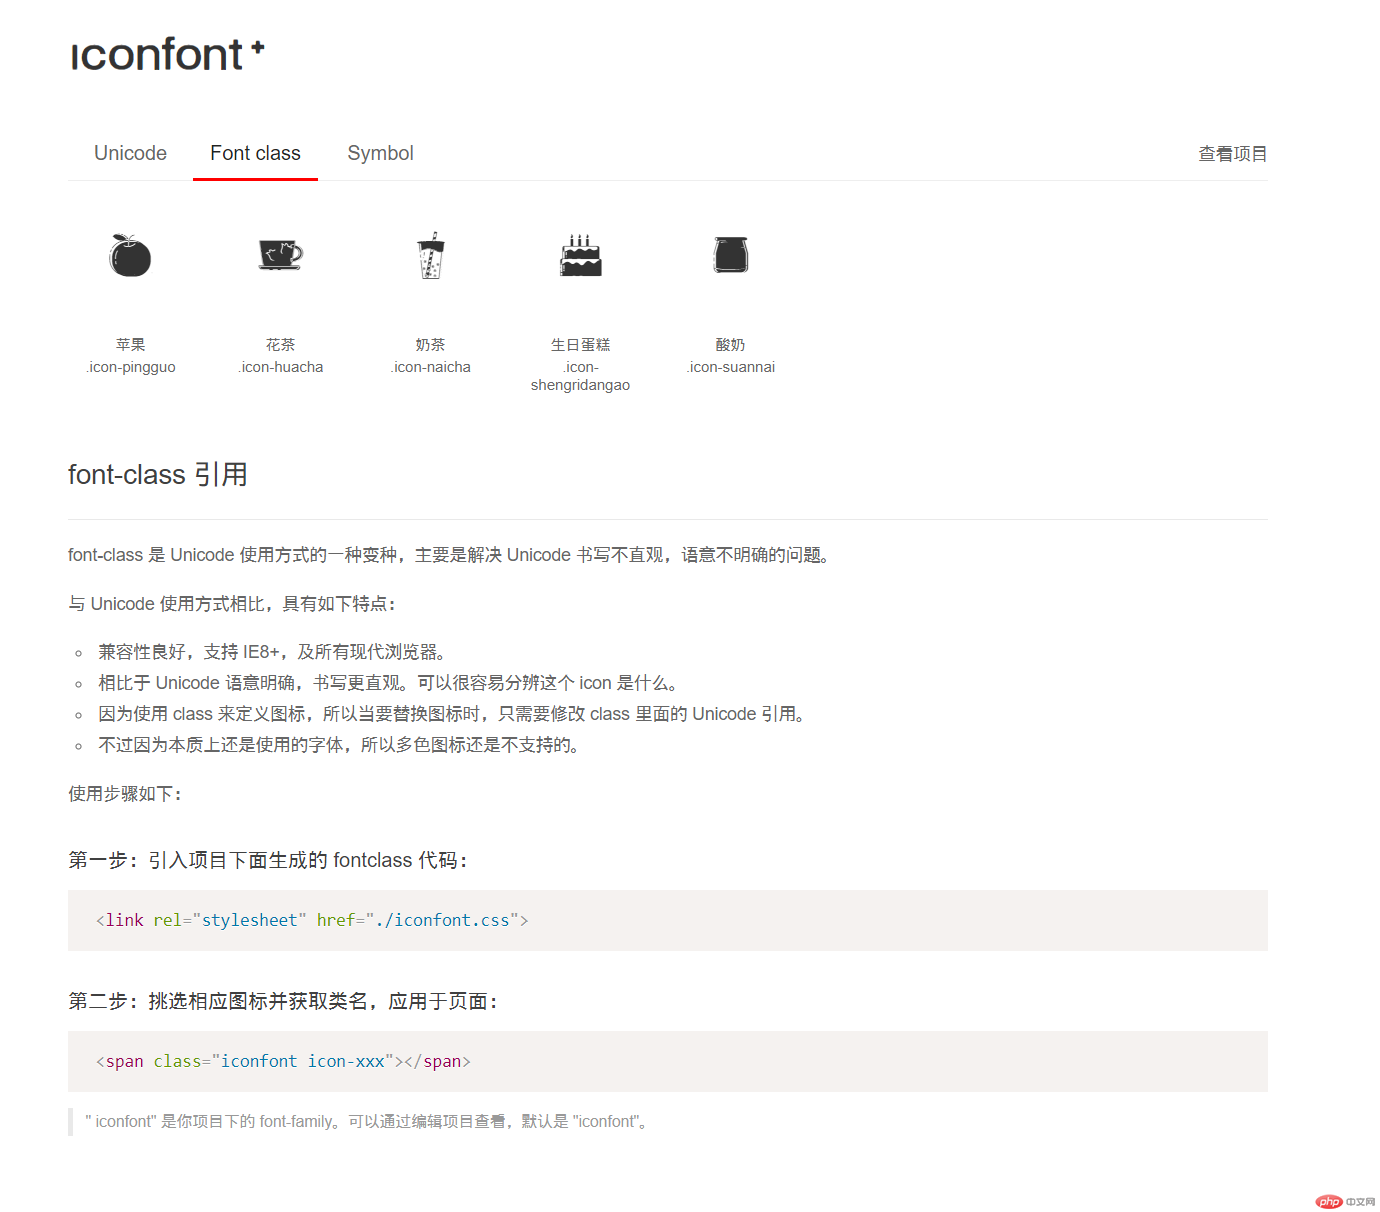
3.阿里字体图标的完整引用流程
1 可以用微博或github账号登录阿里图标网站;
2 找到需要的图标点进去后将其加入购物车;
3 将购物车里的图标都添加到项目中;
4 在项目中下载图标;
5 解压打开文件;
6 在自己的网页中添加阿里图标提示文件中的代码;
font-class代码使用方法

<!DOCTYPE html>
<html lang="en">
<head>
    <meta charset="UTF-8">
    <meta name="viewport" content="width=device-width, initial-scale=1.0">
    <title>阿里字体图标的使用方法</title>
    <!-- 引入字体图标的类样式 -->
    <link rel="stylesheet" href="font/iconfont.css">
    <style>
        .hot{
            /* 字体图标可以当成字体去设置 */
            font-size:60px;
            color:coral;
        }
    </style>
</head>
<body>
    <div>
        <!-- 把图标名粘贴到class=iconfont后面” -->
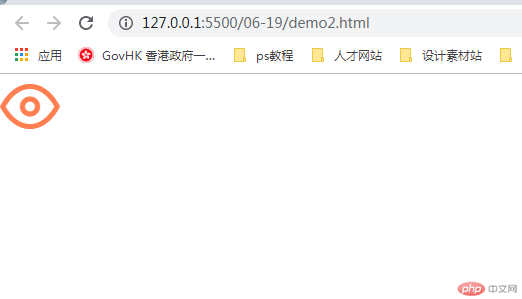
        <span class="iconfont icon-eye hot"></span>
    </div>
</body>
</html>点击 "运行实例" 按钮查看在线实例
