Correction status:qualified
Teacher's comments:多吗?你只是把课堂源码复制了一遍而已, 不过总结写得不错


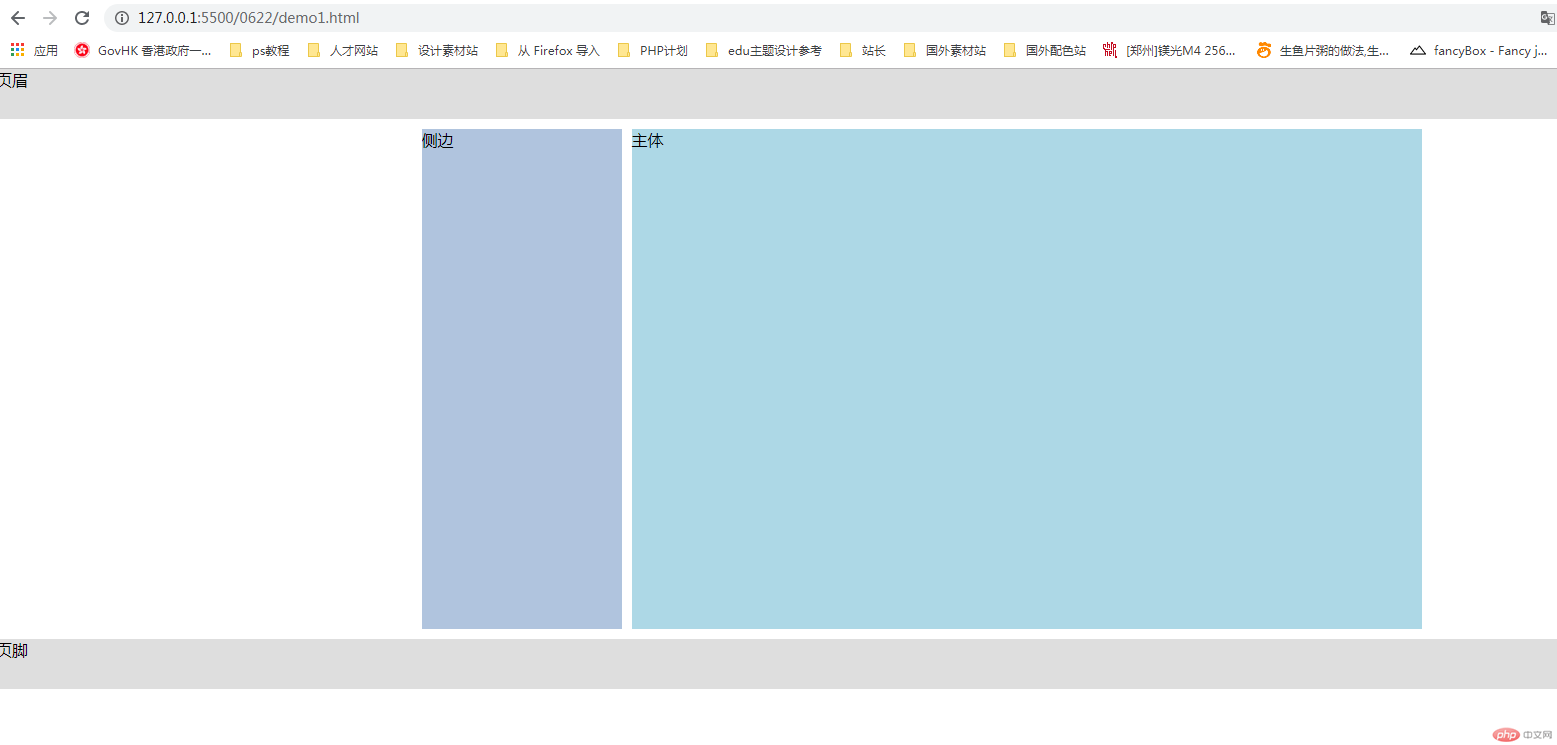
1.基于浮动的二列布局
<!DOCTYPE html>
<html lang="en">

<head>
    <meta charset="UTF-8" />
    <meta name="viewport" content="width=device-width, initial-scale=1.0" />
    <title>基于浮动的二列布局</title>
    <style>
        header,
        footer {
            background-color: #dedede;
        }

        aside,
        main {
            min-height: 500px;
            background-color: lightblue;
        }

        aside {
            background-color: lightsteelblue;
            width: 200px;
            float: left;
        }

        main {
            width: 790px;
            float: right;
        }

        header,
        footer {
            height: 50px;
        }

        .wrap {
            width: 1000px;
            overflow: hidden;
            margin: 10px auto;
        }
    </style>
</head>

<body>
    <header>页眉</header>
    <div class="wrap">
        <aside>侧边</aside>
        <main>主体</main>
    </div>
    <footer>页脚</footer>
</body>

</html>点击 "运行实例" 按钮查看在线实例

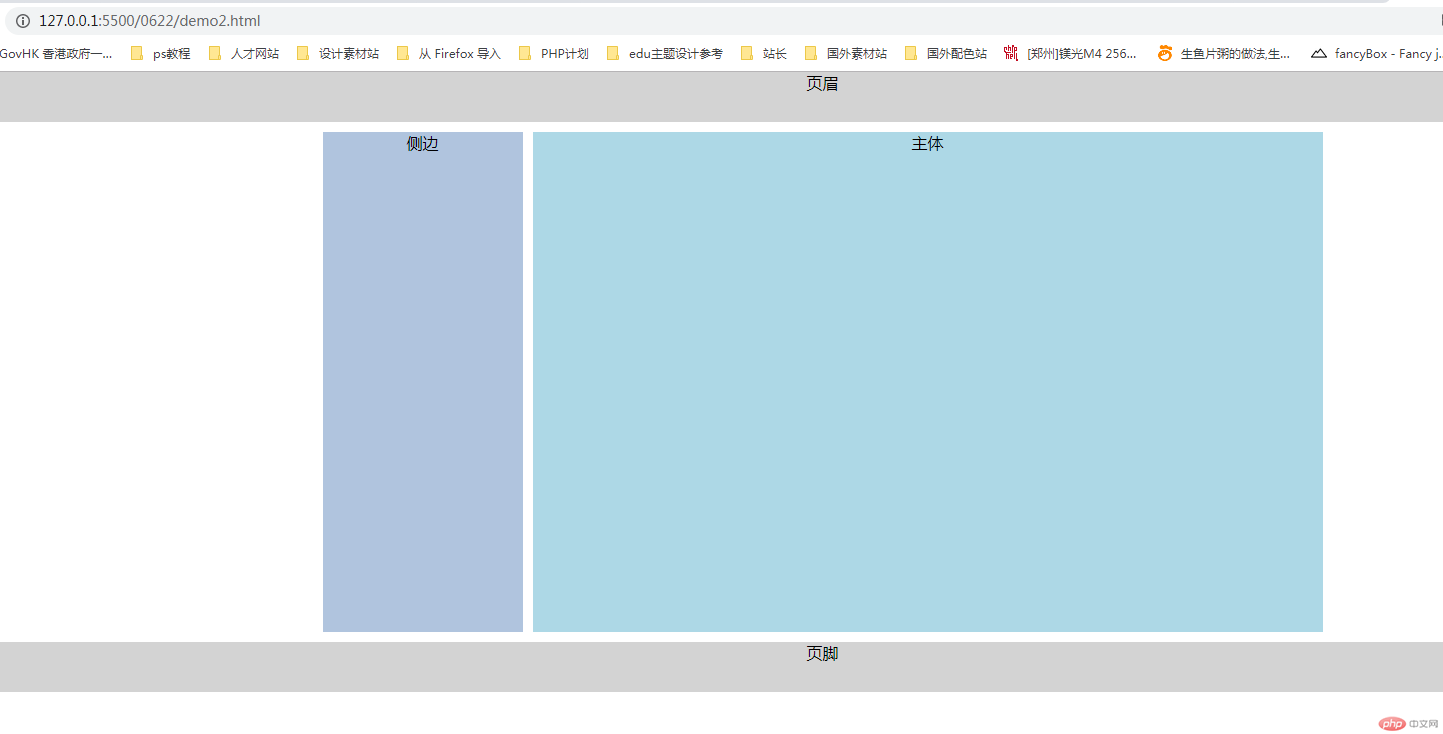
2.基于定位的二列布局
<!DOCTYPE html>
<html lang="en">

<head>
    <meta charset="UTF-8" />
    <meta name="viewport" content="width=device-width, initial-scale=1.0" />
    <title>基于绝对定位的二列布局</title>
    <style>
        header,
        footer {
            background-color: lightgray;
            text-align: center;
            min-height: 50px;
        }

        aside,
        main {
            min-height: 500px;
            background-color: lightblue;
            text-align: center;
        }

        aside {
            background-color: lightsteelblue;
            width: 200px;
            position: absolute;
            left: 0;
            top: 0;
        }

        main {
            width: 790px;
            position: absolute;
            top: 0;
            right: 0;
        }

        .wrap {
            width: 1000px;
            min-height: 500px;
            margin: 10px auto;
            /* 定位父级 */
            position: relative;
        }
    </style>
</head>

<body>
    <header>页眉</header>
    <div class="wrap">
        <aside>侧边</aside>
        <main>主体</main>
    </div>
    <footer>页脚</footer>
</body>

</html>点击 "运行实例" 按钮查看在线实例

3.内容的多栏显示
<!DOCTYPE html>
<html lang="en">

<head>
    <meta charset="UTF-8" />
    <meta name="viewport" content="width=device-width, initial-scale=1.0" />
    <title>内容的多栏/列显示</title>
    <style>
        * {
            padding: 0;
            margin: 0;
            box-sizing: border-box;
        }
        /* 这个伪类可以拿到Xhtml的根元素 */

         :root {
            font-size: 16px;
            color: blue;
        }

        div {
            border: 1px #dedede solid;
            color: #333;
            padding: 50px;
            width: 60rem;
            line-height: 30px;
            margin: 3px auto;
            /* 分列显示  3列*/
            column-count: 3;
            /* 计算宽度自动分列  可以是20rem  auto*/
            column-width: auto;
            /* 竖分割条 */
            column-rule: 2px solid #dedede;
        }
    </style>
</head>

<body>
    <div>
        Apple 致力于让每件产品都赏心悦目,与其说官网是产品展示平台,倒不如说它是苹果产品分支的延续。 我相信,从 Apple.com 找设计灵感是每一位设计师都做过的事。那它到底有何魅力?跟我来一探究竟吧。 沉浸与交互式体验 每当有新产品发布时,我们都会被它的 Landing page 所吸引。不管是 AirPods Pro 也好,和前段时间发布的 iPad Pro 也一样。 这背后是 Apple 基于 webGL 技术,创造的一种沉浸与交互式产品体验。 1. 连续性 我们在产品介绍页可以看到,苹果使用了大量的滚动
        scroll 来体现连续性。 一方面,滚动作为大多数 Web 用户最自然的操作,学习成本极低。 另一方面,在冗长的页面下,滚动能让产品特性保持更自然的转场衔接。
    </div>
</body>

</html>点击 "运行实例" 按钮查看在线实例

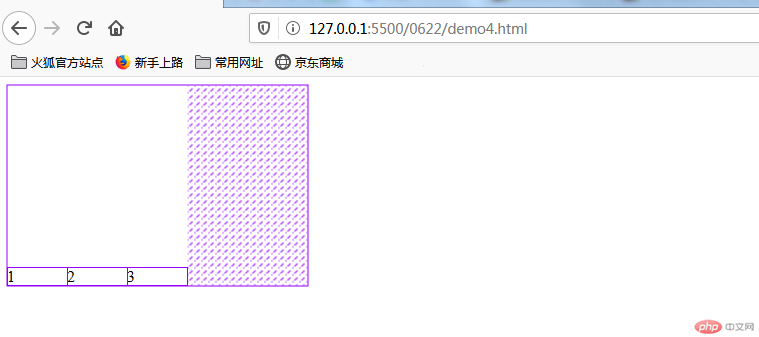
4.项目在交叉轴上的排列
<!DOCTYPE html>
<html lang="en">
  <head>
    <meta charset="UTF-8" />
    <meta name="viewport" content="width=device-width, initial-scale=1.0" />
    <title>项目在交叉轴上的排列</title>
    <style>
      .container {
        width: 300px;
        height: 200px;
        display: flex;
        /* 项目在交叉轴上默认是自动伸缩的 */
        align-items: stretch;
        /* 顶部 */
        align-items: flex-start;
        /* 居中 */
        align-items: center;
        /* 底部 */
        align-items: flex-end;
      }
      .container > .item {
        width: 60px;
      }
    </style>
  </head>
  <body>
    <div class="container">
      <div class="item">1</div>
      <div class="item">2</div>
      <div class="item">3</div>
    </div>
  </body>
</html>点击 "运行实例" 按钮查看在线实例

5.主轴方向与项目排列的简写
<!DOCTYPE html>
<html lang="en">
  <head>
    <meta charset="UTF-8" />
    <meta name="viewport" content="width=device-width, initial-scale=1.0" />
    <title>主轴方向与项目排列的简写</title>
    <style>
      .container {
        width: 300px;
        height: 50px;
        display: flex;
        /* 默认值可以不写出来 */
        /* 设置一下方向 */
        flex-direction: row;
        /* 是否换行  禁止*/
        flex-wrap: nowrap;
        /* 简写 */
        /* 第一个参数是主轴的排列方向,第二个是否换行 */
        flex-flow: row nowrap;
      }
      .container > .item {
        width: 60px;
      }
    </style>
  </head>
  <body>
    <div class="container">
      <div class="item">1</div>
      <div class="item">2</div>
      <div class="item">3</div>
      <div class="item">4</div>
      <div class="item">5</div>
    </div>
  </body>
</html>点击 "运行实例" 按钮查看在线实例

6.用flex写一个主导航
<!DOCTYPE html>
<html lang="en">

<head>
    <meta charset="UTF-8" />
    <meta name="viewport" content="width=device-width, initial-scale=1.0" />
    <title>flex容器属性实战:快速写一个主导航</title>
    <style>
        * {
            padding: 0;
            margin: 0;
            box-sizing: border-box;
        }

        a {
            /* 去掉下划线 */
            text-decoration: none;
            color: #fff;
        }

        nav {
            height: 50px;
            background-color: lightskyblue;
            padding: 0 50px;
            /* 转为弹性盒子 */
            display: flex;
        }

        nav a {
            /* 继承高度 */
            height: inherit;
            /* 垂直居中 */
            line-height: 50px;
            padding: 0 20px;
        }

        nav a:hover {
            /* 继承高度 */
            height: inherit;
            /* 垂直居中 */
            line-height: 50px;
            padding: 0 20px;
            color: white;
            background-color: yellowgreen;
        }

        nav a:last-of-type {
            margin-left: auto;
        }
    </style>
</head>

<body>
    <header>
        <nav>
            <a href="">首页</a>
            <a href="">教学视频</a>
            <a href="">社区问答</a>
            <a href="">资源下载</a>
            <a href="">PHP培训</a>
            <a href="">登录/注册</a>
        </nav>
    </header>
</body>

</html>点击 "运行实例" 按钮查看在线实例

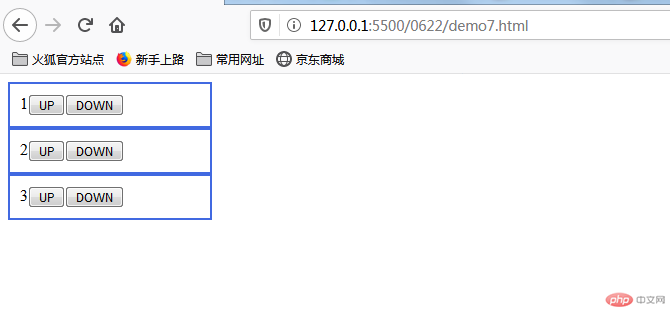
7.项目属性:order控制项目顺序
<!DOCTYPE html>
<html lang="en">

<head>
    <meta charset="UTF-8" />
    <meta name="viewport" content="width=device-width, initial-scale=1.0" />
    <title>order案例,调整元素顺序</title>
    <style>
        .container {
            width: 300px;
            display: flex;
            /* 主轴改为列 */
            flex-direction: column;
        }

        .container>.item {
            width: 180px;
            border: 2px solid royalblue;
            padding: 10px;
            display: flex;
            /* 定位属性 用来获取元素用的 */
            position: relative;
        }

        .container>.item>div {
            display: flex;
        }
    </style>
</head>

<body>
    <div class="container">
        <div class="item">
            1
            <div>
                <button onclick="up(this)">UP</button><button onclick="down(this)">DOWN</button>
            </div>
        </div>
        <div class="item">
            2
            <div>
                <button onclick="up(this)">UP</button><button onclick="down(this)">DOWN</button>
            </div>
        </div>
        <div class="item">
            3
            <div>
                <button onclick="up(this)">UP</button><button onclick="down(this)">DOWN</button>
            </div>
        </div>
    </div>
    <script>
        let up = (ele) => (ele.offsetParent.style.order -= 1);
        let down = (ele) => (ele.offsetParent.style.order += 1);
    </script>
</body>

</html>点击 "运行实例" 按钮查看在线实例

终于完了,,,这内容有点多呀;;;