Correction status:qualified
Teacher's comments:布局之前大脑中先画一个图,如果不确定就先画一个手稿


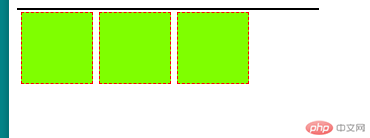
<!DOCTYPE html><html lang="en"><head><meta charset="UTF-8" /><meta name="viewport" content="width=device-width, initial-scale=1.0" /><title>浮动塌陷的产生</title><style>.box {border: 1px solid #000;width: 300px;}.box1 {width: 70px;height: 70px;background-color: chartreuse;border: 1px dashed red;margin: 3px;float: left;}</style></head><body><div class="box"><div class="box1"></div><div class="box1"></div><div class="box1"></div></div></body></html>

1.给父元素追加一个高度 (不推荐,因为不能自适应盒子的高度,子元素的大小发生变化还需要从新设置父元素的大小)
2.父元素和子元素都浮动(不推荐,容易产生代码冗余)当代码有多个父级的时候,会有传导效应。需要每一级父元素都去添加浮动。
3.设定空标签进行清除浮动(不推荐,影响渲染结果)
4.通过添加一个伪元素来解决
5.最简单的解决方案,用overflow解决(热力推荐)
<!DOCTYPE html><html lang="en"><head><meta charset="UTF-8" /><meta name="viewport" content="width=device-width, initial-scale=1.0" /><title>浮动塌陷的终极解决办法</title><style>.box {border: 1px solid #000;width: 300px;/*靠overflow:hidden*/overflow: hidden;}.box1 {width: 70px;height: 70px;background-color: chartreuse;border: 1px dashed red;margin: 3px;float: left;}</style></head><body><div class="box"><div class="box1"></div><div class="box1"></div><div class="box1"></div></div></body></html>

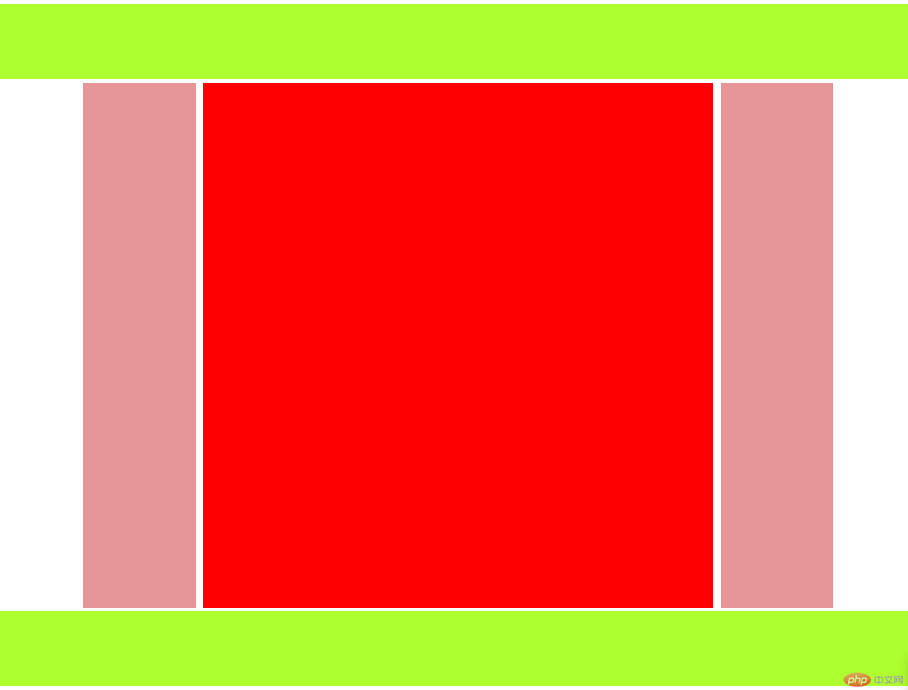
<!DOCTYPE html><html lang="en"><head><meta charset="UTF-8" /><meta name="viewport" content="width=device-width, initial-scale=1.0" /><title>自己第一次布局</title><style>/* 初始化 */* {margin: 0;padding: 0;box-sizing: border-box;}/* 设置头部和底部 */header,footer {width: 100%;height: 100px;margin: 5px auto;background-color: greenyellow;}/* 设置内容区盒子 */.box {width: 1000px;height: 700pxbackground-color: ivory;overflow: hidden;margin: 0 auto;}/* 设置左侧 */.left {height: 700px;width: 150px;background-color: rgb(230, 150, 150);float: left;}/* 设置右侧 */.right {height: 700px;width: 150px;background-color: rgb(230, 150, 150);float: right;}/* 设置内容区域 */.content {width: 680px;height: 700px;background-color: red;float: left;margin-left: 10px;}</style></head><body><header></header><div class="box"><div class="left"></div><div class="content"></div><div class="right"></div></div><footer></footer></body></html>

<!DOCTYPE html><html lang="en"><head><meta charset="UTF-8" /><meta name="viewport" content="width=device-width, initial-scale=1.0" /><title>使用定位完成一个三列布局</title><style>//初始化* {margin: 0;padding: 0;box-sizing: border-box;}/* 设置header和footer */header,footer {width: 100%;height: 120px;background-color: lightpink;}/* 设置box; */.box {width: 1200px;height: 800px;background-color: lightyellow;margin: 10px auto;position: relative;}.left {width: 150px;height: 800px;background-color: lightgreen;position: absolute;}.content {width: 880px;height: 800px;left: 150px;background-color: magenta;position: absolute;margin: 0 10px;}.right {width: 150px;height: 800px;background-color: lightgreen;position: absolute;top: 0;right: 0;}</style></head><body><header></header><div class="box"><div class="left"></div><div class="content"></div><div class="right"></div></div><footer></footer></body></html>
