Correction status:qualified
Teacher's comments:页面是的基本组件并不多 , 掌握他们的原理很有意思 的


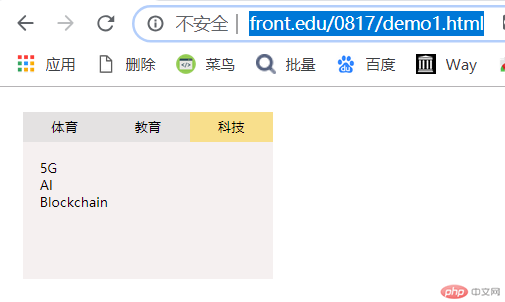
<!DOCTYPE html><html lang="en"><head><meta charset="UTF-8" /><meta name="viewport" content="width=device-width, initial-scale=1.0" /><title>经典选项卡制作</title><style>@import url(static/css/tabs.css);</style></head><body><!-- 导航区 --><div class="tabs"><ul class="tab"><!-- 给一个激活项active --><li class="active" data-index="1">体育</li><li data-index="2">教育</li><li data-index="3">科技</li></ul><!-- 体育详情 --><ul class="item active" data-index="1"><li><a href="">足球</a></li><li><a href="">篮球</a></li><li><a href="">高尔夫</a></li></ul><!-- 教育详情 --><ul class="item" data-index="2"><li><a href="">数学</a></li><li><a href="">语文</a></li><li><a href="">英语</a></li></ul><!-- 科技详情 --><ul class="item" data-index="3"><li><a href="">5G</a></li><li><a href="">AI</a></li><li><a href="">Blockchain</a></li></ul></div><script src="static/js/tabs.js"></script></body></html>
* {margin: 0;padding: 0;}a {text-decoration: none;color: rgb(10, 1, 1);}a:hover {text-decoration: underline;color: red;}li {list-style: none;}li:hover {cursor: default;}.tabs {width: 300px;height: 200px;margin: 30px;background-color: rgb(245, 240, 240);display: flex;flex-direction: column;}.tab {height: 36px;display: flex;}.tab li {flex: auto;text-align: center;line-height: 36px;background-color: rgb(228, 226, 226);}.tab li.active {background-color: rgb(248, 223, 140);}/* 默认所有选项卡只有一个显示,其它隐藏 */.item {padding: 20px;display: none;}.item.active {display: block;}
// 1. 获取导航var tab = document.querySelector(".tab");// console.log(tab);// 2. 获取详情页,共3个,拿到全部var items = document.querySelectorAll(".item");// console.log(items);// 3. 给导航添加点击事件(事件代理/事件委托/冒泡)tab.addEventListener("click", show, false);tab.addEventListener("mouseover", show, false);// 4. 声明show()函数function show(ev) {// ev: 事件对象// ev.type: 事件类型,如click,mouseover,input....// console.log(ev.type);// ev.target: 事件的触发者// console.log(ev.target);// ev.currentTarget: 事件绑定者// console.log(ev.currentTarget);// 1. 清除除当前高亮选项卡之外的选项卡的高亮样式// console.log(ev.currentTarget.children);ev.currentTarget.childNodes.forEach(function (item) {if (item.nodeType === 1) item.classList.remove("active");});// 2. 应该将用户点击的当前选项卡高亮显示ev.target.classList.add("active");// 3. 清空原有列表items.forEach(function (item) {item.classList.remove("active");});// 4. 将选项卡对应的内容进行切换(根据导航和详情中的data-index)items.forEach(function (item) {// console.log(item);// console.log(ev.target.dataset.index, item.dataset.index);if (ev.target.dataset.index === item.dataset.index) {item.classList.add("active");}});}

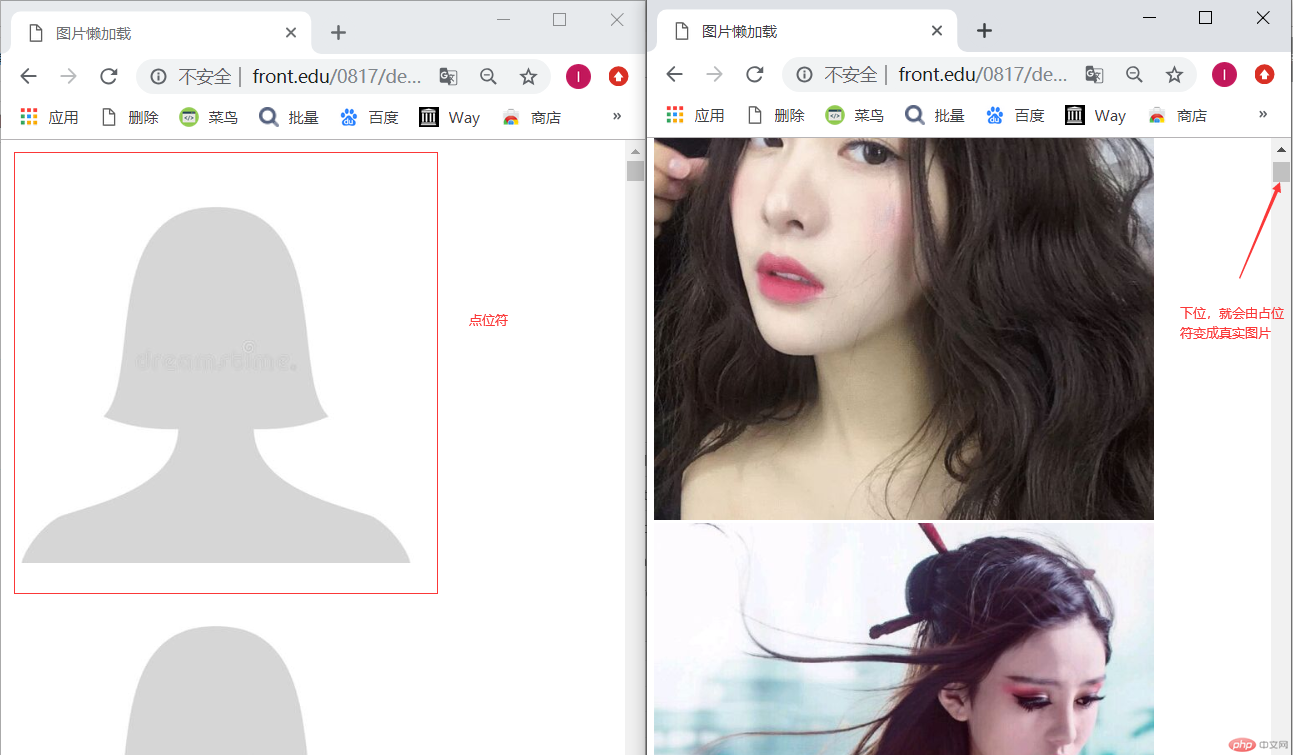
<!DOCTYPE html><html lang="en"><head><meta charset="UTF-8" /><meta name="viewport" content="width=device-width, initial-scale=1.0" /><title>图片懒加载</title></head><body><div class="container"><img src="images/temp.jpg" alt="" data-src="images/img-1.jpg" /><img src="images/temp.jpg" alt="" data-src="images/img-2.jpg" /><img src="images/temp.jpg" alt="" data-src="images/img-3.jpg" /><img src="images/temp.jpg" alt="" data-src="images/img-4.jpg" /><img src="images/temp.jpg" alt="" data-src="images/img-5.jpg" /><img src="images/temp.jpg" alt="" data-src="images/img-6.jpg" /><img src="images/temp.jpg" alt="" data-src="images/img-7.jpg" /><img src="images/temp.jpg" alt="" data-src="images/img-8.jpg" /><img src="images/temp.jpg" alt="" data-src="images/img-9.jpg" /><img src="images/temp.jpg" alt="" data-src="images/img-10.jpg" /><img src="images/temp.jpg" alt="" data-src="images/img-11.jpg" /><img src="images/temp.jpg" alt="" data-src="images/img-12.jpg" /></div><script>// 1. 获取所有的图片var imgs = document.querySelectorAll(".container img");// 2. 获取文档的高度var clientHeight = document.documentElement.clientHeight;// 3. 监听滚动事件window.addEventListener("scroll",function () {lazyload(imgs, clientHeight);},false);// 4. 懒加载函数function lazyload(imgs, clientHeight) {// 获取文档的滚动大小var scrollTop = document.documentElement.scrollTop;// 遍历图片,判断是否进入到可视区imgs.forEach(function (img) {if (img.offsetTop <= clientHeight + scrollTop) {img.src = img.dataset.src;}});}</script></body></html>
.parent {height: 400px;width: 300px;padding: 5px;background-color: rgb(166, 224, 194);border: 5px solid;overflow: scroll;position: relative;}.parent .child {height: 500px;width: 400px;padding: 5px;background-color: rgb(241, 247, 194);background-clip: content-box;border: 5px solid;position: relative;left: 10px;top: 20px;}

<!DOCTYPE html><html lang="en"><head><meta charset="UTF-8" /><meta name="viewport" content="width=device-width, initial-scale=1.0" /><title>轮播图</title><link rel="stylesheet" href="static/css/slider.css" /></head><body><div class="box"><imgsrc="banner/banner1.jpg"alt=""data-index="1"class="slider active"/><img src="banner/banner2.jpg" alt="" data-index="2" class="slider" /><img src="banner/banner3.jpg" alt="" data-index="3" class="slider" /><img src="banner/banner4.jpg" alt="" data-index="4" class="slider" /><div class="point-list"><!-- <span class="point active" data-index="1"></span><span class="point" data-index="2"></span><span class="point" data-index="3"></span> --></div><span class="skip prev"><</span><span class="skip next">></span></div><script src="static/js/slider.js"></script></body></html>
ul,li {margin: 0;padding: 0;list-style: none;}.box {/*定位父级*/position: relative;width: 1000px;height: 350px;margin: 0 auto;}.box .slider {width: 1000px;height: 350px;display: none;}.box .slider.active {display: block;}.box .point-list {position: absolute;/*绝对定位的环境下的水平居中方式*/left: 50%;margin-left: -38px;top: 310px;}.box .point-list .point {display: inline-block;width: 12px;height: 12px;margin: 0 5px;background-color: white;border-radius: 100%;}.box .point-list .point.active {background-color: black;}.box .point-list .point:hover {cursor: pointer;}.skip {position: absolute;top: 140px;display: inline-block;width: 40px;height: 80px;text-align: center;line-height: 80px;background-color: lightgray;color: white;opacity: 0.2;font-size: 36px;}.box .prev {left: 0;}.box .next {right: 0;}.box .skip:hover {cursor: pointer;opacity: 0.5;color: black;}
// 获取轮播图片var imgs = document.querySelectorAll("img");// 获取小圆点var pointList = document.querySelector(".point-list");// 动态生成小圆点imgs.forEach(function (img, index) {var span = document.createElement("span");// 第一个小点是激活状态,添加索引spanif (index == 0) span.classList.add("point", "active");span.classList.add("point");// 给当前的小圆点添加自定义data-index属性span.dataset.index = img.dataset.index;pointList.appendChild(span);});// 获取所有小圆点var points = document.querySelectorAll(".point");// 给小圆点添加事件(代理)pointList.addEventListener("click", function (ev) {imgs.forEach(function (img) {if (img.dataset.index === ev.target.dataset.index) {imgs.forEach(function (img) {img.classList.remove("active");});img.classList.add("active");// 设置与当前图片对应的小圆点高亮显示// 因为这个功能要多处使用,这里将它声明为公共函数setPointActive(img.dataset.index);}});});// 设置与当前图片对应的小圆点高亮显示;function setPointActive(imgIndex) {points.forEach(function (point) {point.classList.remove("active");});points.forEach(function (point) {// 添加当前相等的if (point.dataset.index === imgIndex) point.classList.add("active");});}// 获取翻页按钮左右var skip = document.querySelectorAll(".skip");// 添加事件skip.item(0).addEventListener("click", skipImg, false);skip.item(1).addEventListener("click", skipImg, false);// 翻页显示图片的回调方法function skipImg(ev) {// 1. 获取当前的图片var currentImg = null;imgs.forEach(function (img) {if (img.classList.contains("active")) {currentImg = img;}});// console.log(currentImg);// 2. 判断是否是点击了显示前一张的按钮?if (ev.target.classList.contains("prev")) {// 为了显示出来前一张,必须将当前图片的激活去掉currentImg.classList.remove("active");// 将当前图片的前一张图片设置为当前图片currentImg = currentImg.previousElementSibling;// console.log(currentImg);// 如果存在前一张,再显示它,否则进入循环,显示最后一张if (currentImg !== null && currentImg.nodeName === "IMG") {currentImg.classList.add("active");} else {currentImg = imgs[imgs.length - 1];currentImg.classList.add("active");}}// 3. 判断是否是点击了显示下一张的按钮?if (ev.target.classList.contains("next")) {// 为了显示出来前一张,必须将当前图片的激活去掉currentImg.classList.remove("active");// 将当前图片的前一张图片设置为当前图片currentImg = currentImg.nextElementSibling;// console.log(currentImg);// 如果存在下一张,再显示它,否则进入循环,显示第一张if (currentImg !== null && currentImg.nodeName === "IMG") {currentImg.classList.add("active");} else {currentImg = imgs[0];currentImg.classList.add("active");}}// 小圆点高亮setPointActive(currentImg.dataset.index);}var div = document.querySelector(".box");var playImg;// 页面加载时自动播放window.onload = start();// 鼠标移出时: 播放div.addEventListener("mouseout", start);// 鼠标移入时: 停止div.addEventListener("mouseover", function () {clearInterval(playImg);});function start() {playImg = setInterval(function () {// Event 对象代表事件的状态var event = new Event("click");// 派发点击事件skip.item(1).dispatchEvent(event);}, 2000);}