Correction status:qualified
Teacher's comments:多写就好了, 没啥技巧


// 1.文档节点console.log(document);// 节点三要素// 节点类型console.log(document.nodeType);// 节点名称console.log(document.nodeName);// 节点的值console.log(document.nodeValue);// 查看文档类型console.log(document.doctype);// 查看根节点(html)console.log(document.documentElement);// 查看头节点console.log(document.head);// 查看标题console.log(document.title);// 查看主体console.log(document.body);// 操作节点document.body.style.backgroundColor = 'lightgreen';

<!DOCTYPE html><html lang="en"><head><meta charset="UTF-8"><meta name="viewport" content="width=device-width, initial-scale=1.0"><title>DOM操作</title></head><body><div id='container'><ul class='poster' name='poster'><li name='active'>上午学习PHP</li><li>下午学习JAVA</li><li>晚上学习CSS</li></ul></div><script>// 获取元素// 1.根据标签获取(返回一个对象集合)var ul = document.getElementsByTagName('ul');console.log(ul);// 返回的是一个对象集合要获取其中某个需要通过键获取console.log(ul[0]);console.log(ul.item(0));// 2.根据id获取(因为html中的id唯一性是人为遵守的,所以是返回具有指定id的第一个元素)var div = document.getElementById('container');console.log(div);// 也可以在对象集合中获取具有指定名称的元素console.log(ul.namedItem('poster'));// 获取指定的一个<li>var li = document.getElementsByTagName('li').namedItem('active');li.style.color = 'lightgreen';// 也可以在元素级别调用方法var li1 = ul.item(0).getElementsByTagName('li');console.log(li1);// 3.根据class获取(和标签一样返回对象集合)var ul1 = document.getElementsByClassName('poster');console.log(ul1);ul1.item(0).style.border = '2px solid lightblue';// 4.使用queryselector方法(推荐)参数为CSS选择器// querySelector()返回满足条件的第一个元素var li2 = document.querySelector('#container li');console.log(li2);// 获取第二个<li>var li3 = document.querySelector('li:nth-of-type(2)');console.log(li3);// querySelmectorAll()返回满足条件的元素集合(可以看做数组使用但是上面返回的对象集合不能)var lis = document.querySelectorAll('.poster>li');console.log(lis);lis.item(1).style.backgroundColor = 'lightcoral';</script></body></html>

// NodeListvar div = document.querySelector('.act');// 打印节点数console.log(div.childNodes);// 文档中的换行,回车都是文本节点(nodeType === 3)console.log(div.childNodes.item(0).nodeType);// 元素节点(nodeType === 1)console.log(div.childNodes.item(1).nodeType);// 对于节点过滤for (var i = 0; i < div.childNodes.length; i++) {var cuName = div.childNodes.item(i);if (cuName.nodeType === 1) {console.log(cuName.tagName.toLowerCase());}}// 也可以通过children直接返回元素节点console.log(div.children);// 获取元素子节点console.log(div.firstElementChild);//第一个子节点console.log(div.children.item(1));//第二个子节点console.log(div.lastElementChild);//最后一个子节点// 获取父节点var p = document.querySelector('p');console.log(p.parentNode);

// 元素动态添加// 1.创建元素var p = document.createElement('p');// 2.设置元素样式或内容p.innerHTML = '<span style="color:lightcoral">JavaScript</span>真好玩';// 3.添加到页面中,必须在父节点上面添加document.querySelector('.item').appendChild(p);// 添加多个元素for (var i = 0; i < 5; i++) {var li = document.createElement('li');li.innerHTML = '列表项' + (i + 1);document.querySelector('.tain').appendChild(li);}// 上面方式建议不使用因为每添加一次页面就会渲染一次(可以把元素放在片段中最后一次性添加到页面中)var frag = document.createDocumentFragment();for (var a = 0; a < 5; a++) {var li1 = document.createElement('li');li1.innerHTML = '<span style="color:lightpink">列表项' + (a + 6) + '<span>';frag.appendChild(li1);}// 最后把片段添加到页面中document.querySelector('.tain').appendChild(frag);

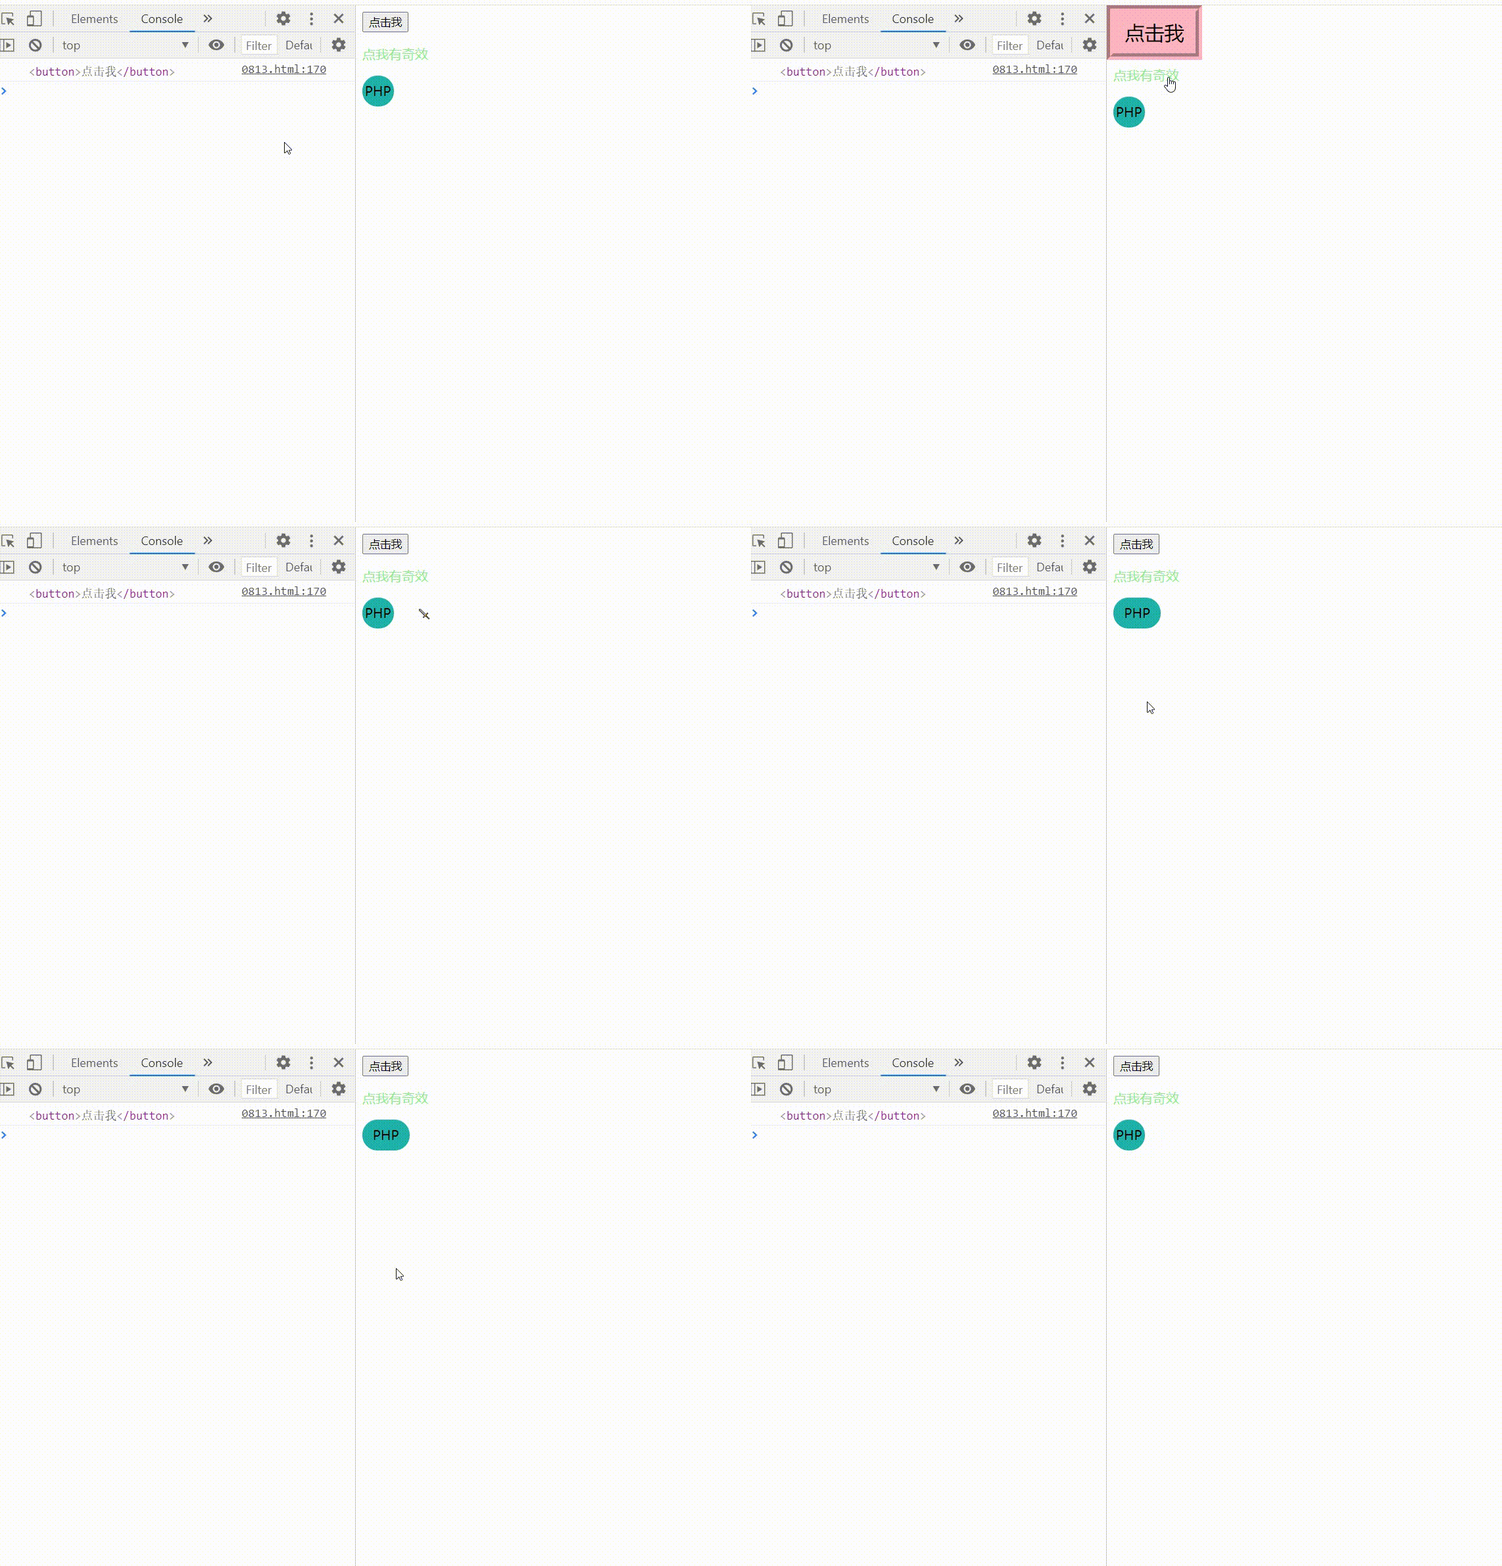
// 事件// 先获取按钮var btn = document.querySelector('button');console.log(btn);// 绑定事件btn.addEventListener('mouseover', function (ev) {// ev.target为事件的触发者ev.target.style = 'width:80px;height:80px;background:lightpink;outline:lightpink groove 8px;border:none;font-size:150%';})// 取消元素的默认行为// 获取a连接(document.links可以获取文档所有连接)var a = document.links.item(0);a.onclick = function (ev) {// 禁用a标签的默认行为ev.preventDefault();btn.style = null;};var div = document.querySelector('.container');div.addEventListener('mouseover', function (ev) {ev.target.style = 'border-radius:40px;width:200px; transition:all 0.5s ease-out';})div.addEventListener('mouseout', function (ev) {ev.target.style = null;ev.target.style = 'transition:0.5s ease-out';})

<!DOCTYPE html><html lang="en"><head><meta charset="UTF-8"><meta name="viewport" content="width=device-width, initial-scale=1.0"><title>todolist</title><style>.status {display: none;}.item {width: 400px;overflow: hidden}.act1 {float: right;padding-left: 5px;box-sizing: border-box;background-color: lightseagreen;border-radius: 10px;clear: both;line-height: 1.5;}.action {float: left;box-sizing: border-box;background-color: lightblue;padding-left: 5px;border-radius: 10px;line-height: 1.5;clear: both;}li {list-style: none;}</style></head><body><form action='' name='comment' method='POST'><label for="content">请留言:</label><input type='text' name='content' id='content'><button>提交</button><div class='item'><ul></ul></div></form><ul></ul><div class="status">对方正在输入...</div><script>// 获取表单var form = document.forms['comment'];// 获取ulvar ul = document.querySelector('ul');// 获取divvar div = document.querySelector('.status');// 问题和回答数组var arrq = ["你好", "你叫什么", "你几岁了", "你叫什么", "你在哪里"];var arra = ["你好哇", "我是小姐姐呀", "你问这个干什么", "嘤嘤酱", "我在你的内心深处"];// 绑定事件form.addEventListener('submit', function (ev) {// 禁用表单的默认行为ev.preventDefault();// 获取input的值var val = form.content.value.trim();// 判断input是否为空if (val.length != 0) {// 创建livar li = document.createElement('li');// 设置li内容li.innerHTML = val;// 给li设置classli.className = 'act1';// 把li添加到页面中ul.appendChild(li);// 添加完input清空并重新获取焦点form.content.value = "";form.content.focus();// 显示divdiv.style.display = "block";var vel = " ";// 获取问题数组的索引var index = arrq.indexOf(val);// 判断问题是否在问题数组中if (index >= 0) {// 存在则赋值vel = arra[index];} else {vel = '对不起回答不了您的问题';}// 创建回答livar ali = document.createElement('li');// 给回答li设置内容ali.innerHTML = vel;// 设置回答时间setTimeout(function () {ul.appendChild(ali);ali.className = "action";div.style.display = "none";}, 1000);} else {alert("内容不能为空!");form.content.value = "";form.content.focus();}});</script></body></html>

1.了解了js的DOM操作和事件绑定
2.还需多敲代码熟记,编辑器没有提示时都不知怎么写了