Blogger Information
Blog 21
fans 0
comment 0
visits 21412
Popular Tutorials
More>
Latest Downloads
More>
Web Effects
Website Source Code
Website Materials
Front End Template
使用vue路由做一个选项卡
N.
Original
803 people have browsed it
  • router-link相当于<a>标签
  • 路由是基于a的锚点创建的,
  • 每一个路由参数是一个对象,每个对象对应着一个地址

步骤

  1. 导入vue
  2. 导入vue路由
  3. 创建<router-link></router-link>标签
  4. 通过<router-view></router-view>渲染路由
  5. 创建选项卡
  6. 注册路由并且配置,配置时每一个路由参数是一个对象,每个对象对应着一个地址,
  7. 创建vue实例并绑定挂载点
  8. 将配置好的路由地址通过to添加到<router-link to="****"></router-link>标签之中,
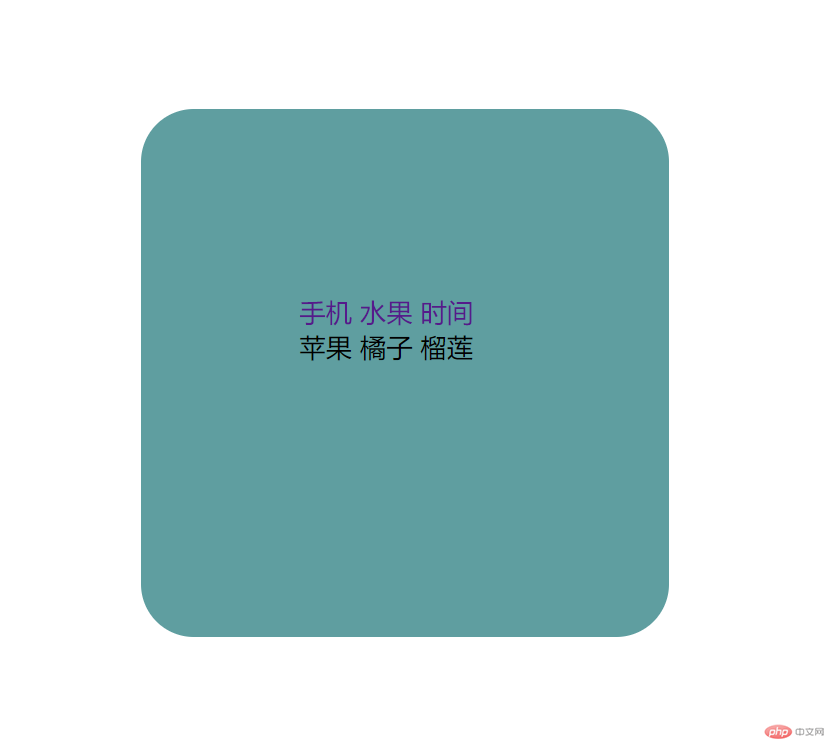
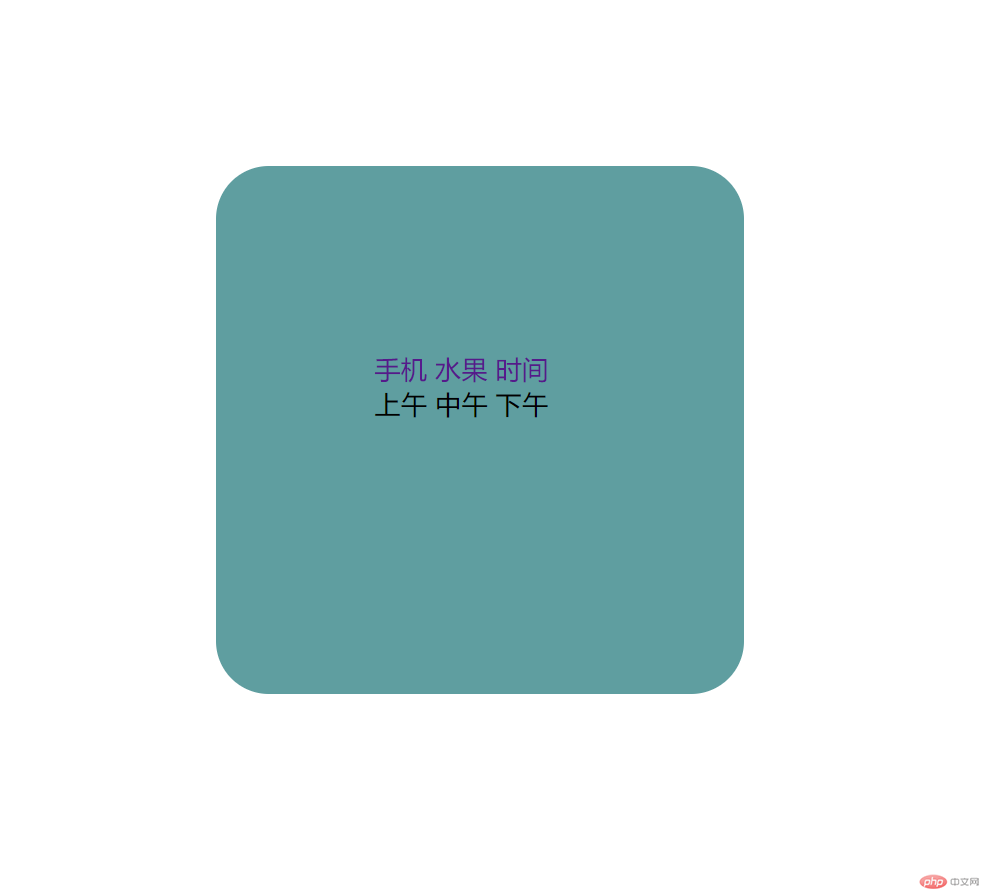
效果图(我不会做动图,多上两张图吧):


代码如下:

  1. <div class="box">
  2. <!-- router-link相当于<a>标签 -->
  3. <!-- 路由是基于a的锚点创建的 -->
  4. <router-link to="/pa1">手机</router-link>
  5. <router-link to="/pa2">水果</router-link>
  6. <router-link to="/pa3">时间</router-link>
  7. <!-- 渲染这个路由 -->
  8. <router-view></router-view>
  9. </div>
  10. <script>
  11. const pa1 = {
  12. template: "<p>三星 华为 小米</p>",
  13. };
  14. const pa2 = {
  15. template: "<p>苹果 橘子 榴莲</p>",
  16. };
  17. const pa3 = {
  18. template: "<p>上午 中午 下午</p>",
  19. };
  20. // 注册路由
  21. const router = new VueRouter({
  22. // 配置
  23. // 每一个路由参数是一个对象,每个组件对象对应着一个地址
  24. routes: [
  25. { path: "/pa1", component: pa1 },
  26. { path: "/pa2", component: pa2 },
  27. { path: "/pa3", component: pa3 },
  28. ],
  29. });
  30. new Vue({
  31. router: router,
  32. el: ".box",
  33. });
  34. </script>
  35. </body>
Correcting teacher:天蓬老师天蓬老师

Correction status:qualified

Teacher's comments:看上去还是不错, 关键是理解路由的流程
Statement of this Website
The copyright of this blog article belongs to the blogger. Please specify the address when reprinting! If there is any infringement or violation of the law, please contact admin@php.cn Report processing!
All comments Speak rationally on civilized internet, please comply with News Comment Service Agreement
0 comments
Author's latest blog post