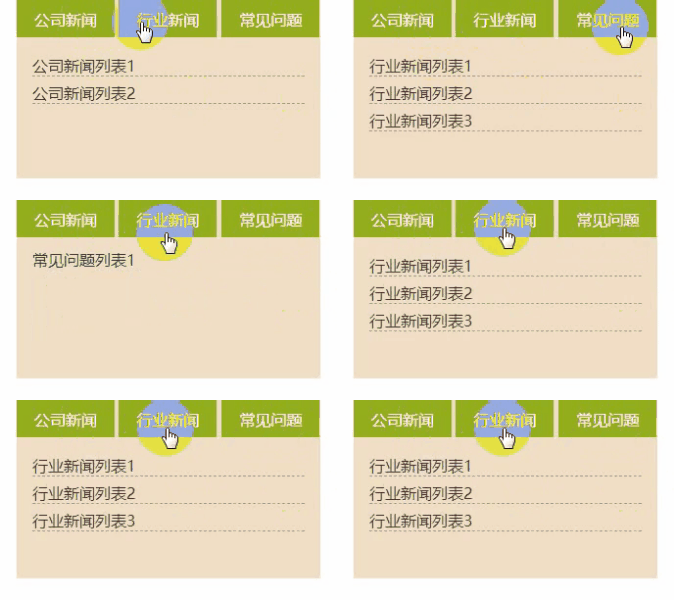


需要注意的知识点:
- <router-link>相当于<a>标签;路由是基于<a>标签的锚点创建的;
- 通过<router-view></router-view>标签进行渲染;
- 注册路由并进行配置时,每一个路由参数都是一个对象,而每一个对象都对应一个地址;
path:路径,component:组件
代码展示:
<!DOCTYPE html><html lang="en"><head><meta charset="UTF-8"><meta name="viewport" content="width=device-width, initial-scale=1.0"><title>路由选项卡</title><script src="../lib/vue.js"></script><script src="vue-router-dev/dist/vue-router.js"></script><style>*{ margin: 0; padding: 0; box-sizing: border-box;}.app{ width: 310px; height: 180px; margin: 0 auto; background-color:#F0DEC4;}.list{ width: 100px; height: 36px; display:inline-block; line-height: 36px; background: #93AD1C; color: #fff; text-decoration: none; text-align: center;}.active{ background-color: slateblue;}p{ padding: 12px 16px; color: #333;}ul,li{ list-style: none;}li{ border-bottom: 1px dashed #999; margin-top: 6px;}</style></head><body><div class="app"><router-link to="/pro1" :class="'list'">公司新闻</router-link><router-link to="/pro2" :class="'list'">行业新闻</router-link><router-link to="/pro3" :class="'list'">常见问题</router-link><!-- 渲染路由 --><router-view></router-view></div><script>const pro1={template:"<p><ul><li>公司新闻列表1</li><li>公司新闻列表2</li></ul></p>"}const pro2={template:"<p><ul><li>行业新闻列表1</li><li>行业新闻列表2</li><li>行业新闻列表3</li></ul></p>"}const pro3={template:"<p>常见问题列表1</p>"}const router=new VueRouter({routes:[// path:路径,component:组件{path:"/pro1",component:pro1},{path:"/pro2",component:pro2},{path:"/pro3",component:pro3}]});const vm=new Vue({// router:router,router,el:".app"})</script></body></html>
效果展示: