Correction status:qualified
Teacher's comments:


\<iframe>标签的作用是嵌入,它能将另一个 HTML 页面嵌入到当前 HTML 页面中,也就是常见的一种页面画中画效果。理论上在一个页面中可写入的\<iframe>标签是无限多的,不过考虑到页面上的每一个\<iframe>标签都会增加内存和其他的计算机资源,还是希望不要过多的去在一个页面中多次引用\<iframe>标签。
常见属性
name 属性: 用于定位嵌入的浏览器上下文的名称,该名称可用作\<a>标签和\<form>标签的 target 属性值。
\<iframe src="" name="title">\</iframe>
\<a href="" target="title">\<h1>这是一个标题\</h1>\</a>
src 属性:被嵌套的页面的 URL 地址。
\<iframe src="https://www.baidu.com">\<iframe>
srcdoc 属性:在当前 iframe 块,由程序员写的描述信息,一般是用作介绍和简介。
\<iframe srcdoc="这是一段提示信息">\</iframe>
| 值 | 效果 |
|---|---|
| allow-forms | 允许嵌入的浏览器上下文提交表单 |
| allow-models | 允许嵌入的浏览器上下文打开模态窗口 |
| allow-popups | 允许弹窗 |
<iframe>标签除了嵌入页面画中画之外,还可以和\<a>标签来模拟一个小后台。
实例如下:
<!DOCTYPE html><html><head><meta charset="UTF-8" /><title>迷你小后台</title><style>body {margin: 0;display: grid;grid-template-columns: 10em 1fr;}header {grid-column: span 2;height: 2em;background-color: lightblue;text-align: center;}.aside {display: grid;grid-template-rows: repeat(auto-fit, 2em);background-color: lightcyan;}.main iframe {width: 100%;height: 42em;background-color: #fff;border: none;padding: 2em;}.aside a {text-decoration: none;color: rgb(14, 12, 12);background-color: #fff;border-bottom: 1px solid #ccc;border-right: 1px solid #ccc;}.aside a:hover {background-color: rgb(173, 184, 187);}</style></head><body><header>基于<iframe>和<a>标签模拟实现一个迷你后台</header><div class="aside"><a href="https://www.bilibili.com/" target="content">哔哩哔哩</a><a href="https://map.baidu.com/" target="content">百度地图</a><a href="http://www.youdao.com/" target="content">有道词典</a><a href="https://weibo.com/" target="content">微博</a><a href="http://pic.netbian.com/" target="content">彼岸图网</a></div><div class="main"><iframe srcdoc="请点击左侧按钮" name="content"></iframe></div></body></html>
浏览器效果如下: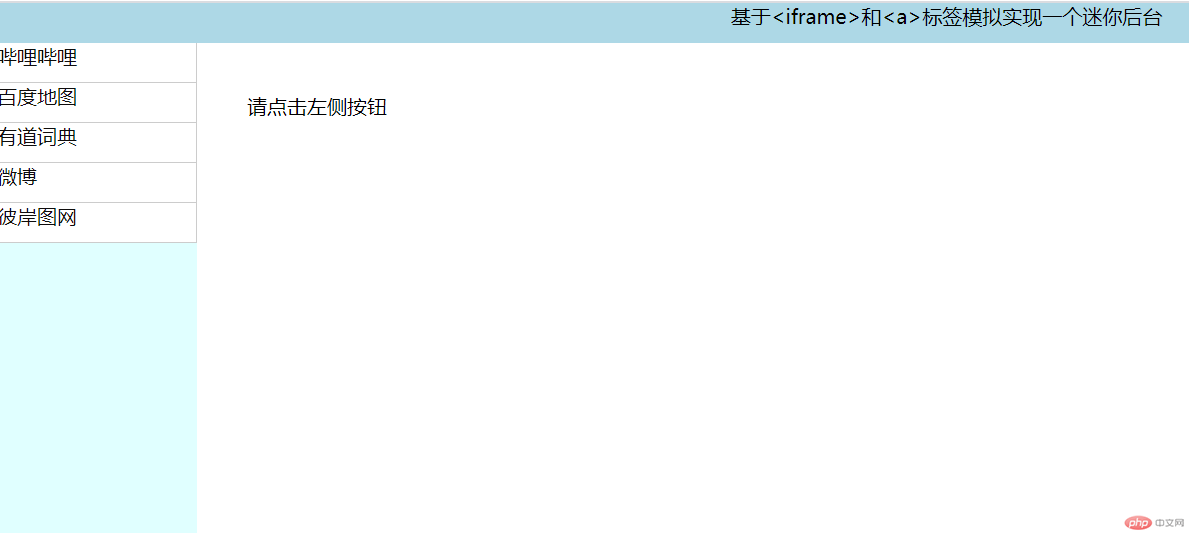
| 类型 | 表现形式 |
|---|---|
| 元素(标签)选择器 | elementname(元素名称) |
| 类选择器 | .classname(类名) |
| ID 选择器 | #idname(ID 名) |
| 属性选择器 | [属性=值] |
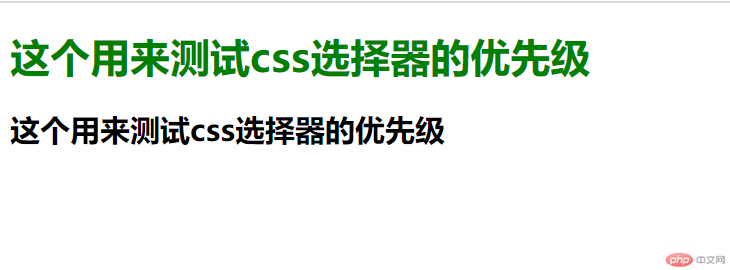
测试一下以上四种选择器的优先级:
\<h1 id="class" class="title" name="h1">这个用来测试 css 选择器的优先级\</h1>
\<h2 id="class" class="title" name="h2">这个用来测试 css 选择器的优先级\</h2>
\<style>
h1 {
color: green;
}
\</style>
浏览器效果如下
<style>
h1 {
color: green;
}
.title {
color: rgb(216, 156, 44);
}
</style>
浏览器效果如下
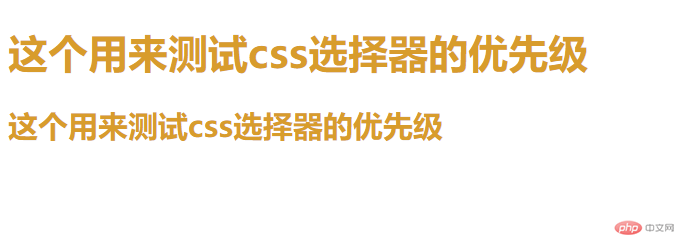
可以看出来属性选择器的优先级是要大于元素选择器的(这与代码的位置没有关系,不论是 h1{}在前还是.title{}在前,效果都是一样的,在这里只是按照优先级的次序往下写,以便于理解)
<style>
h1 {
color: green;
}
.title {
color: rgb(216, 156, 44);
}
[name=”h1”] {
color: rgb(194, 88, 167);
}
</style>
浏览器效果如下

<style>
h1 {
color: green;
}
.title {
color: rgb(216, 156, 44);
}
[name=”h1”] {
color: rgb(194, 88, 167);
}
#class {
color: rgb(118, 107, 209);
}
</style>
浏览器效果如下

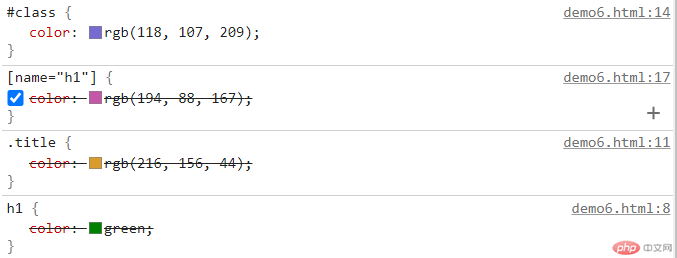
从以上的演示可以看出,在基本的选择器中优先级次序依次是:
元素选择器 < 类选择器 < 属性选择器 < id选择器
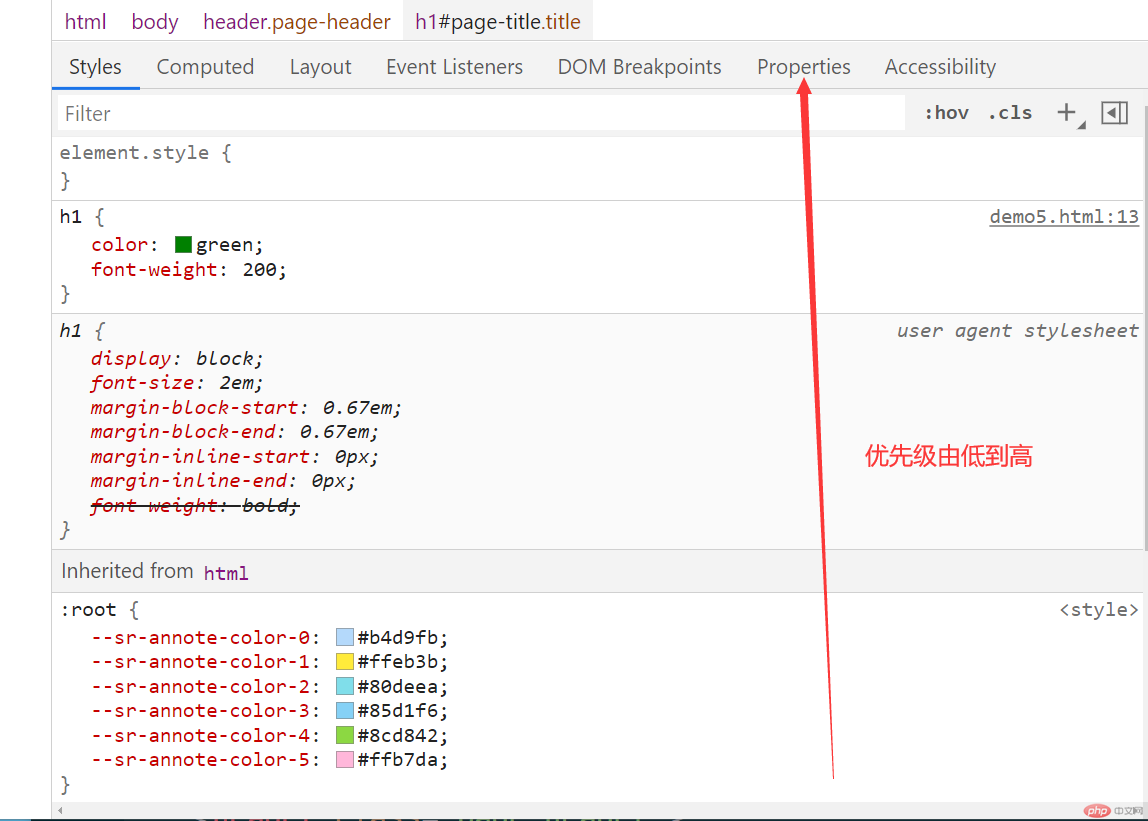
一个元素会受到四个级别声明的影响:
图示演示(此处以Chrome浏览器示例):
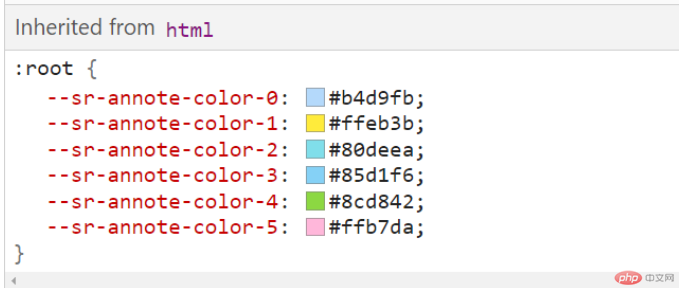


元素样式的优先级:
继承的 < 浏览器定义的 < 自定义的 < 行内样式