Correction status:qualified
Teacher's comments:


Grid网格布局是flex弹性盒子后又一个强大的 CSS 布局方案,它将网页划分成一个个网格,可以任意组合不同的网格,做出各种各样的布局。
常用属性:
| 属性 | 说明 |
|---|---|
| display | 设置grid布局 |
| grid-template-rows | 设置网格的行数 |
| grid-template-columns | 设置网格的列数 |
| gap | 设置轨道间距 |
| grid-auto-rows | 设置隐藏风格的宽 |
| gird-auto-columns | 设置隐藏风格的高 |
| grid-auto-flow | 设置网格排列方向,row行,column列 |
| grid-area | 设置任何一个项目所在的网格单元的区域,四个值分别是:哪根横线开始,哪根竖线开始,哪根横线结束,哪根竖线结束 |
1.容器和项目:采用网格布局的区域,称为“容器”。容器内部的采用网格定位的子元素称为“项目”
下面的代码中,wrapper就是grid容器,item就是gird项目
<style>.wrapper{display: grid;grid-template-columns:5em 5em 5em ;grid-template-rows: 5em 5em;}.item{border: 1px solid #000;text-align: center;line-height: 5em;}</style></head><body><div class="wrapper"><div class="item">1</div><div class="item">2</div><div class="item">3</div><div class="item">4</div><div class="item">5</div><div class="item">6</div></div>
2.行、列和单元格
容器里面的水平区域称为“行”,垂直区域称为“列”,行列重叠出来的空间组成单元格
grid-template-columns:5em 5em 5em ;grid-template-rows: 5em 5em;
以上代码我们用grid-template-columns设置了三列列高分别为5em,用grid-template-rows设置了2行行宽分别为5em的格子,当然我们可以通过repeat()函数进行简写:
grid-template-columns:repeat(3,5em);grid-template-rows: repeat(2,5em);
repeat()接受两个参数,第一个参数是重复的次数,第二个参数是所要重复的值。
第二个参数可以接受多个参数,例如
grid-template-columns: repeat(2, 100px 20px 80px);
我们把上面的代码进行展开就是:
grid-template-columns: 100px 20px 80px 100px 20px 80px;
常用的第二个函数就是minmax(),顾名生义,就是这个函数可以接受一个最小值和一个最大值,对我们设置局部响应式带了来福音
例如:做一个两侧固定,中间最小20em最大可以自动变大的格子
<style>.wrapper{display: grid;/* 中间的格子最小为20em,最大自动 */grid-template-columns:10em minmax(20em,auto) 10em;grid-template-rows: 20em;}.item{border: 1px solid #000;text-align: center;line-height: 5em;}.item:nth-of-type(2){background-color:red;}</style></head><body><div class="wrapper"><div class="item">1</div><div class="item">2</div><div class="item">3</div></div>
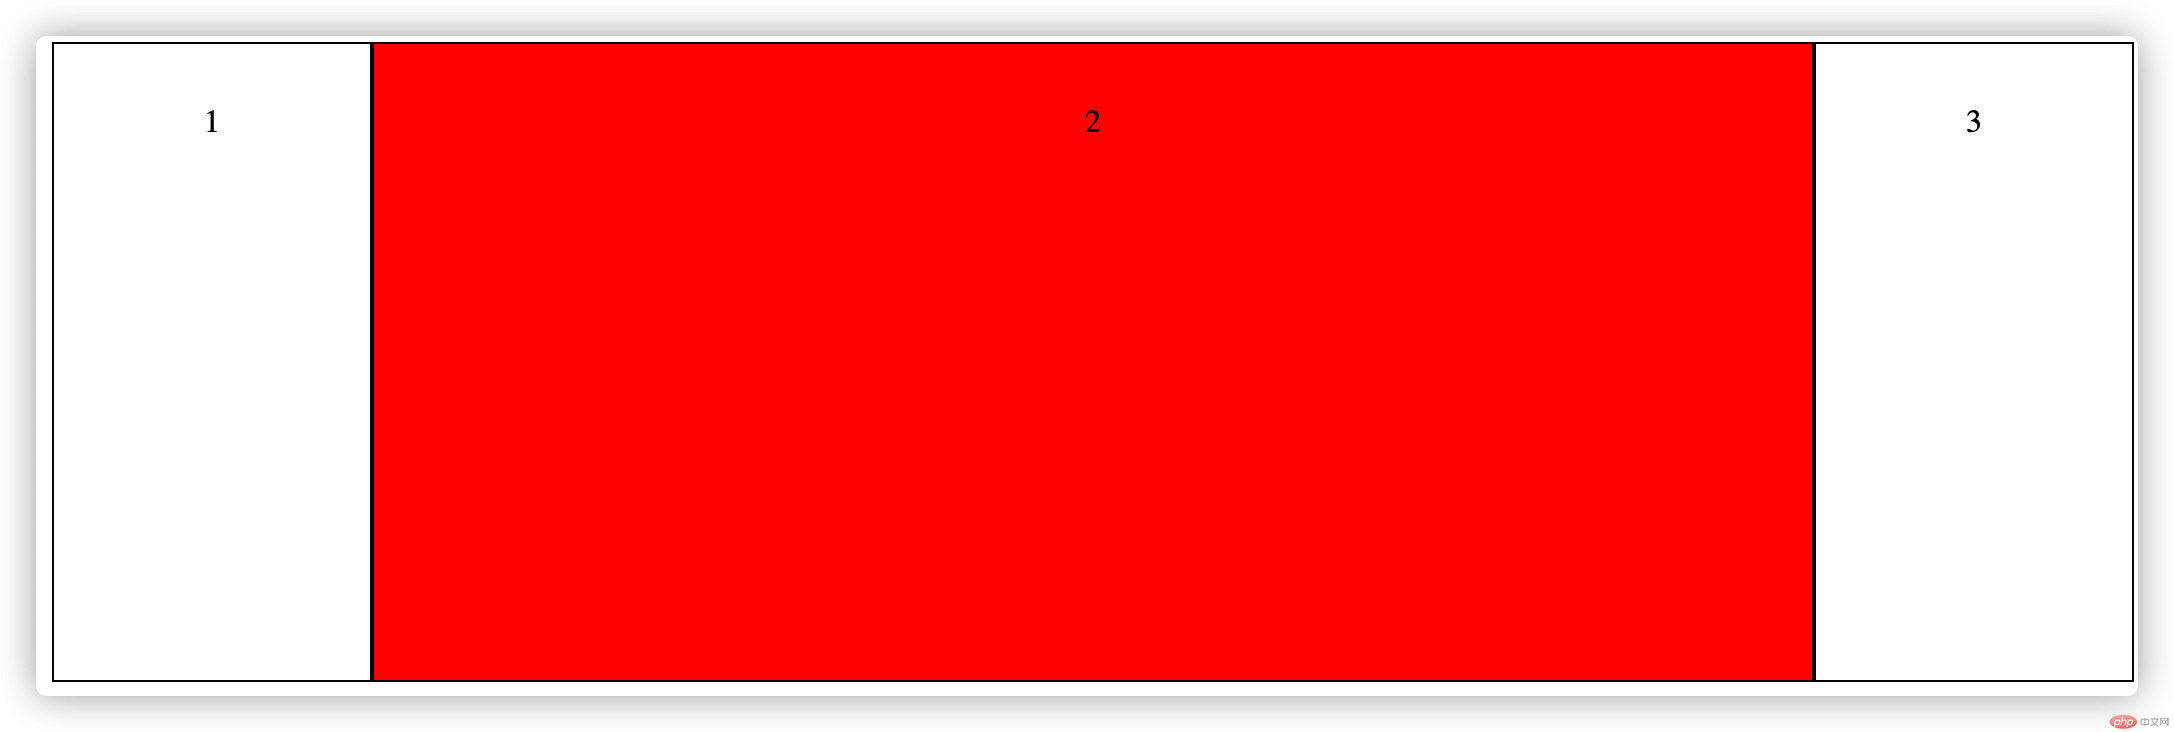
通过运行后发现,无轮如何缩小浏览器,中间的列始终最小保持20em宽度,而最大值是可以减掉两边固定宽度后自动调整的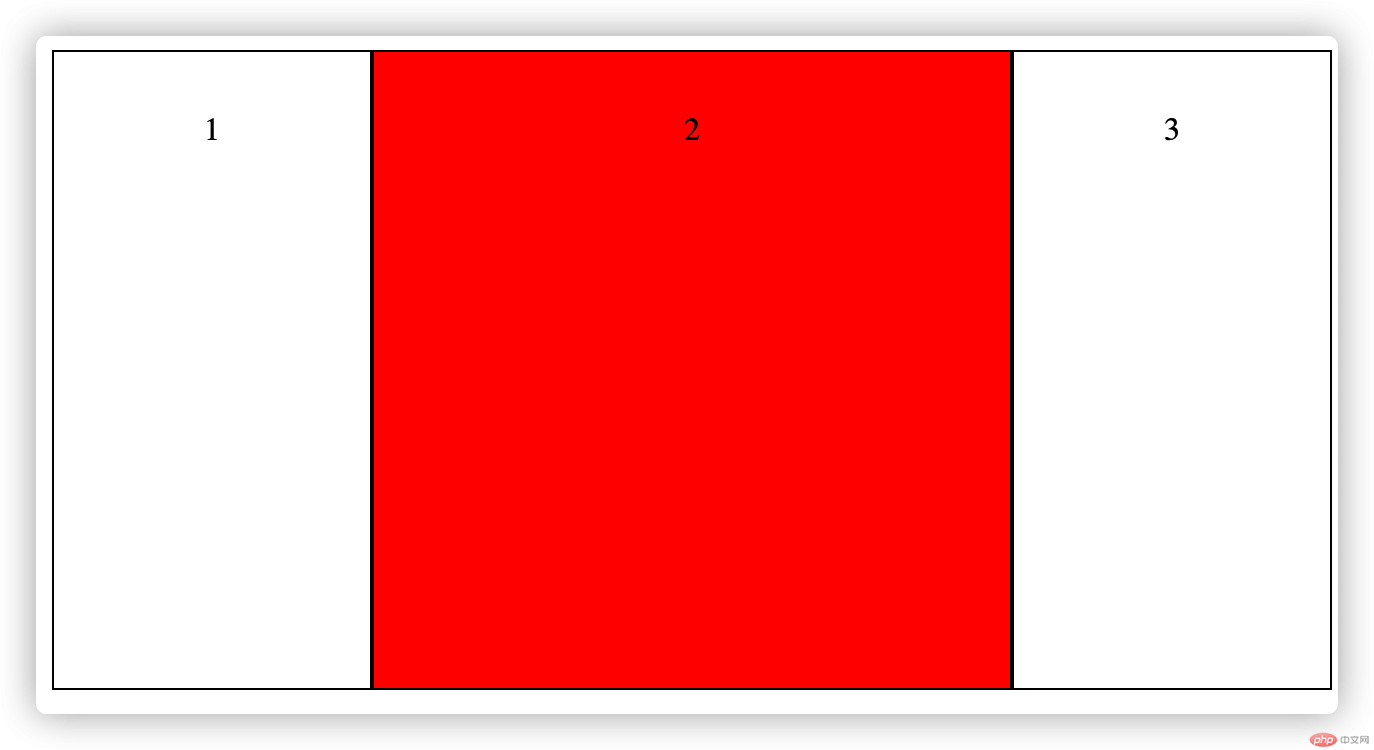
当然为了美化我们的项目,传统我们往往会设置用marging,padding为盒子与盒子之间设置间距,在grid网格当中,就省事多了,直接用”gap”就可以解烦忧,举个粟子吧:
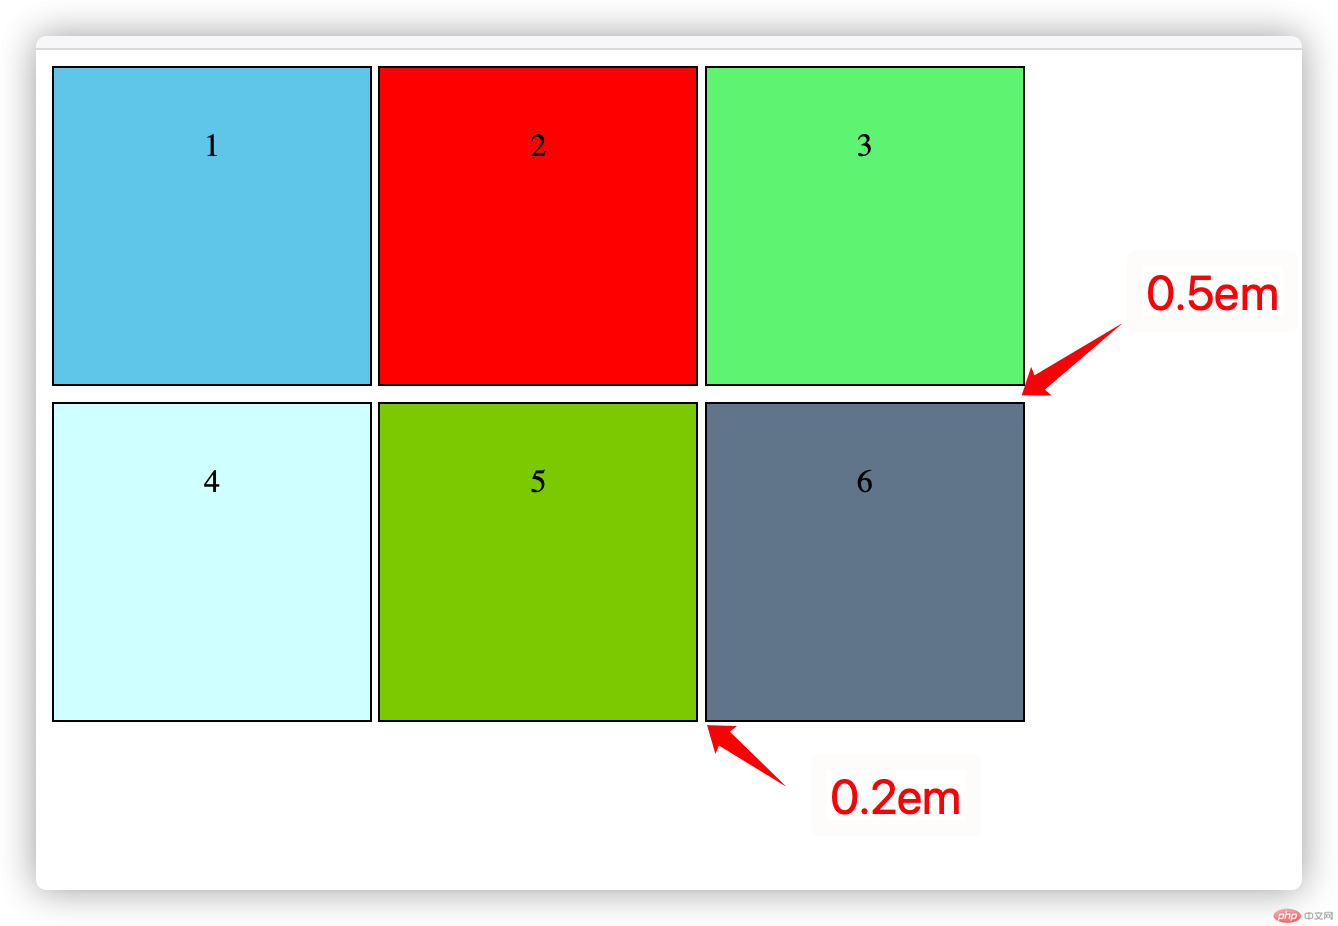
.wrapper{display: grid;grid-template-columns:repeat(3,10em);grid-template-rows: repeat(2,10em);/* 行间距0.5em,列间距:0.2em */gap: .5em .2em;}.item{border: 1px solid #000;text-align: center;line-height: 5em;}.item:first-of-type{background-color:skyblue;}.item:nth-of-type(2){background-color:red;}.item:nth-of-type(3){background-color:lightgreen;}.item:nth-of-type(4){background-color:lightcyan;}.item:nth-of-type(5){background-color:yellowgreen;}.item:last-of-type{background-color:lightslategrey;}</style></head><body><div class="wrapper"><div class="item">1</div><div class="item">2</div><div class="item">3</div><div class="item">4</div><div class="item">5</div><div class="item">6</div></div>
运行结果如下:
同时我们还可以用grid-auto-flow来设置网格的排列方式,默认值是row,还是上面的代码,我们把它改成column试试
grid-auto-flow: column;
运行后发现,排列方式以列优先了
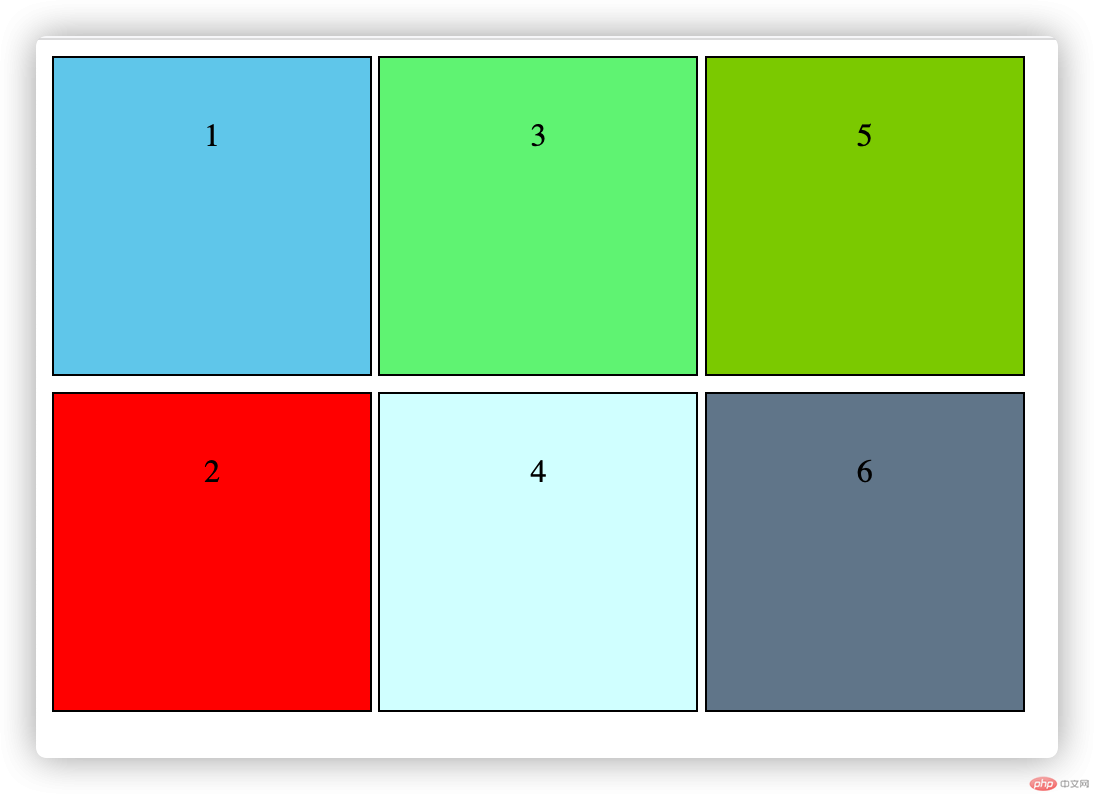
3:显式轨道和隐式轨道
以下的代码,我们只设置了3行2列,我们再在下面添加3个,多出了3个会,原来的项目我们称之为显式轨道,新增的我们称之为隐式轨道
<style>.wrapper{display: grid;/* 只设置了3列2行的网格 */grid-template-columns:repeat(3,10em);grid-template-rows: repeat(2,10em);gap: .2em;}.item{border: 1px solid #000;text-align: center;padding: 0.2em;background-color: skyblue;}</style></head><body><div class="wrapper"><div class="item">1</div><div class="item">2</div><div class="item">3</div><div class="item">4</div><div class="item">5</div><div class="item">6</div><div class="item">7</div><div class="item">8</div><div class="item">9</div></div></body>
运行后我们发现隐式轨道的高度是自动生成的,与原来的显式轨道格格不入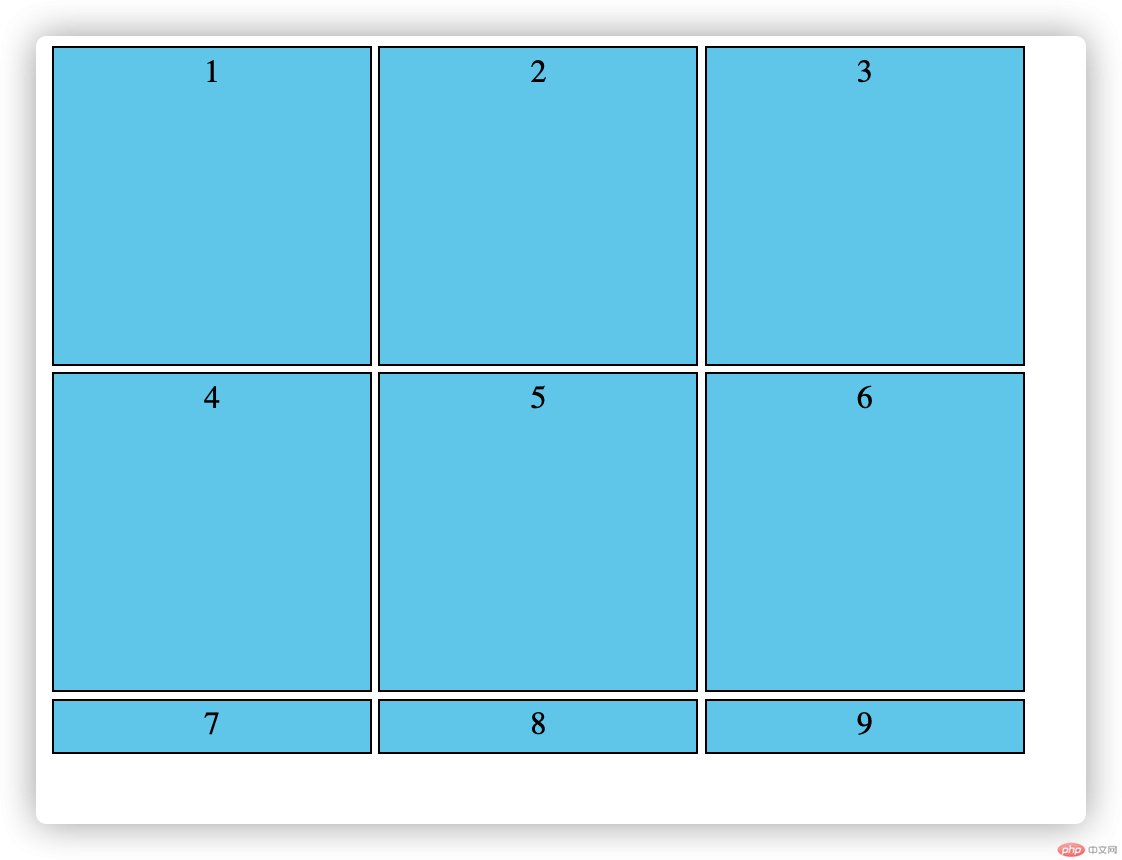
这个时候我们可以通过grid-auto-rows来给隐式轨道设置行高,如果是grid-auto-flow:column; 我们就可以通过grid-auto-columns给轨道设置列宽
下面我们把隐式轨道的行高设置的和显式轨道的一样
grid-auto-rows:10em ;
运行后发现果然一样了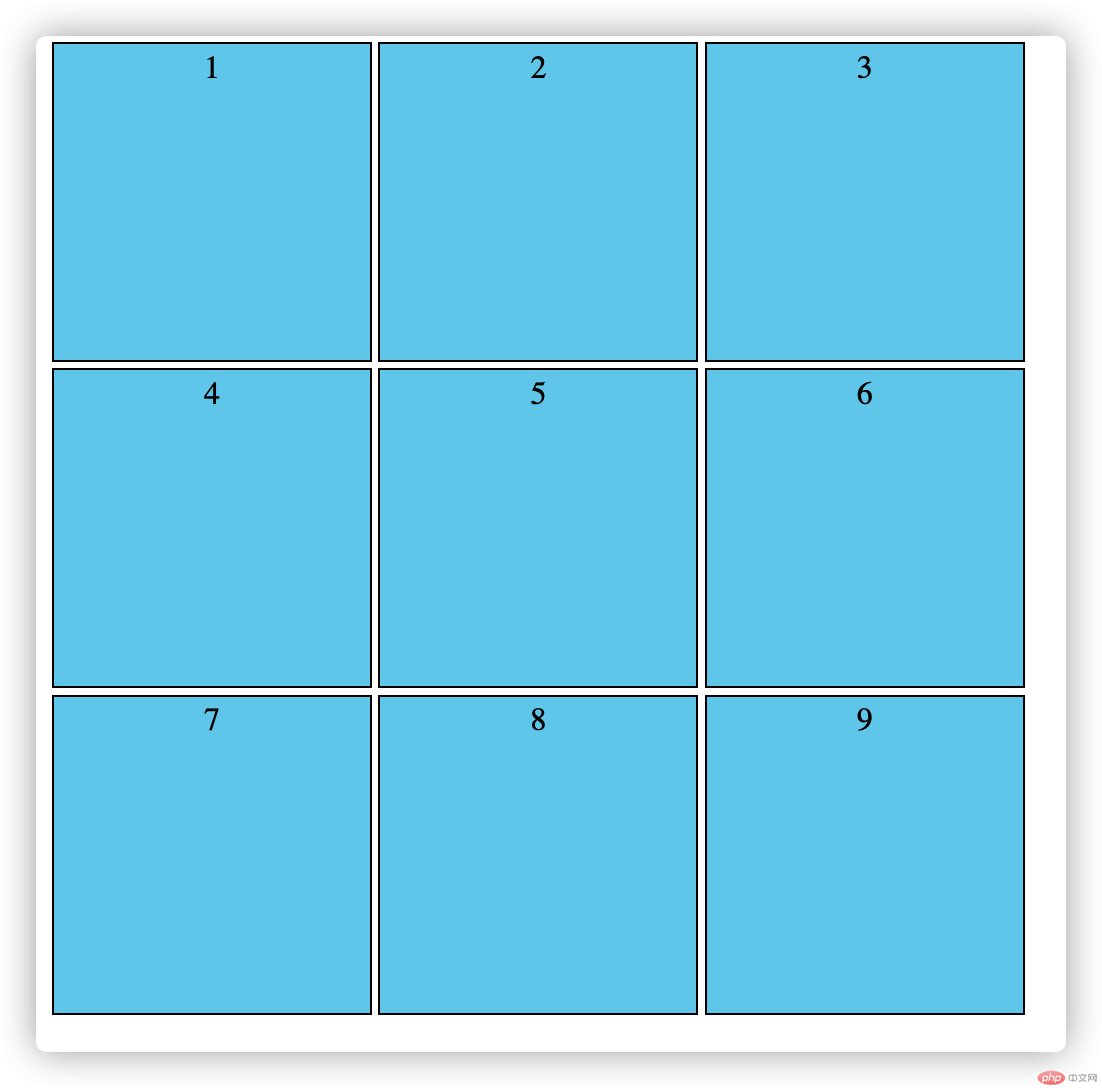
4.网格线:划分网格的线,称为”网格线“
黄色的代表是列的网格线,绿色代表的是行的网格线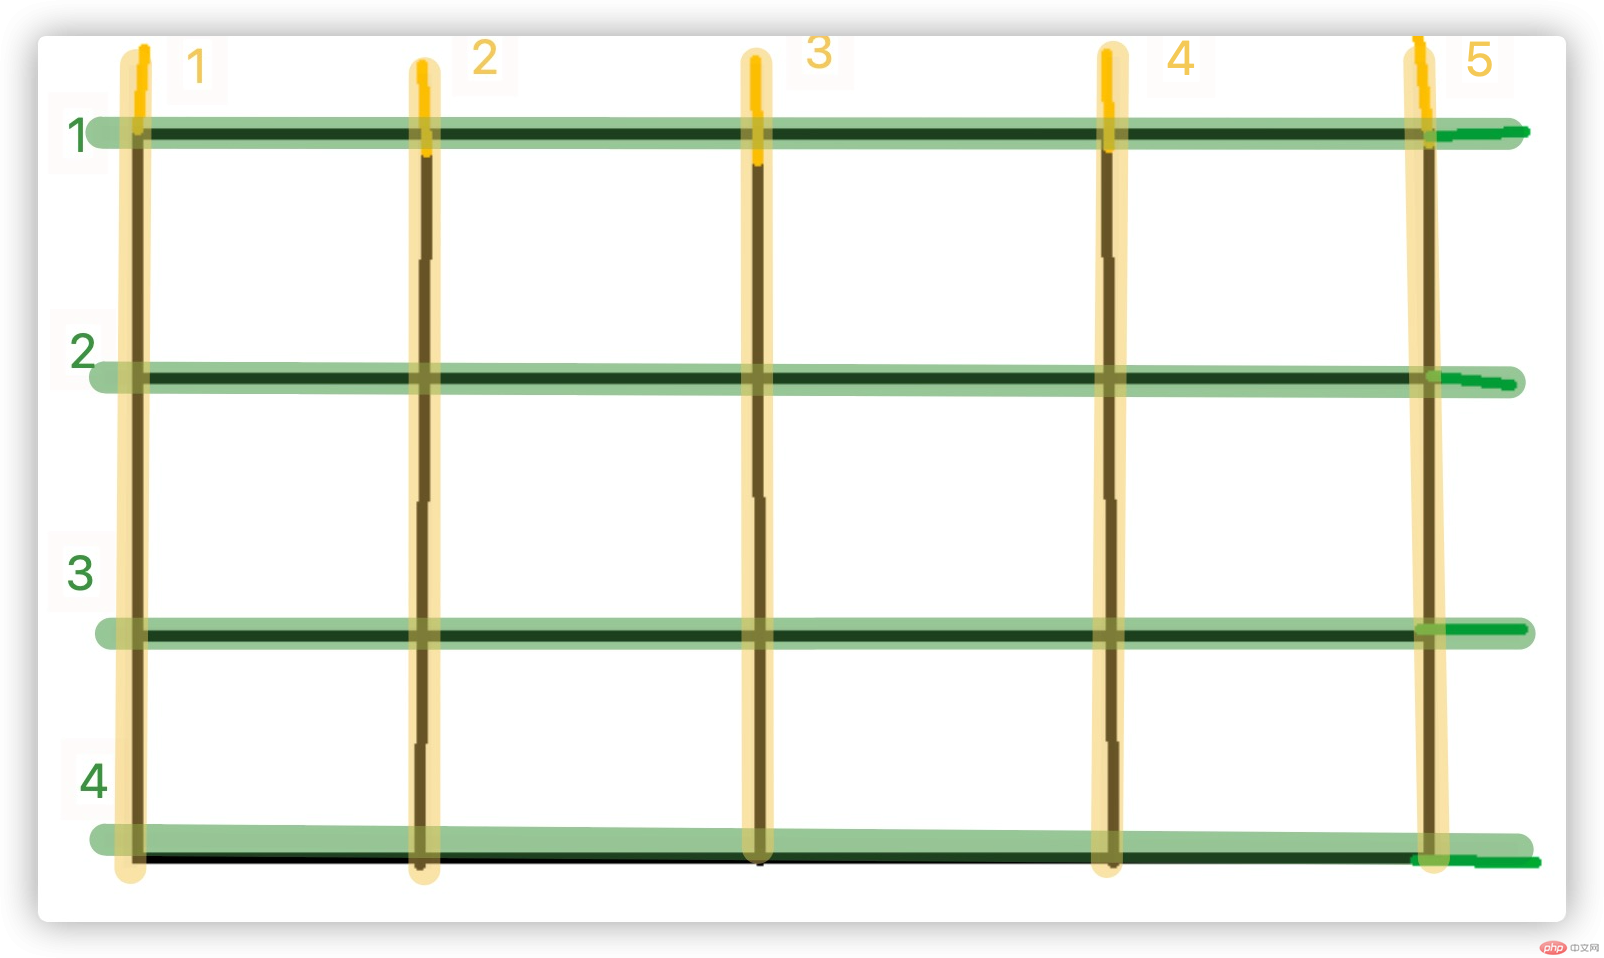
通过网格线我们可以利用grid-area设置任何一个项目所在的网格单元区域,grid-area有四个值分别是:哪根横线开始,哪根竖线开始,哪根横线结束,哪根竖线结束
例如:
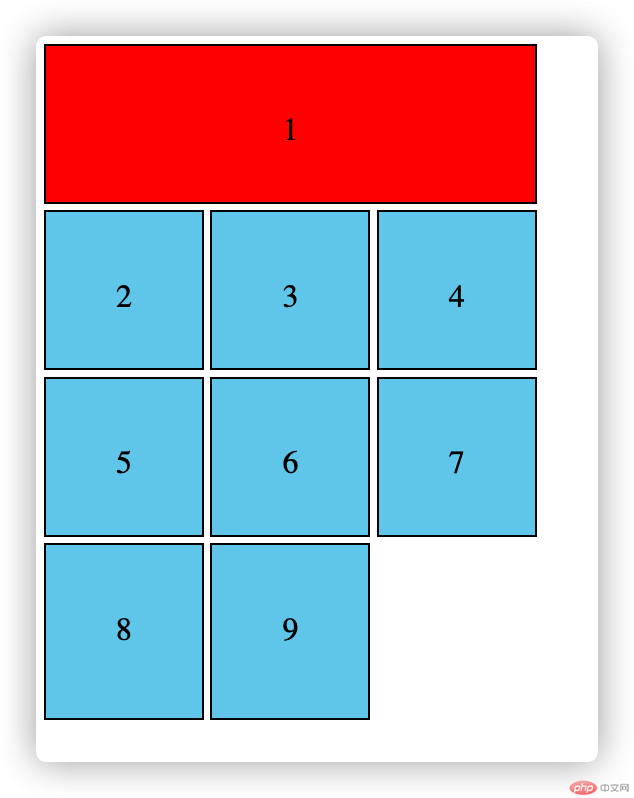
<style>.wrapper{display: grid;/* 只设置了3列2行的网格 */grid-template-columns:repeat(3,5em);grid-template-rows: repeat(3,5em);gap: .2em;}.item{border: 1px solid #000;text-align: center;line-height: 5em;padding: 0.2em;background-color: skyblue;}.item:first-of-type{background-color: red;/* 设置第一个item的起始为第一根横线,起始列为第一根竖线,结束为第1根横线,结果为第4根竖线,也就是占了一行三列 */grid-area:1/1/1/4;/* 我们也可以通过span进行跨行跨列操作,例如: */grid-area:1/1/span 1/span 3;/* 甚至可以省掉前面的1/1:从当前行列开始跨一行三列 */grid-area:span 1 /span 3;}</style></head><body><div class="wrapper"><div class="item">1</div><div class="item">2</div><div class="item">3</div><div class="item">4</div><div class="item">5</div><div class="item">6</div><div class="item">7</div><div class="item">8</div><div class="item">9</div></div>
运行的结果如下