Correction status:qualified
Teacher's comments:


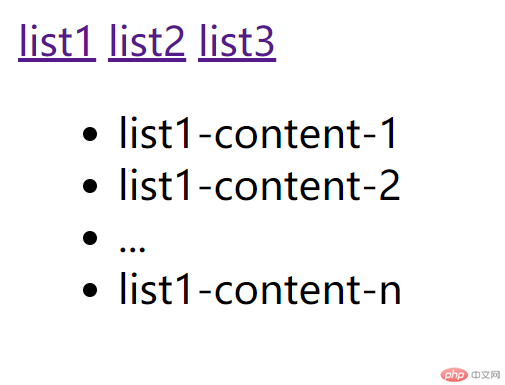
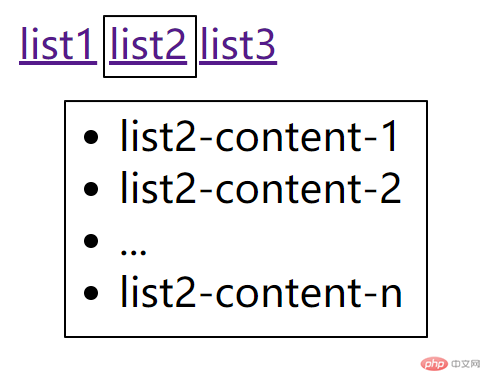
- 使用哈希(锚点)原生实现一个前端路由;
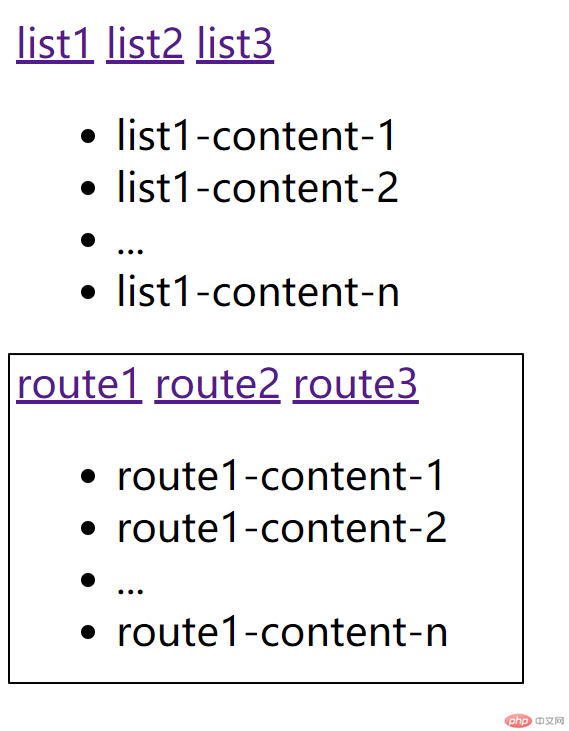
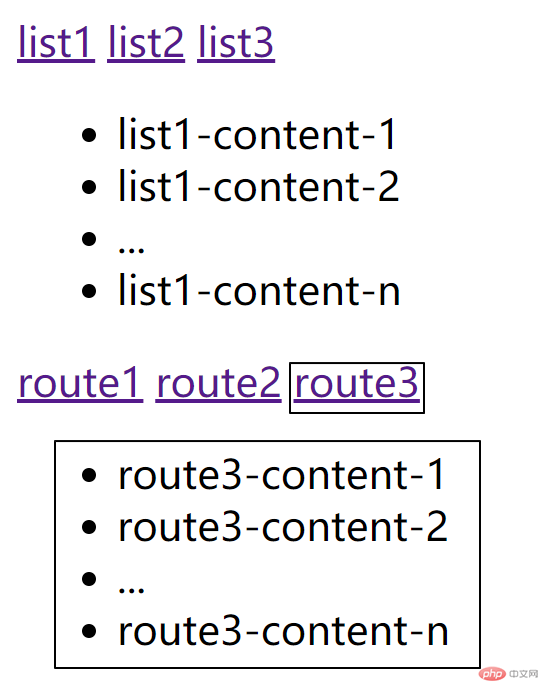
- 使用vue路由模块实现一个前端路由
body 中添加 html 和 js
<!-- 使用哈希(锚点)原生实现一个前端路由 --><nav><a href="#/list1">list1</a><a href="#/list2">list2</a><a href="#/list3">list3</a></nav><!-- 显示哈希锚点路由内容 --><p class="hash-router"></p><script>let list1 = `<ul><li>list1-content-1</li><li>list1-content-2</li><li>...</li><li>list1-content-n</li></ul>`;let list2 = `<ul><li>list2-content-1</li><li>list2-content-2</li><li>...</li><li>list2-content-n</li></ul>`;let list3 = `<ul><li>list3-content-1</li><li>list3-content-2</li><li>...</li><li>list3-content-n</li></ul>`;const hashRouter = document.querySelector('.hash-router');// 监听 hashchange 事件执行window.addEventListener('hashchange', show);// 页面加载执行一次window.addEventListener('load', show);function show() {switch (location.hash) {case '#/list2':hashRouter.innerHTML = list2;break;case '#/list3':hashRouter.innerHTML = list3;break;// 默认第一个default:hashRouter.innerHTML = list1;}}</script>


body 中续写 html 和 js
<!-- 使用vue路由模块实现一个前端路由 --><!-- 引入vue框架库 --><script src="https://cdn.jsdelivr.net/npm/vue/dist/vue.js"></script><!-- 引入vue路由库 --><script src="https://cdn.jsdelivr.net/npm/vue-router/dist/vue-router.js"></script><!-- 创建一个vue节点 --><nav class="app"><!-- vue路由锚点 --><router-link to="/route1">route1</router-link><router-link to="/route2">route2</router-link><router-link to="/route3">route3</router-link><!-- 路由到的资源显示 --><router-view></router-view></nav><script>let temp1 = `<ul><li>route1-content-1</li><li>route1-content-2</li><li>...</li><li>route1-content-n</li></ul>`;let temp2 = `<ul><li>route2-content-1</li><li>route2-content-2</li><li>...</li><li>route2-content-n</li></ul>`;let temp3 = `<ul><li>route3-content-1</li><li>route3-content-2</li><li>...</li><li>route3-content-n</li></ul>`;// 创建路由const router = new VueRouter({// 配置路由routes: [{path: '/route1',component: {template: temp1,}},{path: '/route2',component: {template: temp2,}},{path: '/route3',component: {template: temp3,}}],});// vue 实例中注册路由const vm = new Vue({el: '.app',router,});</script>

